Page 249 of 436

Rocking Your Vehicle to Get It Out
First, turn the steering wheel left and right.
That will clear the area around the front wheels.
Then shift back and forth between REVERSE (R)
and a forward gear, or with a manual transaxle,
between FIRST (1) or SECOND (2) and
REVERSE (R), spinning the wheels as little as
possible. Release the accelerator pedal while you
shift, and press lightly on the accelerator pedal
when the transaxle is in gear. By slowly spinning
the wheels in the forward and reverse directions,
you will cause a rocking motion that may free your
vehicle. If that does not get your vehicle out
after a few tries, it may need to be towed out. If
your vehicle does need to be towed out, see
Towing Your Vehicle on page 258.
Loading Your Vehicle
It is very important to know how much weight your
vehicle can carry. This weight is called the
vehicle capacity weight or maximum load amount
and includes the weight of all occupants, cargo,
and all nonfactory-installed options. Two labels on
your vehicle show how much weight it may
properly carry, the Tire and Loading Information
label and the Certification label.
{CAUTION:
Do not load your vehicle any heavier than
the Gross Vehicle Weight Rating (GVWR),
or either the maximum front or rear Gross
Axle Weight Rating (GAWR). If you do,
parts on your vehicle can break, and it
can change the way your vehicle handles.
These could cause you to lose control
and crash. Also, overloading can shorten
the life of your vehicle.
249
Page 251 of 436
4. The resulting figure equals the available
amount of cargo and luggage load capacity.
For example, if the “XXX” amount equals
1400 lbs and there will be five 150 lb
passengers in your vehicle, the amount of
available cargo and luggage load capacity is
650 lbs (1400 - 750 (5 x 150) = 650 lbs).
5. Determine the combined weight of luggage
and cargo being loaded on the vehicle. That
weight may not safely exceed the available
cargo and luggage load capacity calculated in
Step 4.
6. If your vehicle will be towing a trailer, the load
from your trailer will be transferred to your
vehicle. Consult this manual to determine how
this reduces the available cargo and luggage
load capacity of your vehicle.
Your vehicle is neither designed nor intended to
tow a trailer.
Item Description Total
AVehicle Capacity Weight
for Example 1=1,000 lbs (453 kg)
BSubtract Occupant
Weight 150 lbs
(68 kg)×2=300 lbs (136 kg)
CAvailable Occupant and
Cargo Weight=700 lbs (317 kg) Example 1
251
Page 254 of 436
5. Determine the combined weight of luggage
and cargo being loaded on the vehicle. That
weight may not safely exceed the available
cargo and luggage load capacity calculated in
Step 4.
6. If your vehicle will be towing a trailer, the load
from your trailer will be transferred to your
vehicle. Consult this manual to determine how
this reduces the available cargo and luggage
load capacity of your vehicle.
Your vehicle is not designed nor intended to tow a
trailer.
Item Description Total
AVehicle Capacity Weight
or Maximum Load, for
Example 1=1,000 lbs (453 kg)
BSubtract Occupant
Weight 150 lbs
(68 kg)×2=300 lbs (136 kg)
CAvailable Occupant and
Cargo Weight=700 lbs (317 kg) Example 1
254
Page 258 of 436
Towing
Towing Your Vehicle
Consult your dealer or a professional towing
service if you need to have your disabled vehicle
towed. SeeRoadside Assistance Program on
page 408.
If you want to tow your vehicle behind another
vehicle for recreational purposes (such as behind
a motorhome), see “Recreational Vehicle
Towing” following.
Recreational Vehicle Towing
Recreational vehicle towing means towing your
vehicle behind another vehicle, such as behind a
motorhome. The two most common types of
recreational vehicle towing are known as “dinghy
towing” (towing your vehicle with all four wheels
on the ground) and “dolly towing” (towing
your vehicle with two wheels on the ground and
two wheels up on a device known as a “dolly”).
With the proper preparation and equipment, many
vehicles can be towed in these ways. See
“Dinghy Towing” and “Dolly Towing,” following.
258
Page 259 of 436

Here are some important things to consider before
you do recreational vehicle towing:
•What is the towing capacity of the towing
vehicle? Be sure you read the tow vehicle
manufacturer’s recommendations.
•How far will you tow? Some vehicles have
restrictions on how far and how long they
can tow.
•Do you have the proper towing equipment?
See your dealer or trailering professional
for additional advice and equipment
recommendations.
•Is your vehicle ready to be towed? Just as
you would prepare your vehicle for a long
trip, you will want to make sure your vehicle is
prepared to be towed. SeeBefore Leaving
on a Long Trip on page 240.
Dinghy Towing
Notice:If you tow your vehicle with all four
wheels on the ground, the drivetrain
components could be damaged. The repairs
would not be covered by your warranty. Do not
tow your vehicle with all four wheels on the
ground.
Your vehicle was not designed to be towed with
all four wheels on the ground. If your vehicle must
be towed, you should use a dolly. See “Dolly
Towing” that follows for more information.
259
Page 260 of 436
Dolly Towing
Notice:Towing your vehicle from the rear
with the front wheels on the ground could
cause transaxle damage. Do not tow the
vehicle from the rear with the front wheels on
the road.
Your vehicle can be towed using a dolly. To tow
your vehicle using a dolly, follow these steps:
1. Put the front wheels on a dolly.
2. Put an automatic transaxle in PARK (P) or a
manual transaxle in NEUTRAL (N).3. Set the parking brake and remove the key.
4. For an automatic transaxle, insert the key into
the shift-lock release slot. SeeShifting Out of
Park (P) on page 120.
5. Shift to NEUTRAL (N).
6. Clamp the steering wheel in a straight-ahead
position.
7. Release the parking brake.
Towing a Trailer
Do not use your vehicle to tow a trailer. The
vehicle is not designed or intended for such a use.
Towing a trailer can adversely affect handling,
durability and fuel economy.
260
Page 278 of 436

Checking Engine Oil
It is a good idea to check the engine oil every time
you get fuel. In order to get an accurate reading,
the oil must be warm and the vehicle must be
on level ground.
The engine oil dipstick handle is a yellow loop.
SeeEngine Compartment Overview on page 276
for the location of the engine oil dipstick.
1. Turn off the engine and give the oil several
minutes to drain back into the oil pan. If you
do not do this, the oil dipstick might not
show the actual level.
2. Pull the dipstick and clean it with a paper
towel or cloth, then push it back in all the
way. Remove it again, keeping the tip down
and check the level.
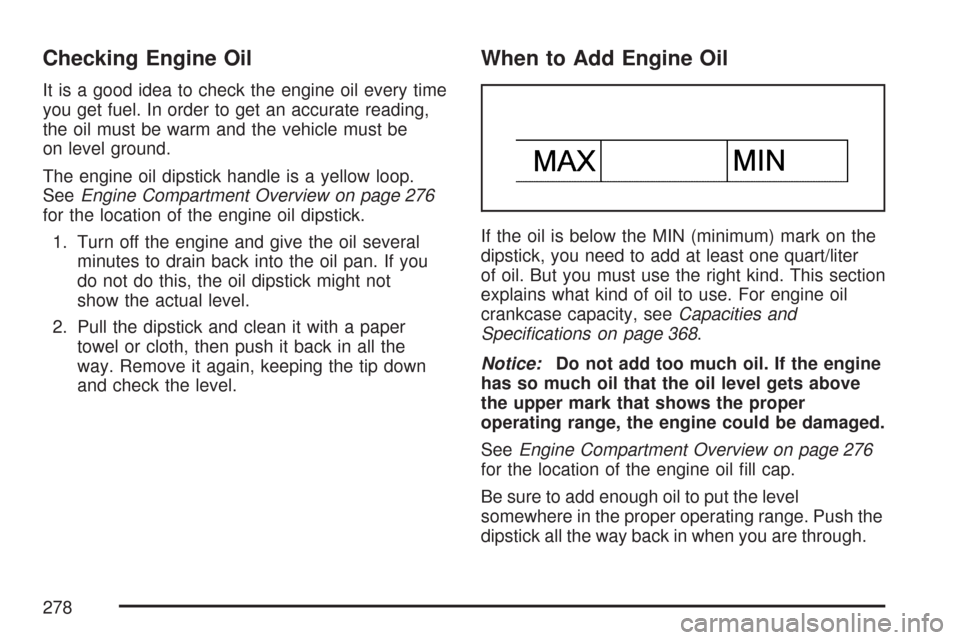
When to Add Engine Oil
If the oil is below the MIN (minimum) mark on the
dipstick, you need to add at least one quart/liter
of oil. But you must use the right kind. This section
explains what kind of oil to use. For engine oil
crankcase capacity, seeCapacities and
Specifications on page 368.
Notice:Do not add too much oil. If the engine
has so much oil that the oil level gets above
the upper mark that shows the proper
operating range, the engine could be damaged.
SeeEngine Compartment Overview on page 276
for the location of the engine oil fill cap.
Be sure to add enough oil to put the level
somewhere in the proper operating range. Push the
dipstick all the way back in when you are through.
278
Page 284 of 436

Checking the Fluid Level
Prepare your vehicle as follows:
1. Park your vehicle on a level place. Keep the
engine running.
2. With the parking brake applied, place the shift
lever in PARK (P).
3. With your foot on the brake pedal, move the
shift lever through each gear range, pausing
for about three seconds in each range.
Then, position the shift lever in PARK (P).
4. Let the engine run at idle for three to
five minutes.Then, without shutting off the engine, follow
these steps:
The automatic transaxle dipstick is located toward
the front of the engine compartment, near the
power steering fluid reservoir. SeeEngine
Compartment Overview on page 276for more
information on location.
1. Pull out the dipstick and wipe it with a clean
rag or paper towel.
2. Push the dipstick back in all the way, wait
three seconds and then pull it back out again.
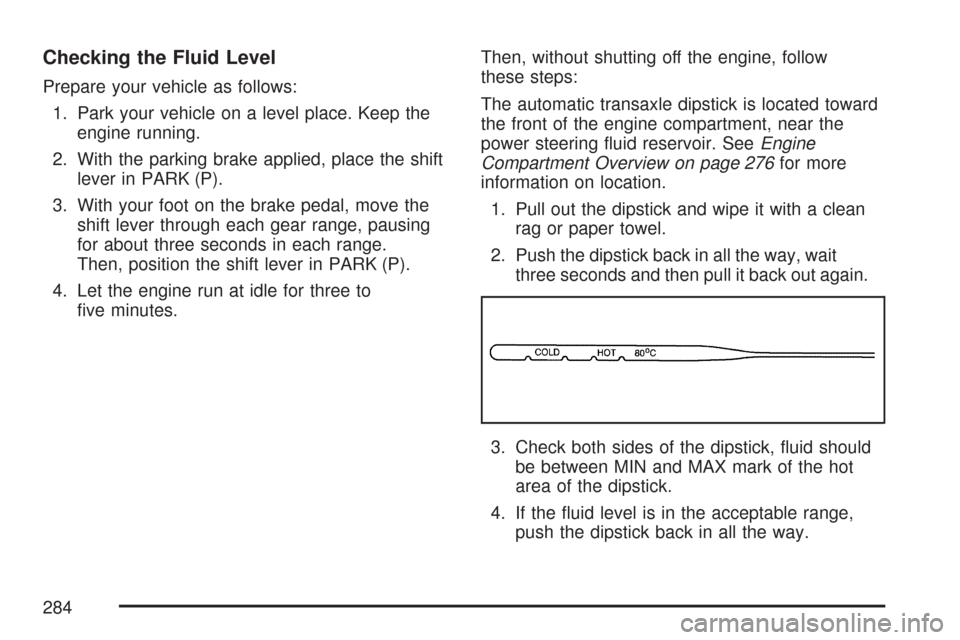
3. Check both sides of the dipstick, fluid should
be between MIN and MAX mark of the hot
area of the dipstick.
4. If the fluid level is in the acceptable range,
push the dipstick back in all the way.
284