2007 BMW MOTORRAD K 1200 S jump start
[x] Cancel search: jump startPage 5 of 166

5 Riding . . . . . . . . . . . . . . . . . . . . 67
Safety instructions . . . . . . . . . . . 68
Checklist . . . . . . . . . . . . . . . . . . . . . 70
Starting . . . . . . . . . . . . . . . . . . . . . . . 70
Running in . . . . . . . . . . . . . . . . . . . 73
Brakes . . . . . . . . . . . . . . . . . . . . . . . 74
Parking your motorcycle . . . . . 75
Refuelling . . . . . . . . . . . . . . . . . . . . 77
6 Engineering details . . . . . 79
Brake system with BMW Mo-
torrad Integral ABS . . . . . . . . . . . 80
Electronic engine manage-
ment with BMW Motorrad
ASC
OE
....................... 82
Tyre pressure monitoring
RDC
OE
....................... 84
7 Accessories . . . . . . . . . . . . . 87
General instructions . . . . . . . . . . 88
Power socket . . . . . . . . . . . . . . . . 88
Luggage . . . . . . . . . . . . . . . . . . . . . 89
CaseOA
...................... 90
Breakdown assistance
kit
OA
......................... 93 8 Maintenance . . . . . . . . . . . . 95
General instructions . . . . . . . . . . 96
Toolkit . . . . . . . . . . . . . . . . . . . . . . . . 96
Engine oil . . . . . . . . . . . . . . . . . . . . 97
Brake system, general . . . . . . . . 99
Brake pads . . . . . . . . . . . . . . . . . 100
Brake fluid . . . . . . . . . . . . . . . . . . 101
Clutch . . . . . . . . . . . . . . . . . . . . . . 103
Tyres . . . . . . . . . . . . . . . . . . . . . . . 104
Rims . . . . . . . . . . . . . . . . . . . . . . . 105
Wheels . . . . . . . . . . . . . . . . . . . . . 105
Front-wheel stand . . . . . . . . . . 113
Rear-wheel stand . . . . . . . . . . 114
Bulbs . . . . . . . . . . . . . . . . . . . . . . . 115
Jump starting . . . . . . . . . . . . . . 125
Battery . . . . . . . . . . . . . . . . . . . . . 126
9 Care . . . . . . . . . . . . . . . . . . . . . 131
Care products . . . . . . . . . . . . . . 132
Washing motorcycle . . . . . . . . 132
Cleaning easily damaged
components . . . . . . . . . . . . . . . . 132
Paint care . . . . . . . . . . . . . . . . . . 133
Protective wax coating . . . . . 134
Laying up motorcycle . . . . . . 134 Restoring motorcycle to
use......................... 134
10 Technical data . . . . . . . 135
Troubleshooting chart . . . . . . 136
Threaded fasteners . . . . . . . . 137
Engine . . . . . . . . . . . . . . . . . . . . . 138
Fuel . . . . . . . . . . . . . . . . . . . . . . . . 139
Engine oil . . . . . . . . . . . . . . . . . . 139
Clutch . . . . . . . . . . . . . . . . . . . . . . 140
Transmission . . . . . . . . . . . . . . . 140
Rear-wheel drive . . . . . . . . . . . 141
Running gear . . . . . . . . . . . . . . . 141
Brakes . . . . . . . . . . . . . . . . . . . . . 142
Wheels and tyres . . . . . . . . . . . 142
Electrics . . . . . . . . . . . . . . . . . . . . 144
Frame . . . . . . . . . . . . . . . . . . . . . . 145
Dimensions . . . . . . . . . . . . . . . . 146
Weights . . . . . . . . . . . . . . . . . . . . 146
Riding specifications . . . . . . . 147
Page 73 of 166

ASC self-diagnosis is per-
formed. ( 72)
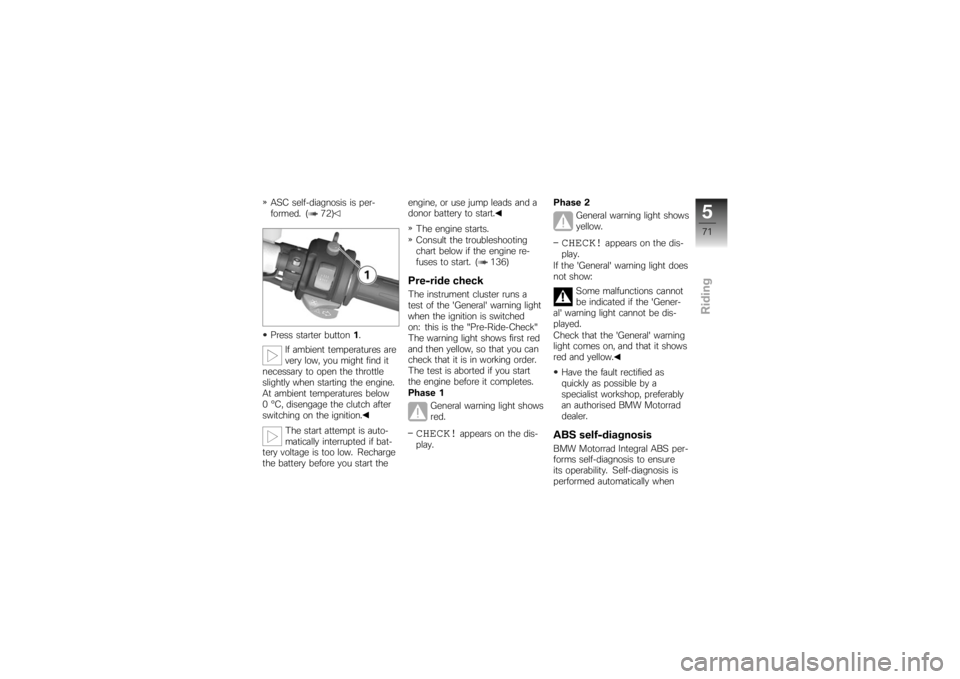
Press starter button1.
If ambient temperatures are
very low, you might find it
necessary to open the throttle
slightly when starting the engine.
At ambient temperatures below
0 °C, disengage the clutch after
switching on the ignition.
The start attempt is auto-
matically interrupted if bat-
tery voltage is too low. Recharge
the battery before you start the engine, or use jump leads and a
donor battery to start.
The engine starts.
Consult the troubleshooting
chart below if the engine re-
fuses to start. ( 136)
Pre-ride checkThe instrument cluster runs a
test of the 'General' warning light
when the ignition is switched
on: this is the "Pre-Ride-Check"
The warning light shows first red
and then yellow, so that you can
check that it is in working order.
The test is aborted if you start
the engine before it completes.
Phase 1 General warning light shows
red.CHECK!
appears on the dis-
play. Phase 2
General warning light shows
yellow.
CHECK!
appears on the dis-
play.
If the 'General' warning light does
not show:
Some malfunctions cannot
be indicated if the 'Gener-
al' warning light cannot be dis-
played.
Check that the 'General' warning
light comes on, and that it shows
red and yellow.
Have the fault rectified as
quickly as possible by a
specialist workshop, preferably
an authorised BMW Motorrad
dealer.
ABS self-diagnosisBMW Motorrad Integral ABS per-
forms self-diagnosis to ensure
its operability. Self-diagnosis is
performed automatically when
571zRiding
Page 97 of 166

Maintenance
Maintenance
General instructions.................. 96
Toolkit ............................... 96
Engine oil ............................ 97
Brake system, general . . . ............ 99
Brake pads . . . ..................... 100
Brake fluid ......................... 101
Clutch ............................. 103
Tyres .............................. 104
Rims ............................... 105
Wheels ............................ 105
Front-wheel stand ................. 113
Rear-wheel stand .................. 114
Bulbs .............................. 115
Jump starting . ..................... 125
Battery ............................. 126
895zMaintenance
Page 127 of 166

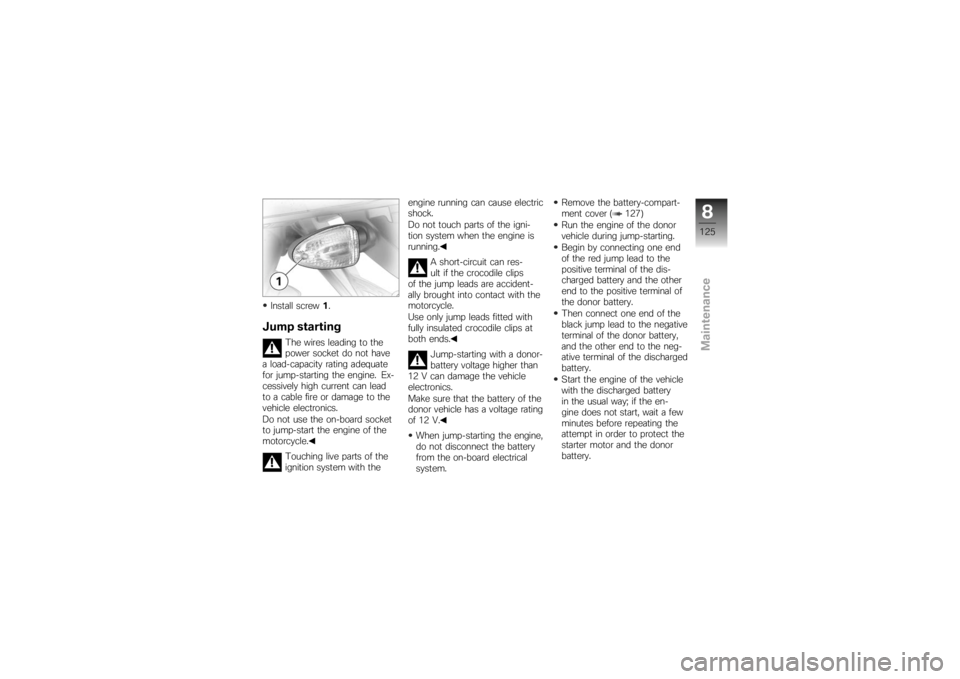
Install screw1.Jump starting
The wires leading to the
power socket do not have
a load-capacity rating adequate
for jump-starting the engine. Ex-
cessively high current can lead
to a cable fire or damage to the
vehicle electronics.
Do not use the on-board socket
to jump-start the engine of the
motorcycle.
Touching live parts of the
ignition system with the engine running can cause electric
shock.
Do not touch parts of the igni-
tion system when the engine is
running.
A short-circuit can res-
ult if the crocodile clips
of the jump leads are accident-
ally brought into contact with the
motorcycle.
Use only jump leads fitted with
fully insulated crocodile clips at
both ends.
Jump-starting with a donor-
battery voltage higher than
12 V can damage the vehicle
electronics.
Make sure that the battery of the
donor vehicle has a voltage rating
of 12 V.
When jump-starting the engine,
do not disconnect the battery
from the on-board electrical
system. Remove the battery-compart-
ment cover ( 127)
Run the engine of the donor
vehicle during jump-starting.
Begin by connecting one end
of the red jump lead to the
positive terminal of the dis-
charged battery and the other
end to the positive terminal of
the donor battery.
Then connect one end of the
black jump lead to the negative
terminal of the donor battery,
and the other end to the neg-
ative terminal of the discharged
battery.
Start the engine of the vehicle
with the discharged battery
in the usual way; if the en-
gine does not start, wait a few
minutes before repeating the
attempt in order to protect the
starter motor and the donor
battery.
8125zMaintenance
Page 162 of 166

CoolantTemperature gauge, 20
Warning, 24
Currency, 7
D
Damping Adjusting, 11, 59
E
Electrics Technical data, 144
Emergency off switch (kill switch), 16, 54
Engine Technical data, 138
Warning for engine
electronics, 24
Engine oil Checking level, 13, 97
Draining, 99
Technical data, 139
Topping up, 14, 98
Warning for engine oil level, 29
Warning for engine oil
pressure, 25 Equipment, 7
ESA, 15, 59
EWS, 43
Warning, 24
F
Frame Technical data, 145
Front-wheel stand, 113
Fuel Quantity reading, 20
Refuelling, 13, 77
Technical data, 139
Warning for fuel down to
reserve, 24
Fuses, 144
G
Gear indicator, 20
Grip heating, 16, 55
H
Handlebar fittings General view, left side, 15
General view, right side, 16 Hazard warning flashers, 15, 16
Switching off, 54
Switching on, 53
Headlight Adjustment for driving on left/
driving on right, 62
Beam throw, 63
High-beam headlight, 18
Low-beam headlight, 18
Side light, 18
Helmet holder, 14, 65
Horn, 15
I
Ignition Switching off, 42
Switching on, 42
Immobiliser, 43 Warning, 24
Instrument cluster Overview, 17
Sensor for instrument-cluster
lighting, 17
J
Jump starting, 125
12160zIndex