Page 45 of 166

Locking handlebars
If the motorcycle is on the
side stand, the surface of
the ground will determine wheth-
er it is better to turn the handle-
bars to the left or right. However,
the motorcycle is more stable on
a level surface with the handle-
bars turned to the left than with
the handlebars turned to the
right.
On level ground, always turn the
handlebars to the left to set the
steering lock.
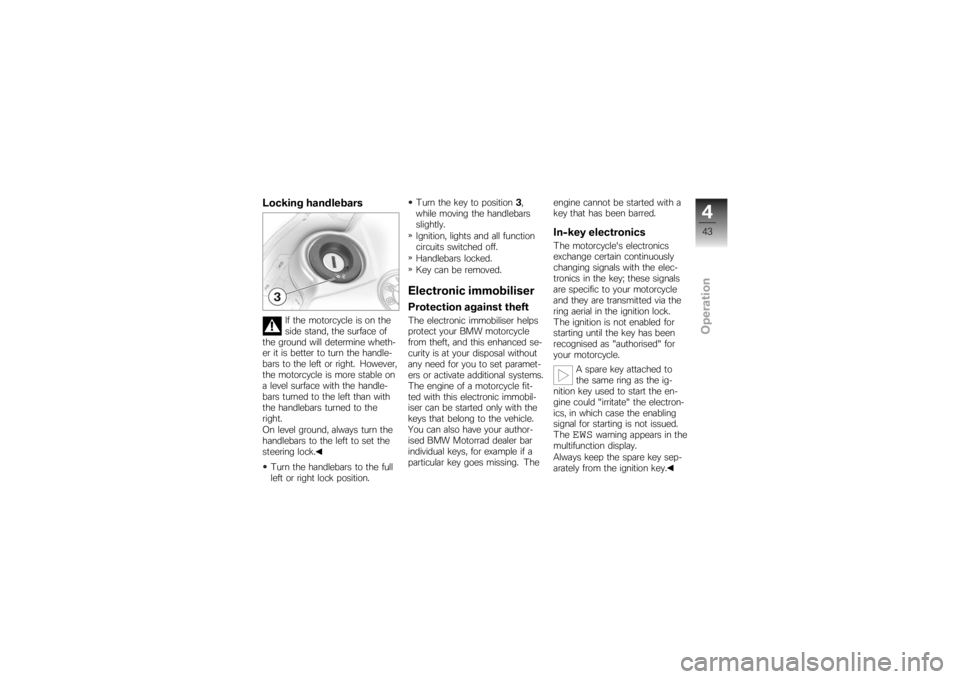
Turn the handlebars to the full
left or right lock position. Turn the key to position
3,
while moving the handlebars
slightly.
Ignition, lights and all function
circuits switched off.
Handlebars locked.
Key can be removed.
Electronic immobiliserProtection against theftThe electronic immobiliser helps
protect your BMW motorcycle
from theft, and this enhanced se-
curity is at your disposal without
any need for you to set paramet-
ers or activate additional systems.
The engine of a motorcycle fit-
ted with this electronic immobil-
iser can be started only with the
keys that belong to the vehicle.
You can also have your author-
ised BMW Motorrad dealer bar
individual keys, for example if a
particular key goes missing. The engine cannot be started with a
key that has been barred.
In-key electronicsThe motorcycle's electronics
exchange certain continuously
changing signals with the elec-
tronics in the key; these signals
are specific to your motorcycle
and they are transmitted via the
ring aerial in the ignition lock.
The ignition is not enabled for
starting until the key has been
recognised as "authorised" for
your motorcycle.
A spare key attached to
the same ring as the ig-
nition key used to start the en-
gine could "irritate" the electron-
ics, in which case the enabling
signal for starting is not issued.
The
EWS
warning appears in the
multifunction display.
Always keep the spare key sep-
arately from the ignition key.
443zOperation
Page 56 of 166

warning flashers for longer than
absolutely necessary.If you press a turn-indicat-
or button with the ignition
switched on, the turn-indicator
function is activated instead of
the hazard warning flashers, and
remains active until you release
the button. The hazard warning
flashers recommence flashing as
soon as the button is released.
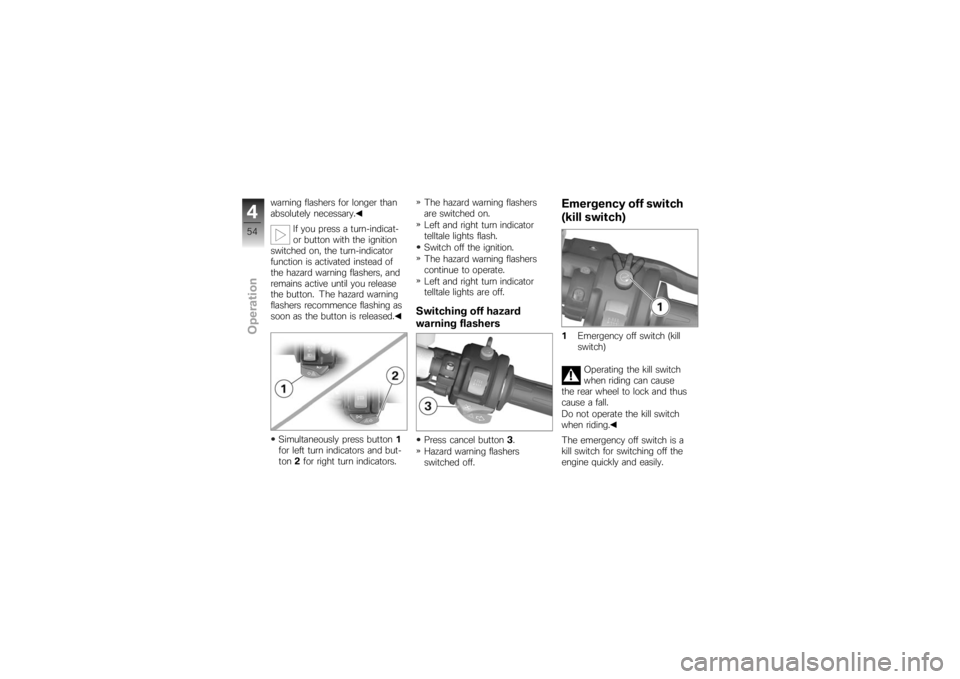
Simultaneously press button 1
for left turn indicators and but-
ton 2for right turn indicators. The hazard warning flashers
are switched on.
Left and right turn indicator
telltale lights flash.
Switch off the ignition.
The hazard warning flashers
continue to operate.
Left and right turn indicator
telltale lights are off.
Switching off hazard
warning flashersPress cancel button
3.
Hazard warning flashers
switched off.
Emergency off switch
(kill switch)1 Emergency off switch (kill
switch)
Operating the kill switch
when riding can cause
the rear wheel to lock and thus
cause a fall.
Do not operate the kill switch
when riding.
The emergency off switch is a
kill switch for switching off the
engine quickly and easily.
454zOperation
Page 117 of 166
Push the rear wheel stand from
the left into the rear axle.
Install the retaining disc from
the right; to do so, press the
unlock button.
Place your left hand on the
left grab handle of the motor-
cycle4, and your right hand
on the lever of the rear wheel
stand 5. Lift the motorcycle upright,
simultaneously pressing the
lever down until the stand sup-
ports the motorcycle in the up-
right position.
Press the lever down to the
ground.
BulbsGeneral instructionsThe failure of a bulb is signalled
in the display by the defective
lamp symbol. If the brake or rear
light fails, the symbol is accom-
panied by the 'General' warning
light, which lights up yellow. If
the rear light fails the second fil-
ament of the brake light shines
at reduced brightness to double
as a rear light. Even though you
have this substitute rear light, the
8115zMaintenance
Page 163 of 166

K
Keys, 42
L
Laying up, 134
LightsHeadlight flasher, 15, 52
High-beam headlight, 15, 52
Low-beam headlight, 52
Parking light, 52
Side light, 52
Luggage Correct loading, 89
Luggage loops, 66
M
Maintenance General instructions, 96
Mirrors Adjusting, 58
Motorcycle General view, left side, 11
General view, right side, 13
Laying up, 134
Restoring to use, 134 Multifunction display, 17
Overview, 20
O
Odometer and tripmeters Resetting, 46
Selecting readings, 45
On-board computer Ambient temperature, 48
Average consumption, 49
Average speed, 48
Oil level, 50
Range, 50
Selecting readings, 47
P
Power socket, 11
Pre-ride check, 71
R
Rear-wheel drive Technical data, 141
Rear-wheel stand, 114
Refuelling, 77 Reserve
Warning, 24
Residual range, 47
Restoring to use, 134
Rev. counter, 17
Rims Test, 105
Running gear Technical data, 141
Running in, 73
S
Seat Installation, 64
Lock, 11
Removal, 63
Service, 150 Status indicators on the
display, 20
Service Card, 150
Side stand For starting, 70
Spark plugs, 144
Speedometer, 17
12161zIndex
Page 164 of 166

Spring preloadAdjusting, 11, 58
Starter, 16
Steering lock Locking, 43
T
Technical data Battery, 144
Brakes, 142
Bulbs, 145
Clutch, 140
Electrics, 144
Engine, 138
Engine oil, 139
Frame, 145
Fuel, 139
Rear-wheel drive, 141
Running gear, 141
Spark plugs, 144
Standards, 7
Transmission, 140
Wheels and tyres, 142
Telltale lights, 17 Toolkit, 14
Service kit, 96
Standard kit, 96
Torques, 135
Transmission For starting, 70
Technical data, 140
Troubleshooting chart, 136
Turn indicators Left, 15, 53
Right, 16, 53
Switching off, 16, 53
Tyre pressure monitoring RDC Label on wheel rim, 105
Operation, 51
Status indicators, 51
Warning, 33
Tyres Checking inflation pressure, 62
Measuring tread depth, 104
Recommended tyres, 105
Running in, 73
Technical data, 142 V
Vehicle identification number, 13
W
Warning lights, 17
Warnings
Mode of presentation, 22
Warnings, overview, 23, 28, 30, 32, 35, 39
Wheels Installing front wheel, 107
Installing rear wheel, 111
Remove the front wheel, 106
Removing rear wheel, 109
Technical data, 142
12162zIndex