Page 418 of 541

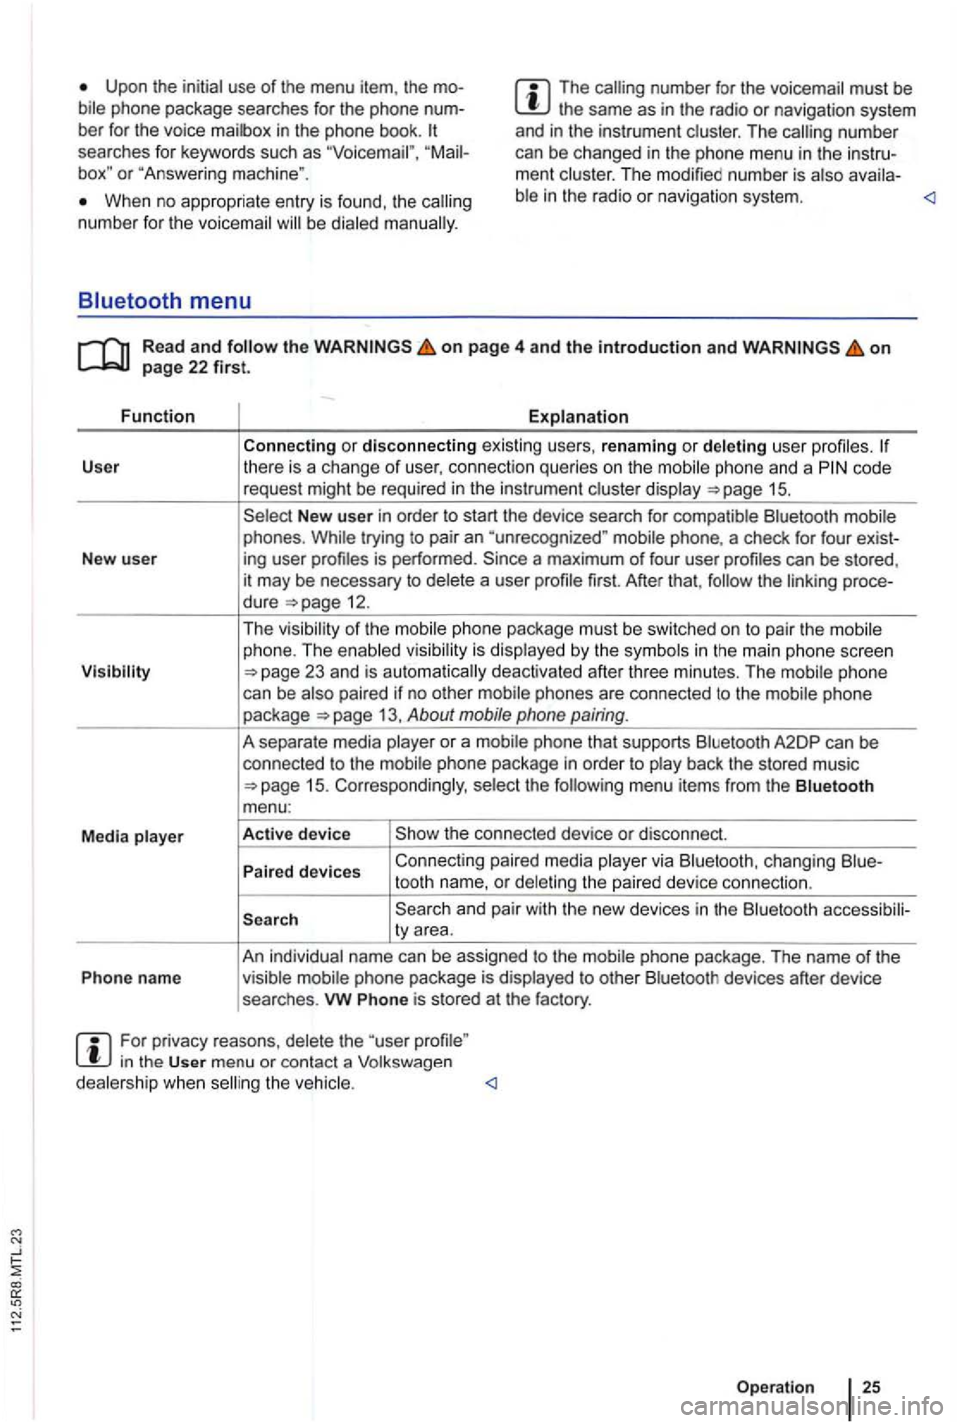
Upon the initial use of the menu item, the bile phone package searches for the phone
box" or "Answe ring mach ine ".
The number for the voicemai l must be the same as in the radio or naviga tion system
and in the instrument clust er. T he number
can be changed in the ph one menu in the instrument cluster. The modi fied number is atso availa-
When no appropriate entry is found, th e num ber for the voicemail be dialed
on page 4 and the introduction and on
code
request might be required in the instrumen t cluste r disp lay
New user in order to start the device search for compatible Bluetooth mobile
phones . While trying to pair an "unre cognized " mobile phone, a check for four exist-
New user ing user
first. After that, the linking proce-
dure
1 5 . Corresponding ly , selec t the
and pair with the new devices in the Bluetooth accessibili-
ty area.
An individual name can be assigned to the mobi le phone package . The name
of the
Phon e name visible mobile phone package is displ ayed to other Bluetoo th devices after device
searches .
vw Phone is stored at the factory.
For privacy reasons , delete the "user in the User menu or contact a Volkswagen
dealersh ip whe n
Page 430 of 541

Introduction
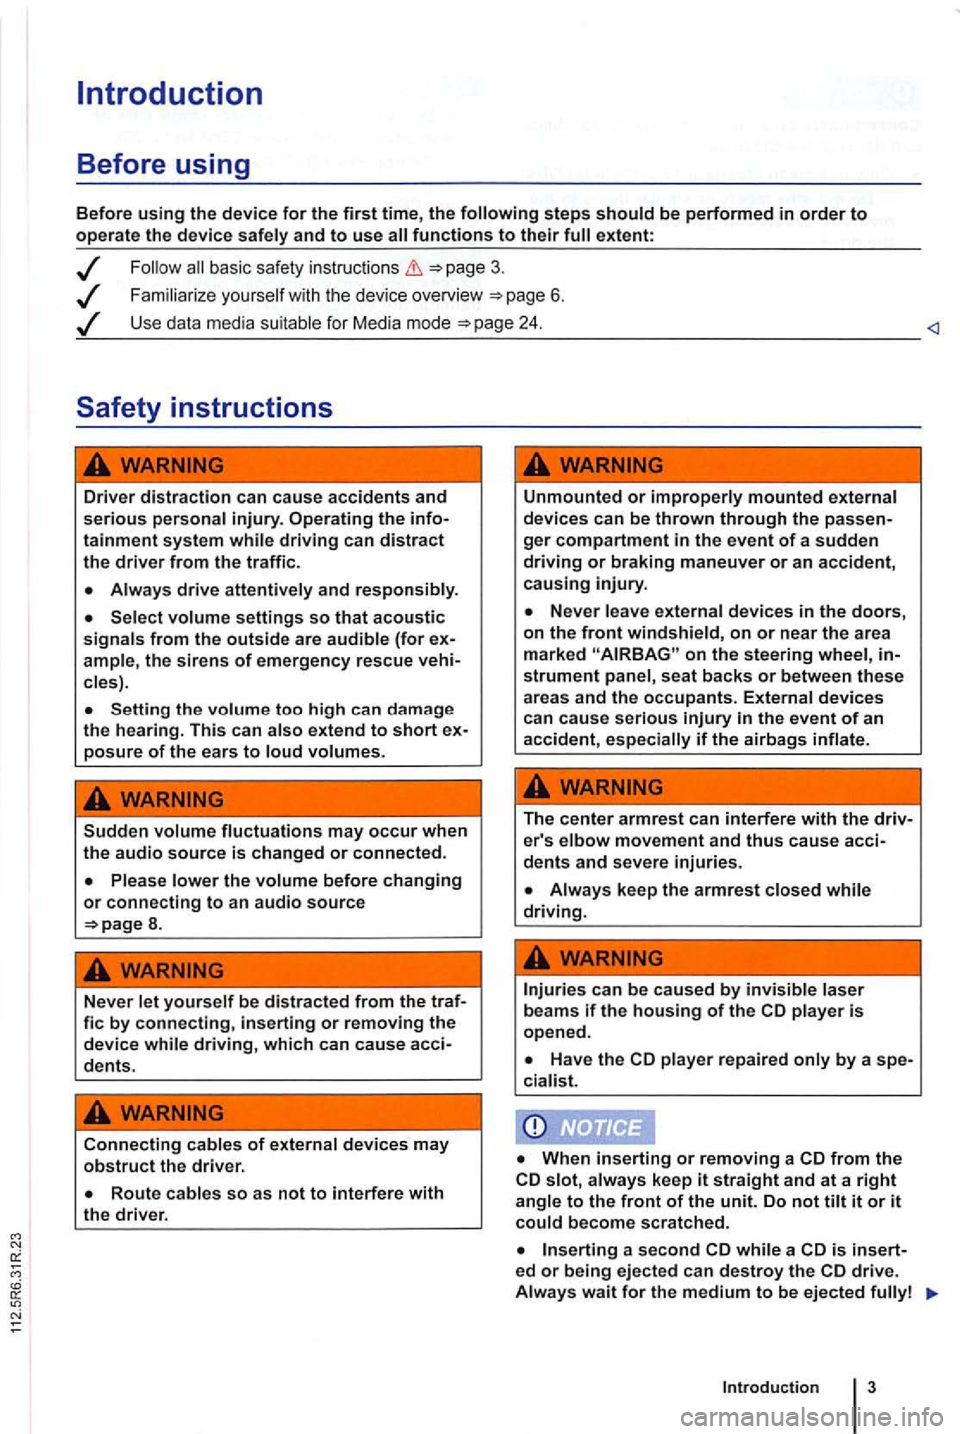
Before using
Before using the device for the first time, the
basic safety instructions
Familiarize you rself w it h the device overview 6 .
Use data media suitable for Media mode
Driver distraction can cause accidents and serious personal injury. Operating the infotainment system while driving can distract the driver from the traffi c.
Always drive attentively and responsibly.
Select volume settings so that acoustic signals from the outside are audible (for ample, the siren s of emergency rescue cles) .
Setting the volume too high can da mage
the hearing. This can also extend to short posure of the ears to loud volumes.
Sudden volume fluctuations may occur when the audio source is changed or connected.
8.
Never let yourself be distracted from the traf-fie by connecting, inserting or removing the device while driving, which can cause acci-dents.
Connecting cables of external devices may obstruct the driver.
Unmounted or improperly mounted external
devices can be thrown through the ger compartment in the event of a sudden driving or braking maneuver or an accident, causing injury.
on the steering wheel, strument panel , seat backs or between these areas and the occupants. External devices can cause serious
The center armrest can interfere with the driv-er's elbow movement and thus cause acci-dents and severe injuries.
player repaired only by a spe-
cia list.
from the slot, always keep it straight and at a right angle to the front of the unit. Do not tilt it or it could become scratched.
a second while a is insert-ed or being ejected can destroy the
Introduction
Page 438 of 541
Changing the frequency band
FM1
89.9FM
FM2 AM1 AM2
------------------
Fig. 3 main menu : frequenc ies and preset levels are displayed .
on page 3 and the introduction on page
The current frequency is disp layed above the tion .
Ava ilable frequencies and preset levels appear in
the bottom line
of the screen for approximately 5
seconds after sw itching to Radio mode 3.
set leve l a re disp layed 14.
Radio mode,
Press one of the function keys displayed 3 to switch to the corresp onding frequency .
Page 446 of 541
DAB Radio mode
this section find information on the
DAB . . . . . . . . .
Activating Update . . . . . . . . 21
devices have an
radio programs.
DAB is (174 MHz to
"chanand have corresponding abbreviations (such as 12 A).
fun ctions
are grouped together on one
Additional information (such as news , sports ,
weather , warnings, etc.) can be sent to the radio
through these
is in
areas where DAB is
are
More information:
Device overview 6
Radio mode 1
Traffic program function 16
and function settings
Radio stations are transmit ted in radio texts and DAB annou nce-
ments.
TP:DAB 2nd:--DAB1 ENSEMBLE-A
------ ------------
Fig . 11 DAB radio main menu .
R ea d a
nd on
p ag e 3 and the introduction on p ag e 19.
Activating DAB R adio mode
Press(RADIOJ
Press (DAB 11.
The method for storing and accessing preset sta
tions is the same as in Radio mode
Audio mode 19
Page 450 of 541

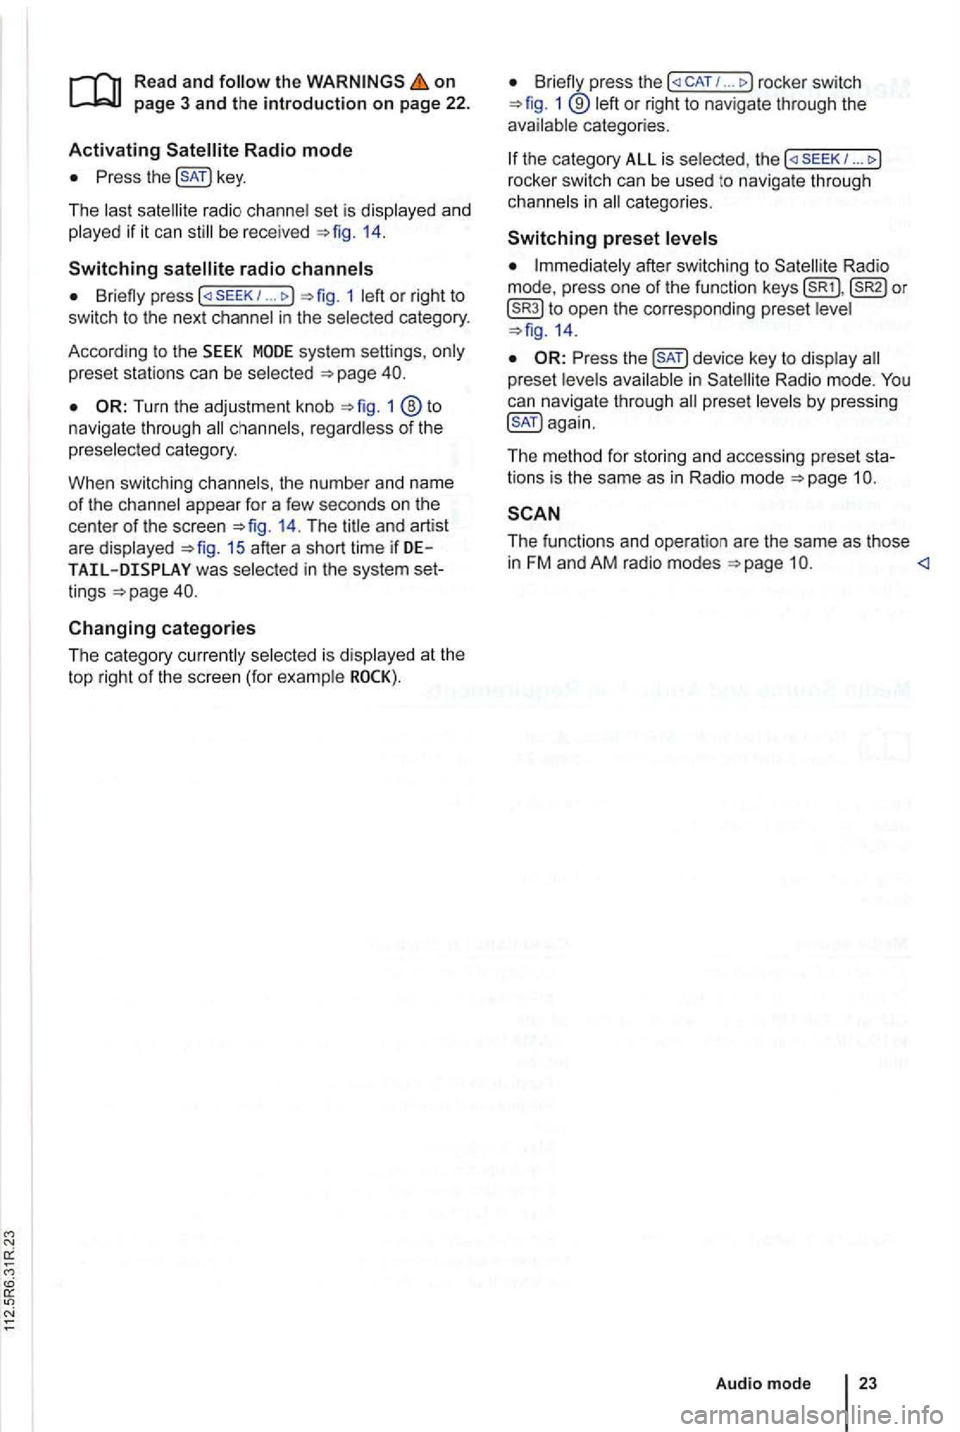
on page 3 and the introduction on pa ge 22.
Activating
the key.
The las t sat ellite radio channe l set is displayed and
played if it can st ill be rece ived 1 4 .
Switchin g
press 1 left or right to
switch to the next channel in the selec ted category.
According
to the SEEK sys tem settings, only
preset stations can be selected
Turn the adjustment knob 1 ®to navigate through all channels, rega rdless of the
preselec te d category.
When switchi ng channels , the numbe r
and name
of the channel appear for a few seconds on the
center of the screen 14. The title and artist
are displayed 15 after a short time if DE was selected in the system set
tings
Changing categories
T he category currently selected is displayed at the
t o p right
of the screen (for examp le
Bri efly press the ... rocker switch 1 ®left or right to naviga te thr ough the
available categories.
the category ALL is se lected , the
after switching to Satell ite Rad io
mode , press one of the fun ction to open the corresponding preset leve l
the key to disp lay preset leve ls av ailable in Satellite Radio mode.
The functi ons and operation are the same as those in FM and AM radio modes
Audio mode
Page 456 of 541

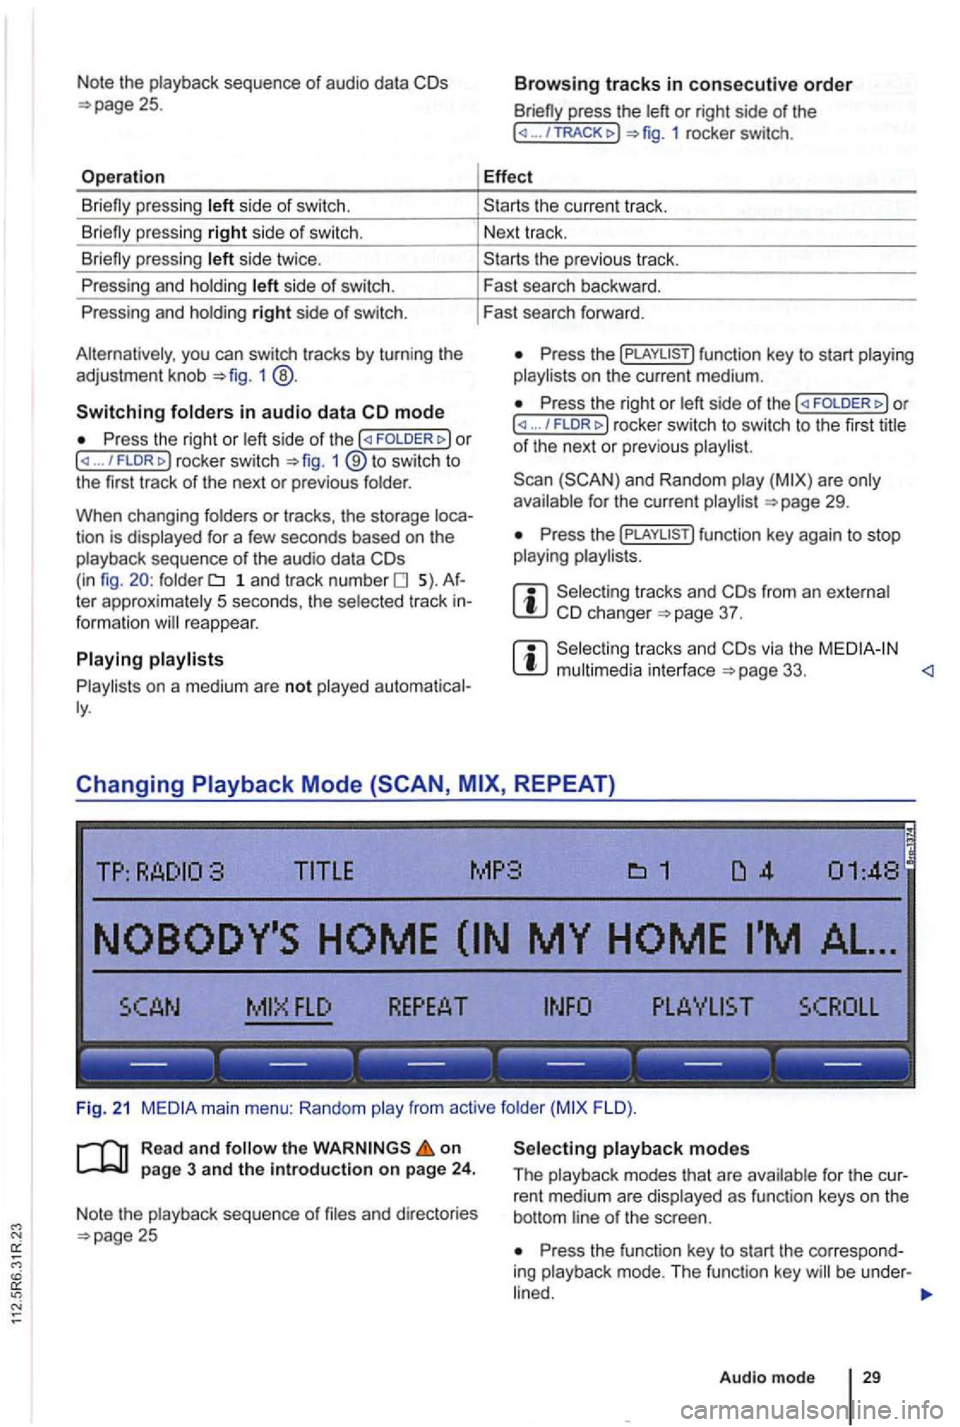
Note the playback sequence of audio data
side of swi tch.
si de twice .
P ressing and holdi ng
side of switch.
Pressing and holdi ng
right side of switch.
you can switch tracks by turn ing the
adjustment knob 1 @ .
Switching in audio data mode
P ress the right or / FLDR fig . 1 ® to swi tc h to
the first track of the next or previous folder.
When changing folders
or tracks , the storage tion is displayed for a few seconds based on the
playback sequence of th e a udio data folder 1 a n d tr ac k number 5). te r approximately 5 seco nds, the selected track reappear.
on a medium are not played
press the or right side of the ... 1 rocker switch.
Effect
th e previous tr ac k.
F ast search backward .
Fast search forward .
Press the on t he current medium.
Press the right or ... / rocker switch to switch to th e firs t title of th e next or pre vio us
for the current page 29.
Press th e
from an e xternal 37 .
via the page 33. <1
Changing REPEAT)
TITLE MP3
FLO ).
R ea d
and on page 3 and the introduction on page 24.
Note the playback sequence of and directories 25 Press the function key to start the correspo nd
ing playback mode. T he functi on key be under -
Audio mode 29
Page 462 of 541

Connection and operation
TP:
SCROLL
--- --- --- --- --- ---
Fig. 23 mode: is displayed on the top of the scree n.
... \THE NAME
------------------
Fi g. 24 through the folde r structure of an source .
on
9.
Connecting or disconnecting an external data medium
Connect an appropriate adapter to the 33.
Connect the external dat a med ium to the M Emultimedia interface via the adapte r.
app licab le, switch on the externa l data medi
um and select the appropriate data mode.
Despite in dicat ions to the contrary , the external da
t a medium can be discon nected from the
multimedia in terface at any time withou t da ta
l oss .
the selected media source currently playing is
disconnected from the
mode. A dif
f eren t audio source must be selec ted
Operation through the Radio
An external medium connected to the multim edia interface can be operated via the radio
sys tem .
The r
adio system does not auto matic ally switc h to p la yback of the externa l medium if it is connected
to the
the Media selection menu and select the [MEDIA-IN ) fu nctio n page 27.
23.
the func tion key is pressed , functio n
keys for browsi ng the folders are displayed 24 .
You ca n browse folders or playlists using the
function ( top is
d isplaye d on the top 24 .
You can switch between folders or play lis ts on
one by pressing FOLDER ... / FLDRt>)
Audio mode
Page 465 of 541
LED status
is being
provided.
is ready.
LED is switched off.
LED is
LED flashes
--- --- ------------
Fig. 26
on
into th e changer 37.
Starting
the Media selection menu and function key
in the changer is the of the is
continued with the track .
Changing a
Occupied and numbers are changer (in
fig . 26 :
are indicated by
is 2).
Press the funct ion key of a different , to start that CD.
RCD
is changed, the first track of the next
or appea r above the correspond ing function key
changer
Press the !MENU) key to changer modes
Press one of the function keys to start the cor
responding mode . T h e funct ion key be underl ined .
Press the function key again to use the ed ... MAG)) .
other functiona lity corresponds to th e funct ion
Press the function key again to end the