Page 225 of 455
225
27p306
1. Touch the “ON” switch.
27p307
2. Input the security code and touch“OK”.
�Initializing the security code
You can initialize the settings.
27p308
1. Touch the “Default” switch.
Page 226 of 455
226
27p309
2. Input the security code and touch“OK”.
27p310
3. Touch the “Yes” switch.
(f) Setting a Bluetooth phone
�Selecting a Bluetooth phone
In case you register more than one
Bluetooth phone, you need to choose a
favorite one.
27p311
1. Touch the “Settings” switch to dis- play “Settings” screen.
Page 228 of 455
228
27p315
When the result message is displayed,
you can use the Bluetooth phone.When another Bluetooth phone is trying to
connect, this screen is displayed.
27p316
Touch the “Yes” or “No” switch.
�Displaying Bluetooth information
You can see or set the information of
the Bluetooth phone on the system.
Device Name the name of the Blue- . .
tooth phone which is dis-
played on the screen.
You can change it into a
desired name.
Bluetooth Device Address the address peculiar
. .
to the system. You
cannot change it.
27p317
1. Select the desired phone and touch the “Information” switch.
Page 230 of 455
230
27p320
2. Use the software keyboard to inputthe device name.
�Changing the Bluetooth settings
You can change the display and settings
of Bluetooth information on the system.
The information displays the following
items.
Device Name the name in the . .
Bluetooth network. You
can change it.
Passkey the password when you . . . . . . .
register your cellular
phone in the system. You
can change it into the
figure of 4 −8 digits.
Bl uet oot h D ev i c e A ddr es s . . . . . . . . . . . . . . . the address peculiar to
the system. You can not
change it. If you have
registered two Bluetooth
phones with the same
Device Name or Passkey
and you cannot
distinguish one from the
other, refer to it. When you change the device name or
Passkey, do the following.
27p321
1. Touch the “Bluetooth” switch.
Page 264 of 455

264
(h) If the satellite radio tuner malfunctions
When problems occur with the XM tuner, a message will appear on the display. Referring to the table below to identify the problem,
take the suggested corrective action.
ANTENNAThe XM antenna is not connected. Check whether the XM antenna cable is att\
ached securely.
A short− circuit occurs in the antenna or the surrounding antenna cable. See a T\
oyota certified dealer.
UPDATING
You have not subscribed to the XM satellite radio. The radio is being up\
dated with the latest encryption
code. Contact the XM satellite radio for subscription information. Whe\
n a contact is canceled, you can
choose the “CH000” and all free −to− air channels.
The premium channel you selected is not authorized. Wait for about 2 seconds until the radio returns to
the previous channel or “CH001”. If it does not change automatica\
lly, select another channel. If you want
to listen to the premium channel, contact the XM satellite radio.
NO SIGNALThe XM signal is too weak at the current location. Wait until your vehicle reaches a location with a stron-
ger signal.
LOADINGThe unit is acquiring audio or program information. Wait until the unit has received the information.
OFF AIRThe channel you selected is not broadcasting any programming. Select an\
other channel.
−−−−−There is no song/program title or artist name/feature associated with th\
e channel at that time. No action
needed.
−−−The channel you selected is no longer available. Wait for about 2 seconds until the radio returns to the
previous channel or “CH001”. If it does not change automatically, select another channel.
The XM Listener Care Center is also available on the phone, please call (800) 852 −9696 during the following hours:
Monday – Saturday: 7 a.m. – 1 a.m. Sunday: 12 p.m – 12 a.m.
Page 305 of 455

305
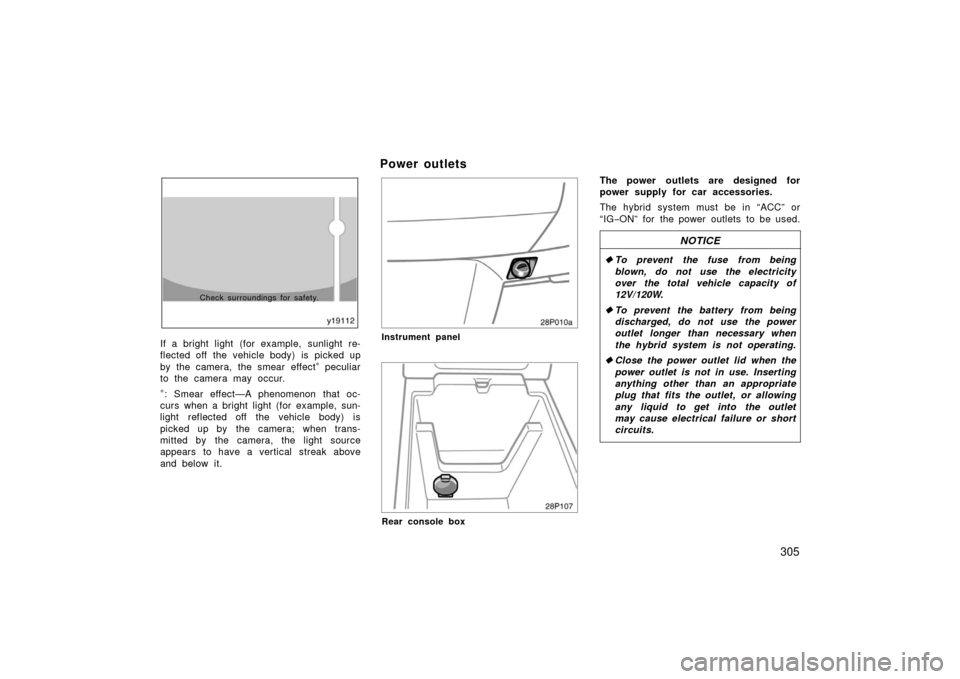
Check surroundings for safety.
If a bright light (for example, sunlight re-
flected off the vehicle body) is picked up
by the camera, the smear effect
∗ peculiar
to the camera may occur.
∗: Smear effect—A phenomenon that oc-
curs when a bright light (for example, sun-
light reflected off the vehicle body) is
picked up by the camera; when trans-
mitted by the camera, the light source
appears to have a vertical streak above
and below it.
Power outlets
28p010a
Instrument panel
28p107
Rear console box
The power outlets are designed for
power supply for car accessories.
The hybrid system must be in “ACC” or
“IG −ON” for the power outlets to be used.
NOTICE
� To prevent the fuse from being
blown, do not use the electricity
over the total vehicle capacity of
12V/120W.
� To prevent the battery from being
discharged, do not use the power
outlet longer than necessary when
the hybrid system is not operating.
� Close the power outlet lid when the
power outlet is not in use. Inserting
anything other than an appropriate
plug that fits the outlet, or allowing
any liquid to get into the outlet
may cause electrical failure or short
circuits.
Page 307 of 455
307
28p002a
Upper glove box
28p105
Lower glove box
To open the glove boxes, push each
button.
The inside of the upper glove box is sepa-
rated by the partition. When storing a lon-
ger object, remove the partition.
With the instrument panel lights on, the
lower glove box light will come on when
the lower glove box is open.
CAUTION
To reduce the chance of injury in
case of an accident or a sudden stop,
always keep the glove box doors
closed while driving.
28p128
Indicator light
Buttons
The garage door opener ( HomeLink
Universal Transceiver) is manufactured
under license from HomeLink and can
be programmed to operate garage
doors, gates, entry doors, door locks,
home lighting systems, and security
systems, etc.
Glove boxes Garage door opener
Page 310 of 455

310
6. Test the operation of the HomeLink by
pressing the newly programmed button.
Check to see if the gate/device oper-
ates correctly.
7. Repeat steps 1 through 6 for each re- maining HomeLink
button to program
another device.
Programming other devices
To program other devices such as home
security systems, home door locks or
lighting, contact your authorized Toyota
dealer for assistance.
Reprogramming a button
Individual HomeLink
buttons cannot be
erased, however, to reprogram a single
button, follow the procedure “Programming
the HomeLink
”.
(b) Operating the HomeLink
To operate the HomeLink , press the ap-
propriate HomeLink button to activate the
programmed device. The HomeLink indi-
cator light should come on. The
HomeLink
continues to send the signal
for up to 20 seconds as long as the but-
ton is pressed. (c) Erasing the entire HomeLink
memory (all three programs)
28p133
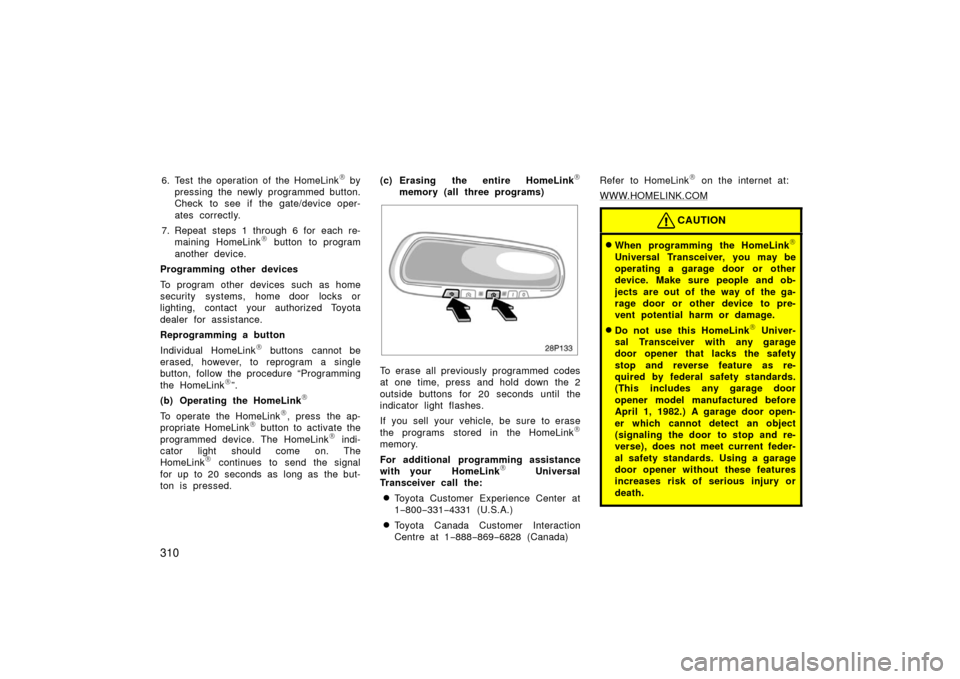
To erase all previously programmed codes
at one time, press and hold down the 2
outside buttons for 20 seconds until the
indicator light flashes.
If you sell your vehicle, be sure to erase
the programs stored in the HomeLink
memory.
For additional programming assistance
with your HomeLink
Universal
Transceiver call the:
�Toyota Customer Experience Center at
1 −800− 331−4331 (U.S.A.)
�Toyota Canada Customer Interaction
Centre at 1 −888− 869−6828 (Canada) Refer to HomeLink
on the internet at:
WWW.HOMELINK.COM
CAUTION
�When programming the HomeLink
Universal Transceiver, you may be
operating a garage door or other
device. Make sure people and ob-
jects are out of the way of the ga-
rage door or other device to pre-
vent potential harm or damage.
�Do not use this HomeLink Univer-
sal Transceiver with any garage
door opener that lacks the safety
stop and reverse feature as re-
quired by federal safety standards.
(This includes any garage door
opener model manufactured before
April 1, 1982.) A garage door open-
er which cannot detect an object
(signaling the door to stop and re-
verse), does not meet current feder-
al safety standards. Using a garage
door opener without these features
increases risk of serious injury or
death.