2006 SUBARU IMPREZA engine
[x] Cancel search: enginePage 130 of 365
Instruments and controls 3-17
CONTINUED
is at the proper level but the light remains
on, contact your nearest SUBARU dealer
immediately.
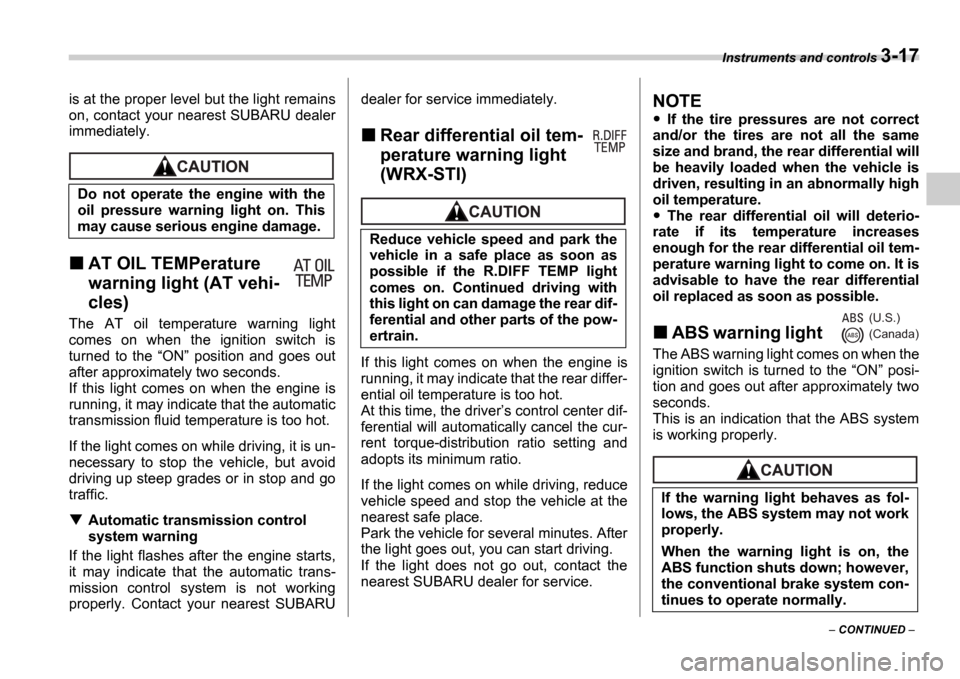
AT OIL TEMPerature
warning light (AT vehi-
cles)
The AT oil temperature warning light
comes on when the ignition switch is
turned to the
ON position and goes out
after approximately two seconds.
If this light comes on when the engine is
running, it may indicate that the automatic
transmission fluid temperature is too hot.
If the light comes on while driving, it is un-
necessary to stop the vehicle, but avoid
driving up steep grades or in stop and go
traffic.
Automatic transmission control
system warning
If the light flashes after the engine starts,
it may indicate that the automatic trans-
mission control system is not working
properly. Contact your nearest SUBARU dealer for service immediately.
Rear differential oil tem-
perature warning light
(WRX-STI)
If this light comes on when the engine is
running, it may indicate that the rear differ-
ential oil temperature is too hot.
At this time, the driver
s control center dif-
ferential will automatically cancel the cur-
rent torque-distribution ratio setting and
adopts its minimum ratio.
If the light comes on while driving, reduce
vehicle speed and stop the vehicle at the
nearest safe place.
Park the vehicle for several minutes. After
the light goes out, you can start driving.
If the light does not go out, contact the
nearest SUBARU dealer for service.
NOTE
If the tire pressures are not correct
and/or the tires are not all the same
size and brand, the rear differential will
be heavily loaded when the vehicle is
driven, resulting in an abnormally high
oil temperature.
The rear differential oil will deterio-
rate if its temperature increases
enough for the rear differential oil tem-
perature warning light to come on. It is
advisable to have the rear differential
oil replaced as soon as possible.
ABS warning light
The ABS warning light comes on when the
ignition switch is turned to the ON posi-
tion and goes out after approximately two
seconds.
This is an indication that the ABS system
is working properly.
Do not operate the engine with the
oil pressure warning light on. This
may cause serious engine damage.
Reduce vehicle speed and park the
vehicle in a safe place as soon as
possible if the R.DIFF TEMP light
comes on. Continued driving with
this light on can damage the rear dif-
ferential and other parts of the pow-
ertrain.
If the warning light behaves as fol-
lows, the ABS system may not work
properly.
When the warning light is on, the
ABS function shuts down; however,
the conventional brake system con-
tinues to operate normally.
(U.S.)
(Canada)
Page 131 of 365
3-18 Instruments and controls
With a vehicle equipped with an EBD sys-
tem, the ABS warning light comes on to-
gether with the brake system warning light
if the EBD system becomes faulty. For fur-
ther details of the EBD system fault warn-
ing, refer to Brake system warning light .
NOTE
If the warning light behavior is as de-
scribed in the following, the ABS sys-
tem may be considered normal.
The warning light comes on right af-
ter the engine is started but goes out
immediately, remaining off.
The warning light remains on after the engine has been started, but it goes
out when the vehicle speed reaches
approximately 8 mph (12 km/h).
The warning light comes on during
driving, but it goes out immediately
and remains off.
When driving with an insufficient battery
voltage such as when the engine is jump
started, the ABS warning light may come
on. This is due to the low battery voltage
and does not indicate a malfunction.
When the battery becomes fully charged,
the light will go out.
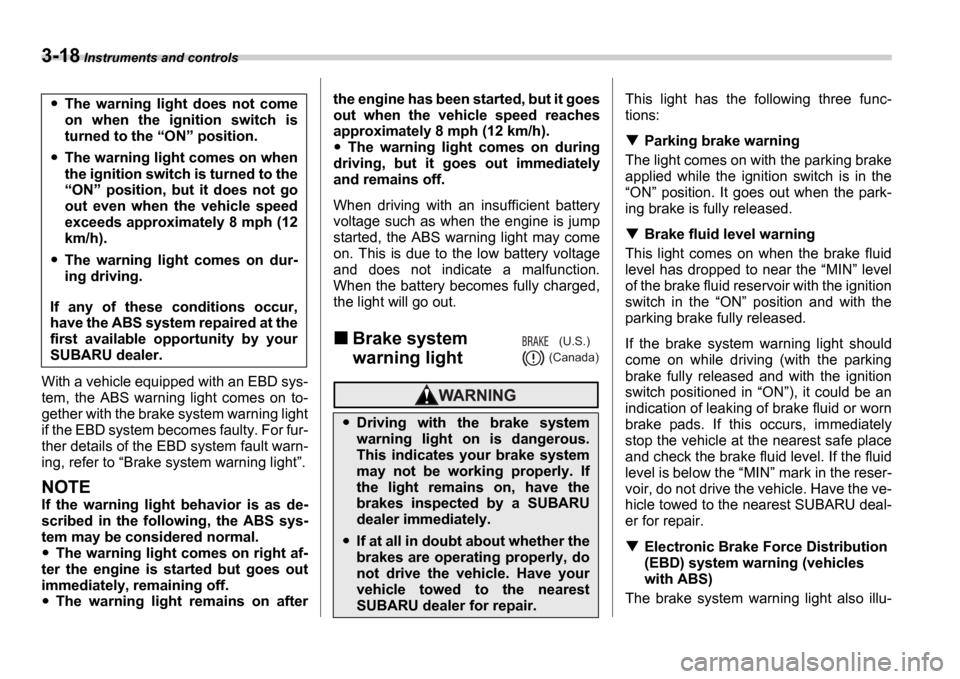
Brake system
warning light
This light has the following three func-
tions:
Parking brake warning
The light comes on with the parking brake
applied while the ignition switch is in the ON position. It goes out when the park-
ing brake is fully released.
Brake fluid level warning
This light comes on when the brake fluid
level has dropped to near the MIN level
of the brake fluid reservoir with the ignition
switch in the ON position and with the
parking brake fully released.
If the brake system warning light should
come on while driving (with the parking
brake fully released and with the ignition
switch positioned in ON ), it could be an
indication of leaking of brake fluid or worn
brake pads. If this occurs, immediately
stop the vehicle at the nearest safe place
and check the brake fluid level. If the fluid
level is below the MIN mark in the reser-
voir, do not drive the vehicle. Have the ve-
hicle towed to the nearest SUBARU deal-
er for repair.
Electronic Brake Force Distribution
(EBD) system warning (vehicles
with ABS)
The brake system warning light also illu-
The warning light does not come
on when the ignition switch is
turned to the ON position.
The warning light comes on when
the ignition switch is turned to the ON position, but it does not go
out even when the vehicle speed
exceeds approximately 8 mph (12
km/h).
The warning light comes on dur-
ing driving.
If any of these conditions occur,
have the ABS system repaired at the
first available opportunity by your
SUBARU dealer.
Driving with the brake system
warning light on is dangerous.
This indicates your brake system
may not be working properly. If
the light remains on, have the
brakes inspected by a SUBARU
dealer immediately.
If at all in doubt about whether the
brakes are operating properly, do
not drive the vehicle. Have your
vehicle towed to the nearest
SUBARU dealer for repair.
(U.S.)
(Canada)
Page 132 of 365
Instruments and controls 3-19
CONTINUED
minates if a malfunction occurs in the EBD
system. In that event, it comes on together
with the ABS warning light.
The EBD system may be malfunctioning if
the brake system warning light and ABS
warning light illuminate simultaneously
during driving.
Even if the EBD system fails, the conven-
tional braking system will still function.
However, the rear wheels will be more
prone to locking when the brakes are ap-
plied harder than usual and the vehicle
s
motion may therefore become somewhat
harder to control.
If the brake system warning light and ABS
warning light illuminate simultaneously,
take the following steps:
1. Stop the vehicle in the nearest safe, flat
place.
2. Shut down the engine, then restart it.
3. Release the parking brake. If both
warning lights go out, the EBD system
may be faulty. Drive carefully to the near-
est SUBARU dealer and have the system
inspected.
4. If both warning lights come on again
and stay illuminated after the engine has
been restarted, shut down the engine
again, apply the parking brake, and check
the brake fluid level.
5. If the brake fluid level is not below the MIN mark, the EBD system may be faulty. Drive carefully to the nearest
SUBARU dealer and have the system in-
spected.
6. If the brake fluid level is below the
MIN mark, DO NOT drive the vehicle. In-
stead, have the vehicle towed to the near-
est SUBARU dealer for repair.
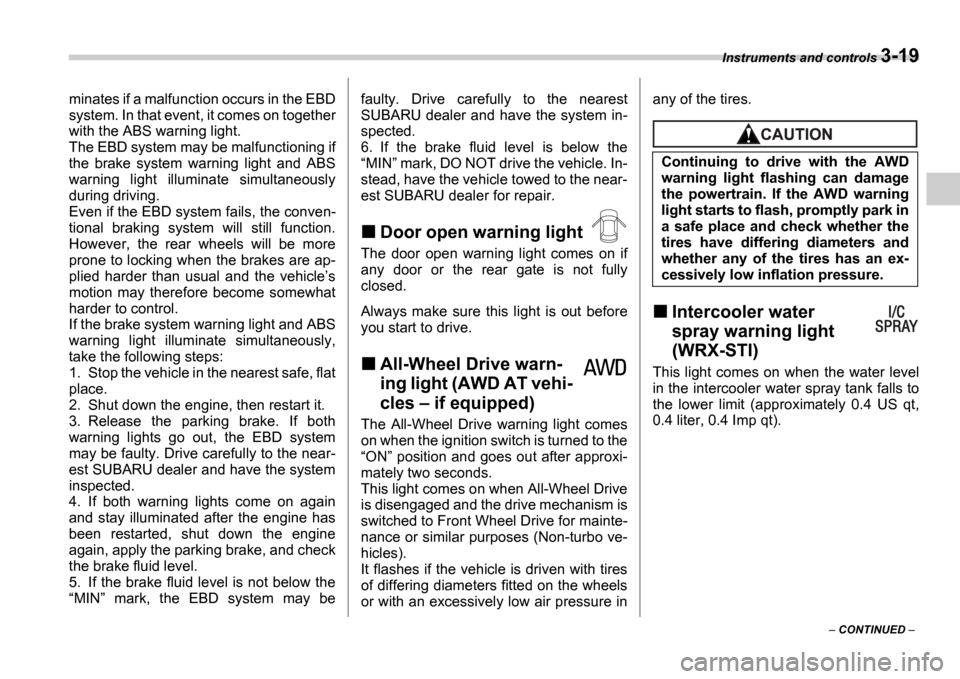
Door open warning light
The door open warning light comes on if
any door or the rear gate is not fully
closed.
Always make sure this light is out before
you start to drive.
All-Wheel Drive warn-
ing light (AWD AT vehi-
cles if equipped)
The All-Wheel Drive warning light comes
on when the ignition switch is turned to the ON position and goes out after approxi-
mately two seconds.
This light comes on when All-Wheel Drive
is disengaged and the drive mechanism is
switched to Front Wheel Drive for mainte-
nance or similar purposes (Non-turbo ve-
hicles).
It flashes if the vehicle is driven with tires
of differing diameters fitted on the wheels
or with an excessively low air pressure in any of the tires.
Intercooler water
spray warning light
(WRX-STI)
This light comes on when the water level
in the intercooler water spray tank falls to
the lower limit (approximately 0.4 US qt,
0.4 liter, 0.4 Imp qt).
Continuing to drive with the AWD
warning light flashing can damage
the powertrain. If the AWD warning
light starts to flash, promptly park in
a safe place and check whether the
tires have differing diameters and
whether any of the tires has an ex-
cessively low inflation pressure.
Page 134 of 365
Instruments and controls 3-21
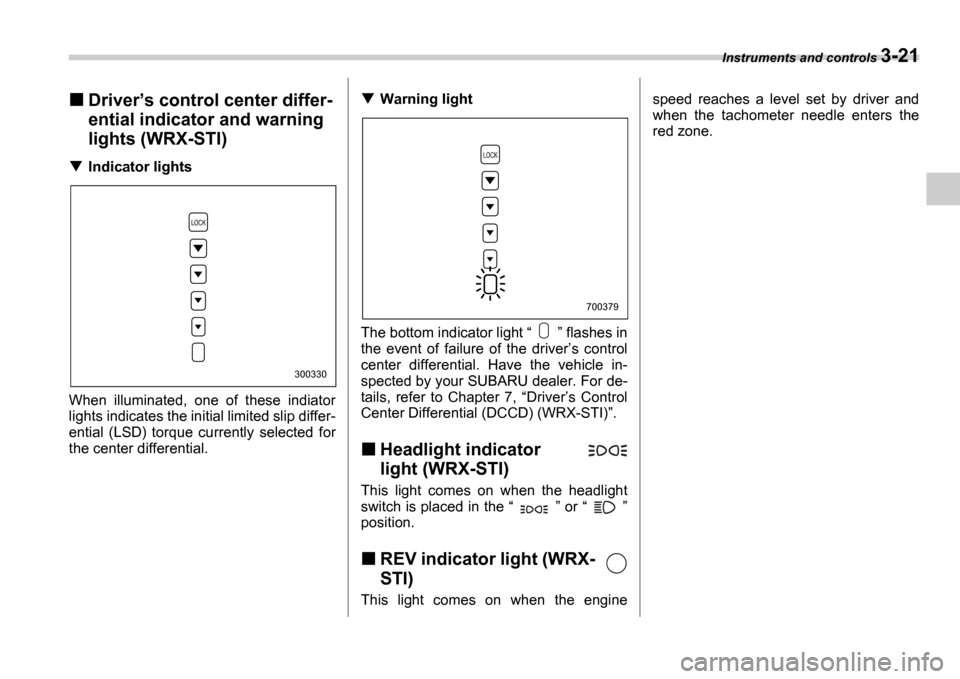
Drivers control center differ-
ential indicator and warning
lights (WRX-STI)
Indicator lights
When illuminated, one of these indiator
lights indicates the initial limited slip differ-
ential (LSD) torque currently selected for
the center differential.
Warning light
The bottom indicator light flashes in
the event of failure of the driver s control
center differential. Have the vehicle in-
spected by your SUBARU dealer. For de-
tails, refer to Chapter 7, Driver s Control
Center Differential (DCCD) (WRX-STI) .
Headlight indicator
light (WRX-STI)
This light comes on when the headlight
switch is placed in the or
position.
REV indicator light (WRX-
STI)
This light comes on when the engine speed reaches a level set by driver and
when the tachometer needle enters the
red zone.
300330
700379
Page 136 of 365
Instruments and controls 3-23
CONTINUED
High/low beam change (dim-
mer)
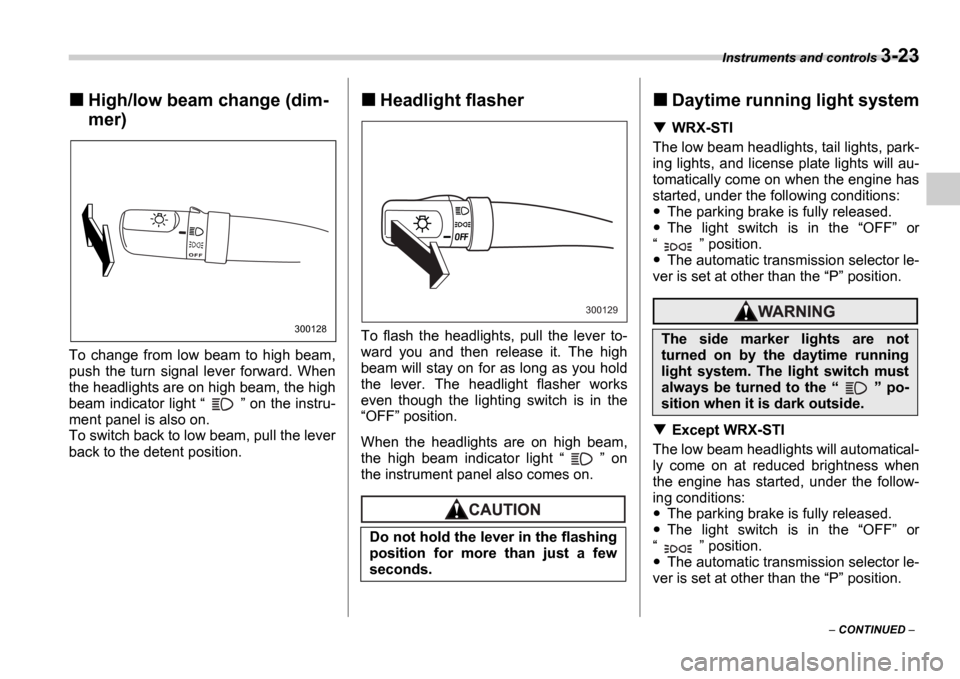
To change from low beam to high beam,
push the turn signal lever forward. When
the headlights are on high beam, the high
beam indicator light on the instru-
ment panel is also on.
To switch back to low beam, pull the lever
back to the detent position.
Headlight flasher
To flash the headlights, pull the lever to-
ward you and then release it. The high
beam will stay on for as long as you hold
the lever. The headlight flasher works
even though the lighting switch is in the OFF position.
When the headlights are on high beam,
the high beam indicator light on
the instrument panel also comes on.
Daytime running light system
WRX-STI
The low beam headlights, tail lights, park-
ing lights, and license plate lights will au-
tomatically come on when the engine has
started, under the following conditions:
The parking brake is fully released.
The light switch is in the OFF or
position.
The automatic transmission selector le-
ver is set at other than the P position.
Except WRX-STI
The low beam headlights will automatical-
ly come on at reduced brightness when
the engine has started, under the follow-
ing conditions:
The parking brake is fully released.
The light switch is in the OFF or
position.
The automatic transmission selector le-
ver is set at other than the P position.
300128
Do not hold the lever in the flashing
position for more than just a few
seconds.
300129
The side marker lights are not
turned on by the daytime running
light system. The light switch must
always be turned to the po-
sition when it is dark outside.
Page 150 of 365

4
Climate control
Ventilator ............................................................. 4-2
Air flow selection ................................ .................... 4-2
Center and side ventilators ....................... ............. 4-3
Manual climate control system (if equipped) ..................................... ............... 4-3
Control panel ..................................... ..................... 4-3
Heater operation .................................. ................... 4-5
Air conditioner operation (if equipped) ........... ..... 4-7
Automatic climate control system (if equipped) ..................................... ............... 4-7
Control panel ..................................... ..................... 4-8
To use as full-automatic climate control
system ............................................ ....................... 4-8
To use as semi-automatic climate control system ............................................ ....................... 4-8
Fan speed control dial ............................ ............... 4-8
Temperature control dial .......................... .............. 4-9
Air flow control dial ............................. ................... 4-9
Air inlet selection button ........................ ................ 4-9
Air conditioner button ............................ ................ 4-10
Temperature sensors ............................... .............. 4-10
Operating tips for heater and air conditioner ....................................... ............... 4-11
Cleaning ventilation grille ....................... ............... 4-11
Efficient cooling after parking in direct sunlight .......................................... ....................... 4-11
Lubrication oil circulation in the refrigerant
circuit ........................................... ......................... 4-11Checking air conditioning system before
summer season ..................................... ............... 4-11
Cooling and dehumidifying in high humidity and
low temperature weather conditions ................ .. 4-11
Air conditioner compressor shut-off when engine is heavily loaded .......................... ............ 4-12
Refrigerant for your climate control system ....... . 4-12
Air filtration system ............................. ............... 4-12
Replacing an air filter ........................... .................. 4-12
Page 153 of 365
4-4 Climate control
Fan speed control dial
The fan operates only when the ignition
switch is turned to the ON position. The
fan speed control dial is used to select four
fan speeds.
Air flow control dial
This dial has the following five positions:
: Air flows through the instrument pan-
el outlets.
: Air flows through the instrument pan-
el outlets and the foot outlets.
: Air flows through the foot outlets and
some through the windshield defroster
outlets.
: Air flows through the windshield de-
froster outlets and foot outlets.
: Air flows through the windshield de-
froster outlets.
NOTE
You will find the notation USE
WITH on the air flow control
dial plate.
This is intended to remind you to set
the air inlet selection lever in the
position when defogging the
windshield.
Defogging with the air inlet selection
lever set in the position pro-
vides better defogging performance
than in the position.
When the dial is placed in the
or position, the air conditioner
compressor operates automatically re-
gardless of the position of the air con-
ditioner button to defog the windshield
quickly.
However the indicator on the air condi-
tioner button will not come on.
Also, you cannot stop the air condi-
tioner compressor by pressing the air
conditioner button.
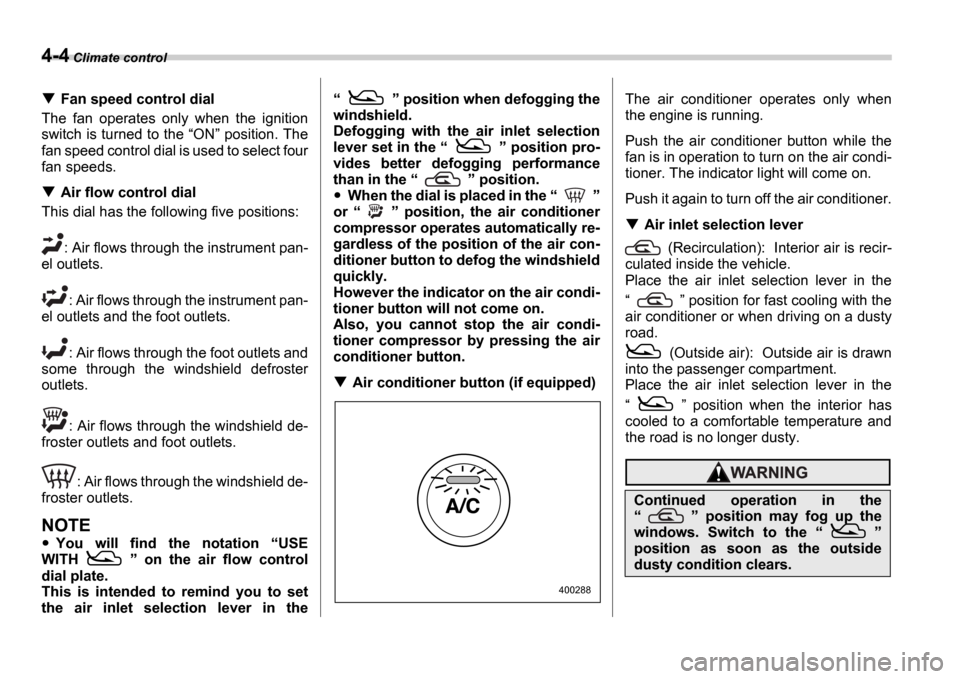
Air conditioner button (if equipped) The air conditioner operates only when
the engine is running.
Push the air conditioner button while the
fan is in operation to turn on the air condi-
tioner. The indicator light will come on.
Push it again to turn off the air conditioner.
Air inlet selection lever
(Recirculation): Interior air is recir-
culated inside the vehicle.
Place the air inlet selection lever in the
position for fast cooling with the
air conditioner or when driving on a dusty
road.
(Outside air): Outside air is drawn
into the passenger compartment.
Place the air inlet selection lever in the
position when the interior has
cooled to a comfortable temperature and
the road is no longer dusty.
400288
Continued operation in the
position may fog up the
windows. Switch to the
position as soon as the outside
dusty condition clears.
Page 156 of 365
Climate control 4-7
CONTINUED
Air conditioner operation (if
equipped)
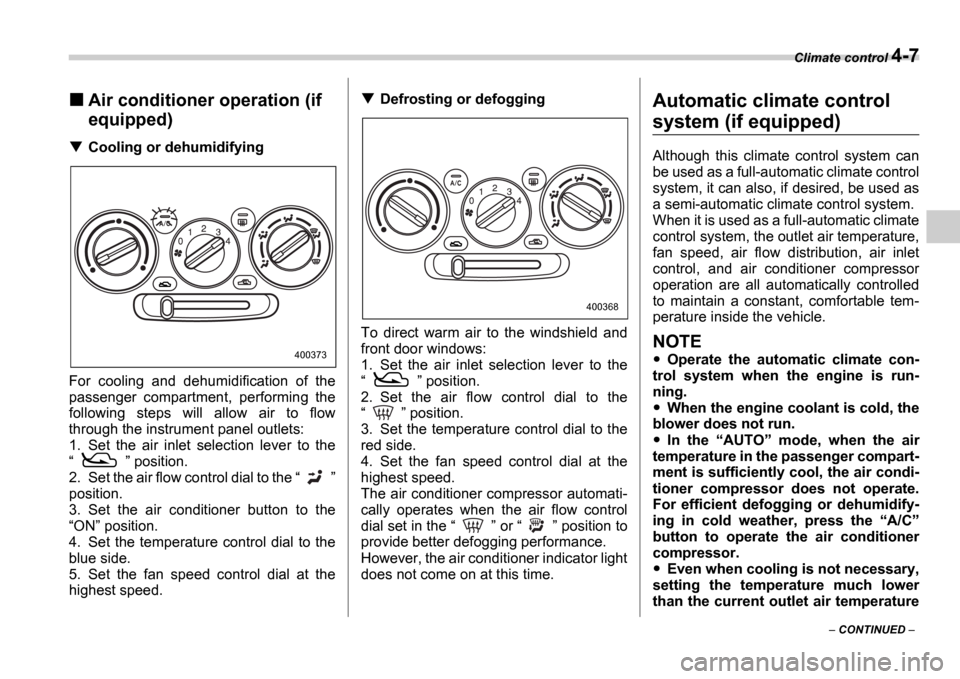
Cooling or dehumidifying
For cooling and dehumidification of the
passenger compartment, performing the
following steps will allow air to flow
through the instrument panel outlets:
1. Set the air inlet selection lever to the
position.
2. Set the air flow control dial to the
position.
3. Set the air conditioner button to the ON position.
4. Set the temperature control dial to the
blue side.
5. Set the fan speed control dial at the
highest speed.
Defrosting or defogging
To direct warm air to the windshield and
front door windows:
1. Set the air inlet selection lever to the
position.
2. Set the air flow control dial to the
position.
3. Set the temperature control dial to the
red side.
4. Set the fan speed control dial at the
highest speed.
The air conditioner compressor automati-
cally operates when the air flow control
dial set in the or position to
provide better defogging performance.
However, the air conditioner indicator light
does not come on at this time.Automatic climate control
system (if equipped)
Although this climate control system can
be used as a full-automatic climate control
system, it can also, if desired, be used as
a semi-automatic climate control system.
When it is used as a full-automatic climate
control system, the outlet air temperature,
fan speed, air flow distribution, air inlet
control, and air conditioner compressor
operation are all automatically controlled
to maintain a constant, comfortable tem-
perature inside the vehicle.
NOTE
Operate the automatic climate con-
trol system when the engine is run-
ning.
When the engine coolant is cold, the
blower does not run.
In the AUTO mode, when the air
temperature in the passenger compart-
ment is sufficiently cool, the air condi-
tioner compressor does not operate.
For efficient defogging or dehumidify-
ing in cold weather, press the A/C
button to operate the air conditioner
compressor.
Even when cooling is not necessary,
setting the temperature much lower
than the current outlet air temperature
400373
400368