2006 PONTIAC TORRENT window
[x] Cancel search: windowPage 68 of 368

Adding Equipment to Your
Airbag-Equipped Vehicle
Q:Is there anything I might add to the front
or sides of the vehicle that could keep the
airbags from working properly?
A:Yes. If you add things that change your vehicle’s
frame, bumper system, front end or side sheet
metal or height, they may keep the airbag system
from working properly. Also, the airbag system may
not work properly if you relocate any of the airbag
sensors. If you have any questions about this,
you should contact Customer Assistance before
you modify your vehicle. The phone numbers
and addresses for Customer Assistance are in
Step Two of the Customer Satisfaction Procedure
in this manual. SeeCustomer Satisfaction
Procedure on page 7-2.
Restraint System Check
Checking the Restraint Systems
Now and then, make sure the safety belt reminder
light and all your belts, buckles, latch plates, retractors
and anchorages are working properly. Look for any
other loose or damaged safety belt system parts.
If you see anything that might keep a safety belt
system from doing its job, have it repaired.
Torn or frayed safety belts may not protect you in a
crash. They can rip apart under impact forces. If a belt
is torn or frayed, get a new one right away.
Also look for any opened or broken airbag covers, and
have them repaired or replaced. (The airbag system
does not need regular maintenance.)
Notice:If you damage the covering for the driver’s
or the right front passenger’s airbag, or the side
impact airbag covering (if equipped) on the ceiling
near the side windows, the airbag may not work
properly. You may have to replace the airbag
module in the steering wheel, both the airbag
module and the instrument panel for the right front
passenger’s airbag, or side impact airbag module
and ceiling covering for roof-mounted side impact
airbags (if equipped.) Do not open or break the
airbag coverings.
1-62
Page 71 of 368

Keys...............................................................2-2
Remote Keyless Entry System.........................2-3
Remote Keyless Entry System Operation...........2-4
Doors and Locks.............................................2-6
Door Locks....................................................2-6
Power Door Locks..........................................2-7
Delayed Locking.............................................2-7
Automatic Door Lock.......................................2-8
Programmable Automatic Door Unlock...............2-8
Rear Door Security Locks................................2-8
Lockout Protection..........................................2-9
Liftgate........................................................2-10
Windows........................................................2-11
Power Windows............................................2-12
Sun Visors...................................................2-12
Theft-Deterrent Systems..................................2-13
Content Theft-Deterrent.................................2-13
Passlock
®....................................................2-15
Starting and Operating Your Vehicle................2-15
New Vehicle Break-In....................................2-15
Ignition Positions..........................................2-16
Retained Accessory Power (RAP)...................2-17
Starting the Engine.......................................2-17
Engine Coolant Heater..................................2-18
Automatic Transaxle Operation.......................2-19Parking Brake..............................................2-22
Shifting Into Park (P).....................................2-23
Shifting Out of Park (P).................................2-24
Parking Over Things That Burn.......................2-25
Engine Exhaust............................................2-25
Running the Engine While Parked...................2-26
Mirrors...........................................................2-27
Manual Rearview Mirror.................................2-27
Automatic Dimming Rearview Mirror with
OnStar
®, Compass and Temperature
Display....................................................2-27
Automatic Dimming Rearview Mirror with
Compass and Temperature Display..............2-29
Outside Power Mirrors...................................2-31
Outside Convex Mirrors.................................2-32
OnStar
®System.............................................2-32
Storage Areas................................................2-34
Glove Box...................................................2-34
Cupholder(s)................................................2-34
Center Console Storage Area.........................2-35
Luggage Carrier...........................................2-35
Rear Compartment Storage Panel/Cover..........2-37
Table..........................................................2-39
Convenience Net..........................................2-40
Sunroof.........................................................2-40
Section 2 Features and Controls
2-1
Page 72 of 368

Keys
{CAUTION:
Leaving children in a vehicle with the ignition
key is dangerous for many reasons. They
could operate the power windows or other
controls or even make the vehicle move.
The children or others could be badly injured
or even killed. Do not leave the keys in a
vehicle with children.
One key is used for the ignition and all of the locks.
Key code information can be obtained by your dealer.
These code numbers can be used to make new
keys. Additional keys that are needed can be made
at any retail service facility provided you have the key
code information. Store this information in a safe place,
but not in your vehicle.
2-2
Page 80 of 368

Liftgate
{CAUTION:
It can be dangerous to drive with the liftgate or
liftglass open because carbon monoxide (CO)
gas can come into your vehicle. You cannot
see or smell CO. It can cause
unconsciousness and even death. If you must
drive with the liftgate open or if electrical
wiring or other cable connections must pass
through the seal between the body and the
liftgate or liftglass:
Make sure all other windows are shut.
Turn the fan on your climate control
system to its highest speed and select the
control setting that will force outside air
into your vehicle. See “Climate Control
System” in the Index.
If you have air outlets on or under the
instrument panel, open them all the way.
SeeEngine Exhaust on page 2-25.To unlock the liftgate, press the unlock button on the
remote keyless entry transmitter twice or use the power
door lock switch.
To lock the liftgate, press the lock button on the remote
keyless entry transmitter or use the power door lock
switch. The liftgate does not have a key lock cylinder.
To open the liftgate, pull up on the handle located in
the center of the liftgate.
When closing the liftgate, use the molded handles to
pull the liftgate down. Push the liftgate closed until
it latches.
2-10
Page 81 of 368

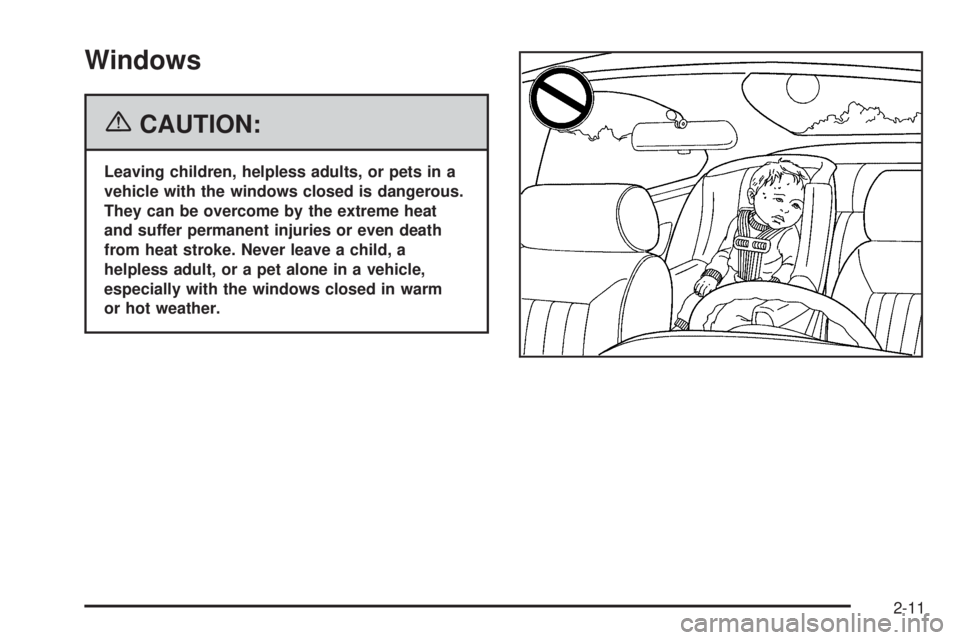
Windows
{CAUTION:
Leaving children, helpless adults, or pets in a
vehicle with the windows closed is dangerous.
They can be overcome by the extreme heat
and suffer permanent injuries or even death
from heat stroke. Never leave a child, a
helpless adult, or a pet alone in a vehicle,
especially with the windows closed in warm
or hot weather.
2-11
Page 82 of 368

Power Windows
The window switches for all doors are located on the
center console. A window switch for each rear window
is located on each rear door.
To open a window, press the bottom of the switch.
To close a window, press the top of the switch.
The power windows operate when the ignition is RUN
or ACC (Accessory), or while in Retained Accessory
Power (RAP). SeeRetained Accessory Power (RAP)
on page 2-17.
Express-Down Window
The driver’s window switch has an express-down feature
that allows the window to be lowered without holding the
switch. The switch is labeled AUTO. Press the bottom of
the switch part way, and the driver’s window will open a
small amount. Press the switch down all the way down
and release it and the window will go down automatically.
To stop the window while it is lowering, press and
release the top of the switch.
Window Lockout
o
(Window Lockout):Your vehicle has a lockout
feature to prevent rear seat passengers from operating
the windows. Press the lockout button, located with
the power window switches, to turn the feature on
and off. When the red band on the button is showing,
the lockout feature is off.
Sun Visors
To block out glare, swing the sun visor down. You
can also detach the driver’s sun visor from the center
mount and slide it along the rod from side-to-side
for greater coverage.
Visor Vanity Mirrors
Your vehicle has covered visor vanity mirrors on both
the driver’s and passenger’s side.
2-12
Page 95 of 368

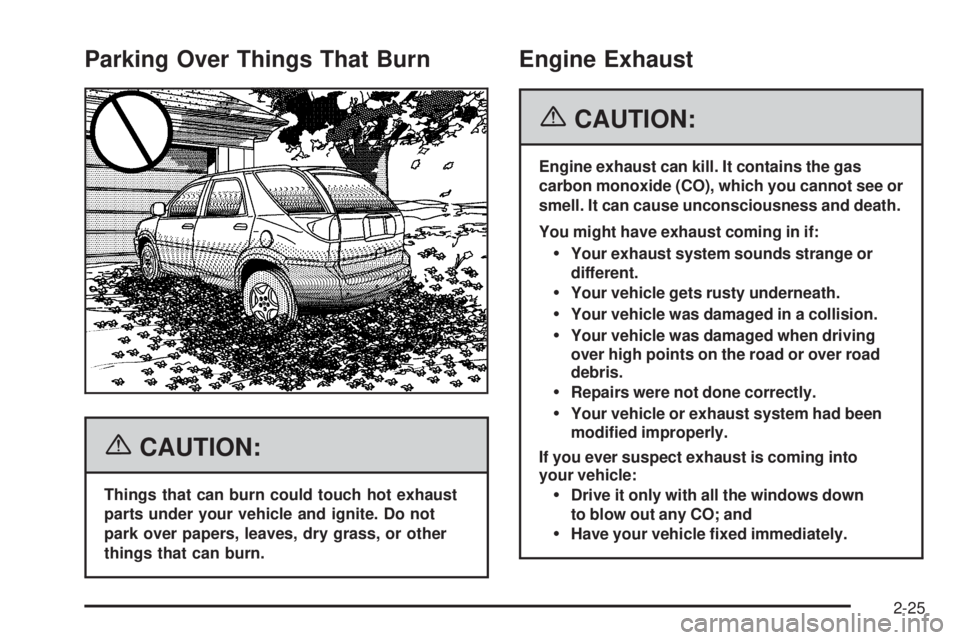
Parking Over Things That Burn
{CAUTION:
Things that can burn could touch hot exhaust
parts under your vehicle and ignite. Do not
park over papers, leaves, dry grass, or other
things that can burn.
Engine Exhaust
{CAUTION:
Engine exhaust can kill. It contains the gas
carbon monoxide (CO), which you cannot see or
smell. It can cause unconsciousness and death.
You might have exhaust coming in if:
Your exhaust system sounds strange or
different.
Your vehicle gets rusty underneath.
Your vehicle was damaged in a collision.
Your vehicle was damaged when driving
over high points on the road or over road
debris.
Repairs were not done correctly.
Your vehicle or exhaust system had been
modi�ed improperly.
If you ever suspect exhaust is coming into
your vehicle:
Drive it only with all the windows down
to blow out any CO; and
Have your vehicle �xed immediately.
2-25
Page 97 of 368

Mirrors
Manual Rearview Mirror
To adjust the angle of the mirror, move the mirror
to a position that allows you see to out of the back
window. To adjust the height of the mirror, adjust
the arm that connects the mirror to the windshield.
To reduce glare from lights behind you, move the
lever toward you to the night position.
Automatic Dimming Rearview
Mirror with OnStar
®, Compass
and Temperature Display
If the vehicle has this feature, an automatic dimming
mirror automatically dims to the proper level to
minimize glare at night from lights behind your vehicle.
For more information about OnStar
®, seeOnStar®
System on page 2-32.
The mirror also includes a dual display in the upper
right corner of the mirror face. The compass reading
and the outside temperature will both appear in
the display at the same time.
Y(On/Off):This is the on/off button.
Automatic Dimming Mirror Operation
The automatic dimming mirror function is turned on
each time the ignition is started. A light near the
on/off button will come on to indicate the automatic
dimming is on.
Press the on/off button for about four seconds to
manually turn the automatic dimming function
on or off.
Temperature and Compass Display
Press the on/off button, located to the far left, to cycle
between °F, °C and off.
If the display reads CAL, the compass needs to be
calibrated. For more information, see “Compass
Calibration” later in this section.
If an abnormal temperature reading is displayed for
an extended period of time, please consult your dealer.
Under certain circumstances, especially in idle, an
increase and delay in updating the temperature
is normal.
2-27