2006 PONTIAC GRAND PRIX turn signal
[x] Cancel search: turn signalPage 280 of 472
Driving in Rain and on Wet Roads
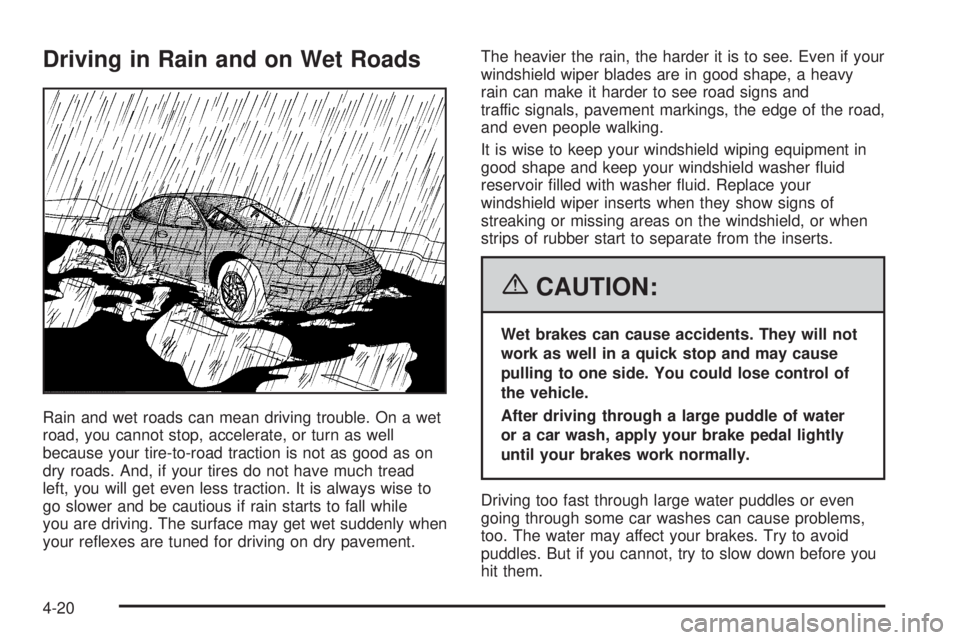
Rain and wet roads can mean driving trouble. On a wet
road, you cannot stop, accelerate, or turn as well
because your tire-to-road traction is not as good as on
dry roads. And, if your tires do not have much tread
left, you will get even less traction. It is always wise to
go slower and be cautious if rain starts to fall while
you are driving. The surface may get wet suddenly when
your re�exes are tuned for driving on dry pavement.The heavier the rain, the harder it is to see. Even if your
windshield wiper blades are in good shape, a heavy
rain can make it harder to see road signs and
traffic signals, pavement markings, the edge of the road,
and even people walking.
It is wise to keep your windshield wiping equipment in
good shape and keep your windshield washer �uid
reservoir �lled with washer �uid. Replace your
windshield wiper inserts when they show signs of
streaking or missing areas on the windshield, or when
strips of rubber start to separate from the inserts.
{CAUTION:
Wet brakes can cause accidents. They will not
work as well in a quick stop and may cause
pulling to one side. You could lose control of
the vehicle.
After driving through a large puddle of water
or a car wash, apply your brake pedal lightly
until your brakes work normally.
Driving too fast through large water puddles or even
going through some car washes can cause problems,
too. The water may affect your brakes. Try to avoid
puddles. But if you cannot, try to slow down before you
hit them.
4-20
Page 282 of 472
City Driving
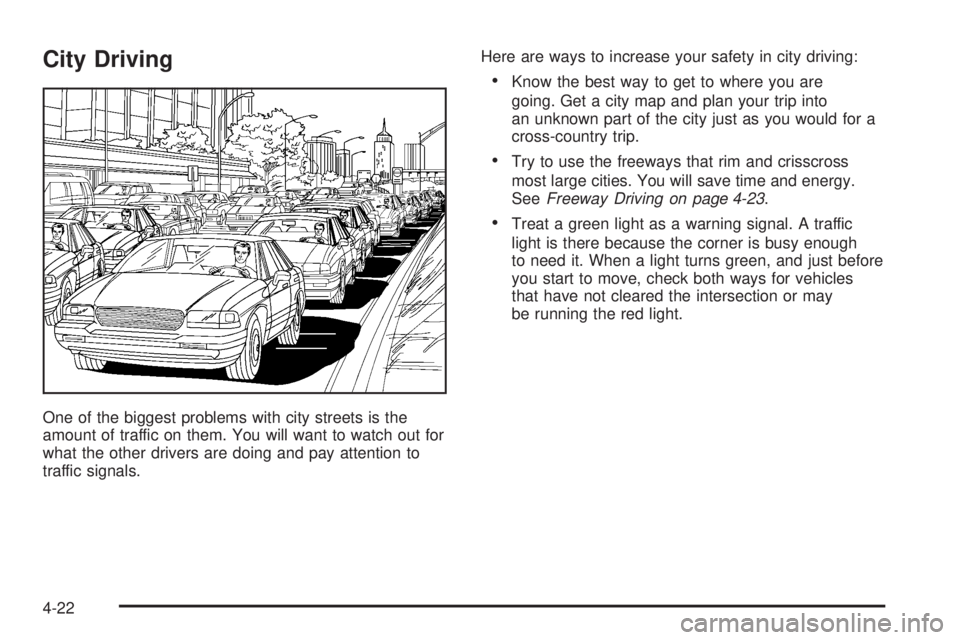
One of the biggest problems with city streets is the
amount of traffic on them. You will want to watch out for
what the other drivers are doing and pay attention to
traffic signals.Here are ways to increase your safety in city driving:
Know the best way to get to where you are
going. Get a city map and plan your trip into
an unknown part of the city just as you would for a
cross-country trip.
Try to use the freeways that rim and crisscross
most large cities. You will save time and energy.
SeeFreeway Driving on page 4-23.
Treat a green light as a warning signal. A traffic
light is there because the corner is busy enough
to need it. When a light turns green, and just before
you start to move, check both ways for vehicles
that have not cleared the intersection or may
be running the red light.
4-22
Page 283 of 472
Freeway Driving
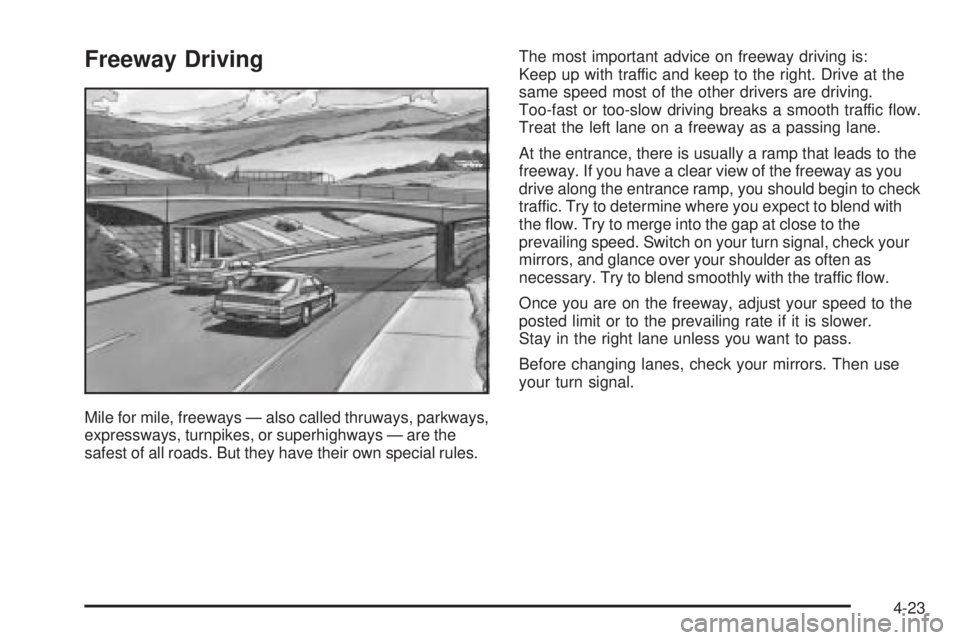
Mile for mile, freeways — also called thruways, parkways,
expressways, turnpikes, or superhighways — are the
safest of all roads. But they have their own special rules.The most important advice on freeway driving is:
Keep up with traffic and keep to the right. Drive at the
same speed most of the other drivers are driving.
Too-fast or too-slow driving breaks a smooth traffic �ow.
Treat the left lane on a freeway as a passing lane.
At the entrance, there is usually a ramp that leads to the
freeway. If you have a clear view of the freeway as you
drive along the entrance ramp, you should begin to check
traffic. Try to determine where you expect to blend with
the �ow. Try to merge into the gap at close to the
prevailing speed. Switch on your turn signal, check your
mirrors, and glance over your shoulder as often as
necessary. Try to blend smoothly with the traffic �ow.
Once you are on the freeway, adjust your speed to the
posted limit or to the prevailing rate if it is slower.
Stay in the right lane unless you want to pass.
Before changing lanes, check your mirrors. Then use
your turn signal.
4-23
Page 304 of 472
Before starting, check the trailer hitch and platform (and
attachments), safety chains, electrical connector,
lamps, tires, and mirror adjustment. If the trailer has
electric brakes, start the vehicle and trailer moving and
then apply the trailer brake controller by hand to be
sure the brakes are working. This lets you check
the electrical connection at the same time.
During your trip, check occasionally to be sure that the
load is secure, and that the lamps and any trailer
brakes are still working.
Following Distance
Stay at least twice as far behind the vehicle ahead as
when driving the vehicle without a trailer. This can
prevent situations that require heavy braking and
sudden turns.
Passing
More passing distance is needed up ahead when
towing a trailer. And, because the vehicle and trailer are
a good deal longer, distances between any vehicles
that are passed must be greater, before returning to
the proper lane.
Backing Up
Hold the bottom of the steering wheel with one hand.
Then, to move the trailer to the left, move that hand
to the left. To move the trailer to the right, move that
hand to the right. Always back up slowly and, if possible,
have someone guide you.
Making Turns
Notice:Making very sharp turns while trailering
could cause the trailer to come in contact with the
vehicle. Your vehicle could be damaged. Avoid
making very sharp turns while trailering.
When turning with a trailer, make wider turns than
normal. Do this so the trailer will not strike soft
shoulders, curbs, road signs, trees, or other objects.
Avoid jerky or sudden maneuvers. Signal well
in advance.
Turn Signals When Towing a Trailer
When towing a trailer, the vehicle may need a different
turn signal �asher and/or extra wiring. Check with
your dealer. The arrows on the instrument panel will
�ash whenever signaling a turn or lane change. Properly
hooked up, the trailer lamps will also �ash, telling
other drivers the vehicle and trailer are about to turn,
change lanes, or stop.
4-44
Page 305 of 472
When towing a trailer, the arrows on the instrument
panel will �ash for turns even if the bulbs on the trailer
are burned out. You may think drivers behind you
are seeing the turn signal when they are not. It is
important to check occasionally to be sure the trailer
bulbs are still working.
The vehicle has bulb warning lights. When a trailer
lighting system is plugged into the vehicle’s lighting
system, its bulb warning lights may not indicate if one of
the lamps goes out. So, when a trailer lighting system
is plugged in, be sure to check the vehicle and
trailer lamps from time to time to be sure they are all
working. Once the trailer lamps have been disconnected,
the bulb warning lights can once again indicate if
one of the vehicle lamps is out.
Driving On Grades
Reduce speed and shift to a lower gear before starting
down a long or steep downgrade. If the vehicle is
not shifted down, the brakes may have to be used so
much that they would get hot and no longer work well.
On a long uphill grade, shift down and reduce the
vehicle’s speed to around 45 mph (70 km/h) to reduce
the possibility of engine and transaxle overheating.
If the vehicle has overdrive, it may be driven in
THIRD (3) instead of AUTOMATIC OVERDRIVE (D).
Parking on Hills
{CAUTION:
You really should not park your vehicle, with a
trailer attached, on a hill. If something goes
wrong, your rig could start to move. People
can be injured, and both your vehicle and the
trailer can be damaged.
But if the rig ever has to be parked on a hill, here is
how to do it:
1. Apply the regular brakes, but do not shift into
PARK (P) yet.
2. Have someone place chocks under the
trailer wheels.
3. When the wheel chocks are in place, release the
regular brakes until the chocks absorb the load.
4. Reapply the regular brakes. Then apply the parking
brake, and then shift to PARK (P).
5. Release the regular brakes.
4-45
Page 307 of 472

Service............................................................5-3
Accessories and Modi�cations..........................5-3
California Proposition 65 Warning.....................5-3
Doing Your Own Service Work.........................5-4
Adding Equipment to the Outside of
Your Vehicle..............................................5-5
Fuel................................................................5-5
Gasoline Octane............................................5-5
Gasoline Speci�cations....................................5-5
California Fuel...............................................5-6
Additives.......................................................5-6
Fuels in Foreign Countries...............................5-7
Filling the Tank..............................................5-7
Filling a Portable Fuel Container.......................5-9
Checking Things Under the Hood....................5-10
Hood Release..............................................5-11
Engine Compartment Overview.......................5-12
Engine Oil...................................................5-16
Engine Oil Life System..................................5-19
Supercharger Oil..........................................5-20
Engine Air Cleaner/Filter................................5-21
Automatic Transaxle Fluid..............................5-23
Engine Coolant.............................................5-25
Pressure Cap...............................................5-28
Engine Overheating.......................................5-28Overheated Engine Protection
Operating Mode........................................5-30
Cooling System............................................5-30
Power Steering Fluid.....................................5-40
Windshield Washer Fluid................................5-41
Brakes........................................................5-42
Battery........................................................5-45
Jump Starting...............................................5-46
Headlamp Aiming...........................................5-50
Bulb Replacement..........................................5-53
Halogen Bulbs..............................................5-53
Headlamps and Sidemarker Lamps.................5-54
Front Turn Signal, Parking and Fog Lamps......5-56
Taillamps, Turn Signal, and Stoplamps............5-57
Back-Up Lamps............................................5-58
Replacement Bulbs.......................................5-59
Windshield Replacement.................................5-60
Windshield Wiper Blade Replacement..............5-60
Tires..............................................................5-60
Tire Sidewall Labeling...................................5-62
Tire Terminology and De�nitions.....................5-64
In�ation - Tire Pressure.................................5-67
Tire In�ation Monitor System..........................5-68
Tire Inspection and Rotation...........................5-70
Section 5 Service and Appearance Care
5-1
Page 362 of 472
9. Carefully reinstall the headlamp assembly.
10. Push down on the metal retaining clip while pushing
rearward on the headlamp, making sure the
headlamp assembly is secure.
11. Reinstall the bolt and tighten to secure.
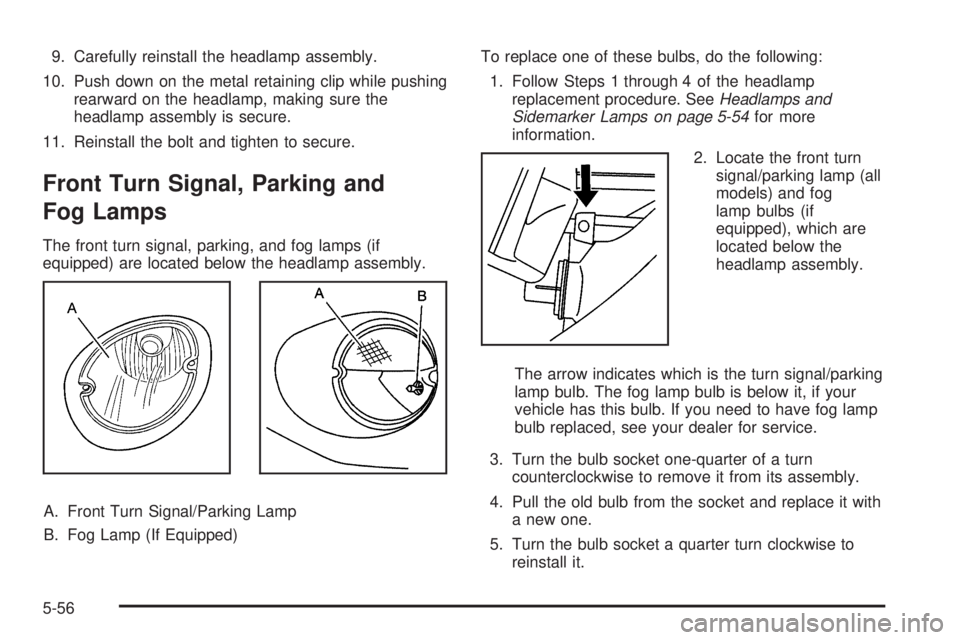
Front Turn Signal, Parking and
Fog Lamps
The front turn signal, parking, and fog lamps (if
equipped) are located below the headlamp assembly.
A. Front Turn Signal/Parking Lamp
B. Fog Lamp (If Equipped)To replace one of these bulbs, do the following:
1. Follow Steps 1 through 4 of the headlamp
replacement procedure. SeeHeadlamps and
Sidemarker Lamps on page 5-54for more
information.
2. Locate the front turn
signal/parking lamp (all
models) and fog
lamp bulbs (if
equipped), which are
located below the
headlamp assembly.
The arrow indicates which is the turn signal/parking
lamp bulb. The fog lamp bulb is below it, if your
vehicle has this bulb. If you need to have fog lamp
bulb replaced, see your dealer for service.
3. Turn the bulb socket one-quarter of a turn
counterclockwise to remove it from its assembly.
4. Pull the old bulb from the socket and replace it with
a new one.
5. Turn the bulb socket a quarter turn clockwise to
reinstall it.
5-56
Page 363 of 472
6. Reinstall the headlamp assembly.
7. Push down on the metal retaining clip while pushing
rearward on the headlamp, making sure the
headlamp assembly is secure.
8. Reinstall the bolt and tighten to secure.
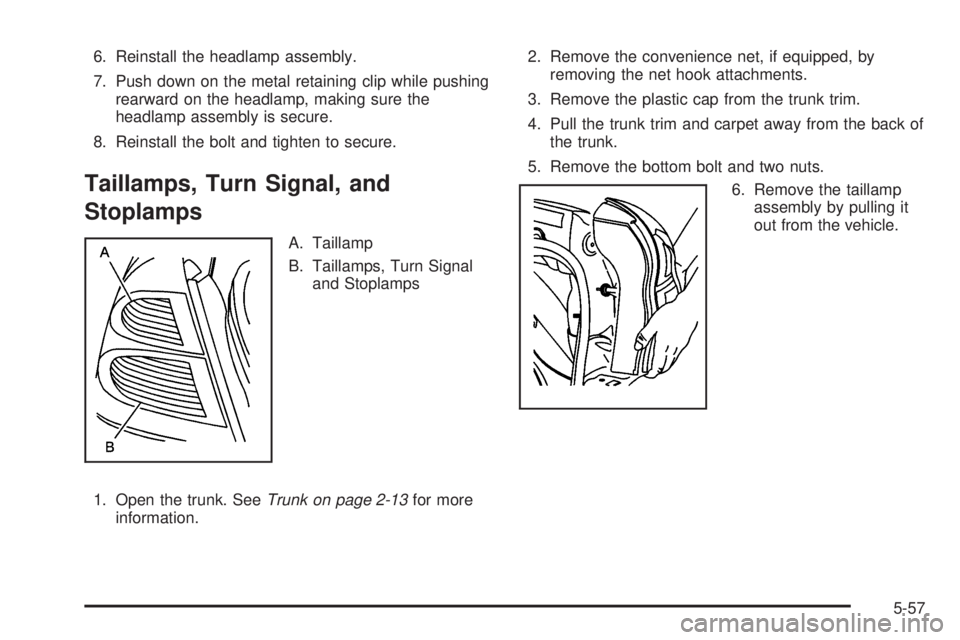
Taillamps, Turn Signal, and
Stoplamps
A. Taillamp
B. Taillamps, Turn Signal
and Stoplamps
1. Open the trunk. SeeTrunk on page 2-13for more
information.2. Remove the convenience net, if equipped, by
removing the net hook attachments.
3. Remove the plastic cap from the trunk trim.
4. Pull the trunk trim and carpet away from the back of
the trunk.
5. Remove the bottom bolt and two nuts.
6. Remove the taillamp
assembly by pulling it
out from the vehicle.
5-57