Page 1702 of 2896
DTC P2138 APP SENSOR
EC-533
C
D
E
F
G
H
I
J
K
L
MA
EC
Revision: June 20062007 Versa
FAIL-SAFE MODE
When the malfunction is detected, ECM enters fail-safe mode and the MIL lights up.
DTC Confirmation ProcedureUBS00QNK
NOTE:
If DTC Confirmation Procedure has been previously conducted, always turn ignition switch OFF and wait at
least 10 seconds before conducting the next test.
TESTING CONDITION:
Before performing the following procedure, confirm that battery voltage is more than 10V at idle.
WITH CONSULT-II
1. Turn ignition switch ON.
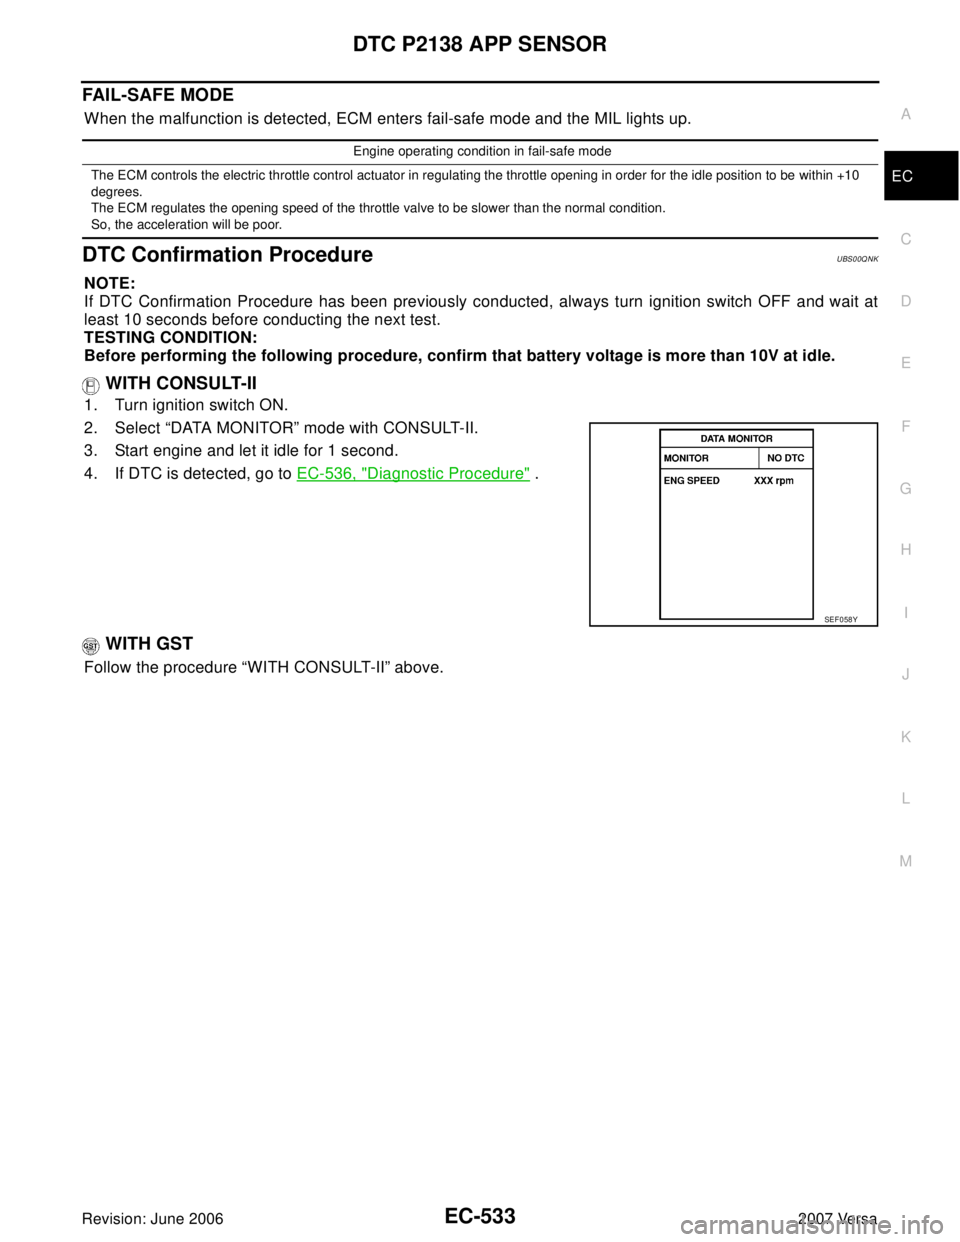
2. Select “DATA MONITOR” mode with CONSULT-II.
3. Start engine and let it idle for 1 second.
4. If DTC is detected, go to EC-536, "
Diagnostic Procedure" .
WITH GST
Follow the procedure “WITH CONSULT-II” above.
Engine operating condition in fail-safe mode
The ECM controls the electric throttle control actuator in regulating the throttle opening in order for the idle position to be within +10
degrees.
The ECM regulates the opening speed of the throttle valve to be slower than the normal condition.
So, the acceleration will be poor.
SEF 0 58 Y
Page 1710 of 2896
DTC P2A00 A/F SENSOR 1
EC-541
C
D
E
F
G
H
I
J
K
L
MA
EC
Revision: June 20062007 Versa
DTC Confirmation ProcedureUBS00QNS
NOTE:
If DTC Confirmation Procedure has been previously conducted, always turn ignition switch OFF and wait at
least 10 seconds before conducting the next test.
TESTING CONDITION:
Before performing the following procedure, confirm that battery voltage is more than 11V at idle.
WITH CONSULT-II
1. Start engine and warm it up to normal operating temperature.
2. Turn ignition switch OFF and wait at least 10 seconds.
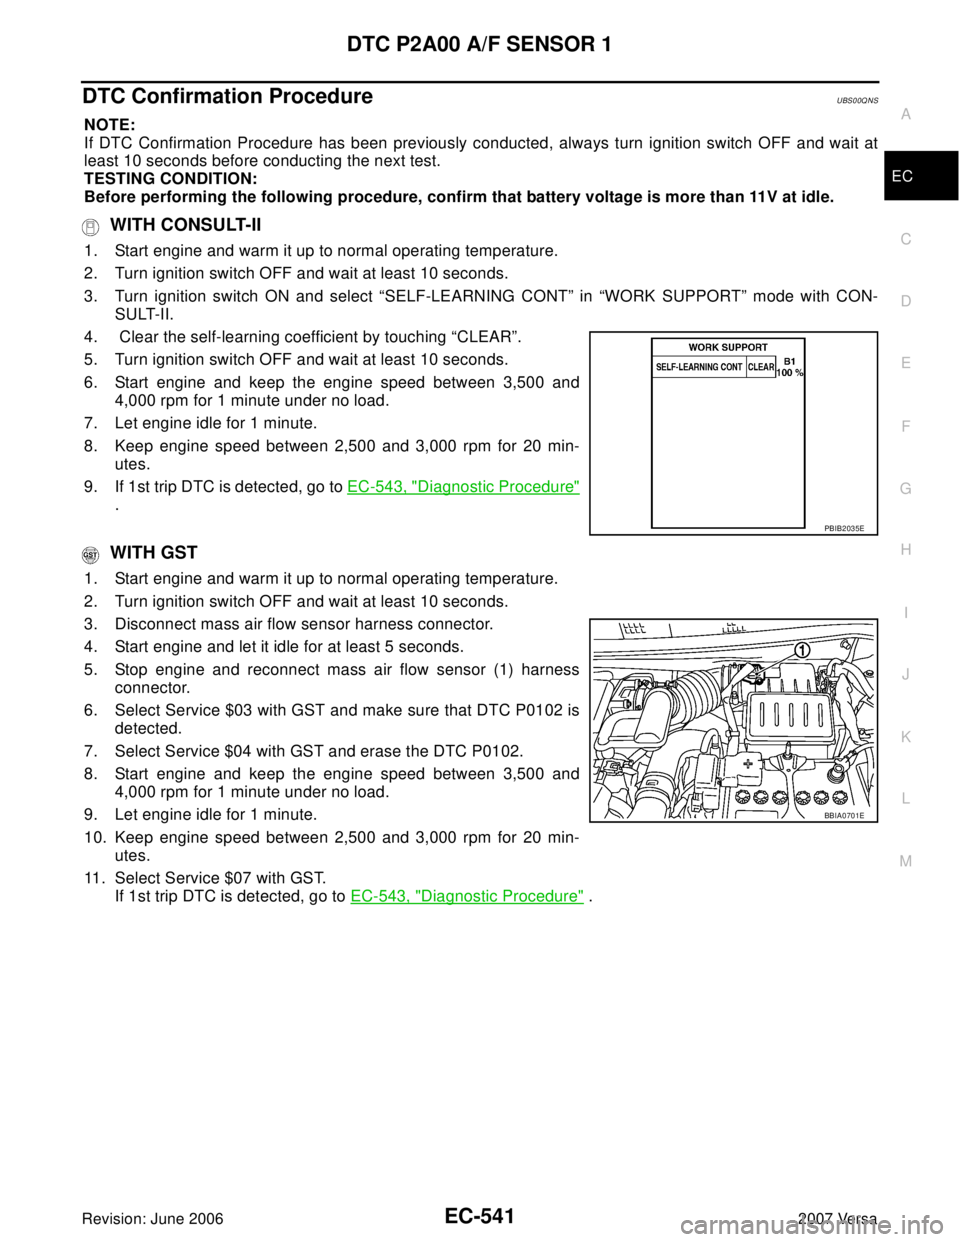
3. Turn ignition switch ON and select “SELF-LEARNING CONT” in “WORK SUPPORT” mode with CON-
SULT-II.
4. Clear the self-learning coefficient by touching “CLEAR”.
5. Turn ignition switch OFF and wait at least 10 seconds.
6. Start engine and keep the engine speed between 3,500 and
4,000 rpm for 1 minute under no load.
7. Let engine idle for 1 minute.
8. Keep engine speed between 2,500 and 3,000 rpm for 20 min-
utes.
9. If 1st trip DTC is detected, go to EC-543, "
Diagnostic Procedure"
.
WITH GST
1. Start engine and warm it up to normal operating temperature.
2. Turn ignition switch OFF and wait at least 10 seconds.
3. Disconnect mass air flow sensor harness connector.
4. Start engine and let it idle for at least 5 seconds.
5. Stop engine and reconnect mass air flow sensor (1) harness
connector.
6. Select Service $03 with GST and make sure that DTC P0102 is
detected.
7. Select Service $04 with GST and erase the DTC P0102.
8. Start engine and keep the engine speed between 3,500 and
4,000 rpm for 1 minute under no load.
9. Let engine idle for 1 minute.
10. Keep engine speed between 2,500 and 3,000 rpm for 20 min-
utes.
11. Select Service $07 with GST.
If 1st trip DTC is detected, go to EC-543, "
Diagnostic Procedure" .
PBIB2035E
BBIA0701E
Page 1715 of 2896
EC-546Revision: June 2006
DTC P2A00 A/F SENSOR 1
2007 Versa
6. CHECK AIR FUEL RATIO (A/F) SENSOR 1 POWER SUPPLY CIRCUIT
1. Turn ignition switch ON.
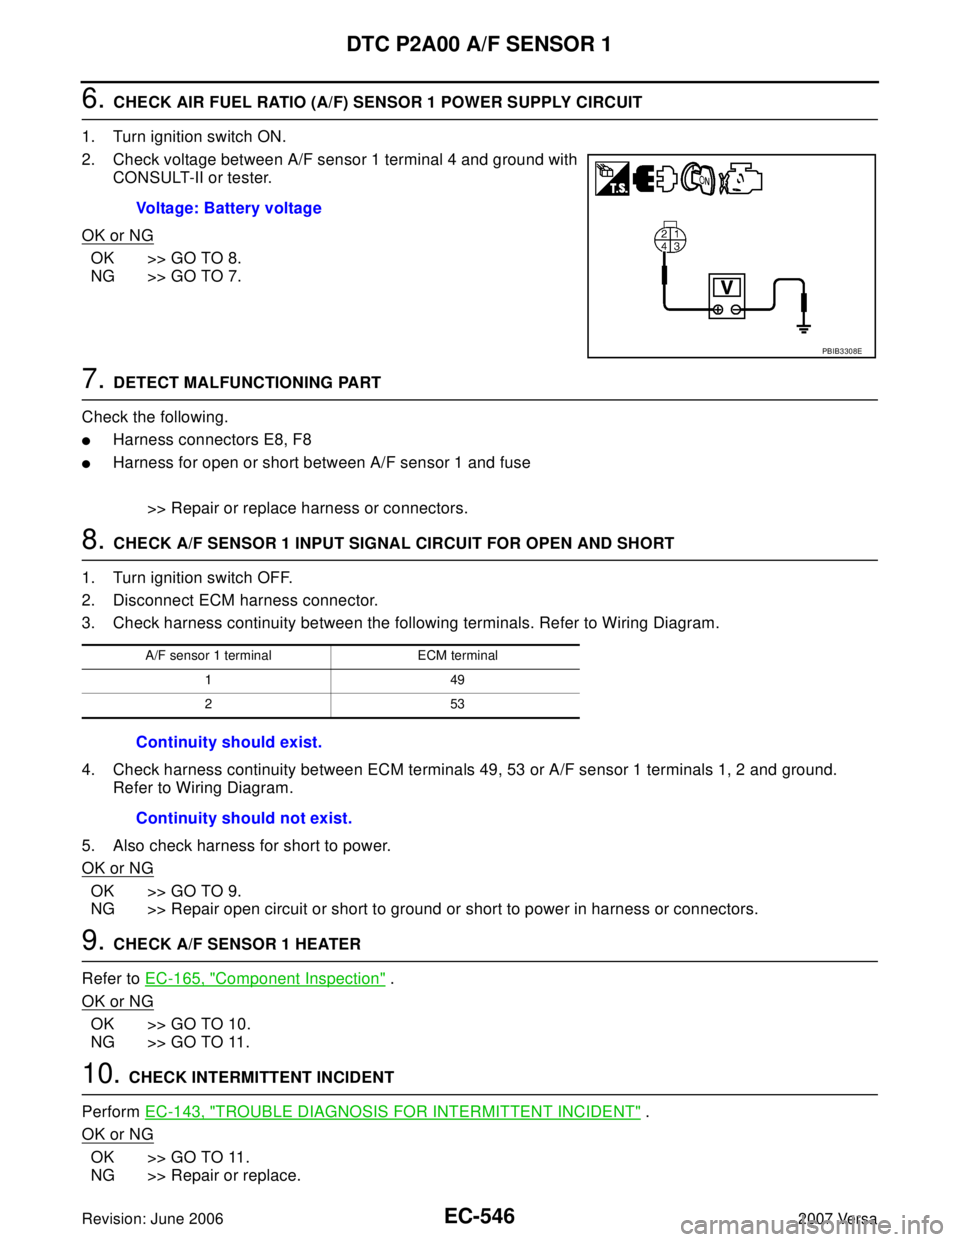
2. Check voltage between A/F sensor 1 terminal 4 and ground with
CONSULT-II or tester.
OK or NG
OK >> GO TO 8.
NG >> GO TO 7.
7. DETECT MALFUNCTIONING PART
Check the following.
�Harness connectors E8, F8
�Harness for open or short between A/F sensor 1 and fuse
>> Repair or replace harness or connectors.
8. CHECK A/F SENSOR 1 INPUT SIGNAL CIRCUIT FOR OPEN AND SHORT
1. Turn ignition switch OFF.
2. Disconnect ECM harness connector.
3. Check harness continuity between the following terminals. Refer to Wiring Diagram.
4. Check harness continuity between ECM terminals 49, 53 or A/F sensor 1 terminals 1, 2 and ground.
Refer to Wiring Diagram.
5. Also check harness for short to power.
OK or NG
OK >> GO TO 9.
NG >> Repair open circuit or short to ground or short to power in harness or connectors.
9. CHECK A/F SENSOR 1 HEATER
Refer to EC-165, "
Component Inspection" .
OK or NG
OK >> GO TO 10.
NG >> GO TO 11.
10. CHECK INTERMITTENT INCIDENT
Perform EC-143, "
TROUBLE DIAGNOSIS FOR INTERMITTENT INCIDENT" .
OK or NG
OK >> GO TO 11.
NG >> Repair or replace.Voltage: Battery voltage
PBIB3308E
A/F sensor 1 terminal ECM terminal
149
253
Continuity should exist.
Continuity should not exist.
Page 1720 of 2896
ASCD BRAKE SWITCH
EC-551
C
D
E
F
G
H
I
J
K
L
MA
EC
Revision: June 20062007 Versa
Specification data are reference values and are measured between each terminal and ground.
CAUTION:
Do not use ECM ground terminals when measuring input/output voltage. Doing so may result in dam-
age to the ECM's transistor. Use a ground other than ECM terminals, such as the ground.
TERMI-
NAL
NO.WIRE
COLORITEM CONDITION DATA (DC Voltage)
99 R Stop lamp switch[Ignition switch: ON]
�Brake pedal: Fully releasedApproximately 0V
[Ignition switch: ON]
�Brake pedal: Slightly depressedBATTERY VOLTAGE
(11 - 14V)
100 G ASCD brake switch[Ignition switch: ON]
�Brake pedal: Slightly depressed (A/T, CVT)
�Brake pedal and/or clutch pedal: Slightly
depressed (M/T) Approximately 0V
[Ignition switch: ON]
�Brake pedal: Fully released (A/T, CVT)
�Brake pedal and clutch pedal: Fully released
(M/T)BATTERY VOLTAGE
(11 - 14V)
Page 1721 of 2896
EC-552Revision: June 2006
ASCD BRAKE SWITCH
2007 Versa
Diagnostic ProcedureUBS00QNZ
1. CHECK OVERALL FUNCTION-I
With CONSULT-II
1. Turn ignition switch ON.
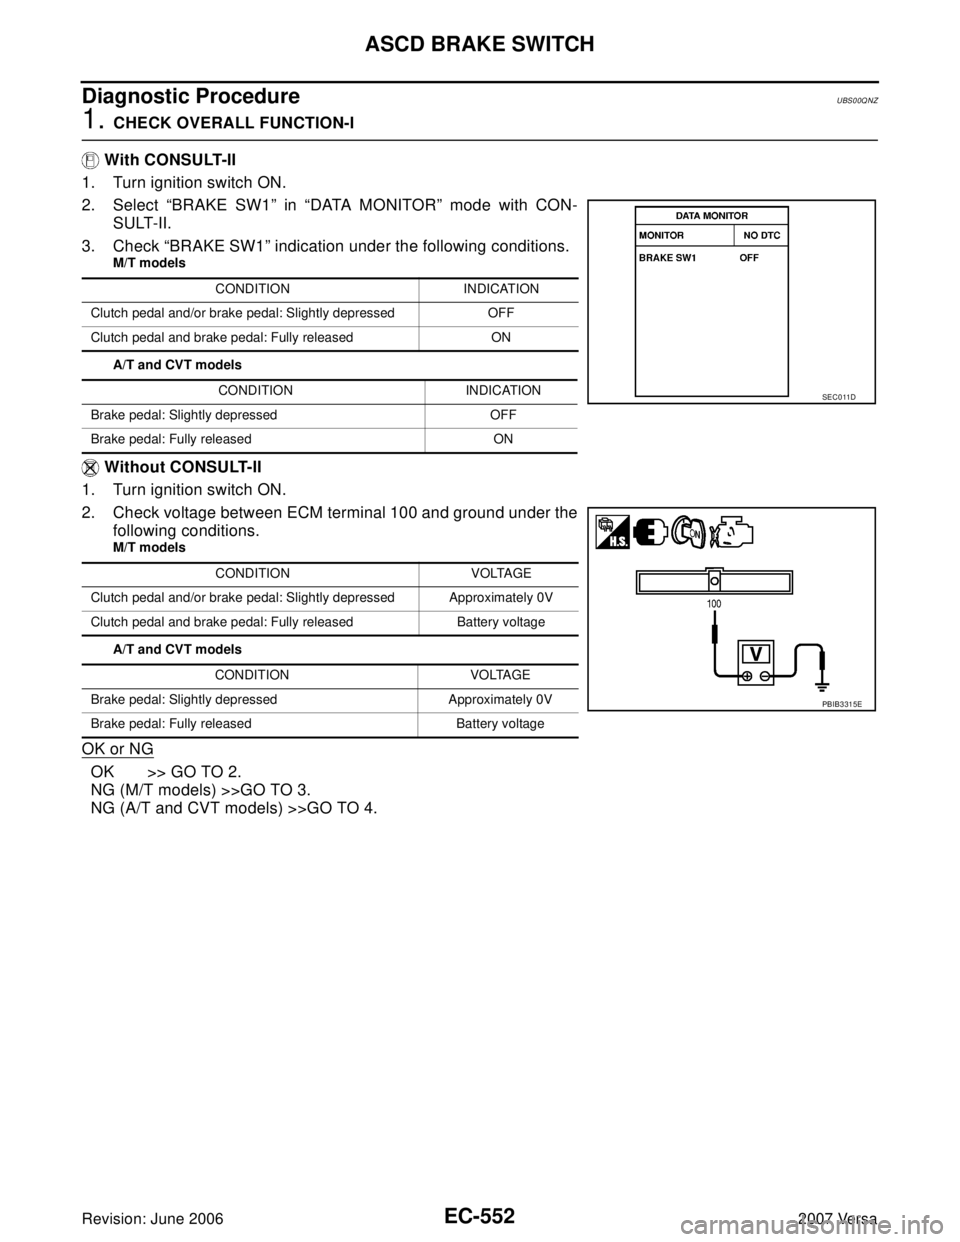
2. Select “BRAKE SW1” in “DATA MONITOR” mode with CON-
SULT-II.
3. Check “BRAKE SW1” indication under the following conditions.
M/T models
A/T and CVT models
Without CONSULT-II
1. Turn ignition switch ON.
2. Check voltage between ECM terminal 100 and ground under the
following conditions.
M/T models
A/T and CVT models
OK or NG
OK >> GO TO 2.
NG (M/T models) >>GO TO 3.
NG (A/T and CVT models) >>GO TO 4.
CONDITION INDICATION
Clutch pedal and/or brake pedal: Slightly depressed OFF
Clutch pedal and brake pedal: Fully released ON
CONDITION INDICATION
Brake pedal: Slightly depressed OFF
Brake pedal: Fully released ON
CONDITION VOLTAGE
Clutch pedal and/or brake pedal: Slightly depressed Approximately 0V
Clutch pedal and brake pedal: Fully released Battery voltage
CONDITION VOLTAGE
Brake pedal: Slightly depressed Approximately 0V
Brake pedal: Fully released Battery voltage
SEC0 11D
PBIB3315E
Page 1722 of 2896
ASCD BRAKE SWITCH
EC-553
C
D
E
F
G
H
I
J
K
L
MA
EC
Revision: June 20062007 Versa
2. CHECK OVERALL FUNCTION-II
With CONSULT-II
Check “BRAKE SW2” indication in “DATA MONITOR” mode.
Without CONSULT-II
Check voltage between ECM terminal 99 and ground under the fol-
lowing conditions.
OK or NG
OK >> GO TO 15.
NG >> GO TO 11.
3. CHECK ASCD CLUTCH SWITCH POWER SUPPLY CIRCUIT
1. Turn ignition switch OFF.
2. Disconnect ASCD clutch switch (1) harness connector.
–Clutch pedal (2)
3. Turn ignition switch ON.
4. Check voltage between ASCD clutch switch terminal 1 and
ground with CONSULT-II or tester.
OK or NG
OK >> GO TO 9.
NG >> GO TO 4.
CONDITION INDICATION
Brake pedal: Fully released OFF
Brake pedal: Slightly depressed ON
SEC0 13 D
CONDITION VOLTAGE
Brake pedal: Fully released Approximately 0V
Brake pedal: Slightly depressed Battery voltage
PBIB0 311 E
BBIA0709E
Voltage: Battery voltage
PBIB0857E
Page 1723 of 2896
EC-554Revision: June 2006
ASCD BRAKE SWITCH
2007 Versa
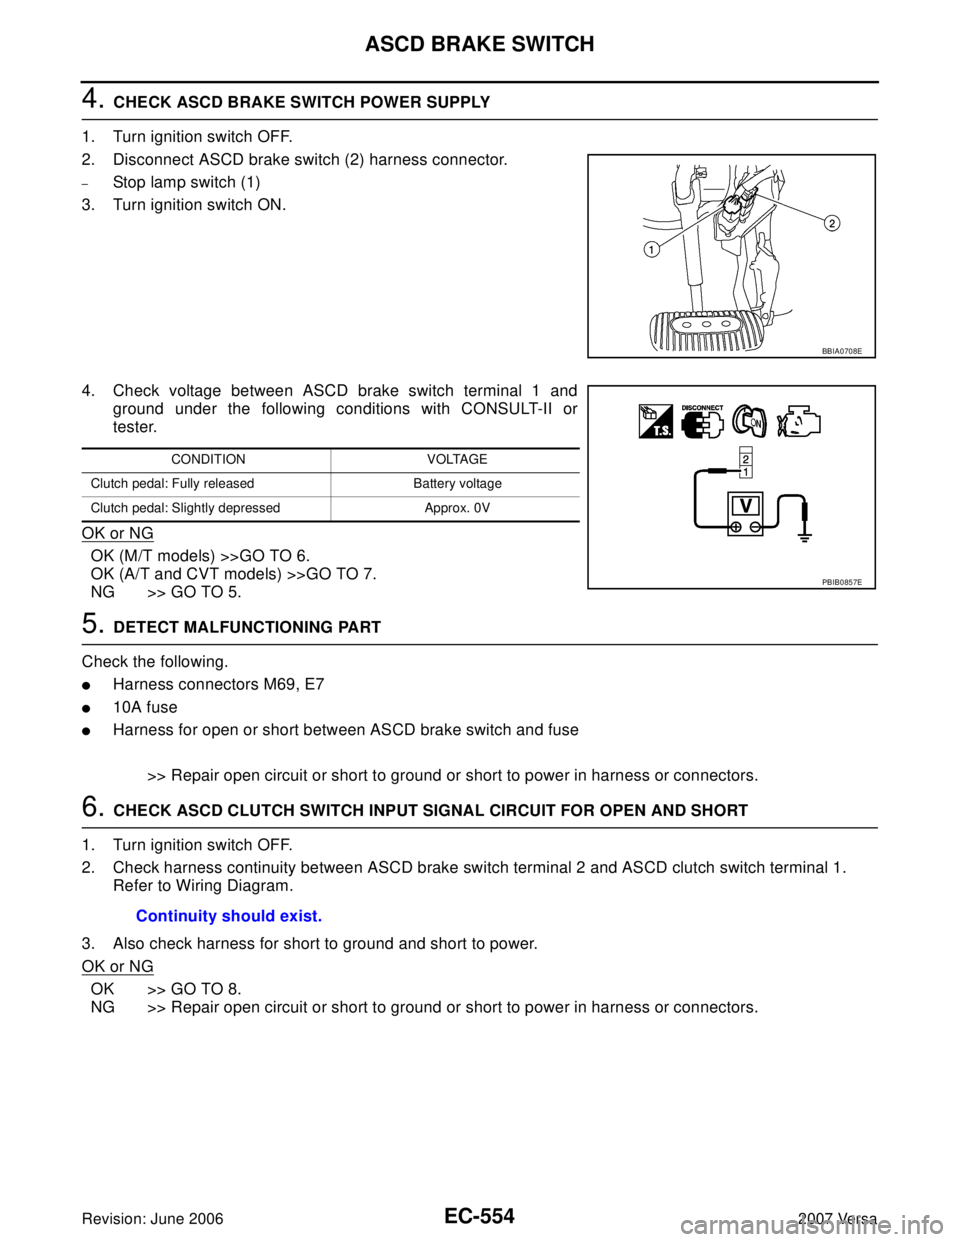
4. CHECK ASCD BRAKE SWITCH POWER SUPPLY
1. Turn ignition switch OFF.
2. Disconnect ASCD brake switch (2) harness connector.
–Stop lamp switch (1)
3. Turn ignition switch ON.
4. Check voltage between ASCD brake switch terminal 1 and
ground under the following conditions with CONSULT-II or
tester.
OK or NG
OK (M/T models) >>GO TO 6.
OK (A/T and CVT models) >>GO TO 7.
NG >> GO TO 5.
5. DETECT MALFUNCTIONING PART
Check the following.
�Harness connectors M69, E7
�10A fuse
�Harness for open or short between ASCD brake switch and fuse
>> Repair open circuit or short to ground or short to power in harness or connectors.
6. CHECK ASCD CLUTCH SWITCH INPUT SIGNAL CIRCUIT FOR OPEN AND SHORT
1. Turn ignition switch OFF.
2. Check harness continuity between ASCD brake switch terminal 2 and ASCD clutch switch terminal 1.
Refer to Wiring Diagram.
3. Also check harness for short to ground and short to power.
OK or NG
OK >> GO TO 8.
NG >> Repair open circuit or short to ground or short to power in harness or connectors.
BBIA0708E
CONDITION VOLTAGE
Clutch pedal: Fully released Battery voltage
Clutch pedal: Slightly depressed Approx. 0V
PBIB0857E
Continuity should exist.
Page 1725 of 2896
EC-556Revision: June 2006
ASCD BRAKE SWITCH
2007 Versa
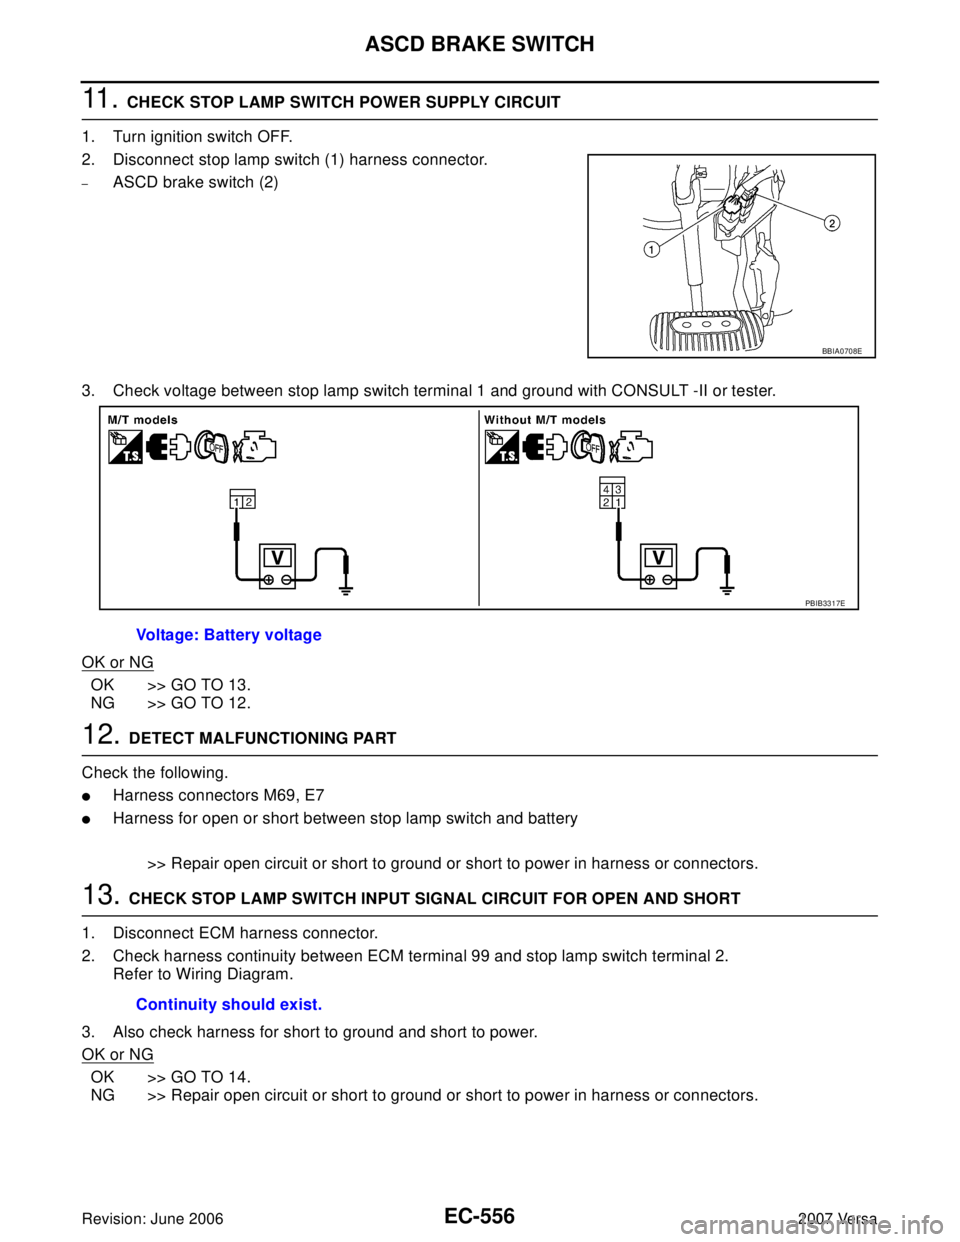
11 . CHECK STOP LAMP SWITCH POWER SUPPLY CIRCUIT
1. Turn ignition switch OFF.
2. Disconnect stop lamp switch (1) harness connector.
–ASCD brake switch (2)
3. Check voltage between stop lamp switch terminal 1 and ground with CONSULT -II or tester.
OK or NG
OK >> GO TO 13.
NG >> GO TO 12.
12. DETECT MALFUNCTIONING PART
Check the following.
�Harness connectors M69, E7
�Harness for open or short between stop lamp switch and battery
>> Repair open circuit or short to ground or short to power in harness or connectors.
13. CHECK STOP LAMP SWITCH INPUT SIGNAL CIRCUIT FOR OPEN AND SHORT
1. Disconnect ECM harness connector.
2. Check harness continuity between ECM terminal 99 and stop lamp switch terminal 2.
Refer to Wiring Diagram.
3. Also check harness for short to ground and short to power.
OK or NG
OK >> GO TO 14.
NG >> Repair open circuit or short to ground or short to power in harness or connectors.
BBIA0708E
Voltage: Battery voltage
PBIB3317E
Continuity should exist.