2006 NISSAN QUEST fuel
[x] Cancel search: fuelPage 94 of 352
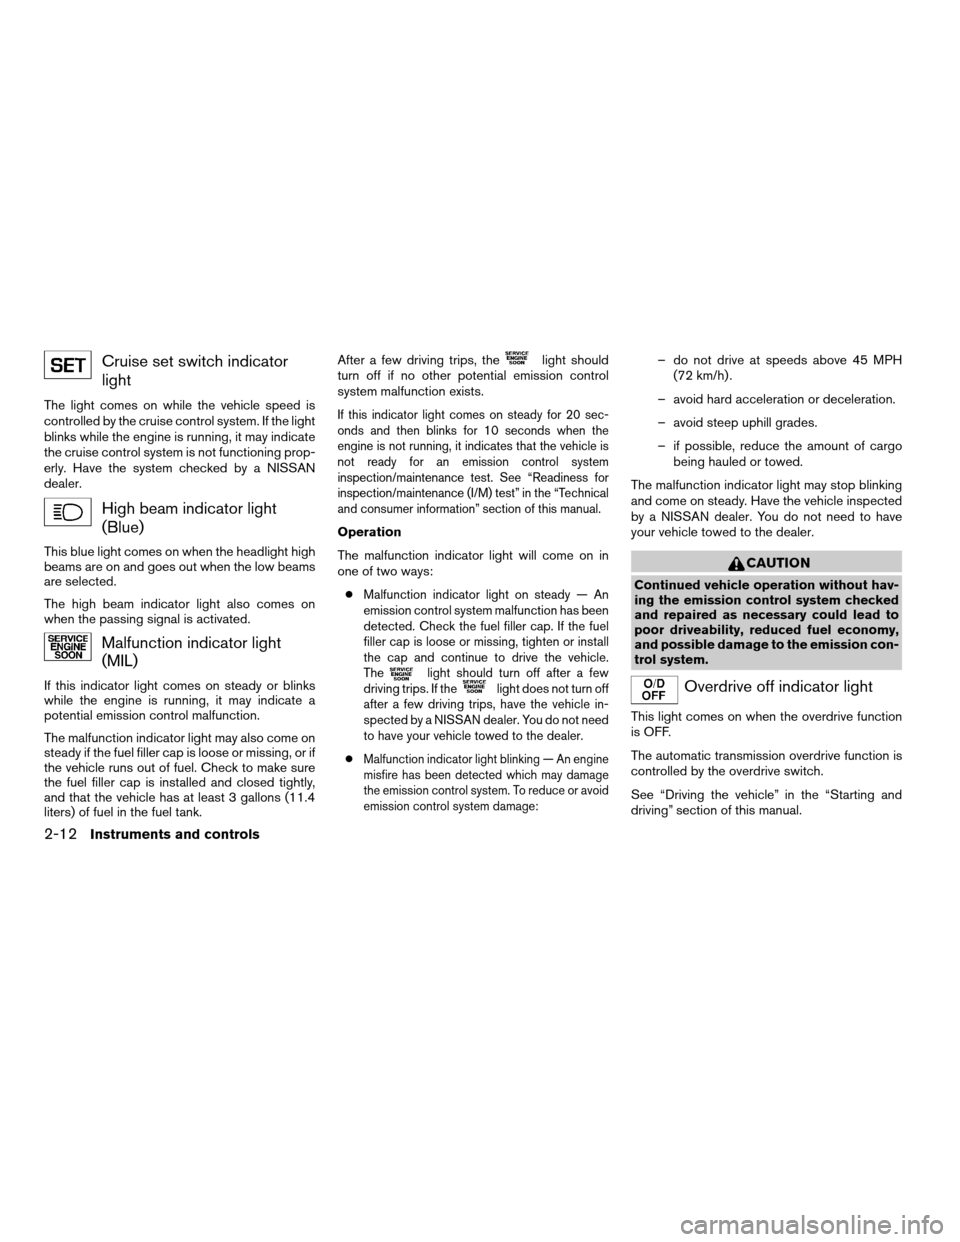
Cruise set switch indicator
light
The light comes on while the vehicle speed is
controlled by the cruise control system. If the light
blinks while the engine is running, it may indicate
the cruise control system is not functioning prop-
erly. Have the system checked by a NISSAN
dealer.
High beam indicator light
(Blue)
This blue light comes on when the headlight high
beams are on and goes out when the low beams
are selected.
The high beam indicator light also comes on
when the passing signal is activated.
Malfunction indicator light
(MIL)
If this indicator light comes on steady or blinks
while the engine is running, it may indicate a
potential emission control malfunction.
The malfunction indicator light may also come on
steady if the fuel filler cap is loose or missing, or if
the vehicle runs out of fuel. Check to make sure
the fuel filler cap is installed and closed tightly,
and that the vehicle has at least 3 gallons (11.4
liters) of fuel in the fuel tank.After a few driving trips, the
light should
turn off if no other potential emission control
system malfunction exists.
If this indicator light comes on steady for 20 sec-
onds and then blinks for 10 seconds when the
engine is not running, it indicates that the vehicle is
not ready for an emission control system
inspection/maintenance test. See “Readiness for
inspection/maintenance (I/M) test” in the “Technical
and consumer information” section of this manual.
Operation
The malfunction indicator light will come on in
one of two ways:
c
Malfunction indicator light on steady — An
emission control system malfunction has been
detected. Check the fuel filler cap. If the fuel
filler cap is loose or missing, tighten or install
the cap and continue to drive the vehicle.
The
light should turn off after a few
driving trips. If thelight does not turn off
after a few driving trips, have the vehicle in-
spected by a NISSAN dealer. You do not need
to have your vehicle towed to the dealer.
cMalfunction indicator light blinking — An engine
misfire has been detected which may damage
the emission control system. To reduce or avoid
emission control system damage:
– do not drive at speeds above 45 MPH
(72 km/h) .
– avoid hard acceleration or deceleration.
– avoid steep uphill grades.
– if possible, reduce the amount of cargo
being hauled or towed.
The malfunction indicator light may stop blinking
and come on steady. Have the vehicle inspected
by a NISSAN dealer. You do not need to have
your vehicle towed to the dealer.
CAUTION
Continued vehicle operation without hav-
ing the emission control system checked
and repaired as necessary could lead to
poor driveability, reduced fuel economy,
and possible damage to the emission con-
trol system.
Overdrive off indicator light
This light comes on when the overdrive function
is OFF.
The automatic transmission overdrive function is
controlled by the overdrive switch.
See “Driving the vehicle” in the “Starting and
driving” section of this manual.
2-12Instruments and controls
ZREVIEW COPYÐ2006 Quest(van)
Owners ManualÐUSA_English(nna)
05/27/05Ðtbrooks
X
Page 96 of 352

AUDIBLE REMINDERS
Brake pad wear warning
The front disc brake pads have audible wear
warnings. When a front brake pad requires re-
placement, it makes a high pitched scraping
sound when the vehicle is in motion, whether or
not the brake pedal is depressed. Have the
brakes checked as soon as possible if the warn-
ing sound is heard.
Key reminder chime
A chime sounds if the driver’s door is opened
while the key is left in the ignition switch. Remove
the key and take it with you when leaving the
vehicle.
Light reminder chime
With the ignition switch in the OFF position, a
chime sounds when the driver’s door is opened if
the headlights or parking lights are on.
Turn the headlight control switch off before leav-
ing the vehicle.
Low fuel warning chime
A chime sounds briefly when the low fuel warning
light initially comes on. If the low fuel warning light
turns off during the driving trip and then turns on
again, the chime will not sound.Your vehicle has two types of security systems:
cVehicle security system
cNISSAN Vehicle Immobilizer System
VEHICLE SECURITY SYSTEM
The vehicle security system provides visual and
audible alarm signals if someone opens the doors
when the system is armed. It is not, however, a
motion detection type system that activates when
a vehicle is moved or when a vibration occurs.
The system helps deter vehicle theft but cannot
prevent it, nor can it prevent the theft of interior or
exterior vehicle components in all situations. Al-
ways secure your vehicle even if parking for abrief period. Never leave your keys in the ignition,
and always lock the vehicle when unattended. Be
aware of your surroundings, and park in secure,
well-lit areas whenever possible.
Many devices offering additional protection, such
as component locks, identification markers, and
tracking systems, are available at auto supply
stores and specialty shops. Your NISSAN dealer
may also offer such equipment. Check with your
insurance company to see if you may be eligible
for discounts for various theft protection features.
How to arm the vehicle security
system
1. Close all windows.(The system can be
armed even if the windows are open.)
2. Remove the key from the ignition switch.
3. Close all doors. Lock all doors. The doors
can be locked with the key, power door lock
switch or with the keyfob.
Keyfob operation:
cPush the
button on the keyfob.
All doors lock. The hazard lights flash
twice and the horn beeps once to indicate
all doors are locked.
cWhen the
button is pushed with
all doors locked, the hazard lights flash
WIC0834
SECURITY SYSTEMS
2-14Instruments and controls
ZREVIEW COPYÐ2006 Quest(van)
Owners ManualÐUSA_English(nna)
05/27/05Ðtbrooks
X
Page 133 of 352

3 Pre-driving checks and adjustments
Keys .............................................3-2
Nissan vehicle immobilizer system keys...........3-2
Doors............................................3-3
Locking with key................................3-3
Locking with inside lock knob....................3-4
Locking with power door lock switch.............3-5
Operating the manual sliding door
(if so equipped)................................3-5
Using the main ON/OFF switch for the
power sliding door (if so equipped)...............3-6
Operating the power sliding door
(if so equipped)................................3-7
Child safety sliding door lock....................3-9
Remote keyless entry system.......................3-9
How to use remote keyless entry system.........3-10
Hood...........................................3-13
Lift gate.........................................3-14
Operating the manual lift gate...................3-14
Using the main ON/OFF switch for the
power lift gate (if so equipped)..................3-14Operating the power lift gate
(if so equipped)...............................3-15
Lift gate release...............................3-17
Fuel-filler door...................................3-18
Opener operation..............................3-18
Fuel filler cap..................................3-19
Steering wheel...................................3-20
Tilt operation..................................3-20
Pedal position adjustment (if so equipped)..........3-20
Sun visors.......................................3-21
Vanity mirrors.................................3-22
Mirrors..........................................3-22
Inside mirror (if so equipped)....................3-22
Automatic anti-glare rearview mirror
(if so equipped)...............................3-22
Outside mirrors...............................3-23
Automatic drive positioner (if so equipped)..........3-24
Memory storage function.......................3-25
Entry/exit function.............................3-26
System operation..............................3-27
ZREVIEW COPYÐ2006 Quest(van)
Owners ManualÐUSA_English(nna)
05/27/05Ðtbrooks
X
Page 138 of 352

To open a sliding door from the outside, pull out
the outside handle.
The driver side sliding door cannot be opened
fully when the fuel-filler door is open.
USING THE MAIN ON/OFF SWITCH
FOR THE POWER SLIDING DOOR
(if so equipped)
The main ON/OFF switch is located in the over-
head console.
Push the switch ON to enable the door pillar
switches and the power assist feature. An indica-
tor light will illuminate when the switch is in the
ON position.
Push the switch OFF to disable the door pillar
switches and the power assist feature. An indica-
tor light will illuminate when the switch is in the
OFF position.When the switch is in the OFF position, the
sliding door can still be opened with the keyfob or
overhead console switch. The sliding door can
also be opened manually with the inside or out-
side handle.
NOTE:
If the child safety lock is in the lock posi-
tion, the door pillar switch will not operate
the sliding door regardless of the main
ON/OFF switch position.
LPD0222
3-6Pre-driving checks and adjustments
ZREVIEW COPYÐ2006 Quest(van)
Owners ManualÐUSA_English(nna)
05/27/05Ðtbrooks
X
Page 139 of 352
OPERATING THE POWER SLIDING
DOOR (if so equipped)
WARNING
cMake sure that all passengers have
their hands, etc. inside the vehicle be-
fore closing the sliding doors.
cDo not leave children unattended inside
the vehicle. They could unknowingly ac-
tivate switches or controls. Unattended
children could become involved in seri-
ous accidents.NOTE:
To open, close or reverse a power sliding
door, the ignition switch must be OFF, or, if
the ignition switch is ON, the shift selector
lever must be in P (Park) . Also, the power
sliding doors will not operate if battery
voltage is low.
Power Assist:
If the main on/off switch is ON and a sliding door
is unlocked and manually moved toward the open
or close position using the inside or outsidehandle, the power assist feature will be activated
and the door will complete its motion automati-
cally.
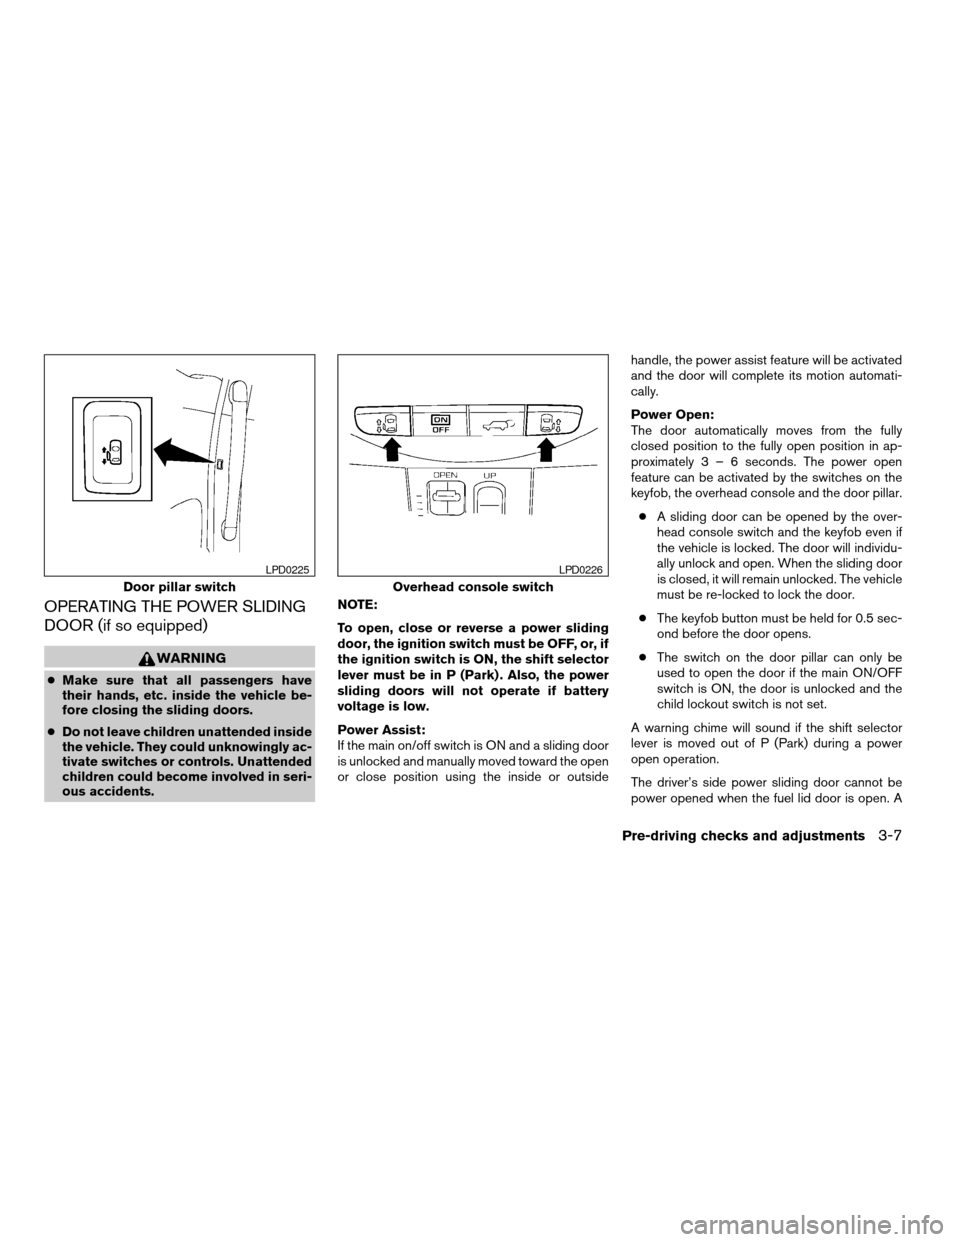
Power Open:
The door automatically moves from the fully
closed position to the fully open position in ap-
proximately3–6seconds. The power open
feature can be activated by the switches on the
keyfob, the overhead console and the door pillar.
cA sliding door can be opened by the over-
head console switch and the keyfob even if
the vehicle is locked. The door will individu-
ally unlock and open. When the sliding door
is closed, it will remain unlocked. The vehicle
must be re-locked to lock the door.
cThe keyfob button must be held for 0.5 sec-
ond before the door opens.
cThe switch on the door pillar can only be
used to open the door if the main ON/OFF
switch is ON, the door is unlocked and the
child lockout switch is not set.
A warning chime will sound if the shift selector
lever is moved out of P (Park) during a power
open operation.
The driver’s side power sliding door cannot be
power opened when the fuel lid door is open. A
Door pillar switch
LPD0225
Overhead console switch
LPD0226
Pre-driving checks and adjustments3-7
ZREVIEW COPYÐ2006 Quest(van)
Owners ManualÐUSA_English(nna)
05/27/05Ðtbrooks
X
Page 150 of 352

Manual lift gate (if so equipped)
If the lift gate cannot be locked or unlocked with
the door lock switch or the keyfob due to a
discharged battery, follow these steps:
1. Remove the cover on the inside of the lift
gate.
2. Move the lever down to lock or up to unlock.
Power lift gate (if so equipped)
If the lift gate cannot be opened with the door
lock switch or keyfob due to a discharged battery,
follow these steps:
1. Remove the cover on the inside of the lift
gate.
2. Move the lever up to open the lift gate.
OPENER OPERATION
The fuel-filler door release is located on the driv-
er’s door. To open the fuel-filler door, push the
release. To lock, close the fuel-filler door se-
curely.
Manual release
LPD0230
Power release
LPD0236LPD0220
FUEL-FILLER DOOR
3-18Pre-driving checks and adjustments
ZREVIEW COPYÐ2006 Quest(van)
Owners ManualÐUSA_English(nna)
05/27/05Ðtbrooks
X
Page 151 of 352
FUEL FILLER CAP
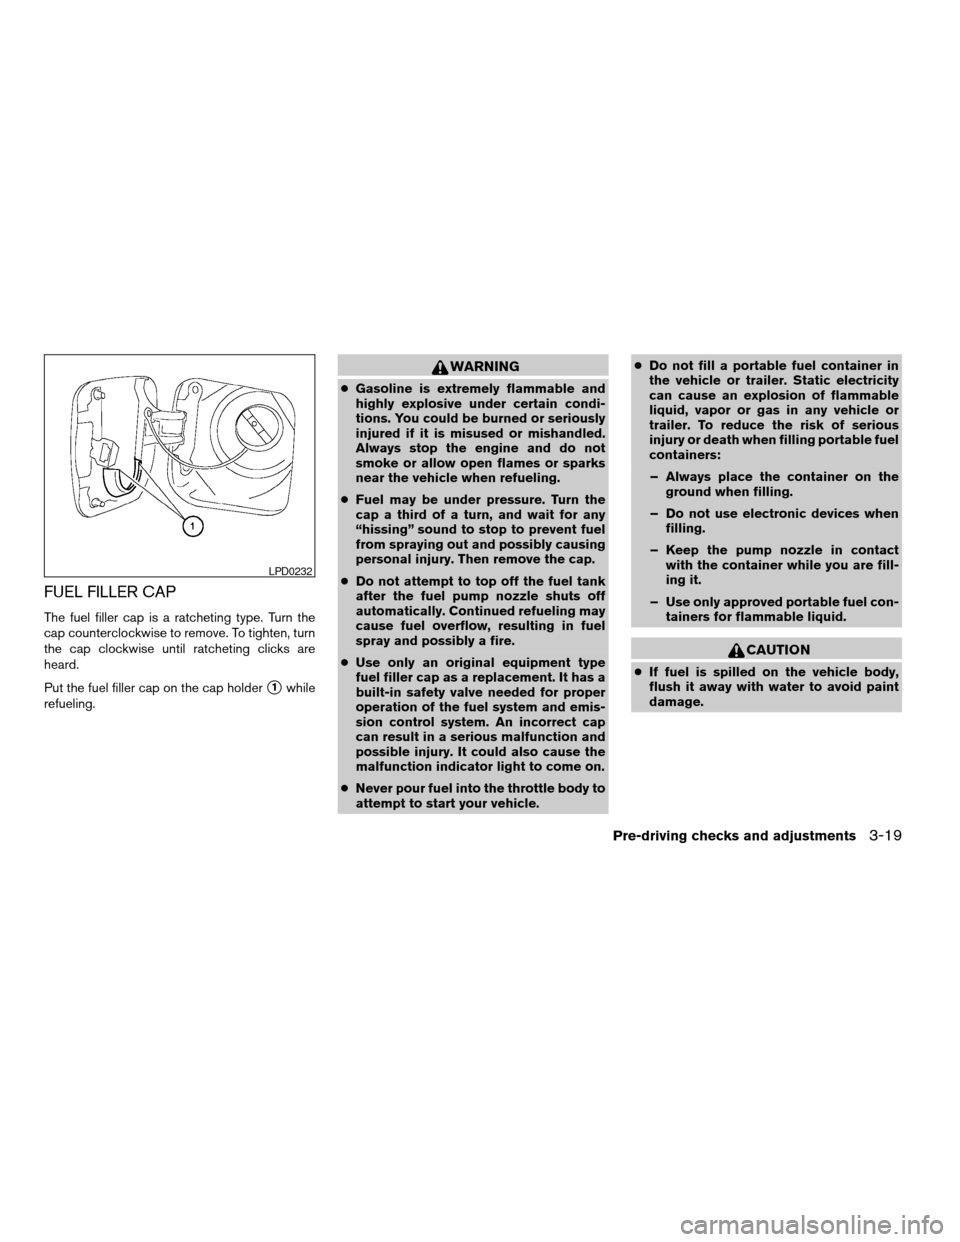
The fuel filler cap is a ratcheting type. Turn the
cap counterclockwise to remove. To tighten, turn
the cap clockwise until ratcheting clicks are
heard.
Put the fuel filler cap on the cap holder
s1while
refueling.
WARNING
cGasoline is extremely flammable and
highly explosive under certain condi-
tions. You could be burned or seriously
injured if it is misused or mishandled.
Always stop the engine and do not
smoke or allow open flames or sparks
near the vehicle when refueling.
cFuel may be under pressure. Turn the
cap a third of a turn, and wait for any
“hissing” sound to stop to prevent fuel
from spraying out and possibly causing
personal injury. Then remove the cap.
cDo not attempt to top off the fuel tank
after the fuel pump nozzle shuts off
automatically. Continued refueling may
cause fuel overflow, resulting in fuel
spray and possibly a fire.
cUse only an original equipment type
fuel filler cap as a replacement. It has a
built-in safety valve needed for proper
operation of the fuel system and emis-
sion control system. An incorrect cap
can result in a serious malfunction and
possible injury. It could also cause the
malfunction indicator light to come on.
cNever pour fuel into the throttle body to
attempt to start your vehicle.cDo not fill a portable fuel container in
the vehicle or trailer. Static electricity
can cause an explosion of flammable
liquid, vapor or gas in any vehicle or
trailer. To reduce the risk of serious
injury or death when filling portable fuel
containers:
– Always place the container on the
ground when filling.
– Do not use electronic devices when
filling.
– Keep the pump nozzle in contact
with the container while you are fill-
ing it.
– Use only approved portable fuel con-
tainers for flammable liquid.
CAUTION
cIf fuel is spilled on the vehicle body,
flush it away with water to avoid paint
damage.
LPD0232
Pre-driving checks and adjustments3-19
ZREVIEW COPYÐ2006 Quest(van)
Owners ManualÐUSA_English(nna)
05/27/05Ðtbrooks
X
Page 152 of 352
cTighten until the fuel filler cap clicks.
Failure to tighten the fuel filler cap
properly may cause the
mal-
function indicator light (MIL) to illumi-
nate. If the
light illuminates be-
cause the fuel filler cap is loose or
missing, tighten or install the cap and
continue to drive the vehicle.
The
light should turn off after a
few driving trips. If the
light
does not turn off after a few driving
trips, have the vehicle inspected by a
NISSAN dealer.
cFor additional information, see the
“Malfunction indicator light (MIL)” in
the “Instruments and Controls” section
earlier in this manual.
TILT OPERATION
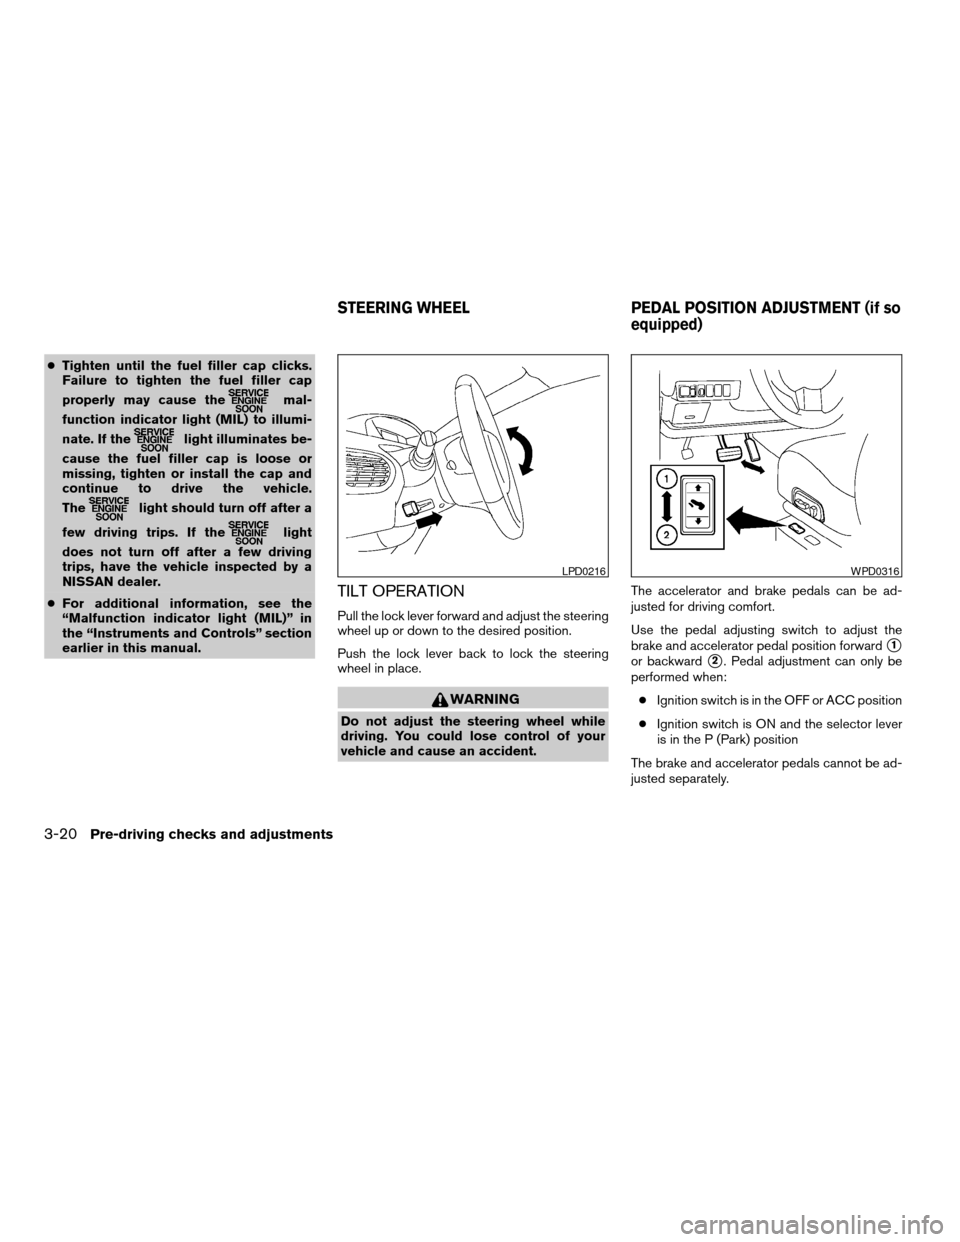
Pull the lock lever forward and adjust the steering
wheel up or down to the desired position.
Push the lock lever back to lock the steering
wheel in place.
WARNING
Do not adjust the steering wheel while
driving. You could lose control of your
vehicle and cause an accident.The accelerator and brake pedals can be ad-
justed for driving comfort.
Use the pedal adjusting switch to adjust the
brake and accelerator pedal position forward
s1
or backwards2. Pedal adjustment can only be
performed when:
cIgnition switch is in the OFF or ACC position
cIgnition switch is ON and the selector lever
is in the P (Park) position
The brake and accelerator pedals cannot be ad-
justed separately.
LPD0216WPD0316
STEERING WHEEL PEDAL POSITION ADJUSTMENT (if so
equipped)
3-20Pre-driving checks and adjustments
ZREVIEW COPYÐ2006 Quest(van)
Owners ManualÐUSA_English(nna)
05/27/05Ðtbrooks
X