Page 89 of 409
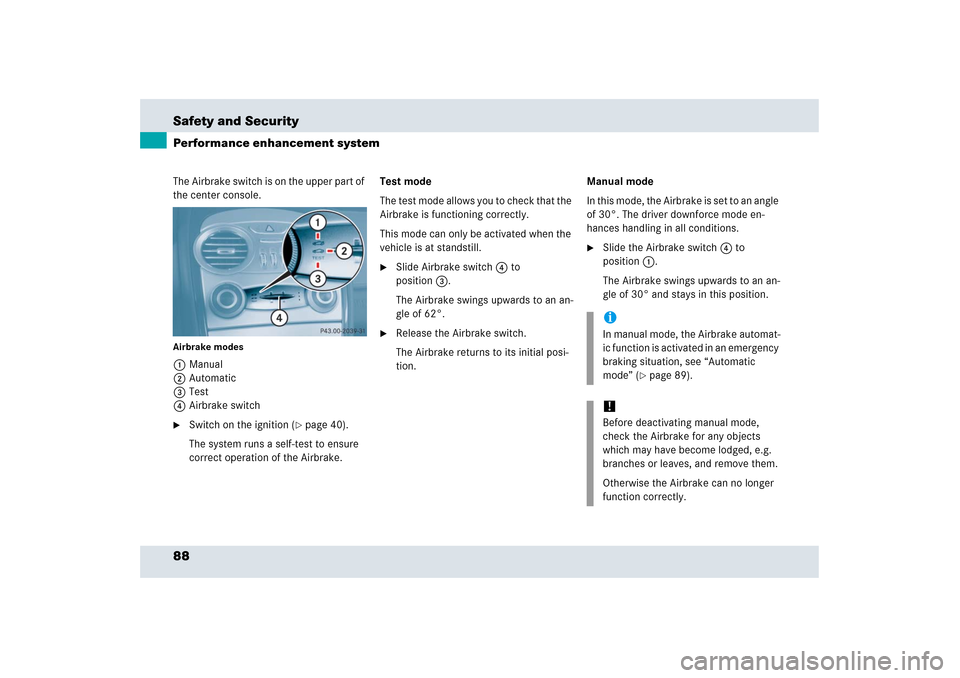
88 Safety and SecurityPerformance enhancement systemThe Airbrake switch is on the upper part of
the center console.Airbrake modes1Manual
2Automatic
3Test
4Airbrake switch�
Switch on the ignition (
�page 40).
The system runs a self-test to ensure
correct operation of the Airbrake.Test mode
The test mode allows you to check that the
Airbrake is functioning correctly.
This mode can only be activated when the
vehicle is at standstill.
�
Slide Airbrake switch4 to
position3.
The Airbrake swings upwards to an an-
gle of 62°.
�
Release the Airbrake switch.
The Airbrake returns to its initial posi-
tion.Manual mode
In this mode, the Airbrake is set to an angle
of 30°. The driver downforce mode en-
hances handling in all conditions.
�
Slide the Airbrake switch4 to
position1.
The Airbrake swings upwards to an an-
gle of 30° and stays in this position.iIn manual mode, the Airbrake automat-
ic function is activated in an emergency
braking situation, see “Automatic
mode” (
�page 89).
!Before deactivating manual mode,
check the Airbrake for any objects
which may have become lodged, e.g.
branches or leaves, and remove them.
Otherwise the Airbrake can no longer
function correctly.
Page 90 of 409
89 Safety and Security
Performance enhancement system
Automatic mode
This mode should be used for normal driv-
ing conditions.�
Slide the Airbrake switch4 to
position2.
With the ignition on, the Airbrake
swings upwards to an angle of 5° and
then returns to its initial position.
When the vehicle exceeds a speed of
60 mph (95 km/h), the Airbrake
swings up to an angle of 10°. Rapid braking
If you need to brake in an emergency from
a speed of more than 60 mph (95 km/h),
the Airbrake automatically swings upwards
to an angle of 62°.
This allows you to achieve the best possi-
ble braking performance in an emergency.
Warning!
G
Hard braking activates the Airbrake which
may block the view through the interior rear
view mirror. In this case, monitor the traffic
behind you through the exterior rear view
mirrors.
Page 91 of 409
90 Safety and SecurityAnti-theft systemsImmobilizer
The immobilizer prevents unauthorized
persons from starting your vehicle.
Activating
Removing the SmartKey from the starter
switch activates the immobilizer.
Deactivating
Inserting the SmartKey in the starter
switch deactivates the immobilizer.
Anti-theft alarm system
Once the alarm system has been armed, a
visual and audible alarm is triggered when
someone opens �
a door
�
the trunk
�
the hood
�
a storage compartment in the rear
�
the storage compartment under the
armrest.The alarm system will also be triggered
when
�
someone attempts to raise the vehicle
�
someone opens a door from the inside
if the vehicle was locked with the
SmartKey
�
someone opens the trunk with the
emergency release button
iIn case the engine cannot be started
(yet the vehicle’s battery is charged),
the system is not operational. Contact
an authorized Mercedes-Benz Center
or call 1-800-FOR-MERCedes (in the
USA), or 1-888-881-6611 (in Canada).
iThe alarm will stay on, even if the acti-
vating element (a door, for example) is
immediately closed.
If the alarm stays on for more than
30 seconds, a call to the Response
Center is initiated automatically by the
Tele Aid system (
�page 215) provided
Tele Aid service was subscribed to and
properly activated, and that necessary
cellular service and GPS coverage are
available.
Page 92 of 409
91 Safety and Security
Anti-theft systems
Arming the alarm system�
Lock the vehicle with the SmartKey.
The turn signal lamps flash three times
to indicate that the alarm system is
activated. The indicator lamp in the
central locking switch (
�page 104) be-
gins to flash after arming the alarm
system.Disarming the alarm system
�
Unlock your vehicle with the SmartKey.
The turn signal lamps flash once to
indicate that the alarm system is
disarmed.Canceling the alarm
To cancel the alarm:
�
Press buttonŒ or‹ on the
SmartKey.
or
�
Insert the SmartKey in the starter
switch.
iIf the turn signal lamps do not flash
three times, one of the following
elements may not be properly closed:�
a door
�
the trunk
�
the hood
Close the respective element and lock
the vehicle again.
iThe alarm system will rearm automati-
cally after approximately 40 seconds if
neither a door nor the trunk lid was
opened.
Page 93 of 409
92 Safety and SecurityAnti-theft systemsTow-away alarm
Once the tow-away alarm is armed, a visual
and audible alarm will be triggered when
someone attempts to raise the vehicle.Arming tow-away alarm
�
Lock your vehicle with the SmartKey.
The tow-away alarm is automatically
armed after about 30 seconds.Disarming tow-away alarm
To prevent triggering the tow-away alarm,
switch off the tow-away alarm feature
before towing the vehicle, or when parking
on a surface subject to movement, such as
a ferry or auto train.
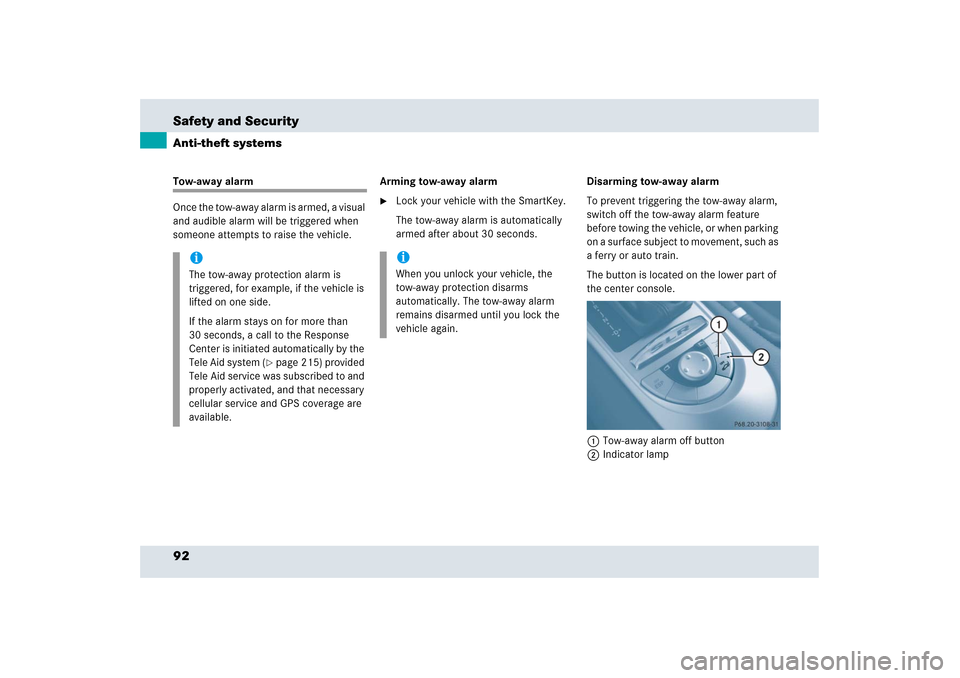
The button is located on the lower part of
the center console.
1Tow-away alarm off button
2Indicator lamp
iThe tow-away protection alarm is
triggered, for example, if the vehicle is
lifted on one side.
If the alarm stays on for more than
30 seconds, a call to the Response
Center is initiated automatically by the
Tele Aid system (
�page 215) provided
Tele Aid service was subscribed to and
properly activated, and that necessary
cellular service and GPS coverage are
available.
iWhen you unlock your vehicle, the
tow-away protection disarms
automatically. The tow-away alarm
remains disarmed until you lock the
vehicle again.
Page 94 of 409
93 Safety and Security
Anti-theft systems
�
Switch off the ignition and remove the
SmartKey.
�
Press button 1.
Indicator lamp2 in button1 comes
on briefly.
�
Exit and lock your vehicle with the
SmartKey.
The tow-away alarm remains disarmed
until you lock your vehicle again.Canceling the alarm
To cancel the alarm:
�
Press buttonŒ or‹ on the
SmartKey.
or
�
Insert the SmartKey in the starter
switch.
iYou cannot disarm the tow-away alarm
while the ignition is switched on.
Page 109 of 409
108 Controls in detailLightingLocator lighting and night security
illumination
The locator lighting and the night security
illumination are described in the “Control
system” section, see “Setting locator light-
ing” (
�page 133) and “Setting night secu-
rity illumination” (
�page 134).
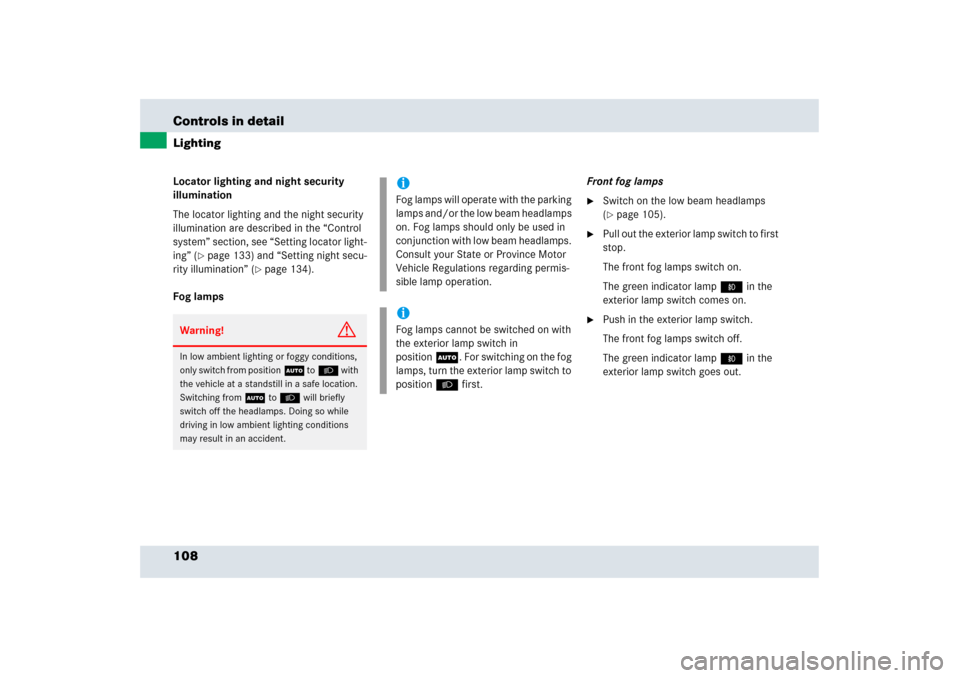
Fog lampsFront fog lamps
�
Switch on the low beam headlamps
(�page 105).
�
Pull out the exterior lamp switch to first
stop.
The front fog lamps switch on.
The green indicator lamp‡ in the
exterior lamp switch comes on.
�
Push in the exterior lamp switch.
The front fog lamps switch off.
The green indicator lamp‡ in the
exterior lamp switch goes out.
Warning!
G
In low ambient lighting or foggy conditions,
only switch from positionU toB with
the vehicle at a standstill in a safe location.
Switching fromU toB will briefly
switch off the headlamps. Doing so while
driving in low ambient lighting conditions
may result in an accident.
iFog lamps will operate with the parking
lamps and/or the low beam headlamps
on. Fog lamps should only be used in
conjunction with low beam headlamps.
Consult your State or Province Motor
Vehicle Regulations regarding permis-
sible lamp operation.iFog lamps cannot be switched on with
the exterior lamp switch in
positionU. For switching on the fog
lamps, turn the exterior lamp switch to
positionB first.
Page 133 of 409
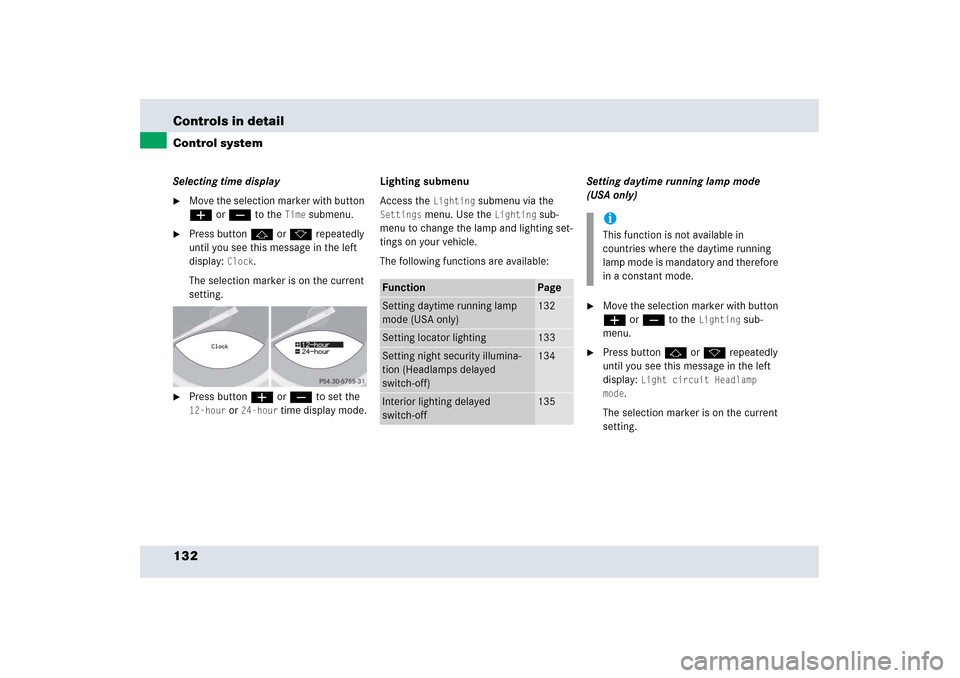
132 Controls in detailControl systemSelecting time display�
Move the selection marker with button
æ or ç to the
Time
submenu.
�
Press button j or k repeatedly
until you see this message in the left
display:
Clock
.
The selection marker is on the current
setting.
�
Press button æ or ç to set the 12-hour
or
24-hour
time display mode.Lighting submenu
Access the
Lighting
submenu via the
Settings
menu. Use the
Lighting
sub-
menu to change the lamp and lighting set-
tings on your vehicle.
The following functions are available:Setting daytime running lamp mode
(USA only)
�
Move the selection marker with button
æ or ç to the
Lighting
sub-
menu.
�
Press button j or k repeatedly
until you see this message in the left
display:
Light circuit Headlamp
mode
.
The selection marker is on the current
setting.
Function
Page
Setting daytime running lamp
mode (USA only)
132
Setting locator lighting
133
Setting night security illumina-
tion (Headlamps delayed
switch-off)
134
Interior lighting delayed
switch-off
135
iThis function is not available in
countries where the daytime running
lamp mode is mandatory and therefore
in a constant mode.