Page 245 of 409
244 OperationEngine compartmentHood OpeningWarning!
G
Do not pull the release lever while the
vehicle is in motion. Otherwise the hood
could be forced open by passing air flow.Warning!
G
The exhaust areas on the engine hood and
between the doors and front wheels get very
hot. Avoid contact with them, otherwise
there is the risk of severe burns.
Warning!
G
To help prevent personal injury, stay clear of
moving parts when the hood is open and the
engine is running. Make sure the hood is
properly closed before driving. When closing
the hood, use extreme caution not to catch
hands or fingers.
The radiator fan may also start at any time
automatically, even after the SmartKey has
been removed from the starter switch. Stay
clear of fan blades.Warning!
G
Engine components may become very hot.
Avoid contact with them, otherwise there is
the risk of severe burns.
Warning!
G
The engine is equipped with a transistorized
ignition system. Because of the high voltage
it is dangerous to touch any components
(ignition coils, spark plug sockets, diagnos-
tic socket) of the ignition system�
with the engine running
�
while starting the engine
�
if ignition is “on” and the engine is
turned manually
Page 286 of 409
285 Operation
Tires and wheels
Thoroughly clean the mounting face of
wheels and brake disks, i.e. the inner side
of the wheels/tires, during each rotation.
Check for and ensure proper tire inflation
pressure.
For information on wheel change, see the
“Practical hints” section (
�page 351).
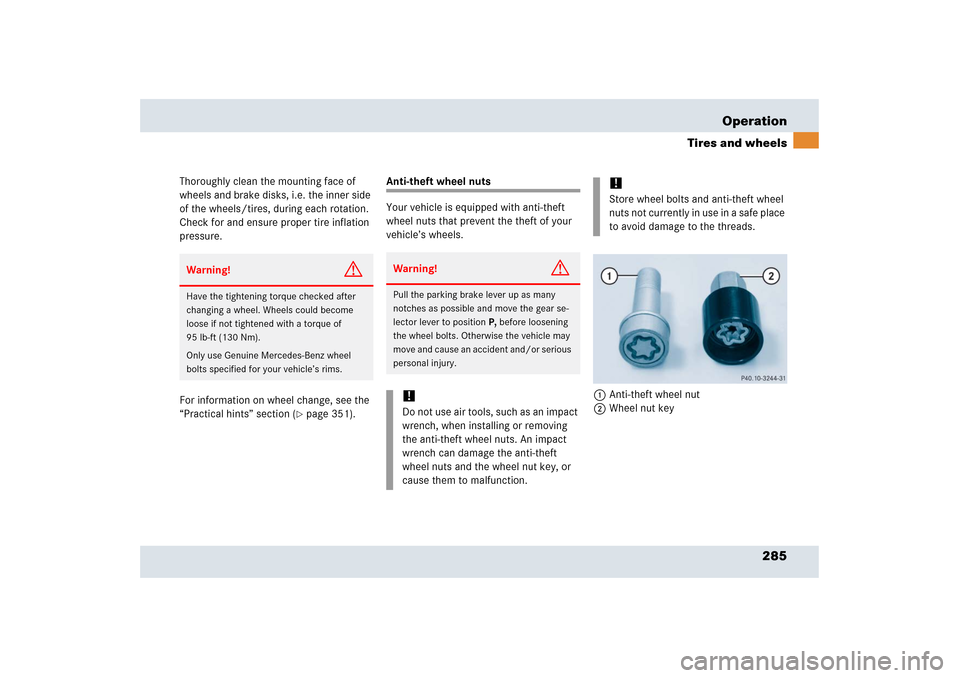
Anti-theft wheel nuts
Your vehicle is equipped with anti-theft
wheel nuts that prevent the theft of your
vehicle’s wheels.
1Anti-theft wheel nut
2Wheel nut key
Warning!
G
Have the tightening torque checked after
changing a wheel. Wheels could become
loose if not tightened with a torque of
95 lb-ft (130 Nm).
Only use Genuine Mercedes-Benz wheel
bolts specified for your vehicle’s rims.
Warning!
G
Pull the parking brake lever up as many
notches as possible and move the gear se-
lector lever to positionP, before loosening
the wheel bolts. Otherwise the vehicle may
move and cause an accident and/or serious
personal injury. !Do not use air tools, such as an impact
wrench, when installing or removing
the anti-theft wheel nuts. An impact
wrench can damage the anti-theft
wheel nuts and the wheel nut key, or
cause them to malfunction.
!Store wheel bolts and anti-theft wheel
nuts not currently in use in a safe place
to avoid damage to the threads.
Page 287 of 409
286 OperationTires and wheelsRemoving anti-theft wheel nuts�
Unscrew anti-theft wheel nut1 using
wheel nut key2.
�
Replace anti-theft wheel nut1 with
one of the regular wheel bolts.
�
Fasten the wheel bolt and tighten it
with a torque wrench to a tightening
torque of 95 lb-ft (130 Nm).Fitting anti-theft wheel nuts
�
Unscrew a wheel bolt from one of the
wheels.
�
Replace that wheel bolt with one of the
anti-theft wheel nuts1 delivered with
your vehicle.
�
Fasten anti-theft wheel nut1 using
wheel nut key2 and tighten with a
torque wrench to a tightening torque of
95 lb-ft (130 Nm).
Warning!
G
The wheels could come loose if the wheel
bolts are not tightened to a torque of 95 lb-ft
(130 Nm). Have the tightening torque
checked after changing a wheel.
Warning!
G
The wheels could come loose if the wheel
bolts are not tightened to a torque of 95 lb-ft
(130 Nm). Have the tightening torque
checked after changing a wheel.
iKeep the anti-theft wheel nut key in a
convenient place in your vehicle where
you and service personnel can always
find it easily when it is needed.iIf you should lose the anti-theft wheel
nut key or one of the anti-theft wheel
nuts, please contact an authorized
Mercedes-Benz Center for a replace-
ment.
Page 295 of 409
294 OperationVehicle careWiper blades
�
Remove the SmartKey from the starter
switch.
�
Fold the wiper arm away from the wind-
shield (
�page 350).
You must feel the wiper arm engage in
position. You can now clean the wiper
blade.
�
Clean the wiper blade inserts with a
clean cloth and detergent solution.
�
After cleaning the wiper blade, fold the
windshield wipers back again before
turning the SmartKey in the starter
switch.Window cleaning
!The hood must be opened
(�page 244) before folding the wiper
arm away from the windshield. You
could otherwise damage the hood
and/or the wiper arms.
!Never open or close the hood when the
wiper arms are folded away from the
windshield. You could otherwise dam-
age the hood and/or the wiper arm. Warning!
G
For safety reasons, switch off wipers and
remove SmartKey from starter switch
before cleaning the wiper blades. Otherwise
the wiper motor could suddenly turn on and
cause injury.
!Fold the windshield wiper arms back
onto the windshield before turning the
SmartKey in the starter switch.
Hold on to the wiper when folding the
wiper arm back. If released, the force
of the impact from the tensioning
spring could crack the windshield.
!The hood must be opened
(�page 244) before folding the wiper
arm away from the windshield. You
could otherwise damage the hood
and/or the wiper arms.
!Never open or close the hood when the
wiper arms are folded away from the
windshield. You could otherwise dam-
age the hood and/or the wiper arm. Warning!
G
For safety reasons, switch off wipers and
remove SmartKey from starter switch
before cleaning the windshield. Otherwise
the wiper motor could suddenly turn on and
cause injury.
Page 296 of 409
295 Operation
Vehicle care
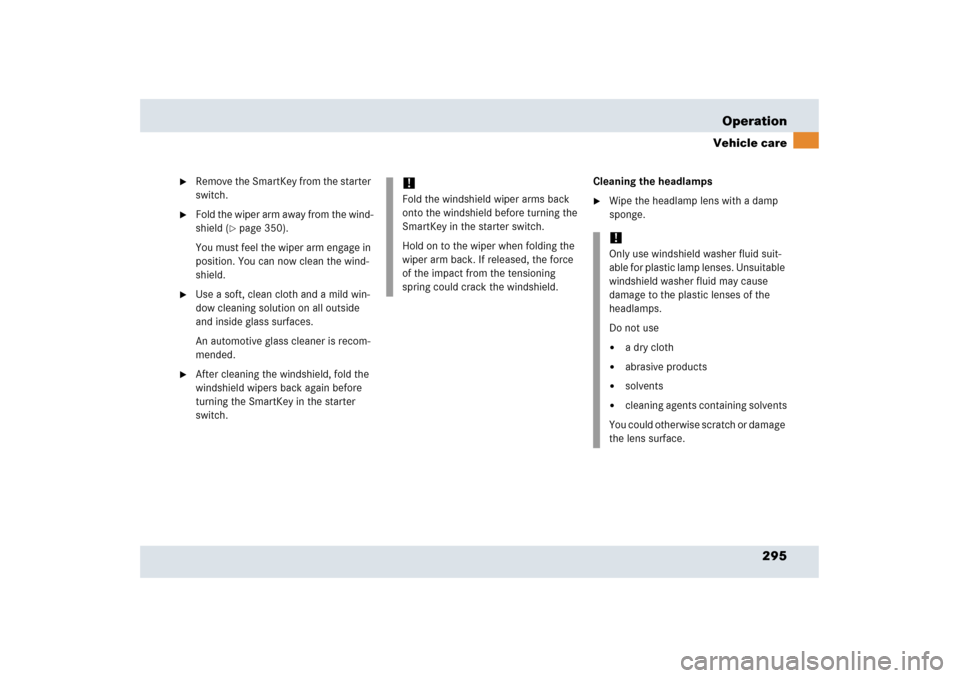
�
Remove the SmartKey from the starter
switch.
�
Fold the wiper arm away from the wind-
shield (
�page 350).
You must feel the wiper arm engage in
position. You can now clean the wind-
shield.
�
Use a soft, clean cloth and a mild win-
dow cleaning solution on all outside
and inside glass surfaces.
An automotive glass cleaner is recom-
mended.
�
After cleaning the windshield, fold the
windshield wipers back again before
turning the SmartKey in the starter
switch.Cleaning the headlamps
�
Wipe the headlamp lens with a damp
sponge.
!Fold the windshield wiper arms back
onto the windshield before turning the
SmartKey in the starter switch.
Hold on to the wiper when folding the
wiper arm back. If released, the force
of the impact from the tensioning
spring could crack the windshield.
!Only use windshield washer fluid suit-
able for plastic lamp lenses. Unsuitable
windshield washer fluid may cause
damage to the plastic lenses of the
headlamps.
Do not use�
a dry cloth
�
abrasive products
�
solvents
�
cleaning agents containing solvents
You could otherwise scratch or damage
the lens surface.
Page 297 of 409
Practical hintsWhat to do if ...
Where will I find ...?
Unlocking in an emergency
Replacing SmartKey batteries
Replacing bulbs
Replacing the wiper blades
Flat tire
Batteries
Towing the vehicle
Fuses
Page 319 of 409
318 Practical hintsWhat to do if ...Left display
Right display
Possible cause/
consequence
Possible solution
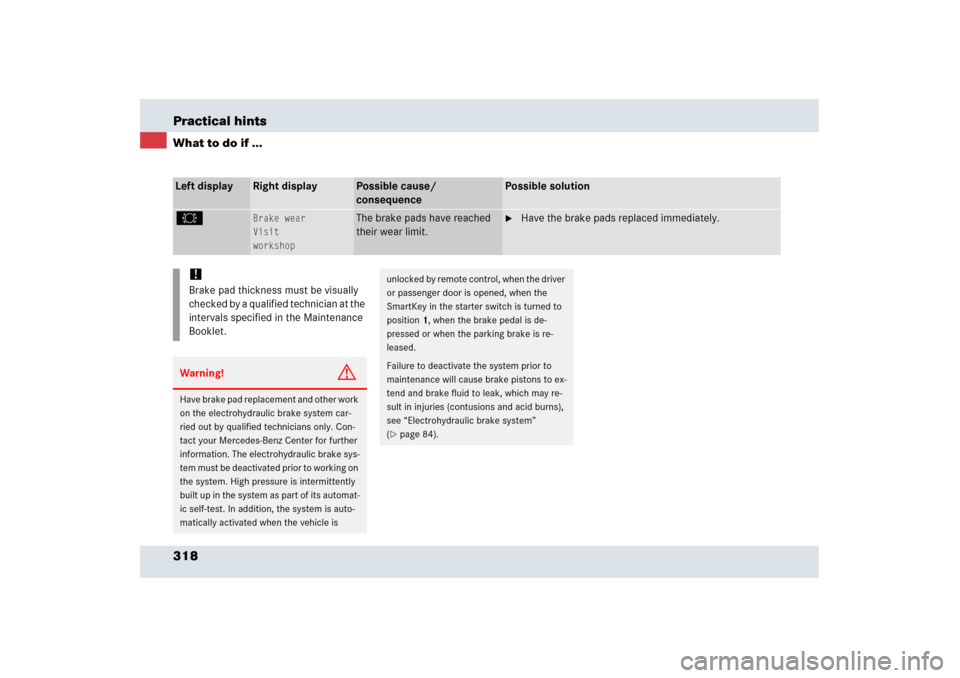
2
Brake wear
Visit
workshop
The brake pads have reached
their wear limit.
�
Have the brake pads replaced immediately.
!Brake pad thickness must be visually
checked by a qualified technician at the
intervals specified in the Maintenance
Booklet.Warning!
G
Have brake pad replacement and other work
on the electrohydraulic brake system car-
ried out by qualified technicians only. Con-
tact your Mercedes-Benz Center for further
information. The electrohydraulic brake sys-
tem must be deactivated prior to working on
the system. High pressure is intermittently
built up in the system as part of its automat-
ic self-test. In addition, the system is auto-
matically activated when the vehicle is
unlocked by remote control, when the driver
or passenger door is opened, when the
SmartKey in the starter switch is turned to
position1, when the brake pedal is de-
pressed or when the parking brake is re-
leased.
Failure to deactivate the system prior to
maintenance will cause brake pistons to ex-
tend and brake fluid to leak, which may re-
sult in injuries (contusions and acid burns),
see “Electrohydraulic brake system”
(�page 84).
Page 330 of 409
329 Practical hints
What to do if ...
Left display
Right display
Possible cause/
consequence
Possible solution
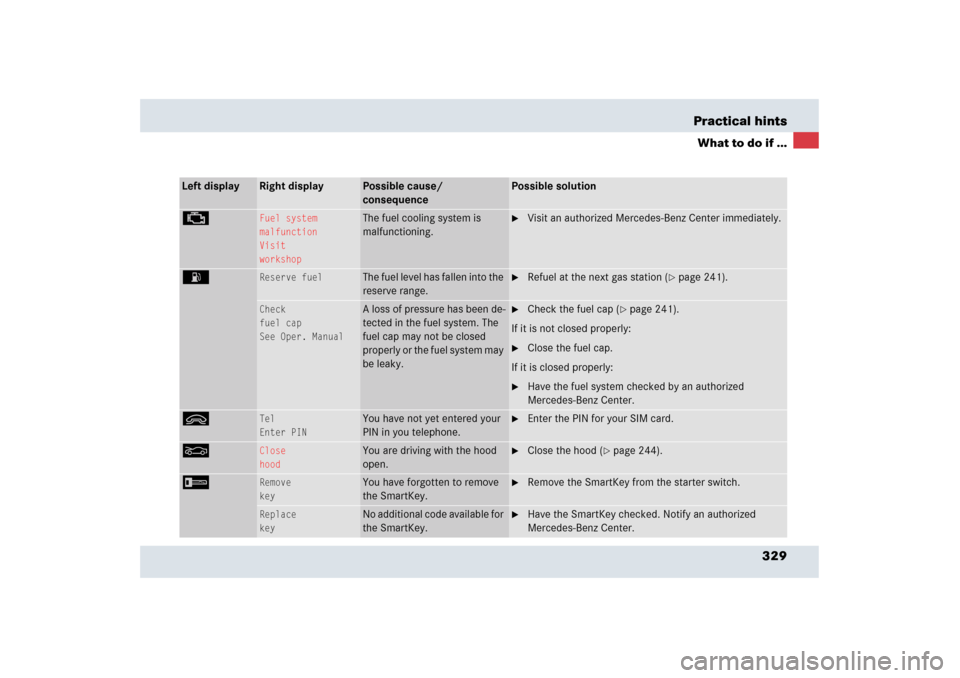
±
Fuel system
malfunction
Visit
workshop
The fuel cooling system is
malfunctioning.
�
Visit an authorized Mercedes-Benz Center immediately.
A
Reserve fuel
The fuel level has fallen into the
reserve range.
�
Refuel at the next gas station (
�page 241).
Check
fuel cap
See Oper. Manual
A loss of pressure has been de-
tected in the fuel system. The
fuel cap may not be closed
properly or the fuel system may
be leaky.
�
Check the fuel cap (
�page 241).
If it is not closed properly:
�
Close the fuel cap.
If it is closed properly:
�
Have the fuel system checked by an authorized
Mercedes-Benz Center.
ì
Tel
Enter PIN
You have not yet entered your
PIN in you telephone.
�
Enter the PIN for your SIM card.
O
Close
hood
You are driving with the hood
open.
�
Close the hood (
�page 244).
I
Remove
key
You have forgotten to remove
the SmartKey.
�
Remove the SmartKey from the starter switch.
Replace
key
No additional code available for
the SmartKey.
�
Have the SmartKey checked. Notify an authorized
Mercedes-Benz Center.