Page 136 of 481
135 Controls in detail
Control system
Submenus in the Settings menu�
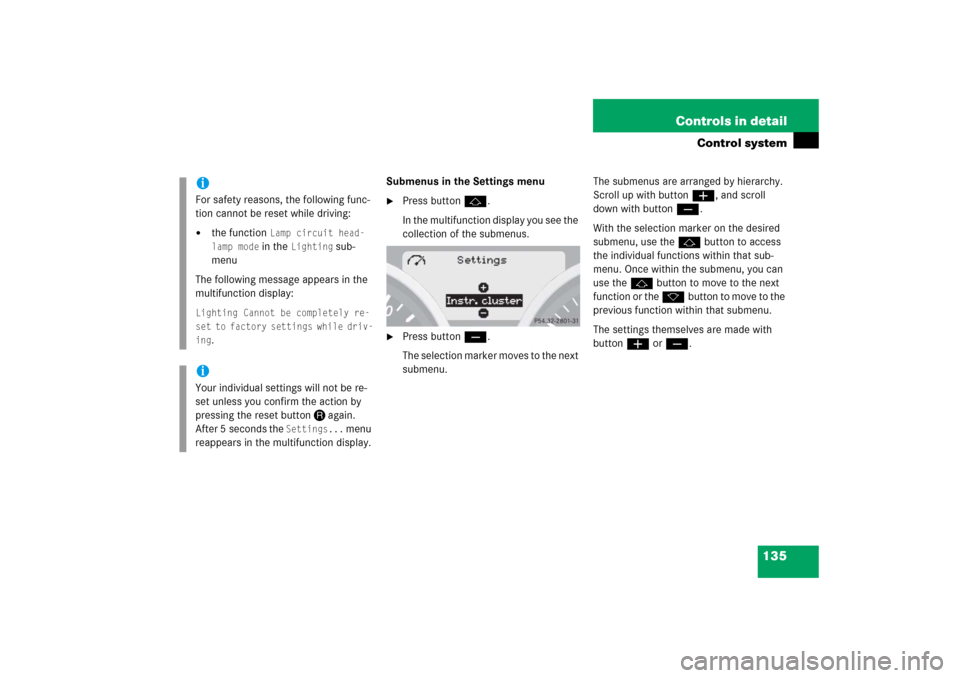
Press buttonj.
In the multifunction display you see the
collection of the submenus.
�
Press buttonç.
The selection marker moves to the next
submenu.The submenus are arranged by hierarchy.
Scroll up with buttonæ, and scroll
down with buttonç.
With the selection marker on the desired
submenu, use thejbutton to access
the individual functions within that sub-
menu. Once within the submenu, you can
use the jbutton to move to the next
function or the kbutton to move to the
previous function within that submenu.
The settings themselves are made with
buttonæorç.
iFor safety reasons, the following func-
tion cannot be reset while driving:�
the function
Lamp circuit head-
lamp mode in the
Lighting
sub-
menu
The following message appears in the
multifunction display:
Lighting Cannot be completely re-
set to factory settings while driv-
ing
.
iYour individual settings will not be re-
set unless you confirm the action by
pressing the reset buttonJagain.
After 5 seconds the
Settings...
menu
reappears in the multifunction display.
Page 137 of 481
136 Controls in detailControl systemThe table below shows what settings can
be changed within the various submenus.Detailed instructions on making individual
settings can be found on the following
pages.Instrument cluster
Time/Date
Lighting
Vehicle
Convenience*
(�page 137)
(�page 139)
(�page 143)
(�page 147)
(�page 147)
Selecting digital speed-
ometer display mode
Time synchronization
with head unit*
Daytime running lamp
mode (USA only)
Setting automatic locking
Activating
easy-entry/exit feature*
Selecting language
Setting the time (hours)
Locator lighting
Setting parking position
for exterior rear view
mirror*
Selecting display (speed
display or outside
temperature) for status
indicator
Setting the time
(minutes)
Night security
illumination
Setting the date (month)
Interior lighting delayed
shut-off
Setting the date (day)Setting the date (year)
Page 138 of 481
137 Controls in detail
Control system
Instrument cluster submenu
Access the
Instr. cluster
submenu via
the
Settings...
menu. Use the
Instr.
cluster
submenu to change the instru-
ment cluster display settings. The follow-
ing functions are available:Selecting digital speedometer display
mode
�
Move the selection marker with
buttonæorç to the
Instr.
cluster
submenu.
�
Press buttonjork repeatedly
until you see
Display unit Digital
speedometer in the multifunction dis-
play.
The selection marker is on the current
setting.
�
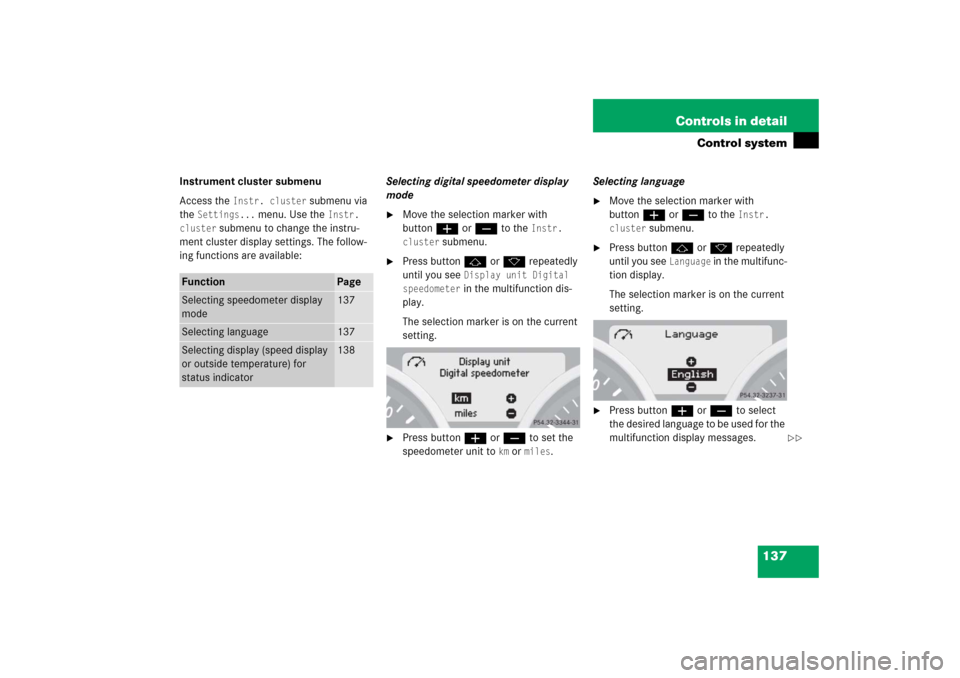
Press buttonæorç to set the
speedometer unit to
km or
miles
.Selecting language
�
Move the selection marker with
buttonæorç to the
Instr.
cluster
submenu.
�
Press buttonjork repeatedly
until you see
Language
in the multifunc-
tion display.
The selection marker is on the current
setting.
�
Press buttonæorç to select
the desired language to be used for the
multifunction display messages.
Function
Page
Selecting speedometer display
mode
137
Selecting language
137
Selecting display (speed display
or outside temperature) for
status indicator
138
��
Page 144 of 481
143 Controls in detail
Control system
Lighting submenu
Access the
Lighting
submenu via the
Settings...
menu. Use the
Lighting
sub-
menu to change the lamp and lighting set-
tings on your vehicle.
The following functions are available:Daytime running lamp mode (USA only)
�
Move the selection marker with
buttonæorç to the
Lighting
submenu.
�
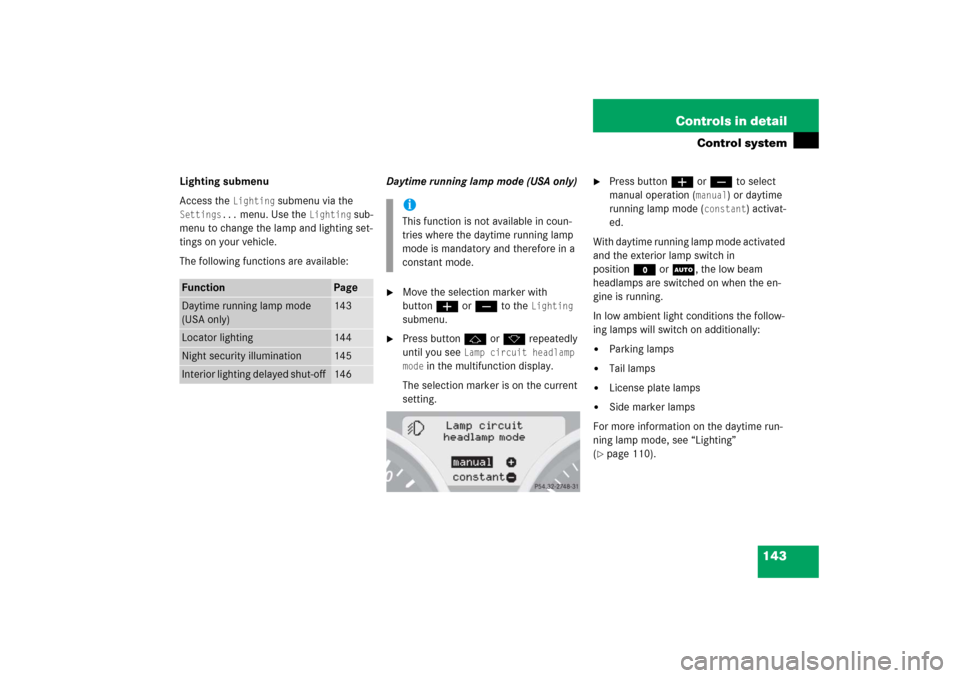
Press buttonjork repeatedly
until you see
Lamp circuit headlamp
mode
in the multifunction display.
The selection marker is on the current
setting.
�
Press buttonæorç to select
manual operation (
manual
) or daytime
running lamp mode (
constant
) activat-
ed.
With daytime running lamp mode activated
and the exterior lamp switch in
positionMorU, the low beam
headlamps are switched on when the en-
gine is running.
In low ambient light conditions the follow-
ing lamps will switch on additionally:
�
Parking lamps
�
Tail lamps
�
License plate lamps
�
Side marker lamps
For more information on the daytime run-
ning lamp mode, see “Lighting”
(
�page 110).
Function
Page
Daytime running lamp mode
(USA only)
143
Locator lighting
144
Night security illumination
145
Interior lighting delayed shut-off
146
iThis function is not available in coun-
tries where the daytime running lamp
mode is mandatory and therefore in a
constant mode.
Page 145 of 481

144 Controls in detailControl system
Locator lighting
With the locator lighting feature activated
and the exterior lamp switch in
positionU, the following lamps will
switch on during darkness when the vehi-
cle is unlocked with the SmartKey:�
Parking lamps
�
Tail lamps
�
License plate lamps
�
Side marker lamps
�
Front fog lamps
The locator lighting switches off when the
driver’s door is opened.
If you do not open a door after unlocking
the vehicle with the SmartKey, the lamps
will switch off automatically after approxi-
mately 40 seconds.
�
Move the selection marker with
buttonæorç to the
Lighting
submenu.
�
Press buttonjork repeatedly
until you see
Function Surround
lighting
in the multifunction display.
The selection marker is on the current
setting.
�
Press buttonæorç to switch
the locator lighting function
On.
�
Turn the exterior lamp switch to
positionU when exiting the vehicle
(�page 55).
The locator lighting feature is
activated.
iFor safety reasons, resetting all the
functions of all submenus to the facto-
ry settings while driving (
�page 134)
will not deactivate the daytime running
lamp mode.
The following message appears in the
multifunction display:
Lighting Cannot be completely
reset to factory settings while
driving
.
Page 154 of 481
153 Controls in detail
Control system
Dialing a number from the phone book
If your telephone is ready to receive calls,
you may select and dial a number from the
phone book at any time.�
Press buttonèorÿ repeatedly
until you see the
TEL
menu and the
standby message in the multifunction
display.
�
Press buttonjork.
The control system reads the phone
book which is stored in the telephone.
This may take up to 30 seconds. In the
multifunction display you will see the
message
Please wait
.
When the message
Please wait
disap-
pears, the phone book has been load-
ed.
�
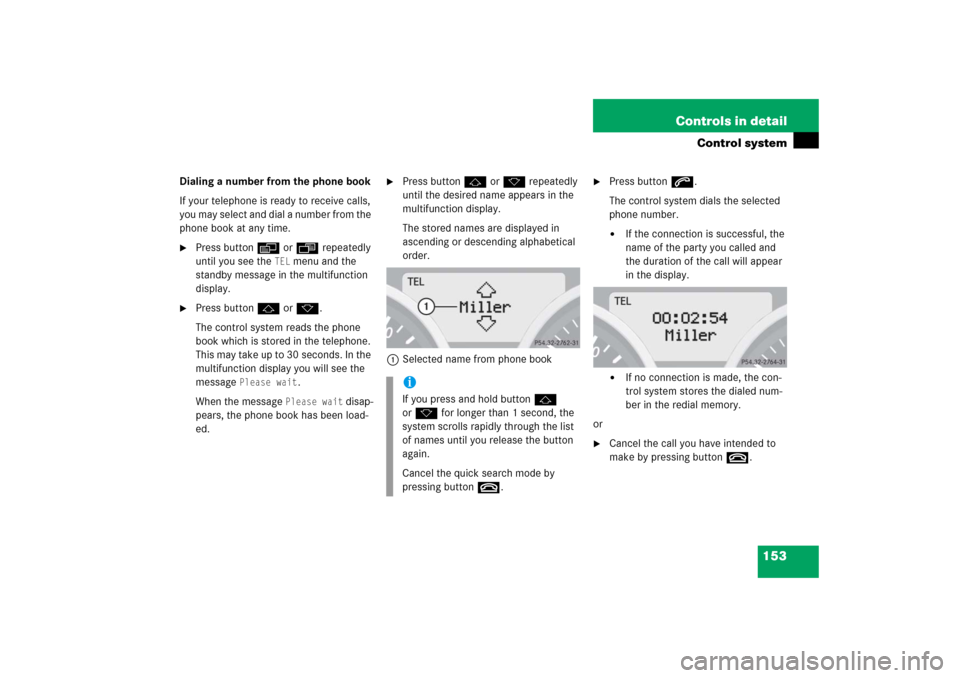
Press buttonjork repeatedly
until the desired name appears in the
multifunction display.
The stored names are displayed in
ascending or descending alphabetical
order.
1Selected name from phone book
�
Press buttons.
The control system dials the selected
phone number.�
If the connection is successful, the
name of the party you called and
the duration of the call will appear
in the display.
�
If no connection is made, the con-
trol system stores the dialed num-
ber in the redial memory.
or
�
Cancel the call you have intended to
make by pressing buttont.
iIf you press and hold buttonj
ork for longer than 1 second, the
system scrolls rapidly through the list
of names until you release the button
again.
Cancel the quick search mode by
pressing buttont.
Page 156 of 481
155 Controls in detail
Manual transmission
�Manual transmission
Manual transmission is standard equip-
ment on select models and not available
on all models.
For information on driving with a manual
transmission, see “Manual transmission”
(�page 51).
Warning!
G
For vehicles equipped with a manual trans-
mission, getting out of your vehicle with the
gearshift lever not engaged in first or re-
verse gear and parking brake engaged is
dangerous.
Also, when parked on an incline, an engaged
first or reverse gear alone may not prevent
your vehicle from moving, possibly hitting
people or objects.
Always set the parking brake in addition to
engaging first or reverse gear (
�page 59).
When parked on an incline, turn front wheels
towards the road curb.
Do not park this vehicle in areas where com-
bustible materials such as grass, hay or
leaves can come into contact with the hot
exhaust system, as these materials could be
ignited and cause a vehicle fire.
Warning!
G
When leaving the vehicle, always remove the
SmartKey from the starter switch, take it
with you, and lock the vehicle. Do not leave
children unattended in the vehicle, or with
access to an unlocked vehicle. Children
could move the gearshift lever, which could
result in an accident and/or serious injury.Warning!
G
On slippery road surfaces, never downshift
in order to obtain braking action.
This could result in drive wheel slip and re-
duced vehicle control. Your vehicle’s ABS
will not prevent this type of loss of control.
Page 158 of 481

157 Controls in detail
Automatic transmission*
�Automatic transmission*
For more information on driving with an
automatic transmission, see “Automatic
transmission*” (
�page 51).
Your vehicle’s transmission adapts its gear
shifting process to your individual driving
style by continually adjusting the shift
points up or down. These shift point adjust-
ments are performed based on current
operating and driving conditions.
If the operating conditions change, the
automatic transmission reacts by
adjusting its shift program.
Gearshift pattern for automatic
transmission
The automatic transmission selects indi-
vidual gears automatically, depending on:�
the gear selector lever
positionD(
�page 159) with
gear ranges (�page 160)
�
the selected program mode:
(C/S) (
�page 163)
or
(M/C/S) (SLK 55 AMG only)
(
�page 169)
�
the position of the accelerator pedal
(�page 162)
�
the vehicle speed
iDuring the brief warm-up, transmission
upshifting is delayed. This allows the
catalytic converter to heat up more
quickly to operating temperature.