Page 319 of 514

318 OperationAt the gas stationRefueling
The fuel filler flap is located on the
right-hand side of the vehicle towards the
rear. Locking/unlocking the vehicle with
the SmartKey or the SmartKey with
KEYLESS-GO* automatically locks/un-
locks the fuel filler flap.1To open the fuel filler flap
2To insert the fuel filler cap
�
Turn the engine off�
by turning the SmartKey to
position0. Remove the SmartKey
from the starter switch.
�
by pressing the KEYLESS-GO*
start/stop button. Open the driv-
er’s door (with driver’s door open,
starter switch is now in position0,
same as with SmartKey removed
from starter switch).
�
Open the fuel filler flap by pushing at
the point indicated by the arrow1.
The fuel filler flap springs open.
�
Turn fuel cap counterclockwise and
hold on to it until possible pressure is
released.
�
Take off cap and set it in direction of
arrow2 in the recess on the fuel filler
flap.
To prevent fuel vapors from escaping
into open air, fully insert filler nozzle
unit.
�
Only fill your tank until the filler nozzle
unit cuts out – do not top up or
overfill.
Warning!
G
Gasoline is highly flammable and poisonous.
It burns violently and can cause serious inju-
ry. Whenever you are around gasoline, avoid
inhaling fumes and skin contact, extinguish
all smoking materials. Never allow sparks,
flame or smoking materials near gasoline!
Failure to remove the fuel cap slowly could
result in personal injury.
Page 320 of 514
319 Operation
At the gas station
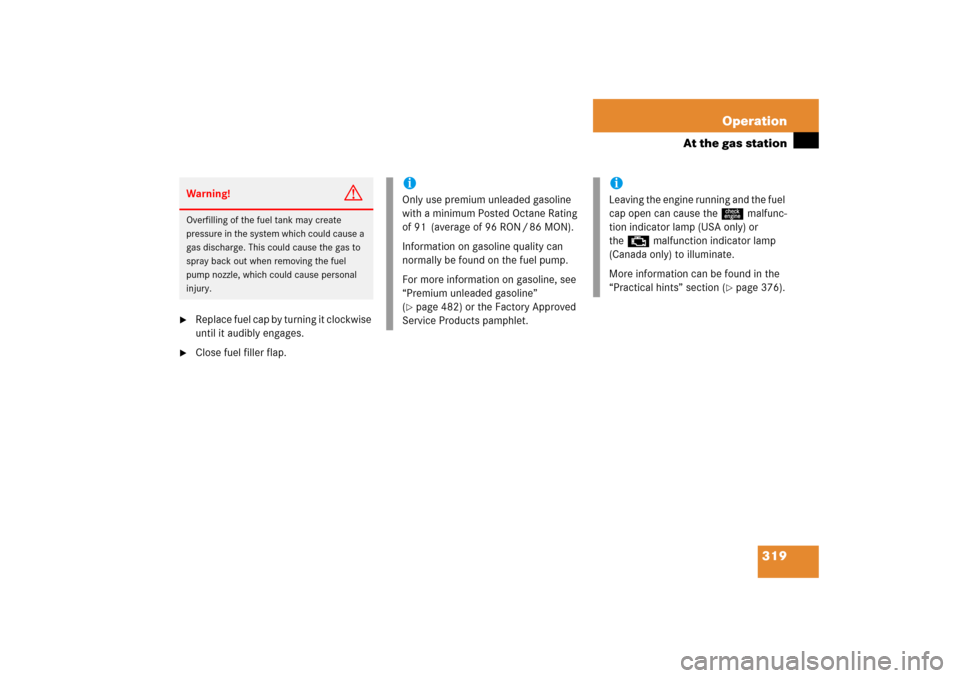
�
Replace fuel cap by turning it clockwise
until it audibly engages.
�
Close fuel filler flap.Warning!
G
Overfilling of the fuel tank may create
pressure in the system which could cause a
gas discharge. This could cause the gas to
spray back out when removing the fuel
pump nozzle, which could cause personal
injury.
iOnly use premium unleaded gasoline
with a minimum Posted Octane Rating
of 91 (average of 96 RON / 86 MON).
Information on gasoline quality can
normally be found on the fuel pump.
For more information on gasoline, see
“Premium unleaded gasoline”
(�page 482) or the Factory Approved
Service Products pamphlet.
iLeaving the engine running and the fuel
cap open can cause theú malfunc-
tion indicator lamp (USA only) or
the± malfunction indicator lamp
(Canada only) to illuminate.
More information can be found in the
“Practical hints” section (
�page 376).
Page 415 of 514

414 Practical hintsWhere will I find...?Removing the vehicle tool kit�
Lift up trunk floor cover and engage
trunk floor handle in upper edge of
trunk.
1Retaining screw
2Storage well casing
�
Loosen retaining screw 1 in the mid-
dle of storage well casing 2 by turning
it counterclockwise.
�
Remove storage well casing2.3Arrow
4Minispare wheel
5Vehicle tool kit storage well casing
6Vehicle tool kit
�
Remove vehicle tool kit6.
Storing the vehicle tool kit
�
Place vehicle tool kit6 in vehicle tool
kit storage well casing5.
�
Place storage well casing2 over the
vehicle tool kit storage well casing5
and turn retaining screw1 clockwise
as far it will go to secure the Minispare
wheel.
�
Disengage trunk floor handle in upper
edge of trunk and lower trunk floor cov-
er.iArrow3 on vehicle tool kit storage
well casing5 must point in the direc-
tion of travel. Otherwise you cannot
place the storage well casing2 on top
and secure the Minispare wheel with
retaining screw1.!To prevent damage, always disengage
trunk floor handle from upper edge of
trunk and lower trunk floor before
closing the trunk.
Page 416 of 514

415 Practical hints
Where will I find...?
Vehicle jackThe vehicle jack is located in the storage
compartment underneath the trunk floor.
Storage position�
Remove vehicle jack from its
compartment.
�
Turn crank handle in direction of arrow
as far as it will go.
Operational position�
Turn crank handle clockwise.
Before storing the vehicle jack in its com-
partment:
�
It should be fully collapsed
�
The handle must be folded in (storage
position)
Warning!
G
The jack is designed exclusively for jacking
up the vehicle at the jack take-up brackets
built into both sides of the vehicle. To help
avoid personal injury, use the jack only to lift
the vehicle during a wheel change. Never
get beneath the vehicle while it is supported
by the jack. Keep hands and feet away from
the area under the lifted vehicle. Always
firmly set parking brake and block wheels
before raising vehicle with jack.
Do not disengage parking brake while the
vehicle is raised. Be certain that the jack is
always vertical (plumb line) when in use, es-
pecially on hills. Always try to use the jack
on a level surface. Make sure the jack arm is
fully seated in the jack take-up bracket.
Always lower the vehicle onto sufficient
capacity jackstands before working under
the vehicle.
Page 417 of 514
416 Practical hintsWhere will I find...?Setting up the collapsible wheel chock
The collapsible wheel chock serves to
additionally secure the vehicle, e.g. while
changing the wheel.
1Tilt the plate upward
2Fold the lower plate outward
3Insert the plate
�
Tilt both plates upward1.
�
Fold the lower plate outward2.
�
Guide the tabs of the lower plate all the
way into the openings of the base
plate3.
Minispare wheel
The Minispare wheel is located in the
storage compartment underneath the
trunk floor.
Removing the Minispare wheel�
Lift up trunk floor cover and engage
trunk floor handle in upper edge of
trunk.
�
Loosen the retaining screw in the mid-
dle of storage well casing by turning it
counterclockwise (
�page 414).
�
Remove the storage well casing
(�page 414).
Page 418 of 514

417 Practical hints
Where will I find...?
1Vehicle tool kit
Wheel wrench
Jack
2Arrow
3Minispare wheel, Wheel bolts for
Minispare wheel
4Vehicle tool kit storage well casing�
Remove vehicle tool kit storage well
casing4.
�
Remove Minispare wheel3.Storing the Minispare wheel
�
Place Minispare wheel3 in wheel
well.
�
Place vehicle tool kit storage well
casing4 over the Minispare wheel.
Make sure arrow 2 on vehicle tool kit
storage well casing4 points in the
direction of travel.
�
Place storage well casing (
�page 414)
over the vehicle tool kit storage well
casing 4 and turn the retaining screw
(
�page 414) clockwise as far it will go
to secure the Minispare wheel.
�
Disengage trunk floor handle in upper
edge of trunk and lower trunk floor cov-
er.
iArrow2 on vehicle tool kit storage
well casing4 must point in the
direction of travel. Otherwise you
cannot place the storage well casing
(�page 414) on top and secure the
Minispare wheel with the retaining
screw (
�page 414).
!To prevent damage, always disengage
trunk floor handle from upper edge of
trunk and lower trunk floor before
closing the trunk.Warning!
G
The dimensions of the Minispare wheel are
different from those of the road wheels. As
a result, the vehicle handling characteristics
change when driving with a Minispare wheel
mounted.
The Minispare wheel should only be used
temporarily, and should be replaced with a
regular road wheel as quickly as possible.
Do not switch off the ESP
® when a Minis-
pare wheel is mounted.
Page 420 of 514
419 Practical hints
Unlocking/locking in an emergency
�Unlocking/locking in an emergency
Unlocking the vehicle
If you are unable to unlock the vehicle with
the SmartKey or KEYLESS-GO*, open the
driver’s door and the trunk using the
mechanical key.
1Mechanical key locking tab
2Mechanical key
�
Move locking tab1 in direction of
arrow.
�
Slide mechanical key2 out of the
housing.Unlocking the driver’s door
1Unlocking
�
Insert the mechanical key into the
driver’s door lock until it stops.
�
Turn the mechanical key counterclock-
wise to position1.
The driver’s door is unlocked.
iUnlocking and opening the driver’s
door and/or the trunk with the
mechanical key will trigger the
anti-theft alarm system.
To cancel the alarm, do one of the
following:�
Press button Œ or ‹on the
SmartKey.
�
Insert the SmartKey in the starter
switch.
Vehicles with KEYLESS-GO*:
�
Pull the outside door handle.
�
Press the KEYLESS-GO* start/stop
button (
�page 35).
Page 421 of 514
 is required to open the trunk lid.
The trunk lid lock is located next to the
ha")
420 Practical hintsUnlocking/locking in an emergencyUnlocking the trunk
A minimum height clearance of 5.41 ft
(1.65 m) is required to open the trunk lid.
The trunk lid lock is located next to the
handle above the rear license plate recess.
1Unlocking in an emergency
2Handle
�
Insert the mechanical key into the
trunk lid lock until it stops.
�
Turn the mechanical key
counterclockwise to position1 and
hold it in this position.
�
Pull the trunk lid handle2 and lift the
trunk lid.
The trunk opens.
�
Turn the mechanical key back and
remove it from the trunk lid lock.
Locking the vehicle
If you cannot lock the vehicle with the
SmartKey or SmartKey with
KEYLESS-GO*, do the following:�
Close the passenger door and the
trunk.
�
Press the central locking switch in the
center console (
�page 118).
�
Check to see whether the locking knob
on the passenger door has moved
down.
�
If necessary, push it down manually.
�
Remove the mechanical key out of the
SmartKey (
�page 419).
�
Check whether the trunk is locked.
�
If necessary, lock the trunk with the
mechanical key (
�page 116).
Except for the driver’s door, the vehicle
should now be locked.
!The trunk lid swings open upwards
automatically. Always make sure there
is sufficient overhead clearance.