Page 108 of 354
Knowing your vehicle42
3
1
2
3
4
5
6
7
8
9
Stowing the rear safety belt
The rear safety belt buckles can be
stowed in the pocket between the
rear seatback and cushion when not
in use.
Proper use and care of the
safety belt system To ensure that the safety belts pro-
vide the maximum protection, please
follow these instructions:
Use the belts at all times - even on
short trips.
If the safety belt is twisted, straighten it prior to use.
Keep sharp edges and damaging objects away from the belts.
Periodically inspect belt webbing, anchors, buckles and all other
parts for signs of wear and dam-
age. Replace damaged, excessive-
ly worn or questionable parts
immediately. To clean the belt webbing, use a
mild soap solution recommended
for cleaning upholstery or carpets.
Follow the instructions provided
with the soap.
Do not make modifications or addi- tions to the safety belt.
After wearing a safety belt, make sure it fully retracts to the stowed
position. Do not allow the belt to
get caught in the door when you
close it.
1KMA2054
WARNING -
Belt cleaning
Do not bleach or dye the web-
bing because this may weaken
the webbing fibers and allow
them to fail when restraining an
occupant in a collision.
KM CAN (ENG) 3 (~54)new.qxd 7/29/05 9:33 AM Page 42
Page 116 of 354
Knowing your vehicle50
3
1
2
3
4
5
6
7
8
9
7. Double check that the retractor is
in the “Auto Lock” mode by
attempting to pull more of the safe-
ty belt out of the retractor. If you
cannot, the retractor is in the “Auto
Lock” mode.
To remove the child restraint, press
the release button on the buckle and
then pull the lap/shoulder belt out of
the restraint and allow the safety belt
to retract fully.
When the safety belt is allowed to
retract to its fully stowed position,
the retractor will automatically
switch from the “Auto Lock” mode
to the emergency lock mode for
normal adult usage.Securing a child restraint seat
with “Tether Anchor” system
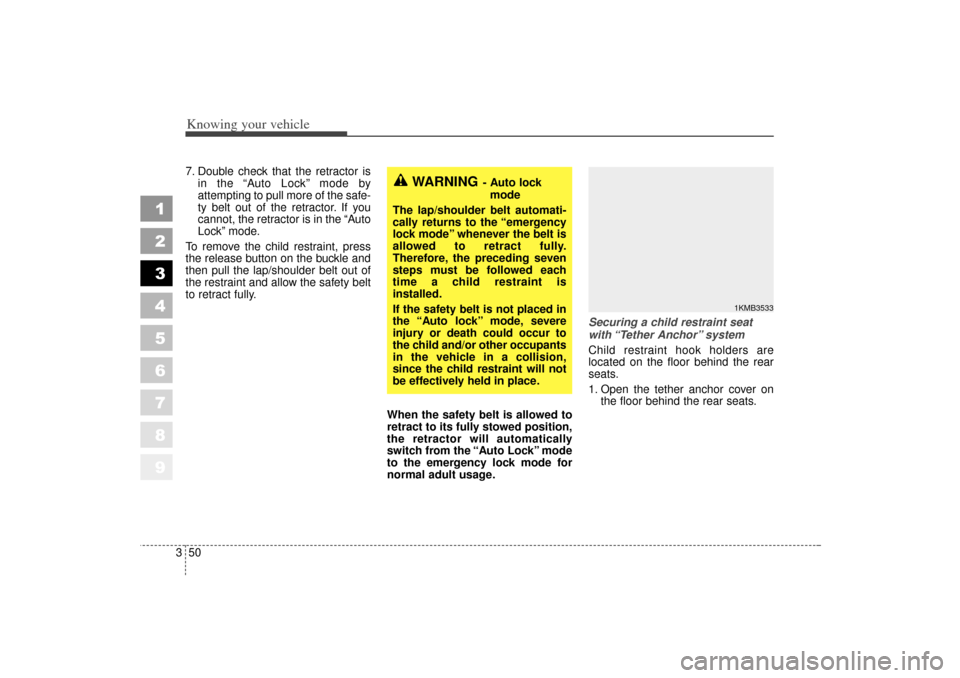
Child restraint hook holders are
located on the floor behind the rear
seats.
1. Open the tether anchor cover on
the floor behind the rear seats.
WARNING
- Auto lock
mode
The lap/shoulder belt automati-
cally returns to the “emergency
lock mode” whenever the belt is
allowed to retract fully.
Therefore, the preceding seven
steps must be followed each
time a child restraint is
installed.
If the safety belt is not placed in
the “Auto lock” mode, severe
injury or death could occur to
the child and/or other occupants
in the vehicle in a collision,
since the child restraint will not
be effectively held in place.
1KMB3533
KM CAN (ENG) 3 (~54)new.qxd 7/29/05 9:33 AM Page 50
Page 122 of 354
Driving your vehicle24
1
2
3
4
5
6
7
8
9
Illuminated ignition switch
(if equipped)Whenever a door is opened, the igni-
tion switch will be illuminated for your
convenience, provided the ignition
switch is not in the ON position. The
light will go off approximately 10 sec-
onds after closing the door or when
the ignition switch is turned on.
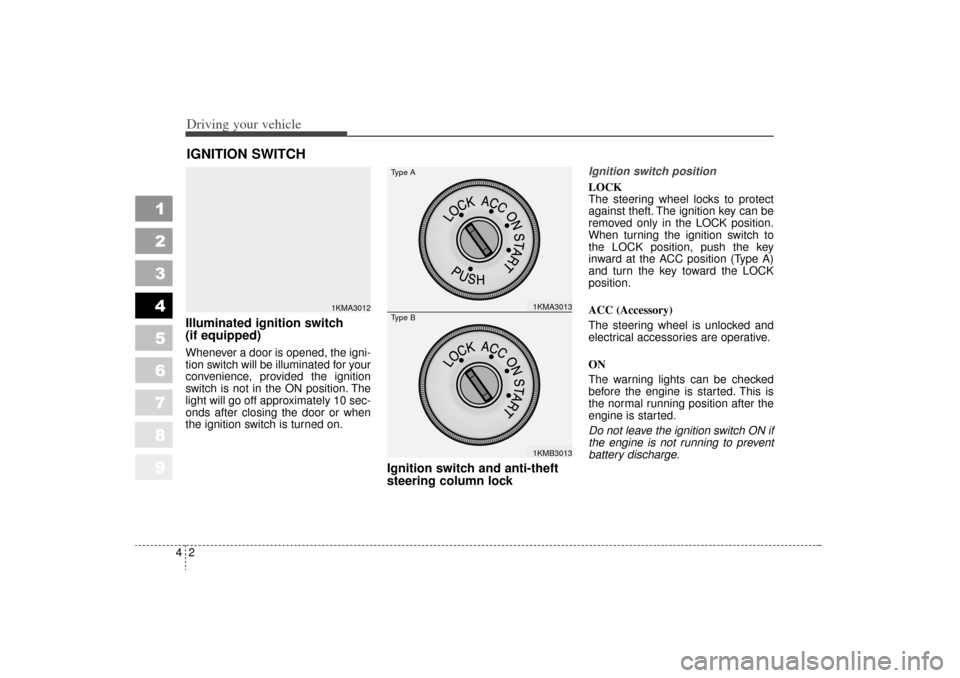
Ignition switch and anti-theft
steering column lock
Ignition switch position
LOCK
The steering wheel locks to protect
against theft. The ignition key can be
removed only in the LOCK position.
When turning the ignition switch to
the LOCK position, push the key
inward at the ACC position (Type A)
and turn the key toward the LOCK
position.
ACC (Accessory)
The steering wheel is unlocked and
electrical accessories are operative.
ON
The warning lights can be checked
before the engine is started. This is
the normal running position after the
engine is started.
Do not leave the ignition switch ON if
the engine is not running to prevent
battery discharge.
IGNITION SWITCH
1KMA3012
1KMA30131KMB3013
Type AType B
KM CAN (ENG) 4 new.qxd 7/29/05 9:35 AM Page 2
Page 136 of 354

Driving your vehicle16
4
1
2
3
4
5
6
7
8
9
If you need to drive in water, stop
your vehicle, set your transfer to
“4WD LOCK” and drive at less than
8 km/h (5 mph).
✽ ✽
NOTICE Do not drive in water if the level is
higher than the bottom of the vehi-
cle.
Check your brake condition once you are out of mud or water. Press
the brake pedal several times as
you move slowly until you feel nor-
mal braking forces return.
Shorten your scheduled mainte- nance interval if you drive in off-
road conditions such as sand,
mud or water (see “Maintenance
Schedule” in the Index). Always
wash you car thoroughly after off
road use, especially cleaning the
under side of the vehicle.
Since the driving torque is always applied to the 4 wheels the per-
formance of the 4WD vehicle is
greatly affected by the condition of
the tires. Be sure to equip the vehi-
cle with four tires of the same size
and type.
A full time four wheel drive vehi- cle cannot be towed by an ordi-
nary tow truck. Make sure that
the vehicle is placed on a flat bed
truck for moving.
WARNING -
Wind danger
If you are driving in heavy wind,
the vehicle's higher center of
gravity decreases your steering
control capacity and requires
you to drive more slowly.
WARNING -
Driving
through water
Drive slowly. If you are driving
too fast in water, the water spray
can get into the engine com-
partment and wet the ignition
system, causing your vehicle to
suddenly stall. If this happens
and your vehicle is in a tilted
position, your vehicle may roll
over.
KM CAN (ENG) 4 new.qxd 7/29/05 9:35 AM Page 16
Page 141 of 354
421
Driving your vehicle
1
2
3
4
5
6
7
8
9
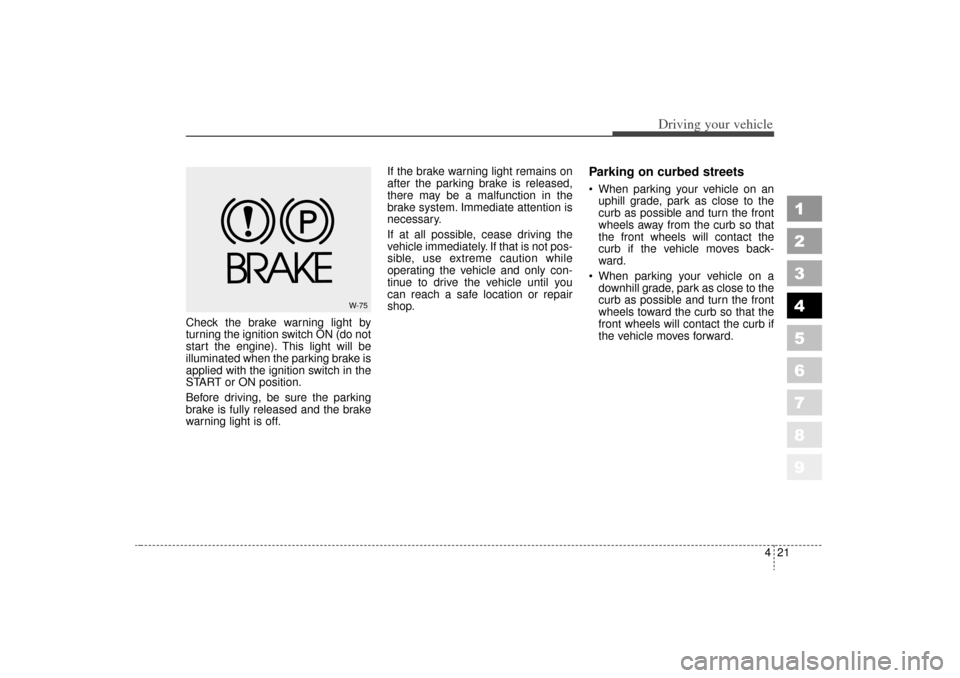
Check the brake warning light by
turning the ignition switch ON (do not
start the engine). This light will be
illuminated when the parking brake is
applied with the ignition switch in the
START or ON position.
Before driving, be sure the parking
brake is fully released and the brake
warning light is off.If the brake warning light remains on
after the parking brake is released,
there may be a malfunction in the
brake system. Immediate attention is
necessary.
If at all possible, cease driving the
vehicle immediately. If that is not pos-
sible, use extreme caution while
operating the vehicle and only con-
tinue to drive the vehicle until you
can reach a safe location or repair
shop.
Parking on curbed streets When parking your vehicle on an
uphill grade, park as close to the
curb as possible and turn the front
wheels away from the curb so that
the front wheels will contact the
curb if the vehicle moves back-
ward.
When parking your vehicle on a downhill grade, park as close to the
curb as possible and turn the front
wheels toward the curb so that the
front wheels will contact the curb if
the vehicle moves forward.
W-75
KM CAN (ENG) 4 new.qxd 7/29/05 9:35 AM Page 21
Page 161 of 354
441
Driving your vehicle
1
2
3
4
5
6
7
8
9
Engine temperature gauge This gauge shows the temperature
of the engine coolant when the igni-
tion switch is ON.
Do not continue driving with an over-
heated engine. If your vehicle over-
heats, refer to “Overheating” in the
Index.✽ ✽
NOTICEIf the gauge pointer moves beyond
the normal range area toward the
“H” position, it indicates overheat-
ing that may damage the engine.
Fuel gaugeThe fuel gauge indicates the approx-
imate amount of fuel remaining in the
fuel tank.
Fuel tank capacity :
- 58 liters (15.3 gallons) for 2.0L engine
- 65 liters (17.1 gallons) for 2.7L engine
The fuel gauge is supplemented by a
low fuel warning light, which will illu-
minate when the fuel level has
dropped to about 9~10 liters (2.4~2.6
gallons).
OdometerThe odometer indicates the total dis-
tance the vehicle has been driven.
1KMN2099
1KMA2101
1KMA2098
WARNING
- Fuel gauge
Running out of fuel can expose
vehicle occupants to danger,
both in vehicle operation and by
stopping in high neighbor-
hoods.
You must stop and obtain addi-
tional fuel as soon as possible
after the warning light comes on
or when the gauge indicator
comes close to the E level.
KM CAN (ENG) 4 new.qxd 7/29/05 9:35 AM Page 41
Page 168 of 354
Driving your vehicle48
4
1
2
3
4
5
6
7
8
9
Shift pattern indicators
(if equipped)The individual indicators illuminate to
show the automatic transaxle shift
lever selection.Immobilizer indicator
(if equipped)This light illuminates when the immo-
bilizer key is inserted and turned to
the ON position to start the engine.
At this time, you can start the engine.
The light goes out after the engine is
running. In case this light goes out
before you start the engine, you must
turn to the LOCK position and restart
the engine.
If this light blinks when the ignition
switch is in the ON position before
starting the engine, have the system
checked by an authorized Kia
Dealer.
Parking brake & brake
fluid warning Parking brake warning
This light is illuminated when the
parking brake is applied with the igni-
tion switch in the START or ON posi-
tion. The warning light should go off
when the parking brake is released.
Low brake fluid level warning
If the warning light remains on, it may
indicate that the brake fluid level in
the reservoir is low.
If the warning light remains on:
1. Drive carefully to the nearest safe
location and stop your vehicle. 2. With the engine stopped, check
the brake fluid level immediately
and add fluid as required. Then
check all brake components for
fluid leaks.
3. Do not drive the vehicle if leaks are found, the warning light
remains on or the brakes do not
operate properly. Have it towed to
any Authorized Kia Dealer for a
brake system inspection and nec-
essary repairs.
To check bulb operation, check
whether the parking brake and brake
fluid warning light illuminates when
the ignition switch is in the ON posi-
tion.
WARNING
Driving the vehicle with a warn-
ing light on is dangerous. If the
brake warning light remains on,
have the brakes checked and
repaired immediately by an
Authorized Kia Dealer.
KM CAN (ENG) 4 new.qxd 7/29/05 9:35 AM Page 48
Page 178 of 354
Driving your vehicle58
4
1
2
3
4
5
6
7
8
9
Headlight position ( )
When the light switch is in the head-
light position (2nd position) the head,
tail, position, license and instrument
panel lights are ON.
High - beam operation To turn on the high beam headlights,
push the lever forward.
The high-beam indicator will light
when the headlight high beams are
switched on.
To prevent the battery from being
discharged, do not leave the lights
on for a prolonged time while the
engine is not running. Flashing headlights
To flash the headlights, pull the lever
towards you. It will return to the nor-
mal (low-beam) position when
released. The headlight switch does
not need to be on to use this flashing
feature.
1KMC2112
1KMC2114
1KMC2115
KM CAN (ENG) 4 new.qxd 7/29/05 9:35 AM Page 58