Page 1582 of 3383
DTC P0442 EVAP CONTROL SYSTEMEC-371
C
DE
F
G H
I
J
K L
M A
EC
Revision: November 2009 2006 QX56
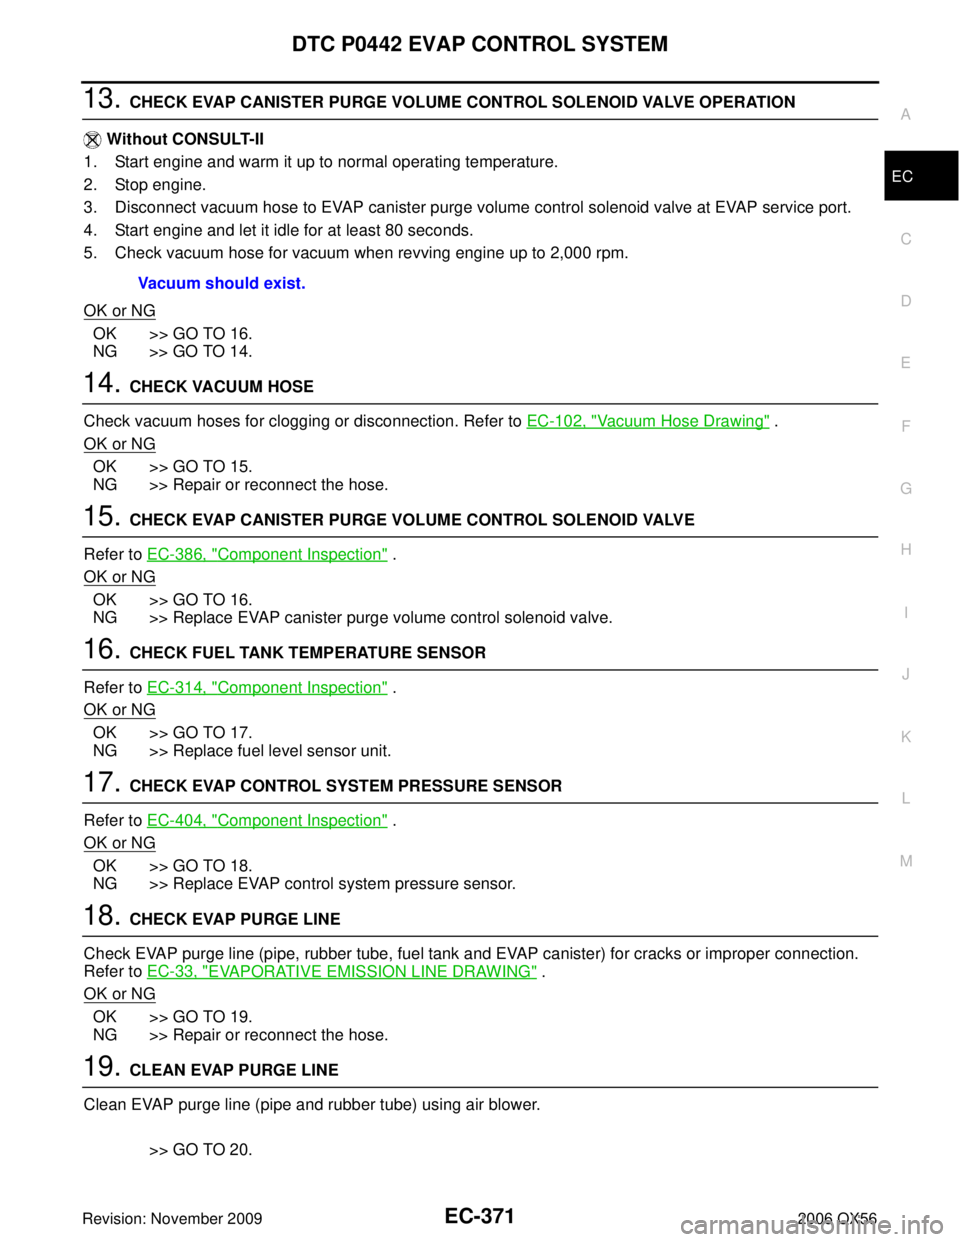
13. CHECK EVAP CANISTER PURGE VOLUME CONTROL SOLENOID VALVE OPERATION
Without CONSULT-II
1. Start engine and warm it up to normal operating temperature.
2. Stop engine.
3. Disconnect vacuum hose to EVAP canister purge volume control solenoid valve at EVAP service port.
4. Start engine and let it idle for at least 80 seconds.
5. Check vacuum hose for vacuum when revving engine up to 2,000 rpm.
OK or NG
OK >> GO TO 16.
NG >> GO TO 14.
14. CHECK VACUUM HOSE
Check vacuum hoses for clogging or disconnection. Refer to EC-102, "
Vacuum Hose Drawing" .
OK or NG
OK >> GO TO 15.
NG >> Repair or reconnect the hose.
15. CHECK EVAP CANISTER PURGE VOLUME CONTROL SOLENOID VALVE
Refer to EC-386, "
Component Inspection" .
OK or NG
OK >> GO TO 16.
NG >> Replace EVAP canister purge volume control solenoid valve.
16. CHECK FUEL TANK TEMPERATURE SENSOR
Refer to EC-314, "
Component Inspection" .
OK or NG
OK >> GO TO 17.
NG >> Replace fuel level sensor unit.
17. CHECK EVAP CONTROL SYSTEM PRESSURE SENSOR
Refer to EC-404, "
Component Inspection" .
OK or NG
OK >> GO TO 18.
NG >> Replace EVAP control system pressure sensor.
18. CHECK EVAP PURGE LINE
Check EVAP purge line (pipe, rubber tube, fuel tank and EVAP canister) for cracks or improper connection.
Refer to EC-33, "
EVAPORATIVE EMISSION LINE DRAWING" .
OK or NG
OK >> GO TO 19.
NG >> Repair or reconnect the hose.
19. CLEAN EVAP PURGE LINE
Clean EVAP purge line (pipe and rubber tube) using air blower.
>> GO TO 20.
Vacuum should exist.
Page 1632 of 3383
DTC P0455 EVAP CONTROL SYSTEMEC-421
C
DE
F
G H
I
J
K L
M A
EC
Revision: November 2009 2006 QX56
WITH GST
NOTE:
Be sure to read the explanation of EC-58, "
Driving Pattern" before driving vehicle.
1. Start engine.
2. Drive vehicle according to EC-58, "
Driving Pattern" .
3. Stop vehicle.
4. Turn ignition switch OFF, wait at least 10 seconds and then turn ON.
5. Select Service $07 with GST.
�If P0455 is displayed on the screen, go to EC-421, "Diagnostic Procedure" .
�If P0442 is displayed on the screen, go to EC-367, "Diagnostic Procedure" .
�If P0441 is displayed on the screen, go to EC-362, "Diagnostic Procedure" .
Diagnostic ProcedureUBS00H5S
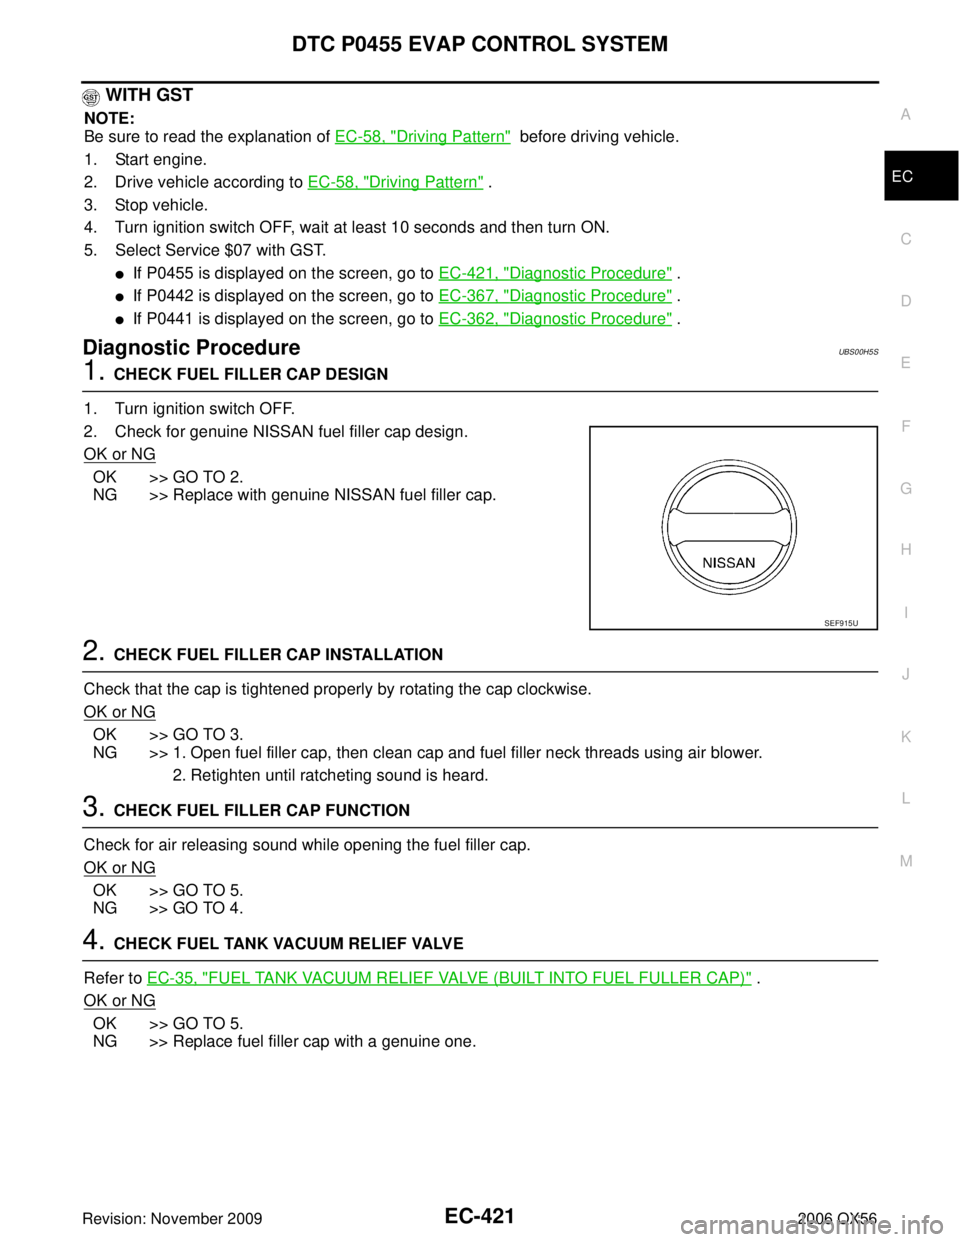
1. CHECK FUEL FILLER CAP DESIGN
1. Turn ignition switch OFF.
2. Check for genuine NISSAN fuel filler cap design.
OK or NG
OK >> GO TO 2.
NG >> Replace with genuine NISSAN fuel filler cap.
2. CHECK FUEL FILLER CAP INSTALLATION
Check that the cap is tightened properly by rotating the cap clockwise.
OK or NG
OK >> GO TO 3.
NG >> 1. Open fuel filler cap, then clean cap and fuel filler neck threads using air blower. 2. Retighten until ratcheting sound is heard.
3. CHECK FUEL FILLER CAP FUNCTION
Check for air releasing sound while opening the fuel filler cap.
OK or NG
OK >> GO TO 5.
NG >> GO TO 4.
4. CHECK FUEL TANK VACUUM RELIEF VALVE
Refer to EC-35, "
FUEL TANK VACUUM RELIEF VALVE (BUILT INTO FUEL FULLER CAP)" .
OK or NG
OK >> GO TO 5.
NG >> Replace fuel filler cap with a genuine one.
SEF915U
Page 1636 of 3383
DTC P0455 EVAP CONTROL SYSTEMEC-425
C
DE
F
G H
I
J
K L
M A
EC
Revision: November 2009 2006 QX56
12. CHECK EVAP CANISTER PURGE VOLUME CONTROL SOLENOID VALVE OPERATION
Without CONSULT-II
1. Start engine and warm it up to normal operating temperature.
2. Stop engine.
3. Disconnect vacuum hose to EVAP canister purge volume control solenoid valve at EVAP service port.
4. Start engine and let it idle for at least 80 seconds.
5. Check vacuum hose for vacuum when revving engine up to 2,000 rpm.
OK or NG
OK >> GO TO 15.
NG >> GO TO 13.
13. CHECK VACUUM HOSE
Check vacuum hoses for clogging or disconnection. Refer to EC-102, "
Vacuum Hose Drawing" .
OK or NG
OK (With CONSULT-II)>>GO TO 14.
OK (Without CONSULT-II)>>GO TO 15.
NG >> Repair or reconnect the hose.
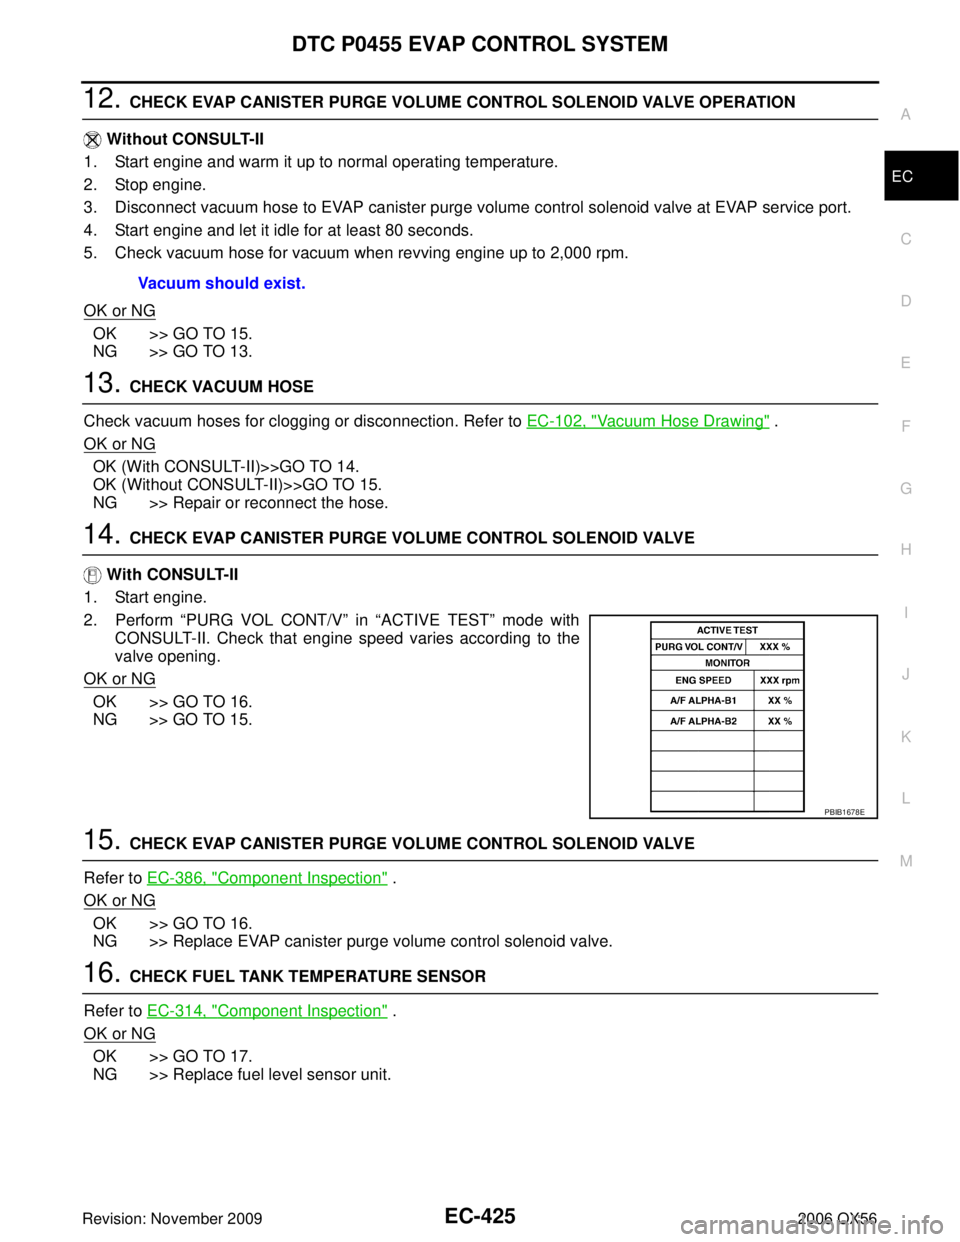
14. CHECK EVAP CANISTER PURGE VOLUME CONTROL SOLENOID VALVE
With CONSULT-II
1. Start engine.
2. Perform “PURG VOL CONT/V ” in “ACTIVE TEST ” mode with
CONSULT-II. Check that engine speed varies according to the
valve opening.
OK or NG
OK >> GO TO 16.
NG >> GO TO 15.
15. CHECK EVAP CANISTER PURGE VOLUME CONTROL SOLENOID VALVE
Refer to EC-386, "
Component Inspection" .
OK or NG
OK >> GO TO 16.
NG >> Replace EVAP canister purge volume control solenoid valve.
16. CHECK FUEL TANK TEMPERATURE SENSOR
Refer to EC-314, "
Component Inspection" .
OK or NG
OK >> GO TO 17.
NG >> Replace fuel level sensor unit. Vacuum should exist.
PBIB1678E
Page 1645 of 3383
EC-434Revision: November 2009
DTC P0456 EVAP CONTROL SYSTEM
2006 QX56
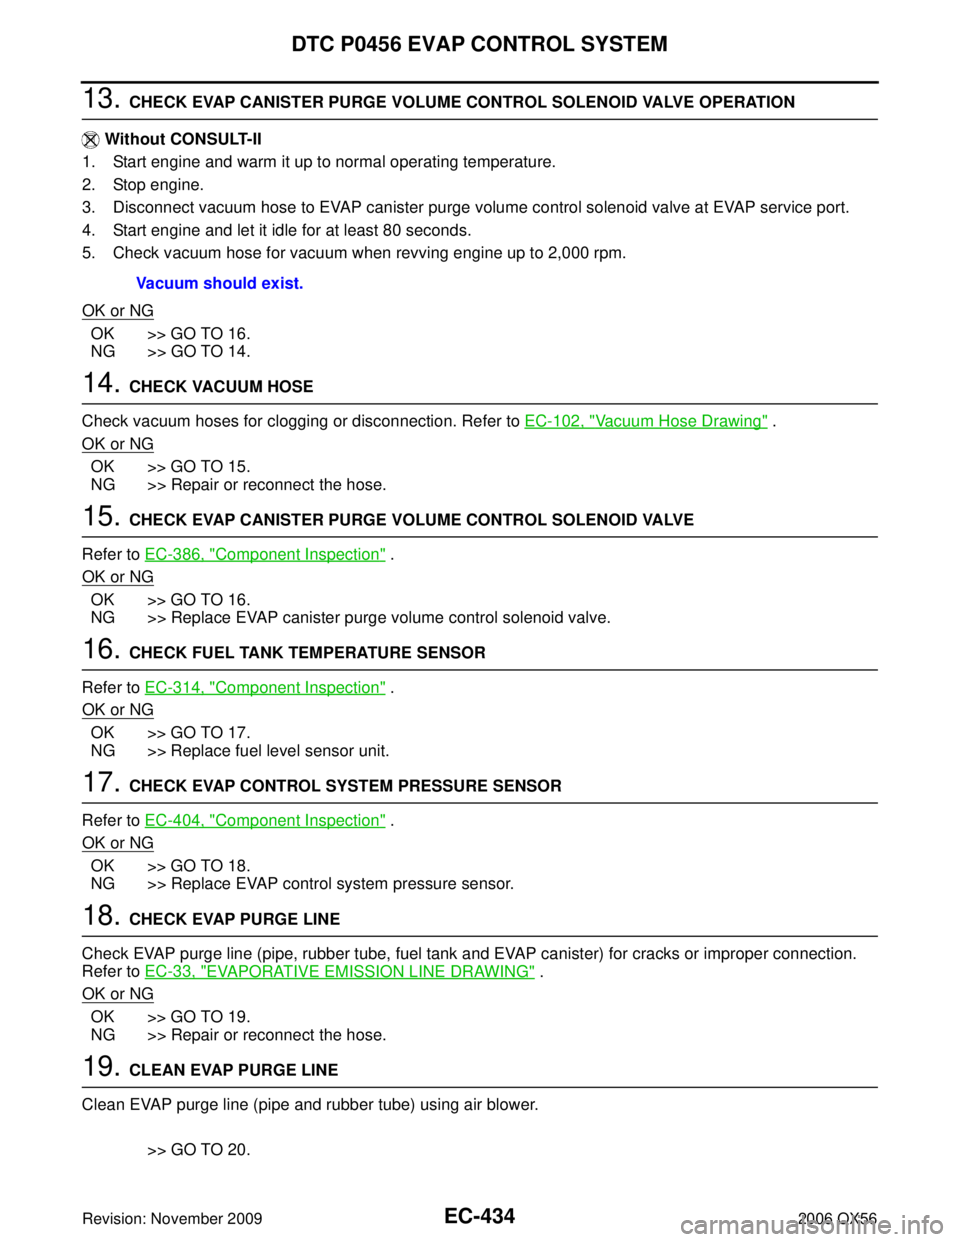
13. CHECK EVAP CANISTER PURGE VOLUME CONTROL SOLENOID VALVE OPERATION
Without CONSULT-II
1. Start engine and warm it up to normal operating temperature.
2. Stop engine.
3. Disconnect vacuum hose to EVAP canister purge volume control solenoid valve at EVAP service port.
4. Start engine and let it idle for at least 80 seconds.
5. Check vacuum hose for vacuum when revving engine up to 2,000 rpm.
OK or NG
OK >> GO TO 16.
NG >> GO TO 14.
14. CHECK VACUUM HOSE
Check vacuum hoses for clogging or disconnection. Refer to EC-102, "
Vacuum Hose Drawing" .
OK or NG
OK >> GO TO 15.
NG >> Repair or reconnect the hose.
15. CHECK EVAP CANISTER PURGE VOLUME CONTROL SOLENOID VALVE
Refer to EC-386, "
Component Inspection" .
OK or NG
OK >> GO TO 16.
NG >> Replace EVAP canister purge volume control solenoid valve.
16. CHECK FUEL TANK TEMPERATURE SENSOR
Refer to EC-314, "
Component Inspection" .
OK or NG
OK >> GO TO 17.
NG >> Replace fuel level sensor unit.
17. CHECK EVAP CONTROL SYSTEM PRESSURE SENSOR
Refer to EC-404, "
Component Inspection" .
OK or NG
OK >> GO TO 18.
NG >> Replace EVAP control system pressure sensor.
18. CHECK EVAP PURGE LINE
Check EVAP purge line (pipe, rubber tube, fuel tank and EVAP canister) for cracks or improper connection.
Refer to EC-33, "
EVAPORATIVE EMISSION LINE DRAWING" .
OK or NG
OK >> GO TO 19.
NG >> Repair or reconnect the hose.
19. CLEAN EVAP PURGE LINE
Clean EVAP purge line (pipe and rubber tube) using air blower.
>> GO TO 20.
Vacuum should exist.
Page 1650 of 3383
DTC P0461 FUEL LEVEL SENSOREC-439
C
DE
F
G H
I
J
K L
M A
EC
Revision: November 2009 2006 QX56
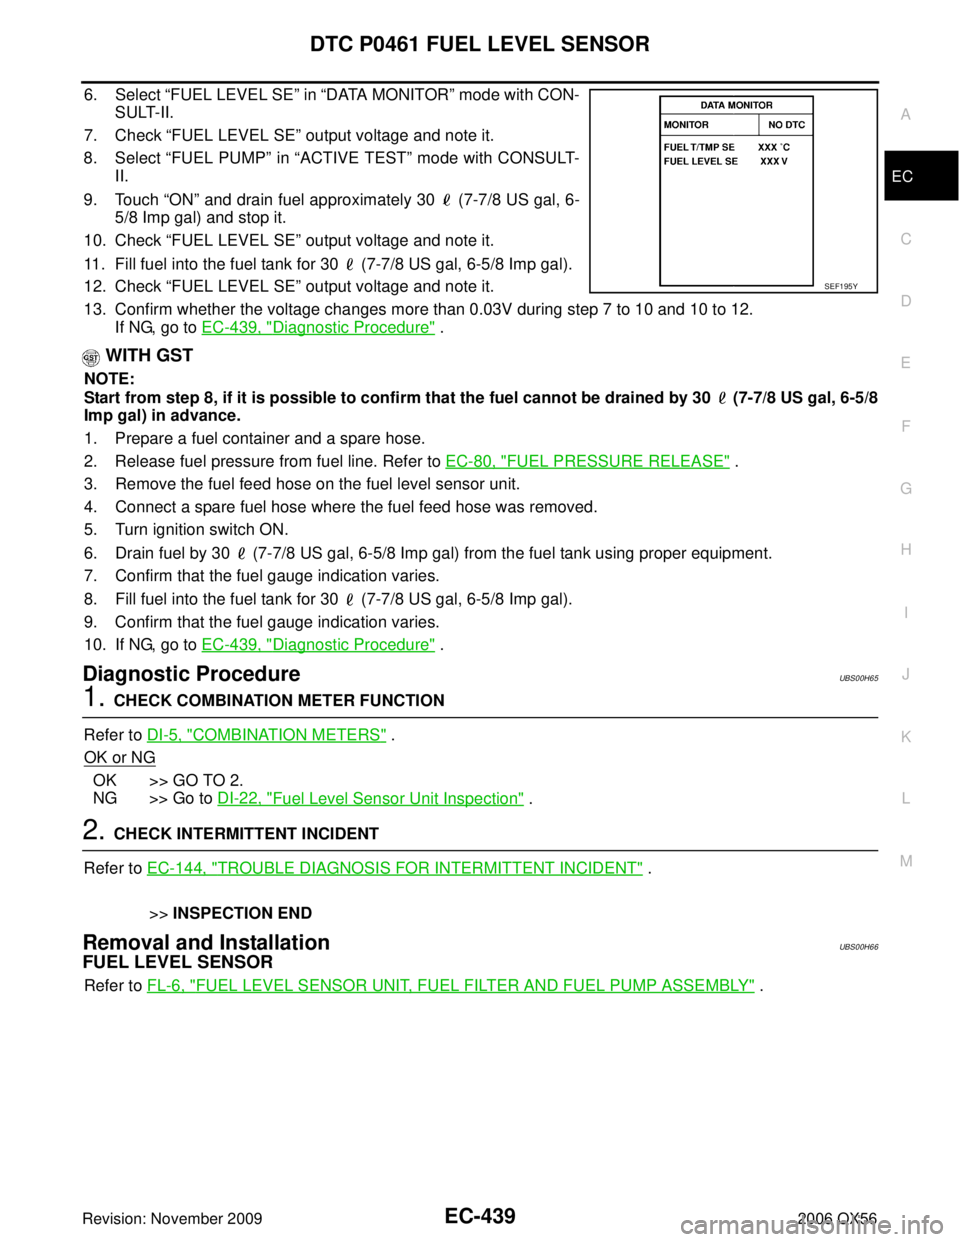
6. Select “FUEL LEVEL SE ” in “DATA MONITOR” mode with CON-
SULT-II.
7. Check “FUEL LEVEL SE ” output voltage and note it.
8. Select “FUEL PUMP ” in “ACTIVE TEST ” mode with CONSULT-
II.
9. Touch “ON” and drain fuel approximately 30 (7-7/8 US gal, 6-
5/8 Imp gal) and stop it.
10. Check “FUEL LEVEL SE ” output voltage and note it.
11. Fill fuel into the fuel tank for 30 (7-7/8 US gal, 6-5/8 Imp gal).
12. Check “FUEL LEVEL SE ” output voltage and note it.
13. Confirm whether the voltage changes more than 0.03V during step 7 to 10 and 10 to 12. If NG, go to EC-439, "
Diagnostic Procedure" .
WITH GST
NOTE:
Start from step 8, if it is possible to confirm that the fuel cannot be drained by 30 (7-7/8 US gal, 6-5/8
Imp gal) in advance.
1. Prepare a fuel container and a spare hose.
2. Release fuel pressure from fuel line. Refer to EC-80, "
FUEL PRESSURE RELEASE" .
3. Remove the fuel feed hose on the fuel level sensor unit.
4. Connect a spare fuel hose where the fuel feed hose was removed.
5. Turn ignition switch ON.
6. Drain fuel by 30 (7-7/8 US gal, 6-5/8 Imp gal) from the fuel tank using proper equipment.
7. Confirm that the fuel gauge indication varies.
8. Fill fuel into the fuel tank for 30 (7-7/8 US gal, 6-5/8 Imp gal).
9. Confirm that the fuel gauge indication varies.
10. If NG, go to EC-439, "
Diagnostic Procedure" .
Diagnostic ProcedureUBS00H65
1. CHECK COMBINATION METER FUNCTION
Refer to DI-5, "
COMBINATION METERS" .
OK or NG
OK >> GO TO 2.
NG >> Go to DI-22, "
Fuel Level Sensor Unit Inspection" .
2. CHECK INTERMITTENT INCIDENT
Refer to EC-144, "
TROUBLE DIAGNOSIS FOR INTERMITTENT INCIDENT" .
>> INSPECTION END
Removal and InstallationUBS00H66
FUEL LEVEL SENSOR
Refer to FL-6, "FUEL LEVEL SENSOR UNIT, FUEL FILTER AND FUEL PUMP ASSEMBLY" .
SEF195Y
Page 1656 of 3383
DTC P0506 ISC SYSTEMEC-445
C
DE
F
G H
I
J
K L
M A
EC
Revision: November 2009 2006 QX56
Diagnostic ProcedureUBS00H6K
1. CHECK INTAKE AIR LEAK
1. Start engine and let it idle.
2. Listen for an intake air leak after the mass air flow sensor.
OK or NG
OK >> GO TO 2.
NG >> Discover air leak location and repair.
2. REPLACE ECM
1. Stop engine.
2. Replace ECM.
3. Perform initialization of IVIS(NATS) system and registration of all IVIS(NATS) ignition key IDs. Refer to BL-139, "
ECM Re-communicating Function" .
4. Perform EC-77, "
VIN Registration" .
5. Perform EC-78, "
Accelerator Pedal Released Position Learning" .
6. Perform EC-78, "
Throttle Valve Closed Position Learning" .
7. Perform EC-78, "
Idle Air Volume Learning" .
>> INSPECTION END
Page 1658 of 3383
DTC P0507 ISC SYSTEMEC-447
C
DE
F
G H
I
J
K L
M A
EC
Revision: November 2009 2006 QX56
Diagnostic ProcedureUBS00H6O
1. CHECK PCV HOSE CONNECTION
Confirm that PCV hose is connected correctly.
OK or NG
OK >> GO TO 2.
NG >> Repair or replace.
2. CHECK INTAKE AIR LEAK
1. Start engine and let it idle.
2. Listen for an intake air leak after the mass air flow sensor.
OK or NG
OK >> GO TO 3.
NG >> Discover air leak location and repair.
3. REPLACE ECM
1. Stop engine.
2. Replace ECM.
3. Perform initialization of IVIS(NATS) system and registration of all IVIS(NATS) ignition key IDs. Refer to BL-139, "
ECM Re-communicating Function" .
4. Perform EC-77, "
VIN Registration" .
5. Perform EC-78, "
Accelerator Pedal Released Position Learning" .
6. Perform EC-78, "
Throttle Valve Closed Position Learning" .
7. Perform EC-78, "
Idle Air Volume Learning" .
>> INSPECTION END
Page 1671 of 3383
EC-460Revision: November 2009
DTC P0643 SENSOR POWER SUPPLY
2006 QX56
DTC P0643 SENSOR POWER SUPPLYPFP:18919
On Board Diagnosis LogicUBS00H9B
This self-diagnosis has the one trip detection logic.
FAIL-SAFE MODE
When the malfunction is detected, ECM enters fail-safe mode and the MIL lights up.
DTC Confirmation ProcedureUBS00H9C
NOTE:
If DTC Confirmation Procedure has been previously conducted, always turn ignition switch OFF and wait at
least 10 seconds before conducting the next test.
TESTING CONDITION:
Before performing the following procedure, confirm that battery voltage is more than 10V at idle.
WITH CONSULT-II
1. Turn ignition switch ON.
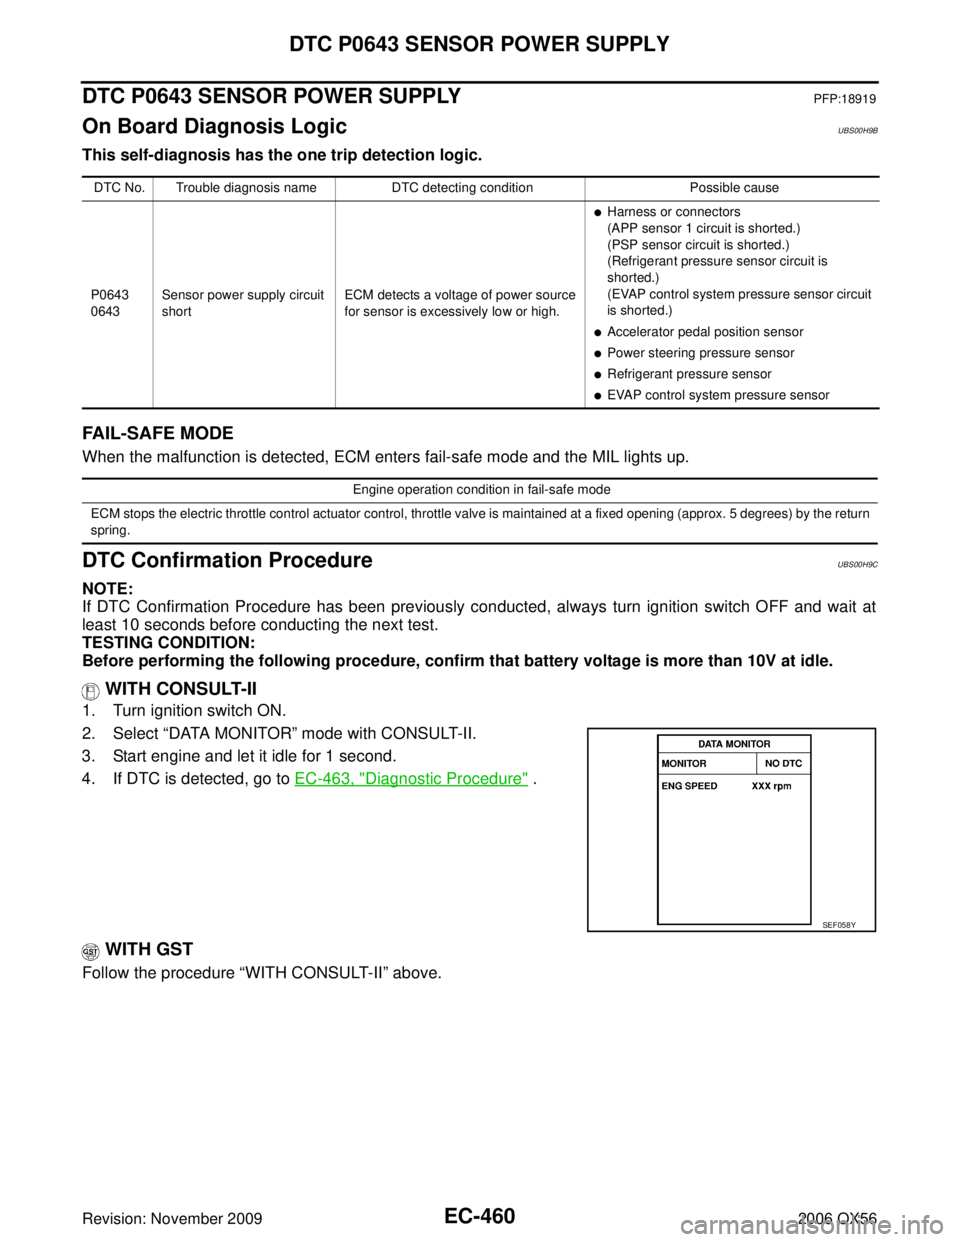
2. Select “DATA MONITOR ” mode with CONSULT-II.
3. Start engine and let it idle for 1 second.
4. If DTC is detected, go to EC-463, "
Diagnostic Procedure" .
WITH GST
Follow the procedure “WITH CONSULT-II” above.
DTC No. Trouble diagnosis name DTC detecting condition Possible cause
P0643
0643 Sensor power supply circuit
short ECM detects a voltage of power source
for sensor is excessively low or high.
�Harness or connectors
(APP sensor 1 circuit is shorted.)
(PSP sensor circuit is shorted.)
(Refrigerant pressure sensor circuit is
shorted.)
(EVAP control system pressure sensor circuit
is shorted.)
�Accelerator pedal position sensor
�Power steering pressure sensor
�Refrigerant pressure sensor
�EVAP control system pressure sensor
Engine operation condition in fail-safe mode
ECM stops the electric throttle control actuator control, throttle valve is maintained at a fixed opening (approx. 5 degrees) b y the return
spring.
SEF058Y