Page 73 of 218
The ceiling light has a three-position
switch; ON, Door Activated, and
OFF. In the Door Activated (center)
position, the light comes on when
you:The ceiling light also contains two
spotlights. Push the button next to
the light to turn it on and off. You
can use the spotlights at all times.
The cargo area light has a two-
position switch. In the OFF (down)
position, the light does not come on.
In the ON (up) position, the light
comes on when you open the hatch.
Open either door or the rear hatch.
Unlock the doors and the rear
hatch with the remote transmitter.
Interior Lights
Ceiling L ight Cargo A rea L ight
72
DOOR ACTIVATED
OFF
ON
Page 74 of 218

�Î
�ÎThe heating and air conditioning
systems in your vehicle provide a
comf ortable driving environment in
all weather conditions.
The standard audio system has
many f eatures. This section de-
scribes those f eatures and how to
use them.
Your vehicle has an anti-theft audio
system that requires a code number
to enable it. Air conditioning is standard on
vehicles with automatic transmission
(CVT) and standard on most manual
transmissions. ...............
Vents, Heating, and A/C . 74
................
Climate Control Sensors . 79
............................
Playing the Radio .80
..............................
Radio Reception .83
....................................
Playing a CD .85
.....................................
CD Changer .87
......................
Protecting Your CDs .87
...........
CD Player Error Messages . 88
.......
CD Changer Error Messages . 89
...................
Radio Thef t Protection . 90
............................
Setting the Clock .91
Features
Features
73
Page 76 of 218

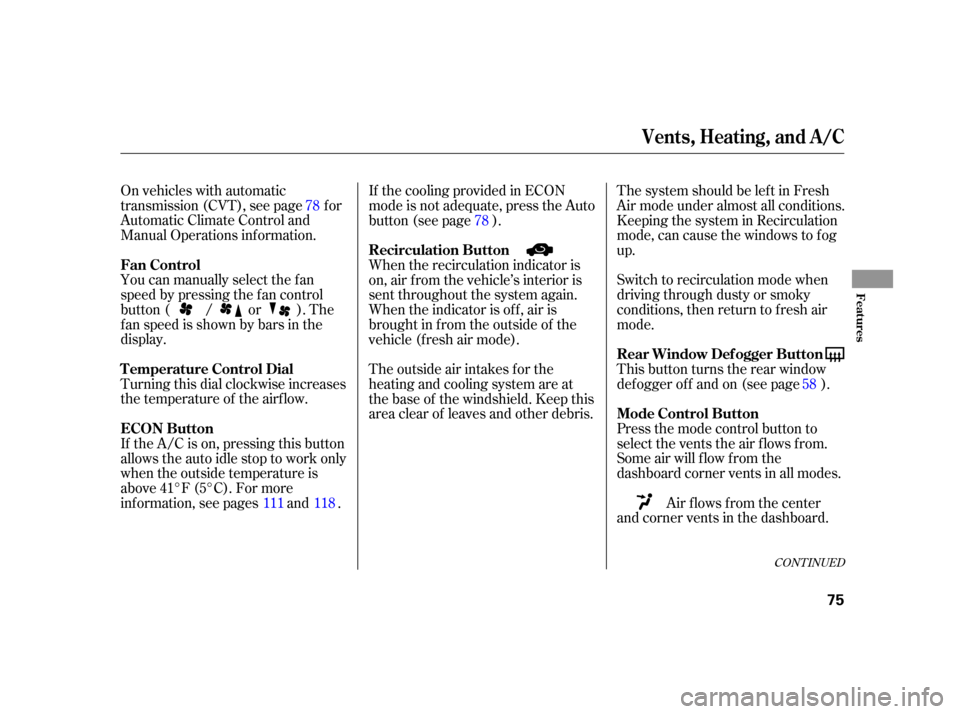
On vehicles with automatic
transmission (CVT), see page f or
Automatic Climate Control and
Manual Operations inf ormation.
You can manually select the f an
speed by pressing the f an control
button ( / or ). The
fanspeedisshownbybarsinthe
display.
Turning this dial clockwise increases
the temperature of the airflow.Switch to recirculation mode when
driving through dusty or smoky
conditions, then return to fresh air
mode.
This button turns the rear window
def ogger of f and on (see page ).
Press the mode control button to
select the vents the air flows from.
Some air will f low f rom the
dashboard corner vents in all modes.
Air flows from the center
and corner vents in the dashboard. ThesystemshouldbeleftinFresh
Air mode under almost all conditions.
Keeping the system in Recirculation
mode, can cause the windows to f og
up.
If thecoolingprovidedinECON
mode is not adequate, press the Auto
button (see page ).
When the recirculation indicator is
on, air f rom the vehicle’s interior is
sent throughout the system again.
When the indicator is off, air is
brought in f rom the outside of the
vehicle (fresh air mode).
The outside air intakes f or the
heating and cooling system are at
the base of the windshield. Keep this
area clear of leaves and other debris.
If the A/C is on, pressing this button
allowstheautoidlestoptoworkonly
when the outside temperature is
above 41°F (5°C). For more
information, see pages and . 78
58
78
118
111
CONT INUED
Vents, Heating, and A/C
Fan Control
T emperature Control Dial Rear Window Def ogger Button
ECON Button Mode Control Button
Recirculation Button
Features
75
Page 92 of 218
If your vehicle’s battery is
disconnected or goes dead, you will
need to set the clock.
Press and hold the CLOCK button,
and change the hours by pressing
the H (Preset 4) button until the
numbers advance to the desired time.
To change the minutes, press and
hold the CLOCK button, and press
the M (Preset 5 ) button until the
numbers advance to the desired time.
You can quickly set the time to the
nearest hour. If the displayed time is
bef ore the half hour, press and hold
the CLOCK button, and press the R
(Preset 6) button to set the clock
back to the previous hour. If the
displayed time is af ter the half hour,
the clock sets forward to the
beginning of the next hour.1:06 will reset to 1:00
1:52 will reset to 2:00
For example:
Setting the Clock
Features
91
M BUTTON RESET BUTTON CLOCK BUTTON
H BUTTON
Page 101 of 218

Your dealer has Honda accessories
that allow you to personalize your
vehicle. These accessories have
been designed and approved f or your
vehicle, and are covered by warranty.When properly installed, cellular
phones, alarms, two-way radios, and
low-powered audio systems should
not interf ere with your vehicle’s
computer controlled systems, such
as your airbags and anti-lock brakes.Bef ore installing any accessory:
Modif ying your vehicle, or installing
some non-Honda accessories, can
make your vehicle unsaf e. Bef ore
you make any modif ications or add
anyaccessories,besuretoreadthe
f ollowing inf ormation.
Be sure electronic accessories do
not overload electrical circuits
(see page ) or interf ere with
proper operation. Make sure the accessory does not
obscure any lights, or interf ere
with proper vehicle operation or
perf ormance.
Have the installer contact your
dealer for assistance before
installing any electronic accessory.
If possible, have your dealer
inspect the f inal installation.
Although non-Honda accessories
may f it on your vehicle, they may not
meet f actory specif ications, and
could adversely af f ect your vehicle’s
handling and stability. 185
A ccessories
A ccessories and Modif ications
100
Improper accessories or
modifications can affect your
vehicle’s handling, stability, and
performance, and cause a
crash in which you can be hurt
or killed.
Follow all instructions in this
owner’s manual regarding
accessories and modifications.
Page 102 of 218
Some examples are:Larger or smaller wheels and tires
can interf ere with the operation of
your vehicle’s anti-lock brakes and
other systems.
Lowering your vehicle with a
non-Honda suspension kit that
signif icantly reduces ground
clearance can allow the
undercarriage to hit speed bumps
or other raised objects, which
could cause the airbags to deploy.
Raising your vehicle with a
non-Honda suspension kit can
af f ect the handling and stability.
Non-Honda wheels, because they
are a universal design, can cause
excessive stress on suspension
components. If you plan to modif y your vehicle,
consult your dealer.
Removing parts f rom your vehicle,
or replacing components with
non-Honda components could
seriously af f ect your vehicle’s
handling, stability, and reliability. Modif ying your steering wheel or
any other part of your vehicle’s
saf ety systems could make the
systems inef f ective.
Modif ying Your Vehicle
A ccessories and Modif ications
Bef ore Driving
101
Page 105 of 218

Store or secure all items that could
be thrown around and hurt
someone during a crash.
Be sure items placed on the f loor
behind the seats cannot roll under
the seats and interfere with the
pedals or seat operation.Distribute cargo evenly on the
f loor of the cargo area, placing the
heaviest items on the bottom and
as far forward as possible.
Tie down items that could be
thrown about the vehicle during a
crash or sudden stop.
Do not stack objects higher than
the tops of the seat-backs. They
could block your view and be
thrown about the vehicle during a
crash or sudden stop.If you carry large items that
prevent you f rom closing the
hatch, exhaust gas can enter the
passenger area. To avoid the
possibility of
, f ollow the instructions
on page .
The f loor of the storage box is
made of a sof t plastic material. It is
not strong enough to stand heavy
goods on it.
Keep the glove box closed while
driving. If it is open, a passenger
could injure their knees during a
crash or sudden stop. 38
Carrying Items in the Passenger
Compartment
Carrying Cargo in the Cargo A rea
carbon monoxide
poisoning
Carrying Cargo
104
Page 106 of 218
To secure the cargo, you can use the
f our cargo hooks on the cargo area.
The illustration shows the location of
each cargo hook.The cargo net can be used to help
hold down light items in the cargo
area. The cargo net may not prevent
heavy items f rom being thrown
forwardinacrashorasuddenstop.
Cargo secured with this net should
not exceed 22 lbs (10 kg). Heavy
items should be secured to the cargo
area floor with tie-downs or cinch
straps attached to the cargo hooks.
The air intake f or the IMA battery is
located behind the passenger’s seat.
Do not block this air intake with any
cargo.
Do not spill any liquids over the air
intake or put any small f oreign
objects in it. This may damage the
IMA battery and the power control
unit.
Cargo Hooks
Cargo Net A ir Intake
Carrying Cargo
Bef ore Driving
105
AIR INTAKE
Cargo Hooks and Cargo Net