Page 137 of 200

Do not use cleaning solvents, bleach or dye on the vehicle’s
safety belts, as these actions may weaken the belt webbing.
LEATHER SEATS
Your vehicle is equipped with seating covered in premium, top-grain
Frau leather which is extremely durable, but still requires special care
and maintenance in order to ensure longevity and comfort.
Regular cleaning and conditioning will maintain the appearance of the
leather. Failure to care for the leather can result in drying out and fading
of the material.
Cleaning
For dirt, use a vacuum cleaner then use a clean, damp cloth or soft
brush.
• Clean spills immediately.
• Soak a soft cloth with distilled water and neutral soap, then wring out
before use.
• Do not use household cleaning products, alcohol solutions, solvents or
cleaners intended for rubber, vinyl or plastics.
Allow the area to dry, then apply conditioner.
Scratches
In order to lessen the appearance of certain scratches and other wear
marks, apply conditioner on the affected area following the same
instructions as in the Conditioningsection.
Conditioning
Use only premium leather conditioner.
• Apply your first conditioning treatment within six months of taking
delivery of your vehicle. Condition twice yearly in order to replenish
lost oils and revitalize the aroma, suppleness and resilience of the
leather.
• Clean the surfaces using the steps outlined under Cleaningin this
section.
• Ensure the leather is dry then apply a nickel-sized amount of
conditioner to a clean, dry cloth
• Rub the conditioner into leather until it disappears. Allow the
conditioner to dry and repeat the process for the entire interior. If a
film appears, wipe off film with a dry, clean cloth.
2006GT (gto)
Owners Guide (post-2002-fmt)
USA_English (fus)
Cleaning
137
Page 138 of 200

UNDERBODY
Flush the complete underside of your vehicle frequently. Keep body and
door drain holes free from packed dirt.
FORD, LINCOLN AND MERCURY CAR CARE PRODUCTS
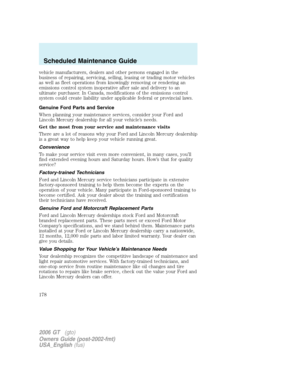
Your Ford, Lincoln or Mercury dealer has many quality products available
to clean your vehicle and protect its finishes. These quality products
have been specifically engineered to fulfill your automotive needs; they
are custom designed to complement the style and appearance of your
vehicle. Each product is made from high quality materials that meet or
exceed rigid specifications. For best results, use the following products
or products of equivalent quality:
Motorcraft Custom Clearcoat Polish (ZC–8–A)
Motorcraft Custom Vinyl Protectant (not available in Canada) (ZC-40–A)
Motorcraft Vinyl Cleaner (Canada only) (CXC-93)
Motorcraft Vinyl Conditioner (Canada only) (CXC-94)
Motorcraft Deluxe Leather and Vinyl Cleaner (not available in Canada)
(ZC-11–A)
Motorcraft Bug and Tar Remover (ZC-42)
Motorcraft Extra Strength Upholstery Cleaner (not available in Canada)
(ZC-41)
Motorcraft Custom Bright Metal Cleaner (ZC-15)
Motorcraft Wheel and Tire Cleaner (ZC-37–A)
Motorcraft Dash and Vinyl Cleaner (ZC-38–A)
Motorcraft Car Care Kit (ZC-26)
Motorcraft Premium Car Wash Concentrate (ZC-17-B)
Motorcraft Carlite Glass Cleaner (Canada only) (CXC-100)
Motorcraft Spot and Stain Remover (ZC-14)
Motorcraft Detail Wash (ZC-3–A)
Motorcraft Tire Clean and Shine (ZC-28)
Motorcraft Triple Clean (ZC-13)
Motorcraft Ultra-Clear Spray Glass Cleaner (not available in Canada)
(ZC-23)
Motorcraft Engine Shampoo and Degreaser (ZC-20)
2006GT (gto)
Owners Guide (post-2002-fmt)
USA_English (fus)
Cleaning
138
Page 139 of 200

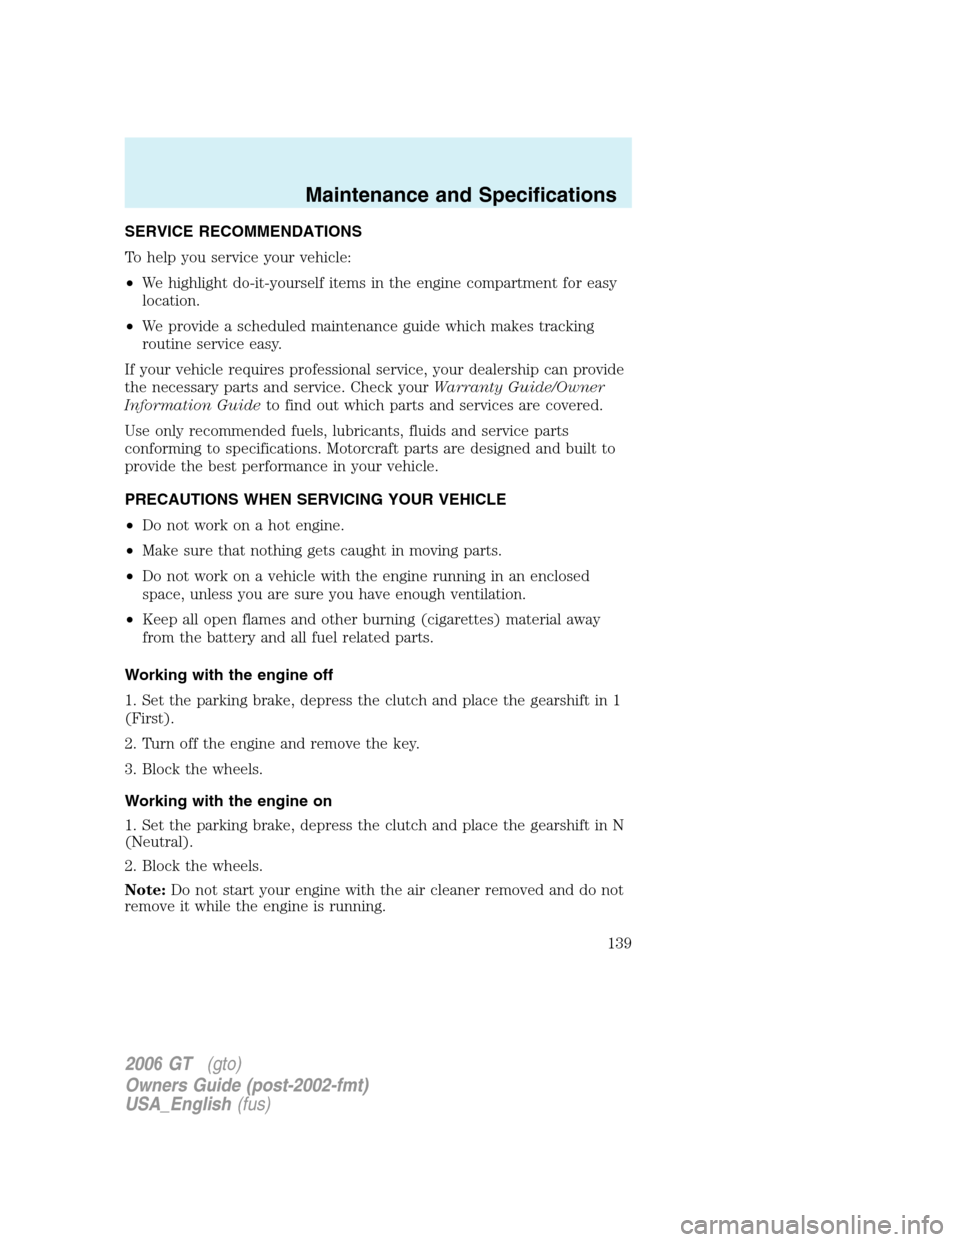
SERVICE RECOMMENDATIONS
To help you service your vehicle:
•We highlight do-it-yourself items in the engine compartment for easy
location.
• We provide a scheduled maintenance guide which makes tracking
routine service easy.
If your vehicle requires professional service, your dealership can provide
the necessary parts and service. Check your Warranty Guide/Owner
Information Guide to find out which parts and services are covered.
Use only recommended fuels, lubricants, fluids and service parts
conforming to specifications. Motorcraft parts are designed and built to
provide the best performance in your vehicle.
PRECAUTIONS WHEN SERVICING YOUR VEHICLE
• Do not work on a hot engine.
• Make sure that nothing gets caught in moving parts.
• Do not work on a vehicle with the engine running in an enclosed
space, unless you are sure you have enough ventilation.
• Keep all open flames and other burning (cigarettes) material away
from the battery and all fuel related parts.
Working with the engine off
1. Set the parking brake, depress the clutch and place the gearshift in 1
(First).
2. Turn off the engine and remove the key.
3. Block the wheels.
Working with the engine on
1. Set the parking brake, depress the clutch and place the gearshift in N
(Neutral).
2. Block the wheels.
Note: Do not start your engine with the air cleaner removed and do not
remove it while the engine is running.
2006 GT (gto)
Owners Guide (post-2002-fmt)
USA_English (fus)
Maintenance and Specifications
139
Page 140 of 200
OPENING ENGINE COMPARTMENT
1. Inside the vehicle, pull the
decklid release handle located on
the roof panel between the driver
and passenger seats.
Note:Do not operate the decklid
release while the vehicle is in
motion.
2. Lift up on the decklid at the side
air scoop area to provide better
access to the auxiliary release.
2006 GT (gto)
Owners Guide (post-2002-fmt)
USA_English (fus)
Maintenance and Specifications
140
Page 141 of 200
3. While pushing down slightly on
the decklid, push in on the auxiliary
release located at the rear of the
passenger compartment behind the
driver’s side seat area.
4. Go to the other side of the
vehicle and release the right side
auxiliary latch located behind the
passenger seat area. Note: make
sure not to relatch the driver’s side.
5. Lift the decklid and ensure that it is secure.
2006GT (gto)
Owners Guide (post-2002-fmt)
USA_English (fus)
Maintenance and Specifications
141
Page 142 of 200
CLOSING THE ENGINE COMPARTMENT
1. Pull the decklid downward to the secondary latch position. Push down
on the center of the decklid firmly to close.
2. Ensure that both latches are engaged.
Both latches need to be fully latched. If one or both are not fully latched
a chime will sound and the “Door Ajar” warning lamp will illuminate.
OPENING THE LUGGAGE COMPARTMENT
1. Push the button on remote entry
transmitter (seeRemote Entry
System in theLocks and Security
chapter). To manually release,
unlock with key and pull the release
handle on the drivers side fender to
release the hood.
2. Open the hood and make sure it
is secure.
When closing the luggage compartment, push down on the center area to
ensure latches secure correctly.
2006 GT (gto)
Owners Guide (post-2002-fmt)
USA_English (fus)
Maintenance and Specifications
142
Page 143 of 200
REMOVING THE LUGGAGE COMPARTMENT LINER
Some components are located under the luggage compartment liner.
Follow these steps to remove and install the liner.
1. Open the front compartment.
2. Unlock all four retainers by turning each one a quarter turn in either
direction. Leave retainers attached to tray. The tire inflation kit can be
left in place or removed during tray removal.
3. Remove the tray by lifting it up from the middle. It may be necessary
to tilt up to remove.
To reinstall the tray, reverse the previous steps. Ensure that all four
retainers are locked by rotating them one quarter turn.
2006GT (gto)
Owners Guide (post-2002-fmt)
USA_English (fus)
Maintenance and Specifications
143
Page 144 of 200
IDENTIFYING COMPONENTS IN THE ENGINE COMPARTMENT
5.4L 4V DOHC Supercharged V8 engine
1. Power steering fluid reservoir
2. Engine oil dipstick
3. Engine oil filler cap
2006GT (gto)
Owners Guide (post-2002-fmt)
USA_English (fus)
Maintenance and Specifications
144