Page 93 of 288

The remote entry system activates the illuminated entry feature; this
feature turns on the lamps for 25 seconds or until the ignition is turned
to the 3 (RUN) position.
The inside lights will not turn off if:
•they have been turned on using the dimmer control or
•any door is open.
The battery saver feature will turn off the interior lamps 30 minutes after
the ignition is turned to the 1 (LOCK) position.
Locking the doors/liftgate
1. Pressand release to lock all the doors and liftgate. The turn lamps
will flash.Note:If any door or the liftgate is not closed properly, the
lamps will not flash.
2. Press
and release again within three seconds to confirm that all the
doors are closed.Note:The doors will lock again, the horn will chirp and
the turn lamps will flash once if all the doors and liftgate are closed. If
any door or the liftgate is not closed, or if the hood is not closed in
vehicles equipped with the perimeter alarm feature, the horn will chirp
twice and the lamps will not flash.
Sounding a panic alarm
Press
to activate the alarm. The horn will sound and the turn lamps
will flash for a maximum of 3 minutes. Press again or turn the ignition to
the 3 (RUN) position to deactivate, or wait for the alarm to timeout in 3
minutes.
Note:The panic alarm will only operate when the ignition is in the 1
(LOCK) or 2 (ACC) position.
Memory seats/power mirrors/adjustable pedals (if equipped)
The remote entry system can also control the memory seat /power
mirrors/adjustable pedals feature.
Press
to automatically move the seat, mirrors and adjustable pedals to
the desired memory position (the positions correspond to the transmitter
being used).Note:You can associate a specific remote entry transmitter
to each memory position. For more information on programming the
transmitters to Driver 1 and Driver 2 memory positions respectively,
refer toHow to reprogram your remote entry transmitterslater in this
chapter.
2006 Freestyle(219)
Owners Guide (post-2002-fmt)
USA(fus)
Locks and Security
93
Page 151 of 288

Never use pillows, books, or towels to boost a child. They can
slide around and increase the likelihood of injury or death in a
collision.
SAFETY SEATS FOR CHILDREN
Child and infant or child safety seats
Use a safety seat that is recommended for the size and weight of the
child. Carefully follow all of the manufacturer’s instructions with the
safety seat you put in your vehicle. If you do not install and use the
safety seat properly, the child may be injured in a sudden stop or
collision.
When installing a child safety seat:
•Review and follow the information
presented in theAirbag
supplemental restraint system
(SRS) section in this chapter.
•Use the correct safety belt buckle
for that seating position (the
buckle closest to the direction the
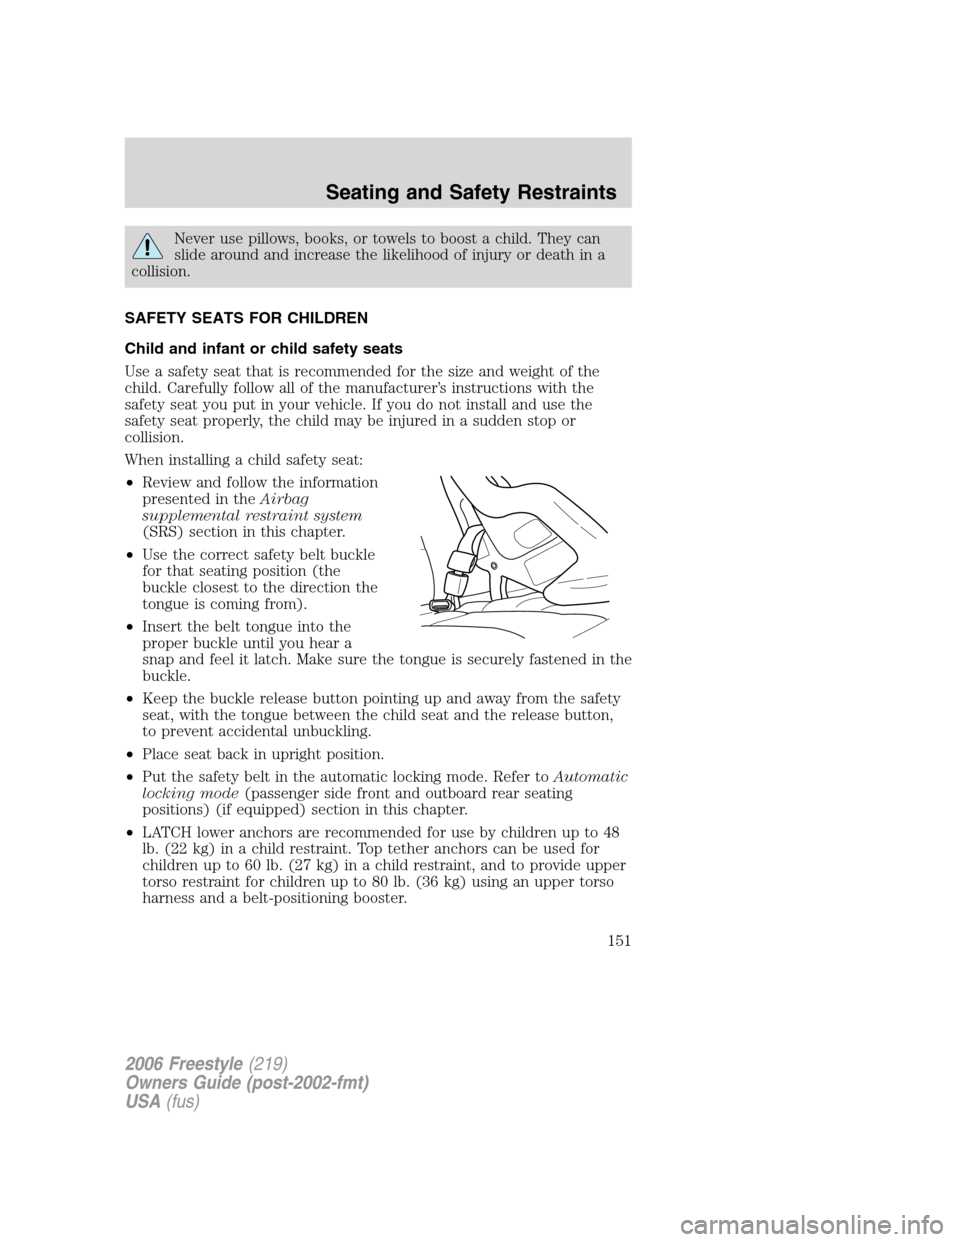
tongue is coming from).
•Insert the belt tongue into the
proper buckle until you hear a
snap and feel it latch. Make sure the tongue is securely fastened in the
buckle.
•Keep the buckle release button pointing up and away from the safety
seat, with the tongue between the child seat and the release button,
to prevent accidental unbuckling.
•Place seat back in upright position.
•Put the safety belt in the automatic locking mode. Refer toAutomatic
locking mode(passenger side front and outboard rear seating
positions) (if equipped) section in this chapter.
•LATCH lower anchors are recommended for use by children up to 48
lb. (22 kg) in a child restraint. Top tether anchors can be used for
children up to 60 lb. (27 kg) in a child restraint, and to provide upper
torso restraint for children up to 80 lb. (36 kg) using an upper torso
harness and a belt-positioning booster.
2006 Freestyle(219)
Owners Guide (post-2002-fmt)
USA(fus)
Seating and Safety Restraints
151
Page 243 of 288
OPENING THE HOOD
1. Inside the vehicle, pull the hood
release handle located under the
bottom of the instrument panel near
the steering column.
2. Go to the front of the vehicle and
release the auxiliary latch that is
located under the front center of
the hood.
3. Lift the hood and support it with
the prop rod. Lift the prop rod by
the sleeve and not the bare metal.
2006 Freestyle(219)
Owners Guide (post-2002-fmt)
USA(fus)
Maintenance and Specifications
243