2006 FORD FREESTYLE remove seats
[x] Cancel search: remove seatsPage 41 of 288
6.Fan speed adjustment:Controls the volume of air circulated in the
vehicle.
Operating tips
•To reduce fog build up on the windshield during humid weather, place
the air flow selector in the
position.
•To reduce humidity build up inside the vehicle: do not drive with the
airflow selector in the O (OFF) or with recirculated air engaged.
•Do not put objects under the front seats that will interfere with the
airflow to the back seats.
•Remove any snow, ice or leaves from the air intake area at the base of
the windshield.
•For maximum cooling performance (MAX A/C):
In the MAX A/C mode:
•Move the temperature control selector to the coldest setting.
•Set the fan to the highest speed initially, then adjust to maintain
passenger comfort.
In the
andmodes:
•Move the temperature control selector to the coldest setting.
•Select A/C and recirculated air
. Usewith A/C to provide
colder airflow.
•Set the fan to the highest speed initially, then adjust to maintain
passenger comfort.
In extremely cold temperatures, to maximize overall heater performance
it is suggested to not operate the auxiliary system (if so equipped) until
the engine temperature gauge crosses into the normal operating range.
To aid in side window defogging/demisting in cold weather:
1. Select
.
2. Select A/C.
3. Set the temperature control to full heat.
4. Set the fan speed to the highest setting.
5. Direct the outer instrument panel vents towards the side windows.
Do not place objects on top of the instrument panel as these
objects may become projectiles in a collision or sudden stop.
2006 Freestyle(219)
Owners Guide (post-2002-fmt)
USA(fus)
Climate Controls
41
Page 48 of 288
Operating tips
•To reduce fog build up on the windshield during humid weather, place
the air flow selector in the
position.
•To reduce humidity build up inside the vehicle: do not drive with the
airflow selector in the OFF or with recirculated air engaged.
•Do not put objects under the front seats that will interfere with the
airflow to the back seats.
•Remove any snow, ice or leaves from the air intake area at the base of
the windshield.
•For maximum cooling performance (MAX A/C):
In AUTO mode, press AUTO control and set to desired temperature.
In manual override control, select
or, A/C and recirculated
air
and set the temperature to 60°F (16°C). Set the fan to the
highest speed initially, then adjust to maintain passenger comfort.
•To improve the A/C cool down, drive with the windows slightly open
for 2–3 minutes after starting the vehicle or until the vehicle has
“aired out.”
In extremely cold temperatures, to maximize overall heater performance
it is suggested to not operate the auxiliary system (if so equipped) until
the engine temperature gauge crosses into the normal operating range.
To aid in side window defogging/demisting in cold weather:
1. Select
.
2. Select A/C.
3. Adjust the temperature control to maintain comfort.
4. Set the fan to the highest speed.
5. Direct the outer instrument panel vents towards the side windows.
Do not place objects on top of the instrument panel as these
objects may become projectiles in a collision or sudden stop.
2006 Freestyle(219)
Owners Guide (post-2002-fmt)
USA(fus)
Climate Controls
48
Page 69 of 288
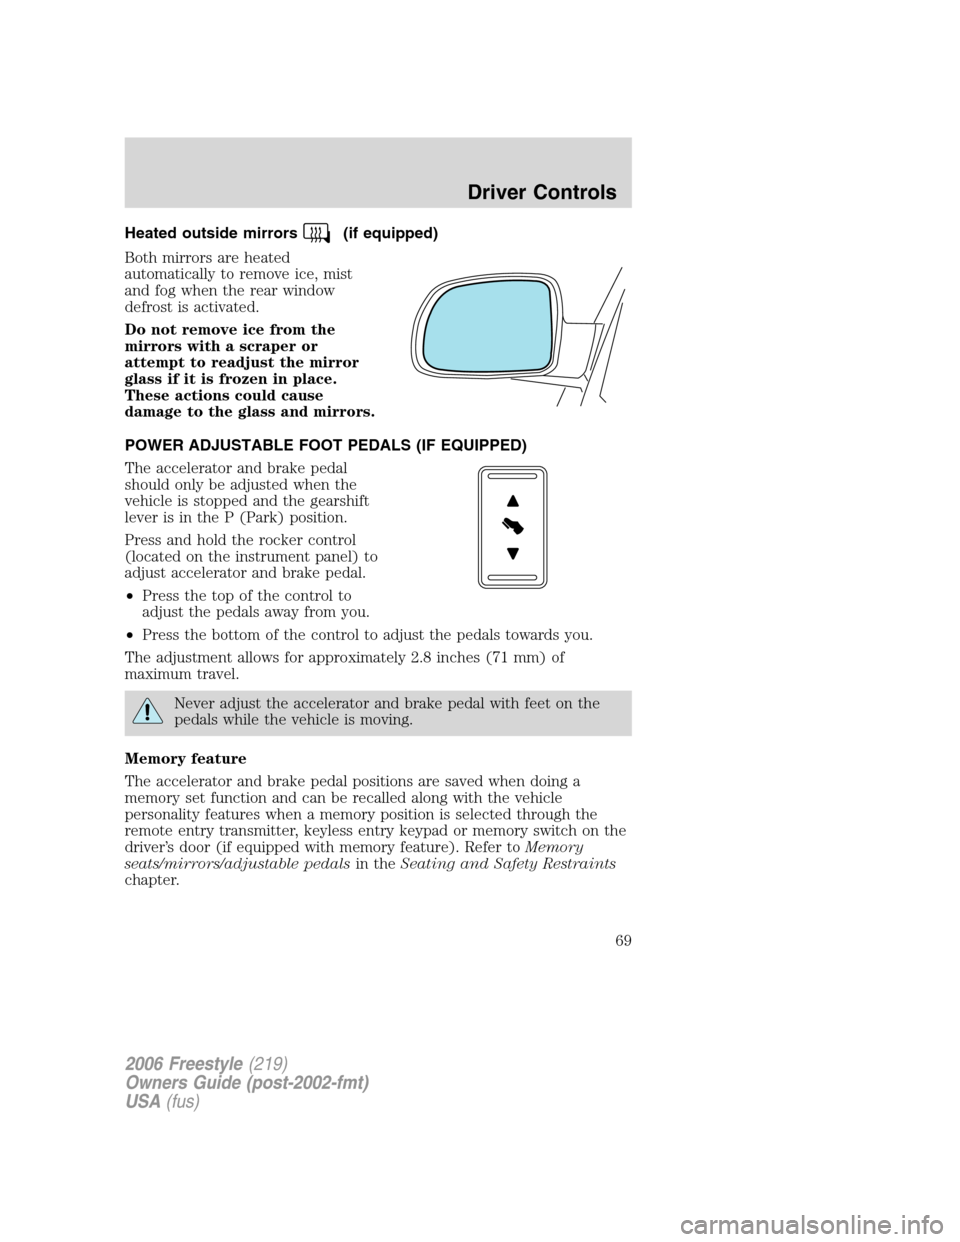
Heated outside mirrors(if equipped)
Both mirrors are heated
automatically to remove ice, mist
and fog when the rear window
defrost is activated.
Do not remove ice from the
mirrors with a scraper or
attempt to readjust the mirror
glass if it is frozen in place.
These actions could cause
damage to the glass and mirrors.
POWER ADJUSTABLE FOOT PEDALS (IF EQUIPPED)
The accelerator and brake pedal
should only be adjusted when the
vehicle is stopped and the gearshift
lever is in the P (Park) position.
Press and hold the rocker control
(located on the instrument panel) to
adjust accelerator and brake pedal.
•Press the top of the control to
adjust the pedals away from you.
•Press the bottom of the control to adjust the pedals towards you.
The adjustment allows for approximately 2.8 inches (71 mm) of
maximum travel.
Never adjust the accelerator and brake pedal with feet on the
pedals while the vehicle is moving.
Memory feature
The accelerator and brake pedal positions are saved when doing a
memory set function and can be recalled along with the vehicle
personality features when a memory position is selected through the
remote entry transmitter, keyless entry keypad or memory switch on the
driver’s door (if equipped with memory feature). Refer toMemory
seats/mirrors/adjustable pedalsin theSeating and Safety Restraints
chapter.
2006 Freestyle(219)
Owners Guide (post-2002-fmt)
USA(fus)
Driver Controls
69
Page 95 of 288
3. Remove the old battery.Note:Please refer to local regulations when
disposing of transmitter batteries.
4. Insert the new battery. Refer to the diagram inside the remote entry
transmitter for the correct orientation of the battery. Press the battery
down to ensure that the battery is fully seated in the battery housing
cavity.
5. Snap the two halves back together.
Note:Replacement of the battery willnotcause the remote transmitter
to become deprogrammed from your vehicle. The remote transmitter
should operate normally after battery replacement.
Replacing lost remote entry transmitters
If you would like to have your remote entry transmitter reprogrammed
because you lost one, or would like to buy additional remote entry
transmitters, you can either reprogram them yourself, or takeall
remote entry transmittersto your authorized dealer for
reprogramming.
Note:If your vehicle is equipped with the memory seats/power
mirrors/adjustable pedals feature, you can associate a remote entry
transmitter to each memory position using this procedure. The first
transmitter that is programmed will recall Driver 1 settings, and the
second transmitter that is programmed will recall Driver 2 settings.
How to reprogram your remote entry transmitters
You must haveall remote entry transmitters(maximum of four)
available before beginning this procedure.
To reprogram the remote entry
transmitters:
1. Ensure the vehicle is electronically unlocked.
2. Put the key in the ignition.
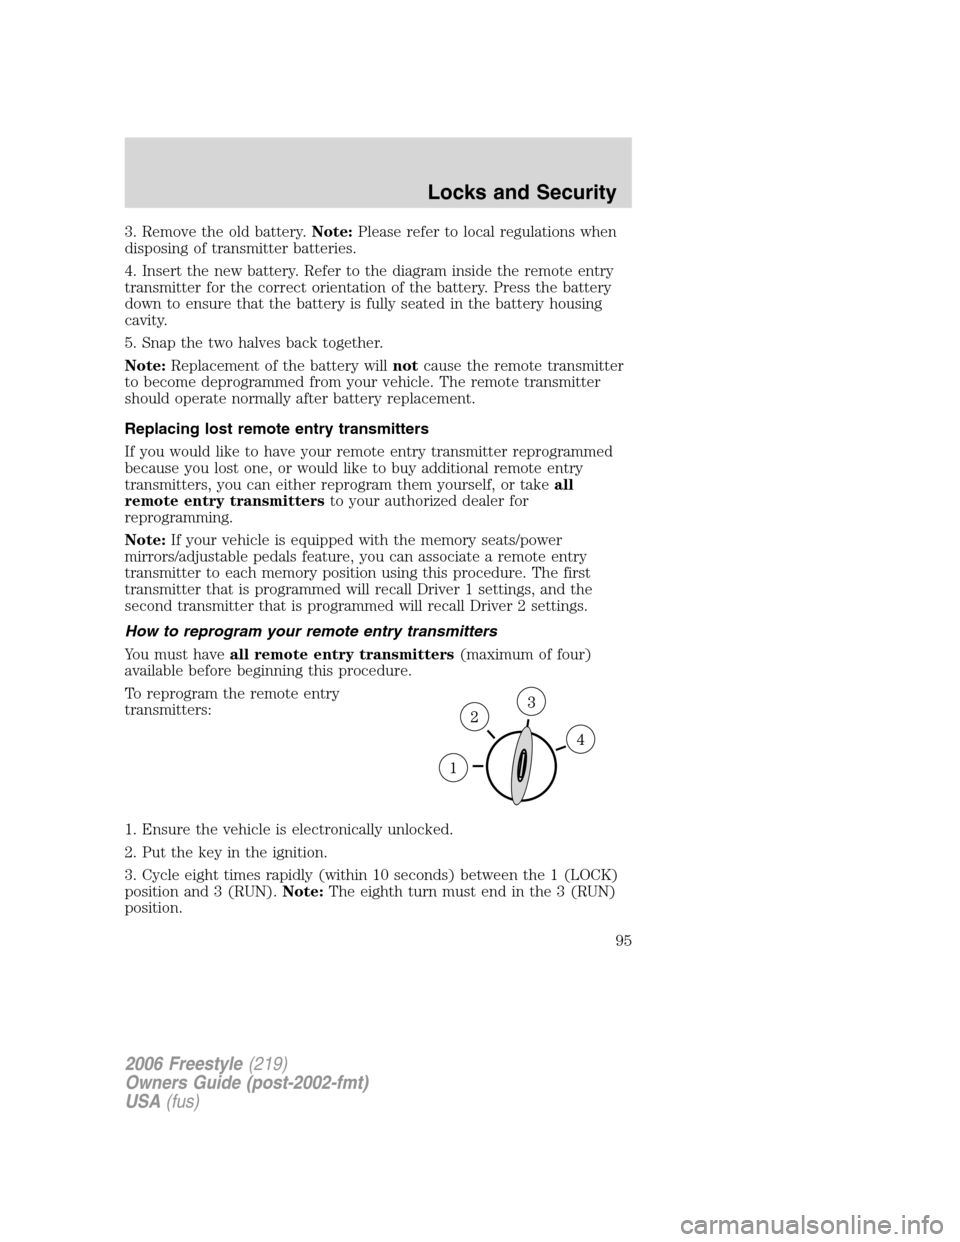
3. Cycle eight times rapidly (within 10 seconds) between the 1 (LOCK)
position and 3 (RUN).Note:The eighth turn must end in the 3 (RUN)
position.
2006 Freestyle(219)
Owners Guide (post-2002-fmt)
USA(fus)
Locks and Security
95
Page 97 of 288
Illuminated exit
•When all vehicle doors and the liftgate are closed, and the key is
removed from the ignition, the interior dome lamps (and the exterior
mirror puddle lamps, if equipped) will illuminate.
The lights will turn off if all the doors and the liftgate remain closed and
•25 seconds elapse, or
•the key is inserted in the ignition.
KEYLESS ENTRY SYSTEM
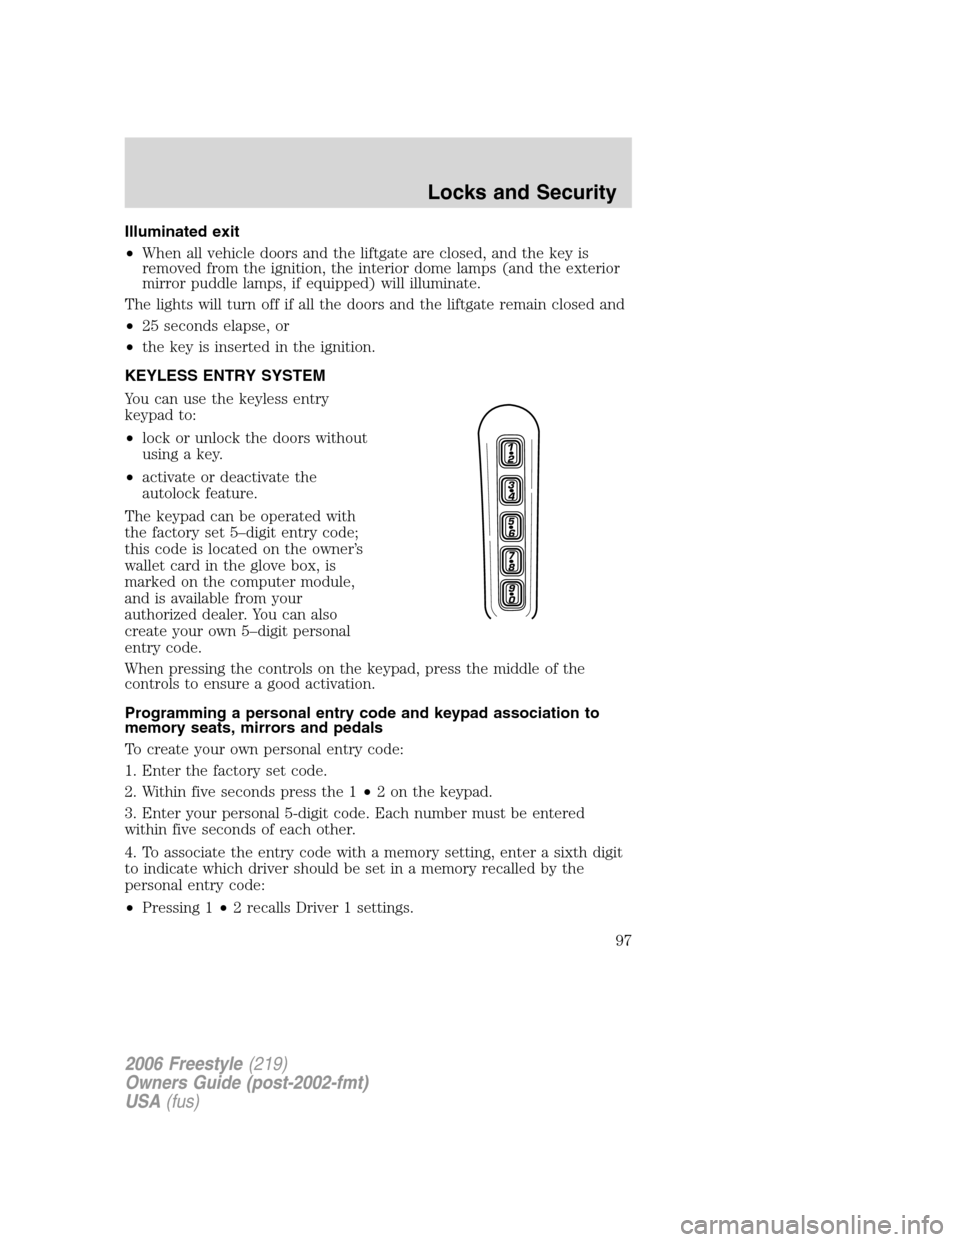
You can use the keyless entry
keypad to:
•lock or unlock the doors without
using a key.
•activate or deactivate the
autolock feature.
The keypad can be operated with
the factory set 5–digit entry code;
this code is located on the owner’s
wallet card in the glove box, is
marked on the computer module,
and is available from your
authorized dealer. You can also
create your own 5–digit personal
entry code.
When pressing the controls on the keypad, press the middle of the
controls to ensure a good activation.
Programming a personal entry code and keypad association to
memory seats, mirrors and pedals
To create your own personal entry code:
1. Enter the factory set code.
2. Within five seconds press the 1•2 on the keypad.
3. Enter your personal 5-digit code. Each number must be entered
within five seconds of each other.
4. To associate the entry code with a memory setting, enter a sixth digit
to indicate which driver should be set in a memory recalled by the
personal entry code:
•Pressing 1•2 recalls Driver 1 settings.
2006 Freestyle(219)
Owners Guide (post-2002-fmt)
USA(fus)
Locks and Security
97
Page 112 of 288
Adjusting second row seats (if equipped)
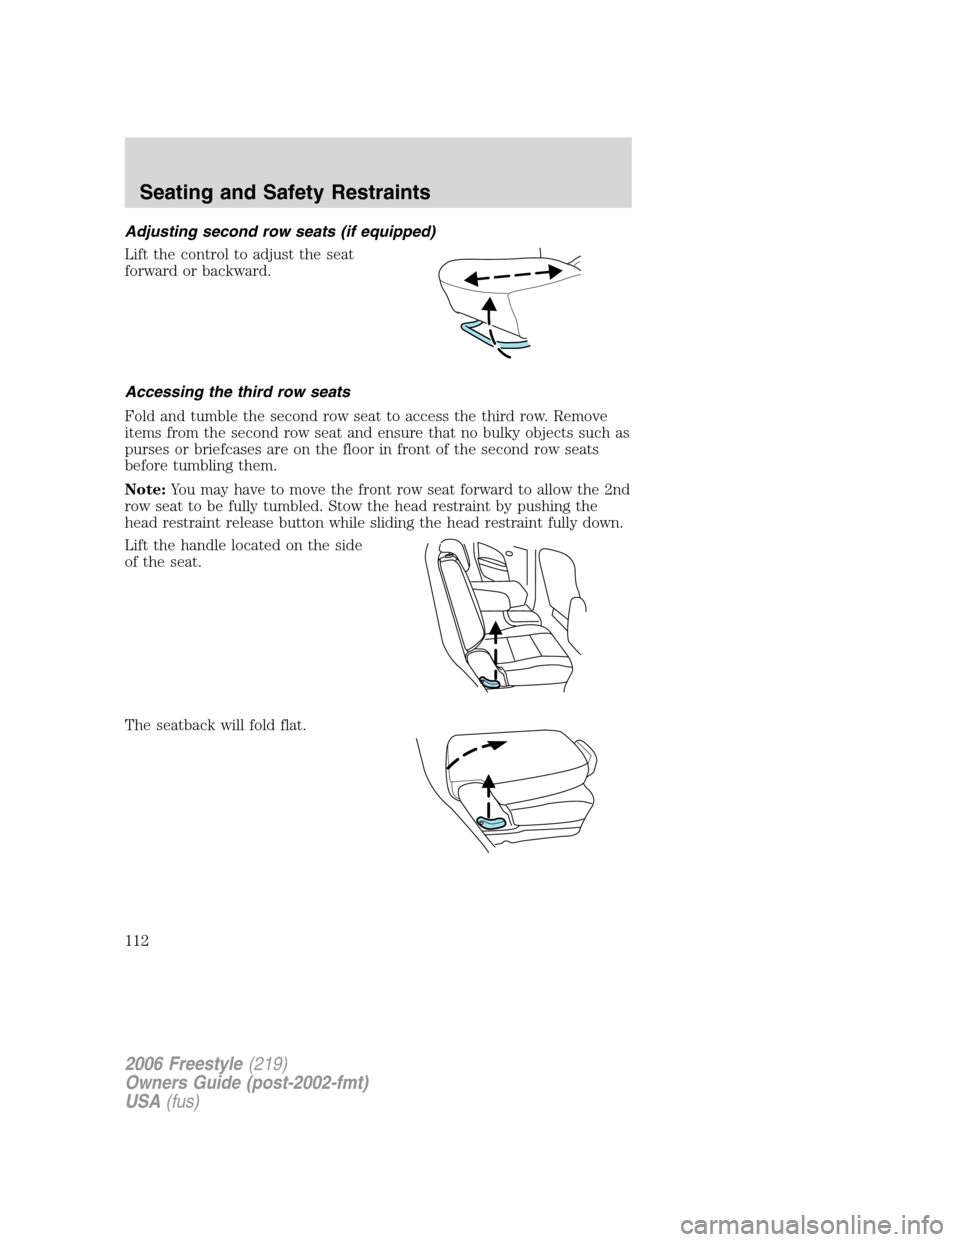
Lift the control to adjust the seat
forward or backward.
Accessing the third row seats
Fold and tumble the second row seat to access the third row. Remove
items from the second row seat and ensure that no bulky objects such as
purses or briefcases are on the floor in front of the second row seats
before tumbling them.
Note:You may have to move the front row seat forward to allow the 2nd
row seat to be fully tumbled. Stow the head restraint by pushing the
head restraint release button while sliding the head restraint fully down.
Lift the handle located on the side
of the seat.
The seatback will fold flat.
2006 Freestyle(219)
Owners Guide (post-2002-fmt)
USA(fus)
Seating and Safety Restraints
112
Page 123 of 288
Combination lap and shoulder belts
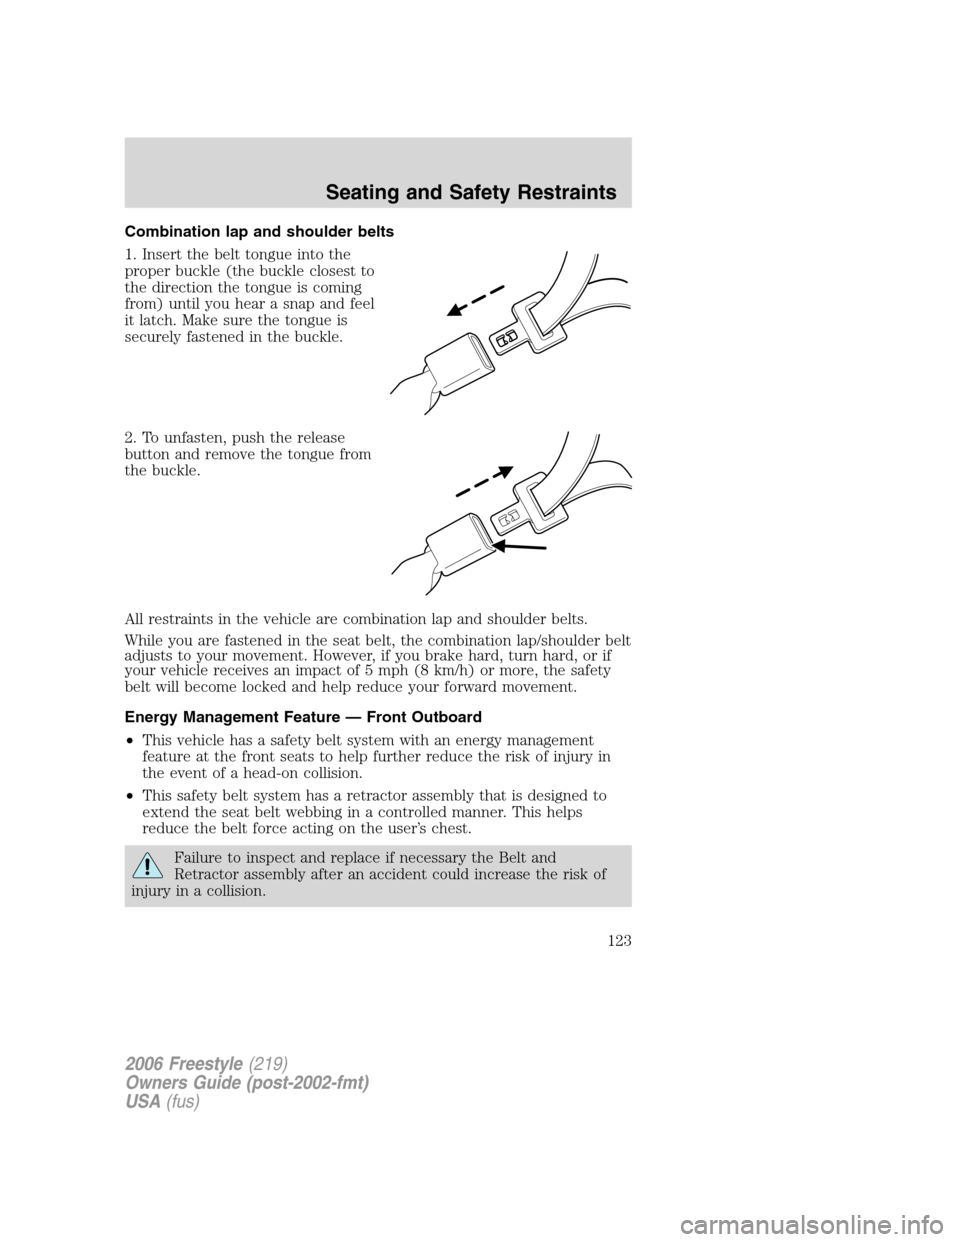
1. Insert the belt tongue into the
proper buckle (the buckle closest to
the direction the tongue is coming
from) until you hear a snap and feel
it latch. Make sure the tongue is
securely fastened in the buckle.
2. To unfasten, push the release
button and remove the tongue from
the buckle.
All restraints in the vehicle are combination lap and shoulder belts.
While you are fastened in the seat belt, the combination lap/shoulder belt
adjusts to your movement. However, if you brake hard, turn hard, or if
your vehicle receives an impact of 5 mph (8 km/h) or more, the safety
belt will become locked and help reduce your forward movement.
Energy Management Feature — Front Outboard
•This vehicle has a safety belt system with an energy management
feature at the front seats to help further reduce the risk of injury in
the event of a head-on collision.
•This safety belt system has a retractor assembly that is designed to
extend the seat belt webbing in a controlled manner. This helps
reduce the belt force acting on the user’s chest.
Failure to inspect and replace if necessary the Belt and
Retractor assembly after an accident could increase the risk of
injury in a collision.
2006 Freestyle(219)
Owners Guide (post-2002-fmt)
USA(fus)
Seating and Safety Restraints
123
Page 124 of 288
All safety restraints in the vehicle are combination lap and shoulder
belts. All of the passenger combination lap and shoulder belts have two
types of locking modes described below:
Vehicle sensitive mode
This is the normal retractor mode, which allows free shoulder belt length
adjustment to your movements and locking in response to vehicle
movement. For example, if the driver brakes suddenly or turns a corner
sharply, or the vehicle receives an impact of approximately 5 mph (8
km/h) or more, the combination safety belts will lock to help reduce
forward movement of the driver and passengers.
Automatic locking mode
When to use the automatic locking mode
In this mode, the shoulder belt is automatically pre-locked. The belt will
still retract to remove any slack in the shoulder belt. The automatic
locking mode is not available on the driver safety belt.
This mode should be usedany timea child safety seat is installed in a
passenger front or outboard rear seating position (if equipped). Children
12 years old and under should be properly restrained in the rear seat
whenever possible. Refer toSafety restraints for childrenorSafety
seats for childrenlater in this chapter.
How to use the automatic locking mode
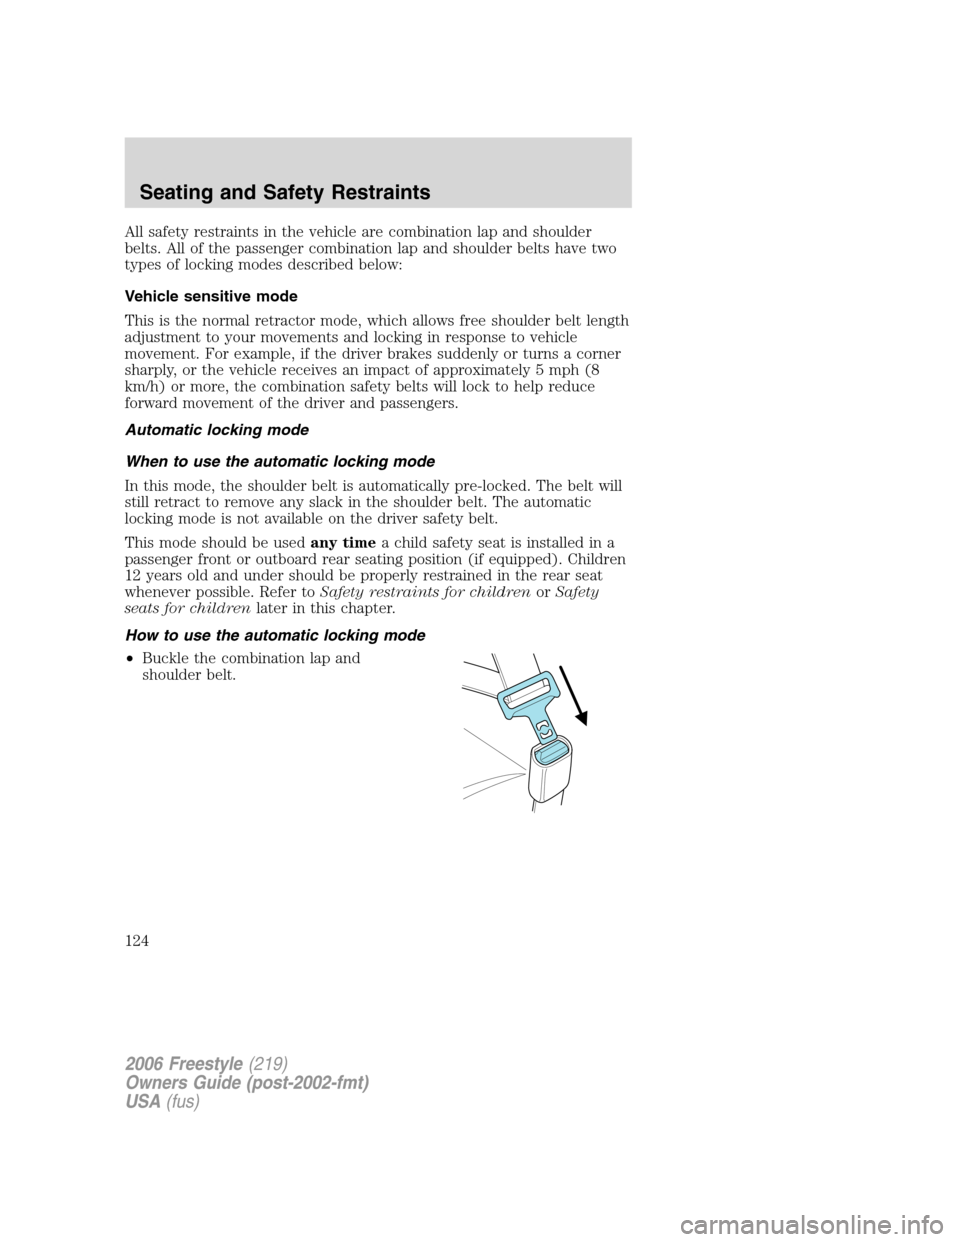
•Buckle the combination lap and
shoulder belt.
2006 Freestyle(219)
Owners Guide (post-2002-fmt)
USA(fus)
Seating and Safety Restraints
124