2006 FORD EXPLORER seats
[x] Cancel search: seatsPage 6 of 328
BREAKING-IN YOUR VEHICLE
Your vehicle does not need an extensive break-in. Try not to drive
continuously at the same speed for the first 1,000 miles (1,600 km) of
new vehicle operation. Vary your speed frequently in order to give the
moving parts a chance to break in.
Drive your new vehicle at least 500 miles (800 km) before towing a
trailer. For more detailed information about towing a trailer, refer to
Trailer towingin theTires, Wheels and Loadingchapter.
Do not add friction modifier compounds or special break-in oils during
the first few thousand miles (kilometers) of operation, since these
additives may prevent piston ring seating. SeeEngine oilin the
Maintenance and Specificationschapter for more information on oil
usage.
SPECIAL NOTICES
New Vehicle Limited Warranty
For a detailed description of what is covered and what is not covered by
your vehicle's New Vehicle Limited Warranty, refer to theWarranty
Guidethat is provided to you along with yourOwner's Guide.
Special instructions
For your added safety, your vehicle is fitted with sophisticated electronic
controls.
Please read the sectionSupplemental restraint system (SRS)
in theSeating and Safety Restraintschapter. Failure to follow
the specific warnings and instructions could result in personal injury.
Front seat mounted rear-facing child or infant seats should
NEVERbe placed in front of an active passenger airbag.
Introduction
6
Page 30 of 328
RBDS (Radio Broadcast Digital Signal) ON/OFF:Press/to
turn RBDS ON or OFF.
Program Type:If RBDS is ON, press
/to find the desired program
type, then use
SEEKor SCAN to search for FM radio stations
broadcasting the desired program type.
SHOW RBDS Info:If RBDS is ON, this allows you to display the name
of the FM radio station or program type. Press
/to show program
type, station name or none.
RBDS:Allows you to search RBDS (Radio Broadcast Digital Signal)
equipped stations for the following music formats: Classical, Country,
Jazz, Oldies, R&B, Religious, Rock, Soft, Top 40 and Information
(Inform). RBDS is only available in FM mode.
Autoset:Allows you to set the strongest local radio stations without
losing your original manually set preset stations for AM/FM1/FM2 .
Use
/to turn on/off.
When the six strongest stations are filled, the station stored in preset 1
will begin playing. If there are less than six strong stations, the system
will store the last one in the remaining presets. Use
/to turn
on/off.
Bass:Press
/to adjust the bass setting.
Treble:Press
/to adjust the treble setting.
Balance:Press
/to adjust the audio between the left and right
speakers.
Fade:Press
/to adjust the audio between the front and rear
speakers.
Speed sensitive volume:Radio volume automatically changes slightly
with vehicle speed to compensate for road and wind noise. Use
/
to adjust. Recommended level is 1±3. Level 0 (SPEED OFF) turns the
feature off and level 7 is the maximum setting.
Occupancy mode:Use
/to select and optimize sound for ALL
SEATS, DRIVERS SEAT or REAR SEATS.
Entertainment Systems
30
Page 36 of 328
²Do not put objects under the front seats that will interfere with the
airflow to the rear seats.
²Remove any snow, ice or leaves from the air intake area at the base of
the windshield.
²To improve the A/C cool down when the vehicle interior is
significantly warmer than the outside temperature, drive with the
windows slightly open for 2±3 minutes after start up or until the
vehicle has been ªaired out.º
For maximum cooling performance in panel (
) mode:
²Select MAX A/C mode. MAX A/C uses recirculated air with A/C to
provide a cooler airflow.
²Move the temperature control to the coolest setting.
²Set the fan to the highest speed initially, then adjust in order to
maintain comfort.
To allow side window defogging and demisting while warming up the
vehicle cabin:
1. Select
.
2. Select A/C.
3. Set the temperature control to maintain comfort.
4. Set the fan speed to highest setting.
5. Direct the outer instrument panel vents towards the side windows. To
increase airflow to the outer instrument panel vents, close the vents
located in the middle of the instrument panel.
To allow windshield defogging and demisting while warming up vehicle:
1. Select
floor/defrost mode.
2. Set temperature control to maintain comfort.
3. Set fan to highest setting.
Do not place objects on top of the instrument panel as these
objects may become projectiles in a collision or sudden stop.
Climate Controls
36
Page 39 of 328

16.EXT:Displays the outside air
temperature. It will remain
displayed until the EXT control is
pressed again. The external temperature will be most accurate when the
vehicle has been moving for a period of time.
17.Temperature conversion:
Press to toggle between Fahrenheit
and Celsius temperature on the
DATC display only. The set point temperatures in Celsius will be
displayed in half-degree increments.
Operating tips
²To reduce fog build up on the windshield during humid weather, place
the air flow selector in the
position.
²To reduce humidity build up inside the vehicle, do not drive with the
air flow selector in OFF or with recirculated air engaged.
²Do not put objects under the front seats that will interfere with the
airflow to the rear seats.
²Remove any snow, ice or leaves from the air intake area at the base of
the windshield.
²To improve the A/C cool down, drive with the windows slightly open
for 2±3 minutes after start up or until the vehicle has been ªaired out.º
For maximum cooling performance:
²Select and A/C and recirculated air. Use recirculated air with A/C to
provide a cooler airflow.
²Move the temperature control to the coolest setting.
To allow side window defogging and demisting while warming up the
vehicle cabin:
1. Select
.
2. Select A/C.
3. Set the temperature control to maintain comfort.
4. Set the fan speed to highest setting.
5. Direct the outer instrument panel vents towards the side windows. To
increase airflow to the outer instrument panel vents, close the vents
located in the middle of the instrument panel.
EXT
F C
Climate Controls
39
Page 55 of 328
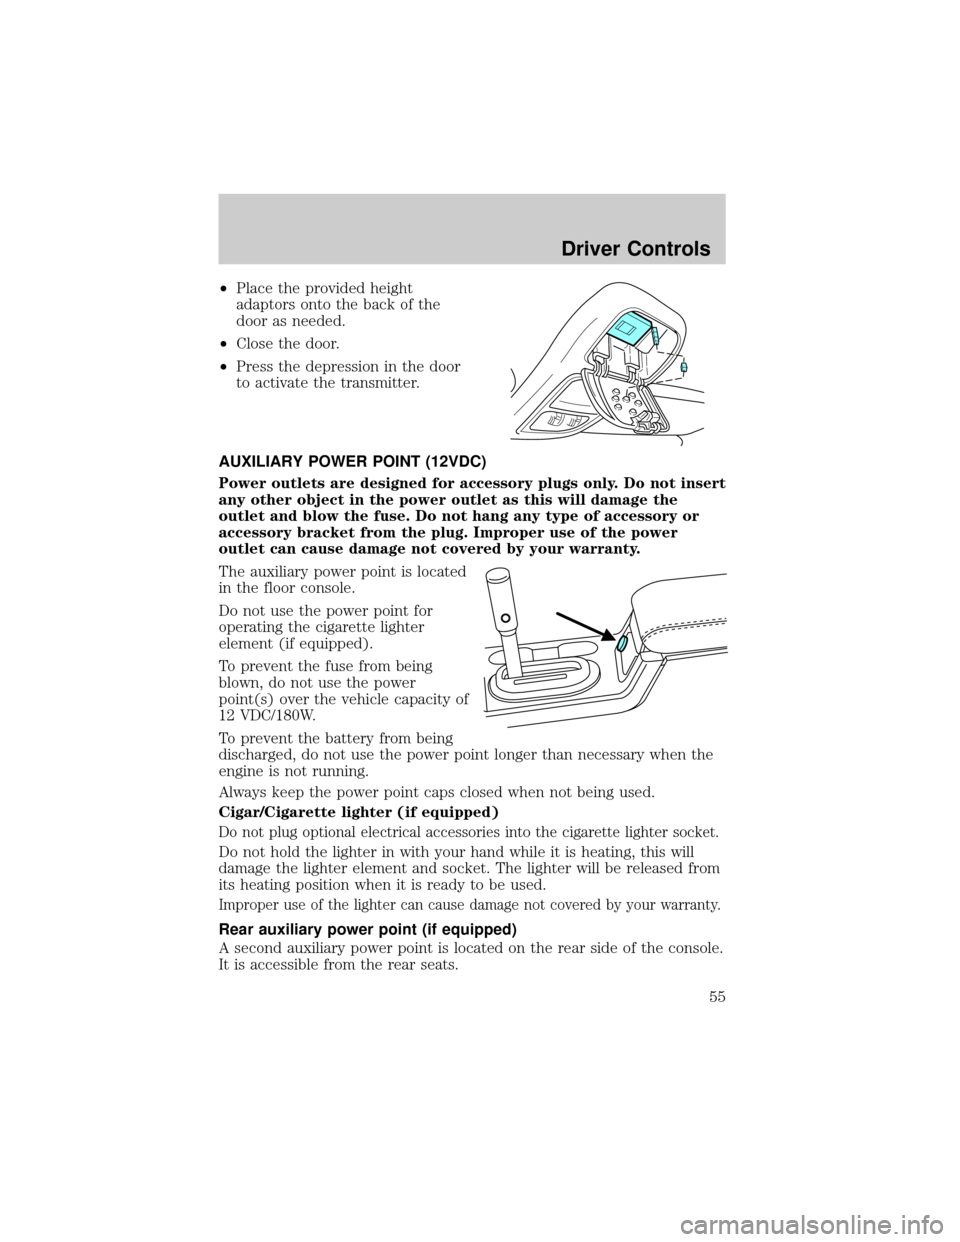
²Place the provided height
adaptors onto the back of the
door as needed.
²Close the door.
²Press the depression in the door
to activate the transmitter.
AUXILIARY POWER POINT (12VDC)
Power outlets are designed for accessory plugs only. Do not insert
any other object in the power outlet as this will damage the
outlet and blow the fuse. Do not hang any type of accessory or
accessory bracket from the plug. Improper use of the power
outlet can cause damage not covered by your warranty.
The auxiliary power point is located
in the floor console.
Do not use the power point for
operating the cigarette lighter
element (if equipped).
To prevent the fuse from being
blown, do not use the power
point(s) over the vehicle capacity of
12 VDC/180W.
To prevent the battery from being
discharged, do not use the power point longer than necessary when the
engine is not running.
Always keep the power point caps closed when not being used.
Cigar/Cigarette lighter (if equipped)
Do not plug optional electrical accessories into the cigarette lighter socket.
Do not hold the lighter in with your hand while it is heating, this will
damage the lighter element and socket. The lighter will be released from
its heating position when it is ready to be used.
Improper use of the lighter can cause damage not covered by your warranty.
Rear auxiliary power point (if equipped)
A second auxiliary power point is located on the rear side of the console.
It is accessible from the rear seats.
Driver Controls
55
Page 102 of 328

Switching from two step to one step door unlocking
Your vehicle comes with two step unlocking enabled. Unlocking can be
switched between two step and one step door unlocking by pressing and
holding both the
andbuttons simultaneously on the remote entry
transmitter for approximately 4 seconds. The parklamps will flash twice
to indicate that the vehicle has switched to one step unlocking. Repeat
the procedure to switch back to two-step unlocking.
Locking the doors/liftgate
1. Pressand release to lock all the doors and liftgate. The lamps will
flash.Note:If any door, the liftgate or the liftgate glass are not closed
properly, the lamps will not flash.
2. Press
and release again within three seconds to confirm that all the
doors are closed and locked.Note:The doors will lock again, the horn
will chirp and the lamps flash once.
Note:If any door, the liftgate or the liftgate glass are not closed
properly, the horn will make two quick chirps.
Opening the liftgate window
Press
to unlatch the liftgate window.
Sounding a panic alarm
Press
to activate the alarm. The horn will sound and the parklamps
will flash for a maximum of 3 minutes. Press again or turn the ignition to
the 3 (ON) position to deactivate, or wait for the alarm to timeout in 3
minutes.
Note:The panic alarm will only operate when the ignition is in the 1
(OFF/LOCK) or 2 (ACC) position.
Memory seats/adjustable pedals/easy entry-exit feature (if equipped)
The remote entry system can also control the memory seat /adjustable
pedals/easy entry-exit feature.
Press
to automatically move the seat and adjustable pedals to the
desired memory position (the seat position corresponds to the
transmitter being used).
Locks and Security
102
Page 114 of 328
SEATING
Notes:
Reclining the seatback can cause an occupant to slide under the
seat's safety belt, resulting in severe personal injuries in the
event of a collision.
Do not pile cargo higher than the seatbacks to reduce the risk of
injury in a collision or sudden stop.
Before returning the seatback to its original position, make sure
that cargo or any objects are not trapped behind the seatback.
After returning the seatback to its original position, pull on the
seatback to ensure that it has fully latched. An unlatched seat may
become dangerous in the event of a sudden stop or collision.
Adjustable head restraints
Head restraints help to limit head motion in the event of a rear collision.
The seats in your vehicle have adjustable head restraints. Adjust your
head restraint so that it is located directly or as close as possible behind
your head.
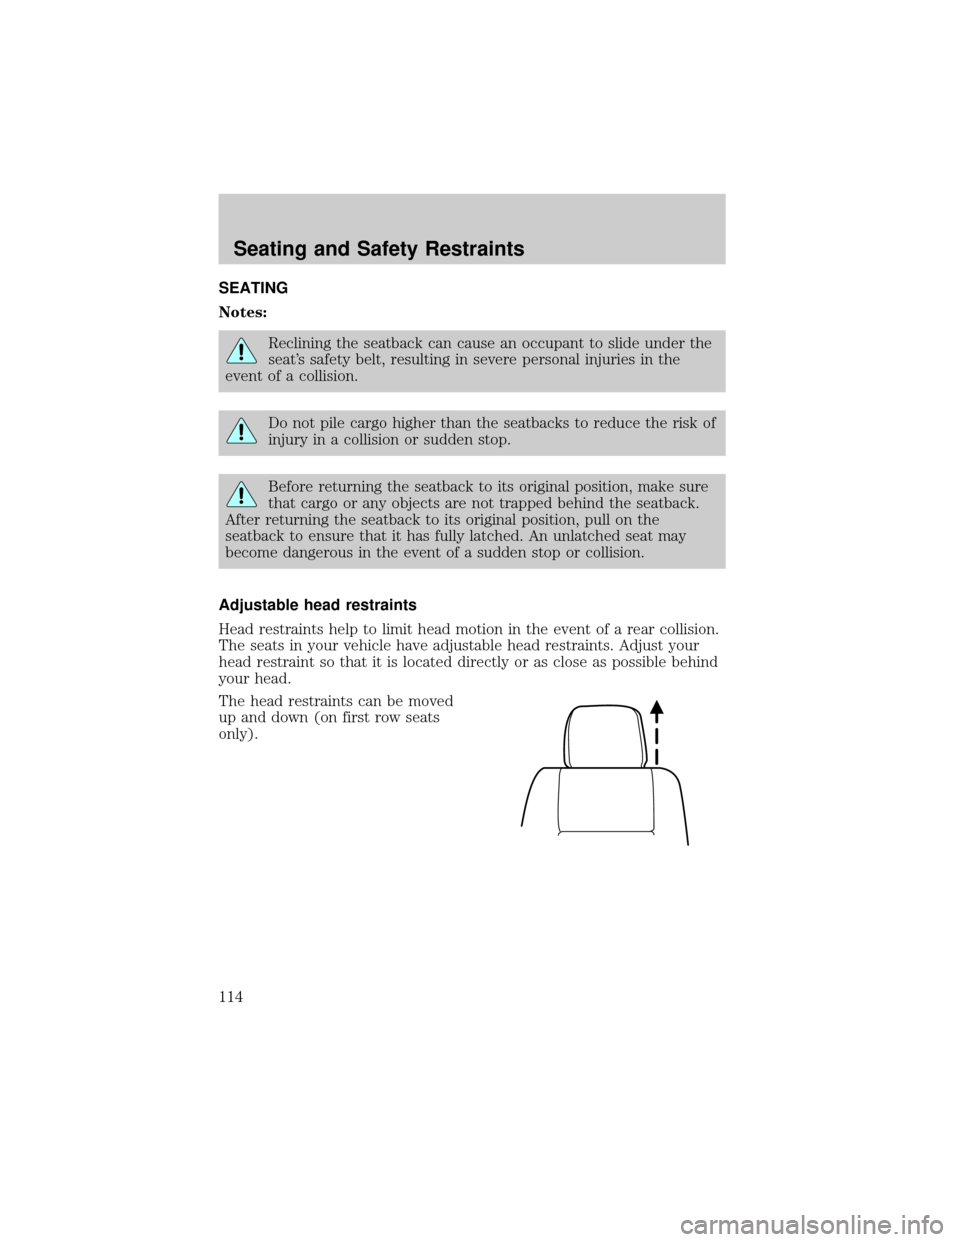
The head restraints can be moved
up and down (on first row seats
only).
Seating and Safety Restraints
114
Page 118 of 328
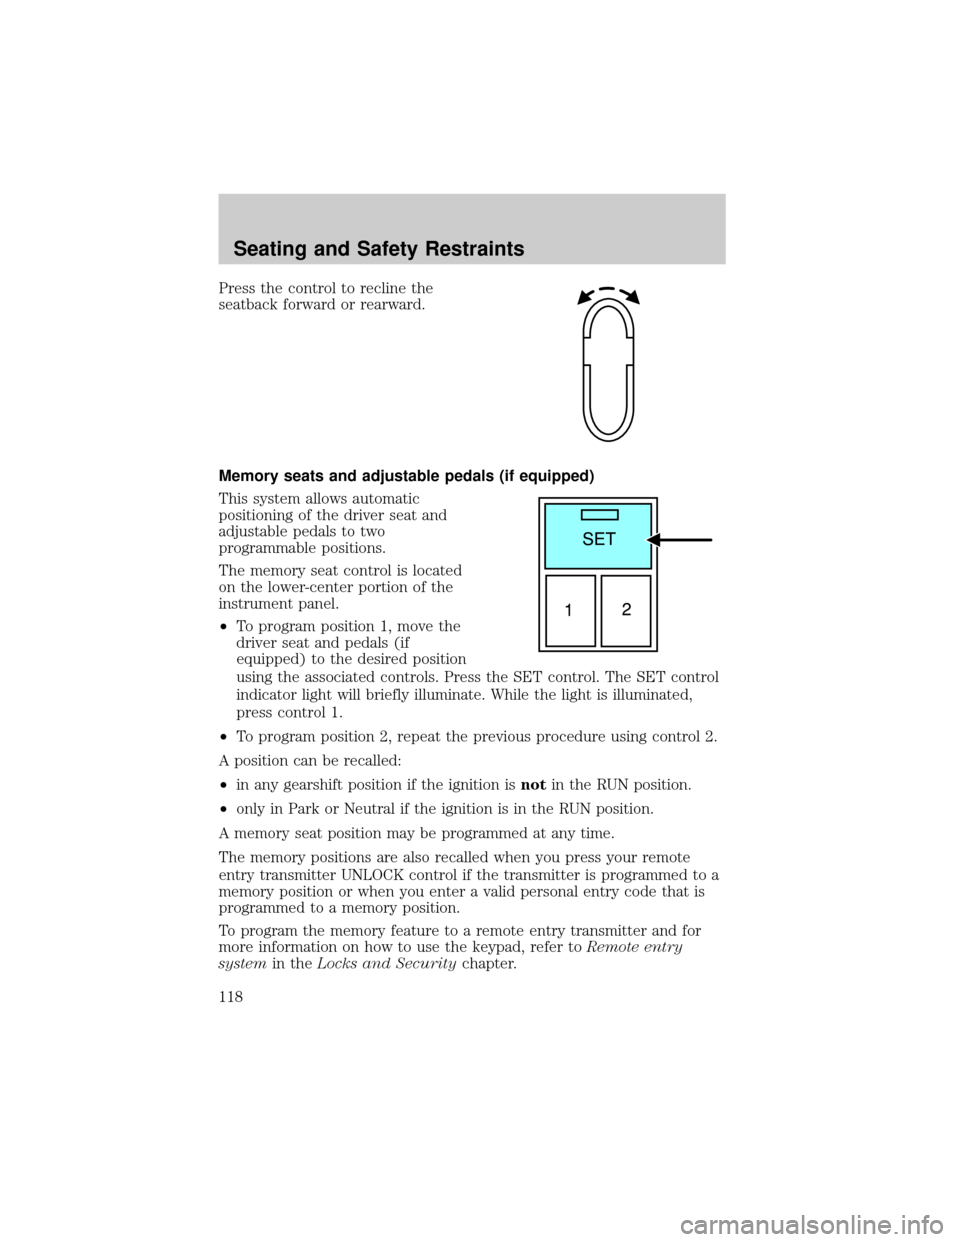
Press the control to recline the
seatback forward or rearward.
Memory seats and adjustable pedals (if equipped)
This system allows automatic
positioning of the driver seat and
adjustable pedals to two
programmable positions.
The memory seat control is located
on the lower-center portion of the
instrument panel.
²To program position 1, move the
driver seat and pedals (if
equipped) to the desired position
using the associated controls. Press the SET control. The SET control
indicator light will briefly illuminate. While the light is illuminated,
press control 1.
²To program position 2, repeat the previous procedure using control 2.
A position can be recalled:
²in any gearshift position if the ignition isnotin the RUN position.
²only in Park or Neutral if the ignition is in the RUN position.
A memory seat position may be programmed at any time.
The memory positions are also recalled when you press your remote
entry transmitter UNLOCK control if the transmitter is programmed to a
memory position or when you enter a valid personal entry code that is
programmed to a memory position.
To program the memory feature to a remote entry transmitter and for
more information on how to use the keypad, refer toRemote entry
systemin theLocks and Securitychapter.
Seating and Safety Restraints
118