Page 14 of 328
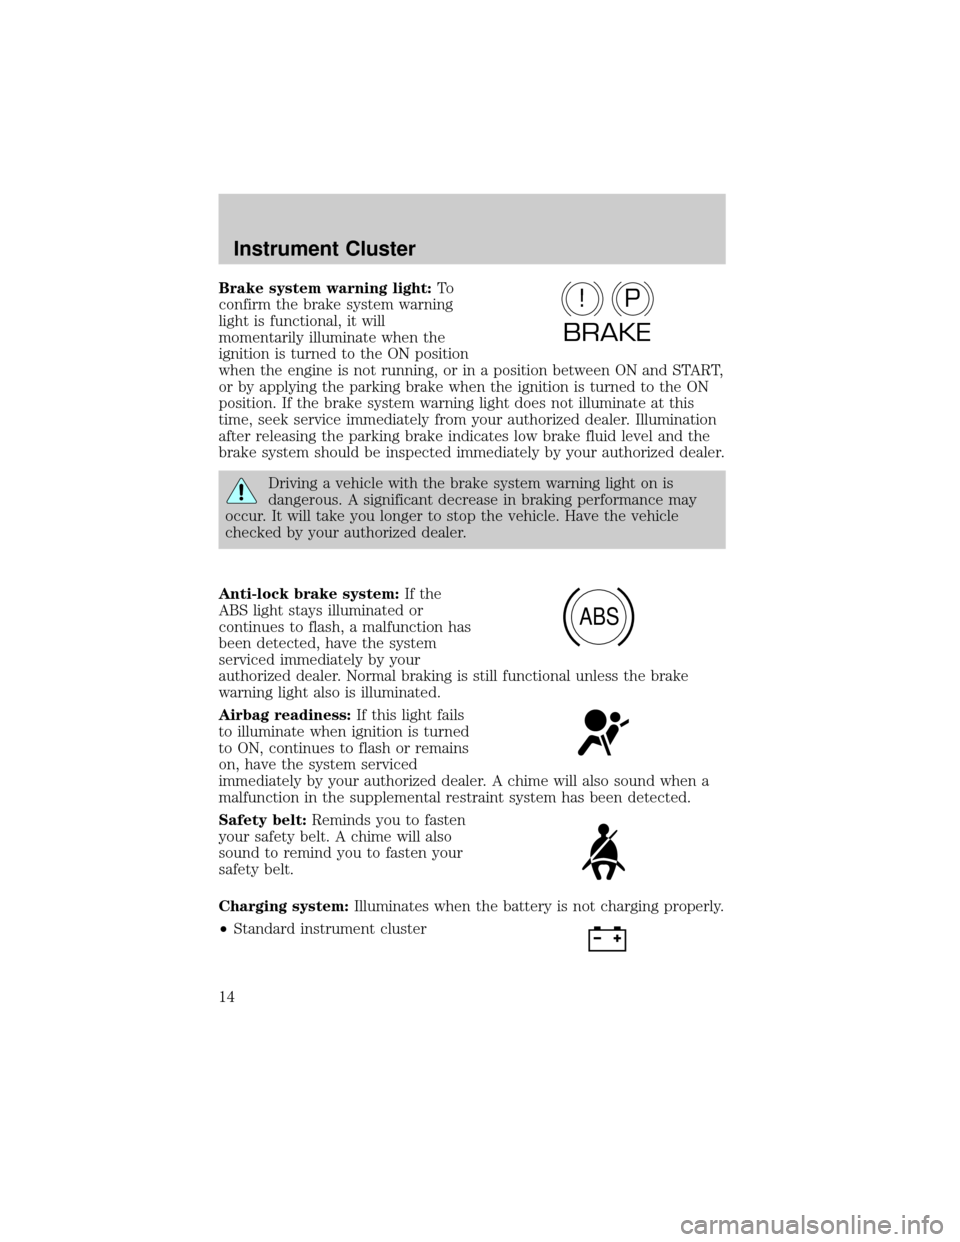
Brake system warning light:To
confirm the brake system warning
light is functional, it will
momentarily illuminate when the
ignition is turned to the ON position
when the engine is not running, or in a position between ON and START,
or by applying the parking brake when the ignition is turned to the ON
position. If the brake system warning light does not illuminate at this
time, seek service immediately from your authorized dealer. Illumination
after releasing the parking brake indicates low brake fluid level and the
brake system should be inspected immediately by your authorized dealer.
Driving a vehicle with the brake system warning light on is
dangerous. A significant decrease in braking performance may
occur. It will take you longer to stop the vehicle. Have the vehicle
checked by your authorized dealer.
Anti-lock brake system:If the
ABS light stays illuminated or
continues to flash, a malfunction has
been detected, have the system
serviced immediately by your
authorized dealer. Normal braking is still functional unless the brake
warning light also is illuminated.
Airbag readiness:If this light fails
to illuminate when ignition is turned
to ON, continues to flash or remains
on, have the system serviced
immediately by your authorized dealer. A chime will also sound when a
malfunction in the supplemental restraint system has been detected.
Safety belt:Reminds you to fasten
your safety belt. A chime will also
sound to remind you to fasten your
safety belt.
Charging system:Illuminates when the battery is not charging properly.
²Standard instrument cluster
P!
BRAKE
ABS
Instrument Cluster
14
Page 18 of 328
Parking brake ON warning chime:Sounds when the parking brake is
set, the engine is running and the vehicle is driven more than 3 mph
(5 km).
GAUGES
Speedometer:Indicates the
current vehicle speed.
Engine coolant temperature
gauge:Indicates engine coolant
temperature. At normal operating
temperature, the needle will be in
the normal range (between ªHº and
ªCº). If it enters the red section, the
engine is overheating. Stop the
vehicle as soon as safely possible,
switch off the engine and let the engine cool.
Instrument Cluster
18
Page 49 of 328
Replacing front parking lamp/turn signal/sidemarker bulbs
1. Turn off the headlamps and open
the hood.
2. Remove three screws from the
headlamp assembly and pull
headlamp forward.
3. Rotate the bulb socket
counterclockwise and remove it
from the lamp assembly.
4. Pull the bulb straight out of the
socket.
Reverse steps to reinstall bulb(s).
Replacing tail/brake/turn/backup lamp bulbs
1. Turn the headlamp switch to OFF
and open the liftgate.
2. Remove the two bolts from the
lamp assembly.
3. Remove the lamp assembly.
Lights
49
Page 139 of 328
Reasons given... Consider...
ªI'd rather be thrown clearº Not a good idea.Peoplewho areejected
are 40 times more likely to DIE.Safety
belts help prevent ejection, WE CAN'T
ªPICK OUR CRASHº.
Do not sit on top of a buckled safety belt to avoid the
BeltMinderychime. Sitting on the safety belt will increase the
risk of injury in an accident. To disable (one-time) or deactivate the
BeltMinderyfeature please follow the directions stated below.
One time disable
If at any time the driver/front passenger quickly buckles then unbuckles
the safety belt for that seating position, the BeltMinderyis disabled for
the current ignition cycle. The BeltMinderyfeature will enable during
the same ignition cycle if the occupant buckles and remains buckled for
approximately 30 seconds. Confirmation is not given for the one time
disable.
Deactivating/activating the BeltMinderYfeature
The driver and front passenger BeltMinderyare
deactivated/activated independently. When deactivating/activating
one seating position, do not buckle the other position as this will
terminate the process.
Read Steps1-4thoroughly before proceeding with the
deactivation/activation programming procedure.
Note: The driver and front passenger BeltMinderyfeatures must be
disabled/enabled separately. Both cannot be disable/enabled during the
same key cycle.
The driver and front passenger BeltMinderyfeatures can be
deactivated/activated by performing the following procedure:
Before following the procedure, make sure that:
²The parking brake is set
²The gearshift is in P (Park) (automatic transmission)
²The ignition switch is in the OFF position
²The driver and front passenger safety belts are unbuckled
Seating and Safety Restraints
139
Page 208 of 328
2. Make sure the headlamps and electrical accessories are off.
²Make sure the parking brake is
set.
²Make sure the gearshift is in P
(Park).
3. Turn the key to 3 (ON) without
turning the key to 4 (START).
Some warning lights will briefly illuminate. SeeWarning lights and
chimesin theInstrument Clusterchapter for more information
regarding the warning lights.
Driving
208
Page 210 of 328
To reduce the risk of electrical shock, do not use your heater
with ungrounded electrical systems or two-pronged (cheater)
adapters.
BRAKES
Occasional brake noise is normal. If a metal-to-metal, continuous grinding
or continuous squeal sound is present, the brake linings may be worn-out
and should be inspected by an authorized dealer. If the vehicle has
continuous vibration or shudder in the steering wheel while braking, the
vehicle should be inspected by an authorized dealer.
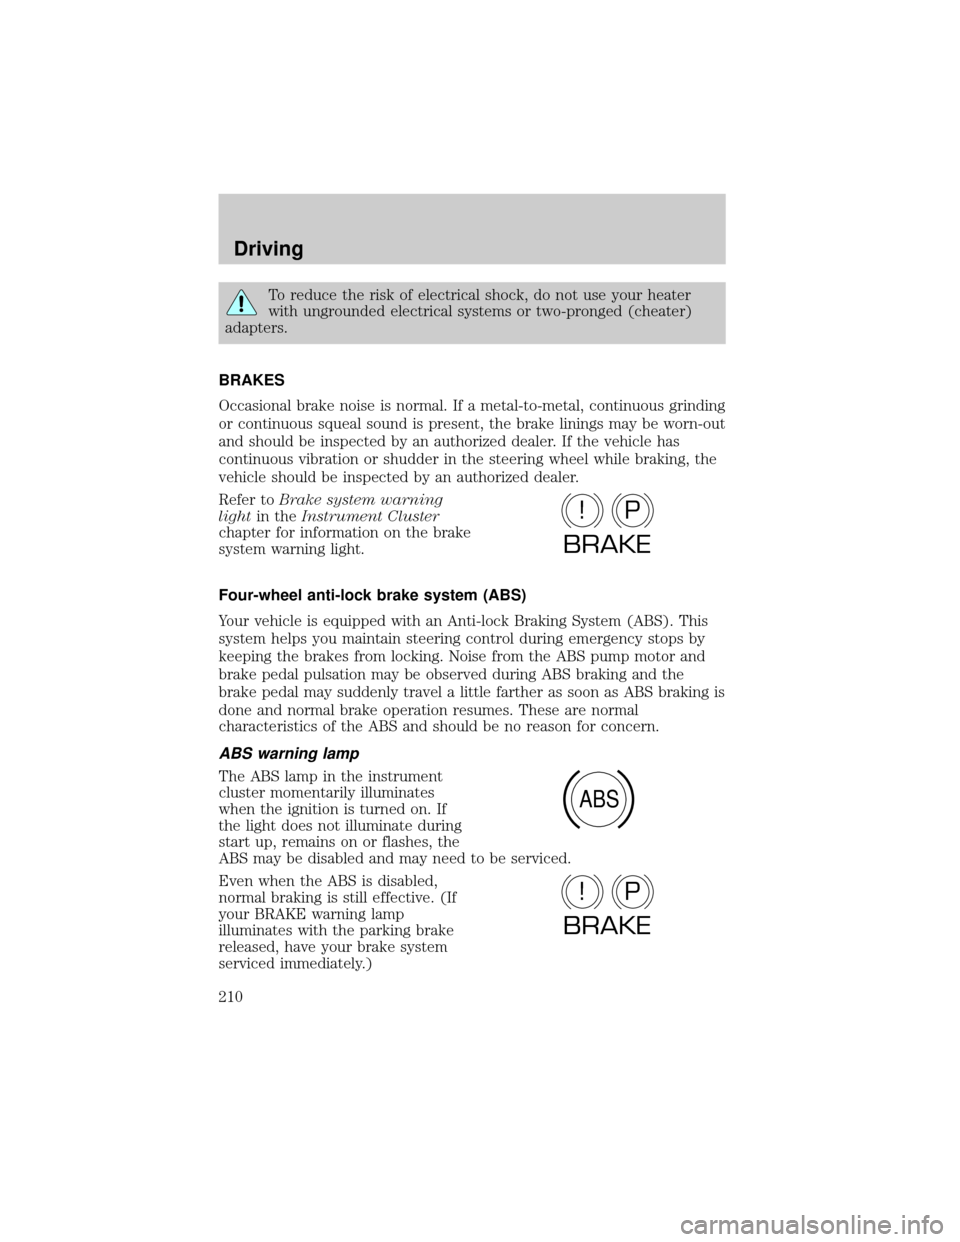
Refer toBrake system warning
lightin theInstrument Cluster
chapter for information on the brake
system warning light.
Four-wheel anti-lock brake system (ABS)
Your vehicle is equipped with an Anti-lock Braking System (ABS). This
system helps you maintain steering control during emergency stops by
keeping the brakes from locking. Noise from the ABS pump motor and
brake pedal pulsation may be observed during ABS braking and the
brake pedal may suddenly travel a little farther as soon as ABS braking is
done and normal brake operation resumes. These are normal
characteristics of the ABS and should be no reason for concern.
ABS warning lamp
The ABS lamp in the instrument
cluster momentarily illuminates
when the ignition is turned on. If
the light does not illuminate during
start up, remains on or flashes, the
ABS may be disabled and may need to be serviced.
Even when the ABS is disabled,
normal braking is still effective. (If
your BRAKE warning lamp
illuminates with the parking brake
released, have your brake system
serviced immediately.)
P!
BRAKE
ABS
P!
BRAKE
Driving
210
Page 211 of 328
Parking brake
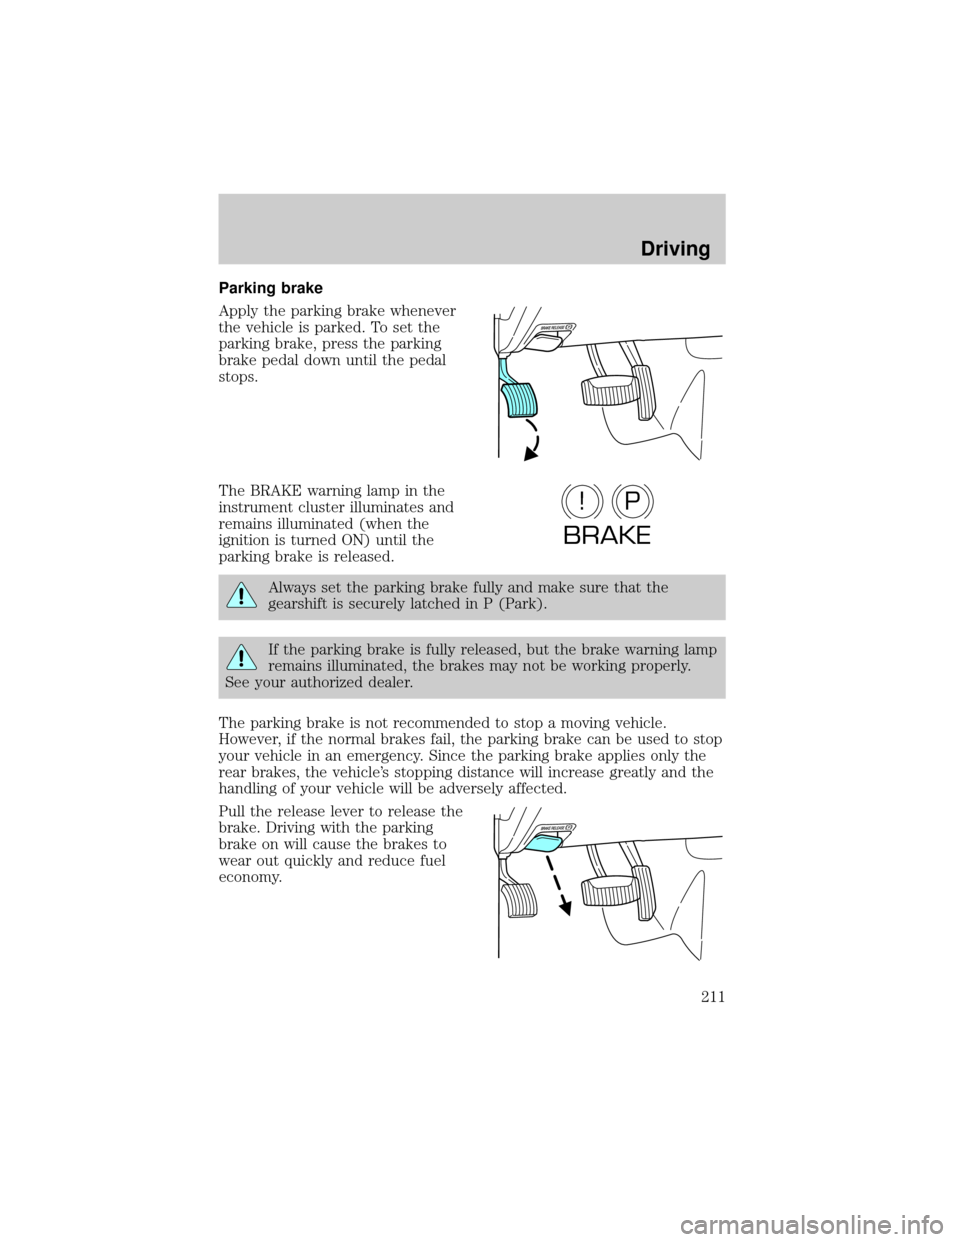
Apply the parking brake whenever
the vehicle is parked. To set the
parking brake, press the parking
brake pedal down until the pedal
stops.
The BRAKE warning lamp in the
instrument cluster illuminates and
remains illuminated (when the
ignition is turned ON) until the
parking brake is released.
Always set the parking brake fully and make sure that the
gearshift is securely latched in P (Park).
If the parking brake is fully released, but the brake warning lamp
remains illuminated, the brakes may not be working properly.
See your authorized dealer.
The parking brake is not recommended to stop a moving vehicle.
However, if the normal brakes fail, the parking brake can be used to stop
your vehicle in an emergency. Since the parking brake applies only the
rear brakes, the vehicle's stopping distance will increase greatly and the
handling of your vehicle will be adversely affected.
Pull the release lever to release the
brake. Driving with the parking
brake on will cause the brakes to
wear out quickly and reduce fuel
economy.
P!
BRAKE
Driving
211
Page 217 of 328
Loaded vehicles, with a higher center of gravity, may handle
differently than unloaded vehicles. Extra precautions such as
slower speeds and increased stopping distance should be taken when
driving a heavily loaded vehicle.
AUTOMATIC TRANSMISSION OPERATION
Brake-shift interlock
This vehicle is equipped with a brake-shift interlock feature that prevents
the gearshift lever from being moved from P (Park) when the ignition is
in the ON position unless brake pedal is depressed.
If you cannot move the gearshift lever out of P (Park) with ignition in
the ON position and the brake pedal depressed:
1. Apply the parking brake, turn ignition key to LOCK, then remove the
key.
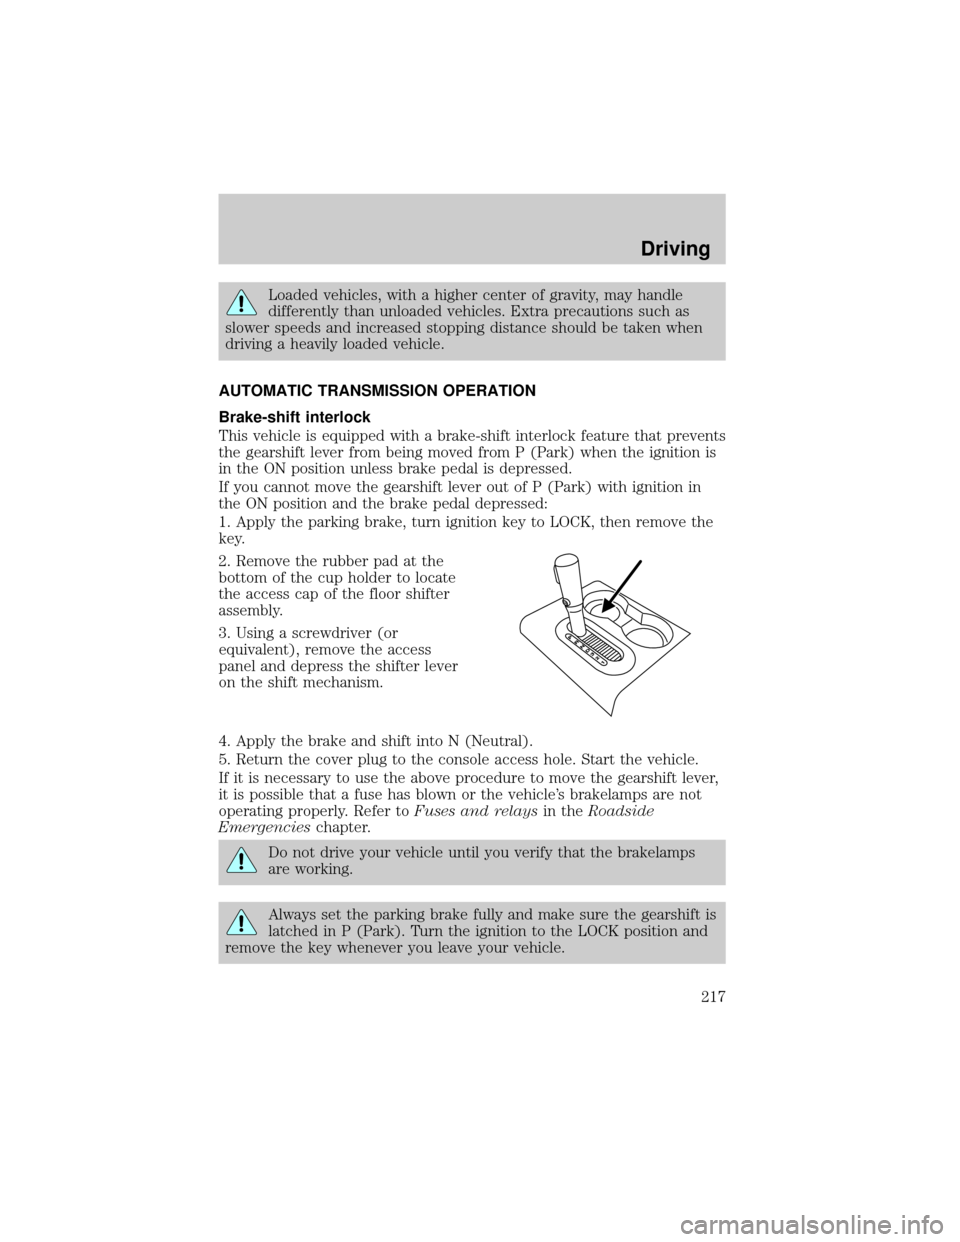
2. Remove the rubber pad at the
bottom of the cup holder to locate
the access cap of the floor shifter
assembly.
3. Using a screwdriver (or
equivalent), remove the access
panel and depress the shifter lever
on the shift mechanism.
4. Apply the brake and shift into N (Neutral).
5. Return the cover plug to the console access hole. Start the vehicle.
If it is necessary to use the above procedure to move the gearshift lever,
it is possible that a fuse has blown or the vehicle's brakelamps are not
operating properly. Refer toFuses and relaysin theRoadside
Emergencieschapter.
Do not drive your vehicle until you verify that the brakelamps
are working.
Always set the parking brake fully and make sure the gearshift is
latched in P (Park). Turn the ignition to the LOCK position and
remove the key whenever you leave your vehicle.
Driving
217