2006 CHEVROLET TRAIL BLAZER buttons
[x] Cancel search: buttonsPage 135 of 534
Gate Operator and Canadian
Programming
Canadian radio-frequency laws require transmitter
signals to time out or quit after several seconds of
transmission. This may not be long enough for Universal
Home Remote to pick up the signal during programming.
Similarly, some U.S. gate operators are manufactured
to time out in the same manner.
If you live in Canada, or you are having difficulty
programming a gate operator or garage door opener
by using the “Programming Universal Home Remote”
procedures, regardless of where you live, replace Step 3
under “Programming Universal Home Remote” with
the following:
Continue to press and hold the Universal Home Remote
button while you press and release every two seconds
(cycle) the hand-held transmitter button until the
frequency signal has been successfully accepted by the
Universal Home Remote. The Universal Home Remote
indicator light will �ash slowly at �rst and then rapidly.
Proceed with Step 4 under “Programming Universal
Home Remote” to complete.
Using Universal Home Remote
Press and hold the appropriate Universal Home Remote
button for at least half of a second. The indicator light
will come on while the signal is being transmitted.
Erasing Universal Home Remote
Buttons
To erase programming from the three Universal Home
Remote buttons do the following:
1. Press and hold down the two outside buttons until
the indicator light begins to �ash, after 20 seconds.
Do not hold the two outside buttons for longer
than 30 seconds.
2. Release both buttons.
The Universal Home Remote is now in the training
(learning) mode and can be programmed at any time
beginning with Step 2 under “Programming Universal
Home Remote” shown earlier in this section.
Individual buttons cannot be erased, but they can be
reprogrammed. See “Reprogramming a Single Universal
Home Remote Button” following this section.
2-55
Page 143 of 534
Memory Seat
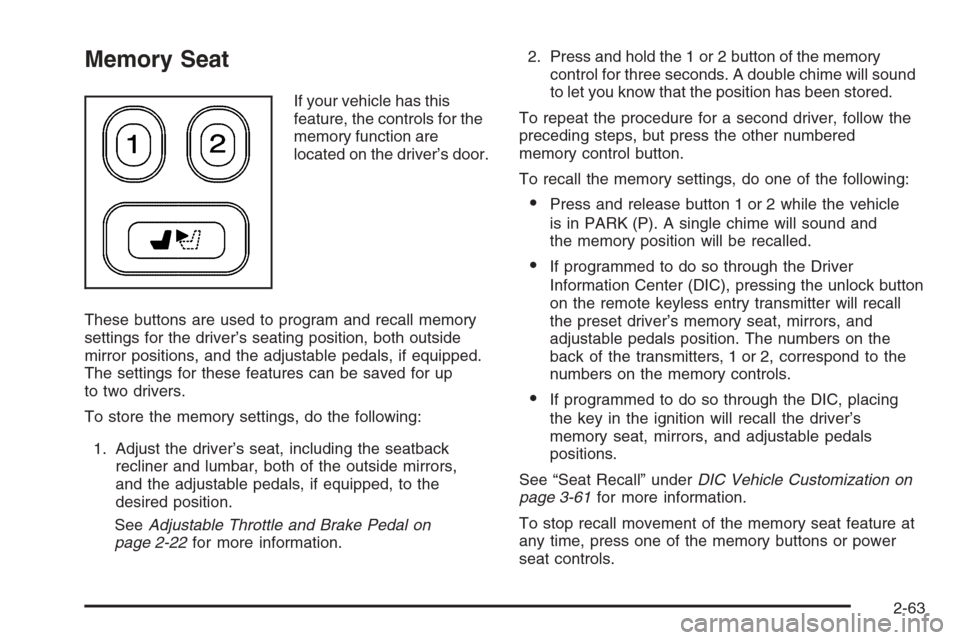
If your vehicle has this
feature, the controls for the
memory function are
located on the driver’s door.
These buttons are used to program and recall memory
settings for the driver’s seating position, both outside
mirror positions, and the adjustable pedals, if equipped.
The settings for these features can be saved for up
to two drivers.
To store the memory settings, do the following:
1. Adjust the driver’s seat, including the seatback
recliner and lumbar, both of the outside mirrors,
and the adjustable pedals, if equipped, to the
desired position.
SeeAdjustable Throttle and Brake Pedal on
page 2-22for more information.2. Press and hold the 1 or 2 button of the memory
control for three seconds. A double chime will sound
to let you know that the position has been stored.
To repeat the procedure for a second driver, follow the
preceding steps, but press the other numbered
memory control button.
To recall the memory settings, do one of the following:
Press and release button 1 or 2 while the vehicle
is in PARK (P). A single chime will sound and
the memory position will be recalled.
If programmed to do so through the Driver
Information Center (DIC), pressing the unlock button
on the remote keyless entry transmitter will recall
the preset driver’s memory seat, mirrors, and
adjustable pedals position. The numbers on the
back of the transmitters, 1 or 2, correspond to the
numbers on the memory controls.
If programmed to do so through the DIC, placing
the key in the ignition will recall the driver’s
memory seat, mirrors, and adjustable pedals
positions.
See “Seat Recall” underDIC Vehicle Customization on
page 3-61for more information.
To stop recall movement of the memory seat feature at
any time, press one of the memory buttons or power
seat controls.
2-63
Page 144 of 534
Easy Exit Seat
The control for the easy exit seat function is located on
the driver’s door below the memory buttons 1 and 2.
The easy exit seat button is used to program and recall
the desired driver’s seat position when exiting or
entering the vehicle. The mirrors, power lumbar, recline,
and adjustable pedals, if equipped, positions will not
be stored or recalled when using the easy exit seat
function. The seat position can be saved for up to
two drivers.
To store the easy exit seat position, do the following:
1. Press and release the 1 or 2 button of the memory
control for less than three seconds. The seat will
move to the stored memory position.
2. Adjust the seat to the desired exit position.
3. Press and hold the easy exit seat button for more
than three seconds. A double chime will sound to
let you know that the position has been stored
for the selected button 1 or 2.
To repeat the procedure for a second driver, follow the
preceding steps, but press the other numbered
memory control button.To recall the easy exit seat position, do one of the
following:Press the easy exit seat button on the memory
control while the vehicle is in PARK (P). The
seat will move to the stored exit position.
Or, if the easy exit seat feature is activated in the
Driver Information Center (DIC), removing the key
from the ignition will move the seat to the exit
position. See “Easy Exit Seat” underDIC Vehicle
Customization on page 3-61for more information on
activating this feature in the DIC.
If an easy exit seat position has not been stored, the
default position is all the way rearward.
2-64
Page 171 of 534
H(Panel):When panel mode is selected, the rear
system will distribute air from the four headliner outlets.
)(Bi-level):When bi-level mode is selected, the
rear system will distribute air from the four headliner
outlets, the second seat side �oor outlets, and the third
seat �oor outlet.
6(Floor):When �oor mode is selected, the rear
system will distribute air from the second seat side �oor
outlets and the third seat �oor outlet.
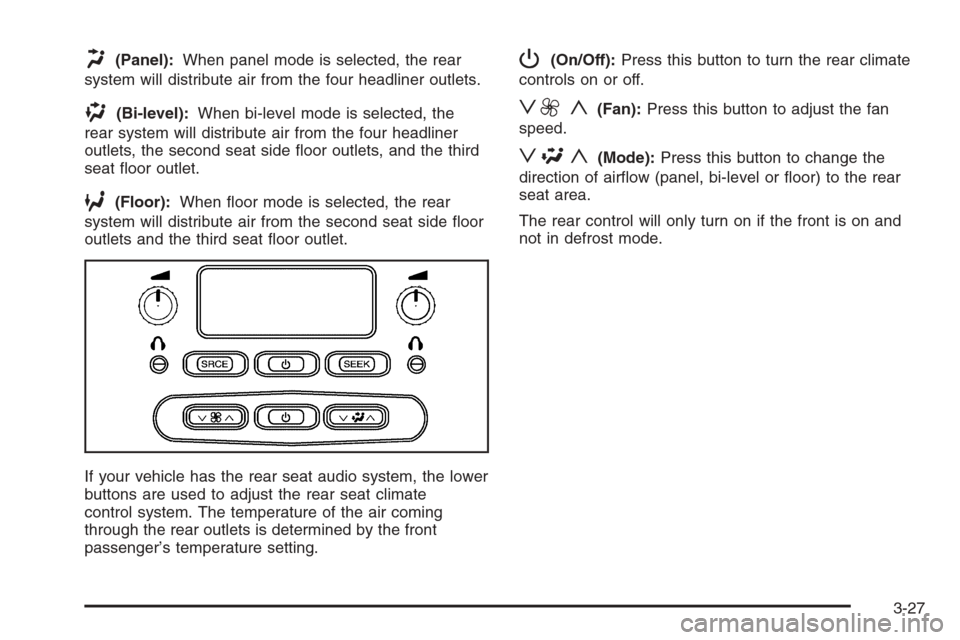
If your vehicle has the rear seat audio system, the lower
buttons are used to adjust the rear seat climate
control system. The temperature of the air coming
through the rear outlets is determined by the front
passenger’s temperature setting.
P(On/Off):Press this button to turn the rear climate
controls on or off.
z9 y(Fan):Press this button to adjust the fan
speed.
z\y(Mode):Press this button to change the
direction of air�ow (panel, bi-level or �oor) to the rear
seat area.
The rear control will only turn on if the front is on and
not in defrost mode.
3-27
Page 173 of 534
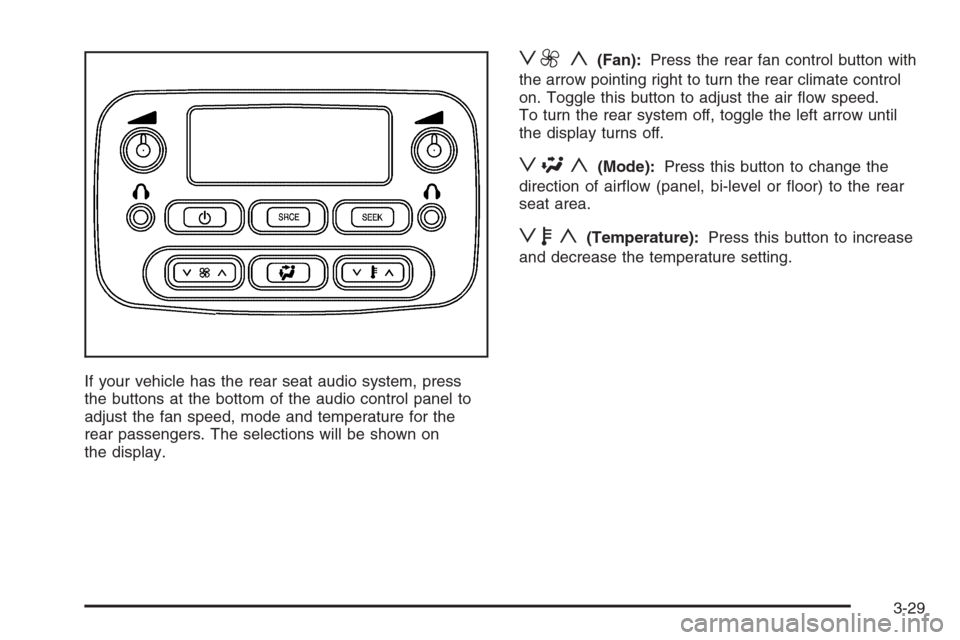
If your vehicle has the rear seat audio system, press
the buttons at the bottom of the audio control panel to
adjust the fan speed, mode and temperature for the
rear passengers. The selections will be shown on
the display.
z9 y(Fan):Press the rear fan control button with
the arrow pointing right to turn the rear climate control
on. Toggle this button to adjust the air �ow speed.
To turn the rear system off, toggle the left arrow until
the display turns off.
z\y(Mode):Press this button to change the
direction of air�ow (panel, bi-level or �oor) to the rear
seat area.
zby(Temperature):Press this button to increase
and decrease the temperature setting.
3-29
Page 194 of 534
Here are four things that some owners ask about. None
of these show a problem with your fuel gage:
At the gas station, the gas pump shuts off before
the gage reads full.
It takes a little more or less fuel to �ll up than the
gage indicated. For example, the gage may have
indicated the tank was half full, but it actually took a
little more or less than half the tank’s capacity to
�ll the tank.
The gage moves a little when you turn a corner or
speed up.
The gage doesn’t go back to empty when you turn
off the ignition.
Low Fuel Warning Light
The light next to the fuel gage will come on brie�y when
you are starting the engine.
This light comes on when the fuel tank is low on fuel.
To turn it off, add fuel to the fuel tank.
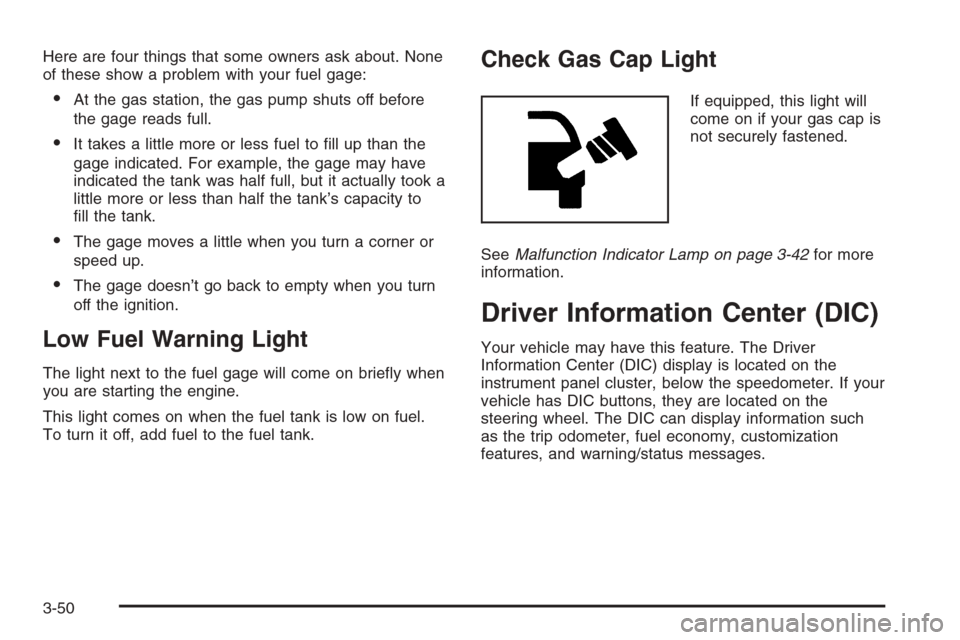
Check Gas Cap Light
If equipped, this light will
come on if your gas cap is
not securely fastened.
SeeMalfunction Indicator Lamp on page 3-42for more
information.
Driver Information Center (DIC)
Your vehicle may have this feature. The Driver
Information Center (DIC) display is located on the
instrument panel cluster, below the speedometer. If your
vehicle has DIC buttons, they are located on the
steering wheel. The DIC can display information such
as the trip odometer, fuel economy, customization
features, and warning/status messages.
3-50
Page 195 of 534
If your vehicle does not have DIC steering wheel
buttons, you will not have all of the features listed.
Scroll through the odometer and trip odometer by
pressing the trip odometer reset stem located on the
instrument panel cluster. Turn off, or acknowledge, DIC
messages by pressing the trip odometer reset stem.
SeeSpeedometer and Odometer on page 3-32for
information on features for vehicles without DIC buttons.
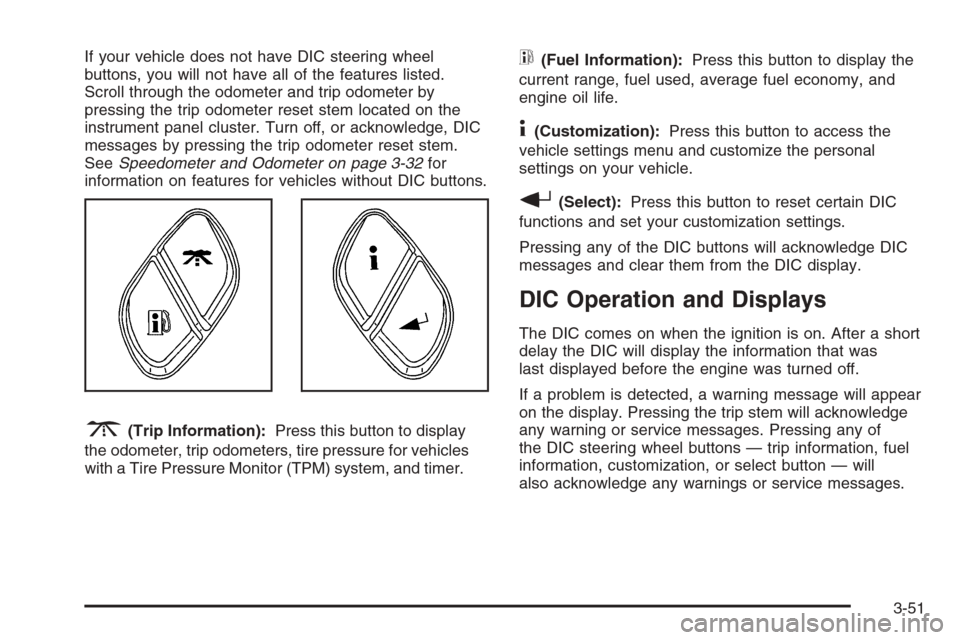
3(Trip Information):Press this button to display
the odometer, trip odometers, tire pressure for vehicles
with a Tire Pressure Monitor (TPM) system, and timer.
t(Fuel Information):Press this button to display the
current range, fuel used, average fuel economy, and
engine oil life.
4(Customization):Press this button to access the
vehicle settings menu and customize the personal
settings on your vehicle.
r(Select):Press this button to reset certain DIC
functions and set your customization settings.
Pressing any of the DIC buttons will acknowledge DIC
messages and clear them from the DIC display.
DIC Operation and Displays
The DIC comes on when the ignition is on. After a short
delay the DIC will display the information that was
last displayed before the engine was turned off.
If a problem is detected, a warning message will appear
on the display. Pressing the trip stem will acknowledge
any warning or service messages. Pressing any of
the DIC steering wheel buttons — trip information, fuel
information, customization, or select button — will
also acknowledge any warnings or service messages.
3-51
Page 196 of 534
You should take any message that appears on the
display seriously and remember that clearing the
message will only make the message disappear, not
correct the problem.
The DIC has different modes which can be accessed by
pressing the four DIC buttons located on the steering
wheel. These buttons are trip information, fuel
information, customization, and select. The button
functions are detailed in the following pages.
Trip Information Button
3
(Trip Information):Press the trip information
button to scroll through the ODOMETER, TRIP A,
TRIP B, TIRE PRESSURES for vehicles with a Tire
Pressure Monitor (TPM) system, and TIMER.
Odometer:Press the trip information button until
ODOMETER appears on the display. This mode shows
the total distance the vehicle has been driven in
either miles or kilometers. Pressing the reset stem
located on the instrument cluster with the vehicle off will
also display the odometer.Trip A:Press the trip information button until TRIP A
appears on the display. This mode shows the current
distance traveled since the last reset for TRIP A in either
miles or kilometers.
Trip B:Press the trip information button until TRIP B
appears on the display. This mode shows the current
distance traveled since the last reset for TRIP B in either
miles or kilometers.
To reset TRIP A or TRIP B information, press and hold
the select button for one second while in one of the
trip modes. This will reset the information for TRIP A or
TRIP B.
You can also reset the TRIP A or TRIP B while they are
displayed by pressing the reset stem on the cluster. If
you press and hold the reset stem or the select
button for four seconds, the display will show the
distance traveled since the last ignition cycle for TRIP A
or TRIP B.
3-52