2006 CHEVROLET SILVERADO ignition
[x] Cancel search: ignitionPage 501 of 594

For regular cab models, the equipment you will need is
behind the passenger’s seat. For extended and crew
cab models, the equipment is on the shelf behind
the passenger’s side second row seat.
1. If there is a cover, move the seats forward and turn
the wing nut on the cover counterclockwise to
remove it. For crew cab models, pull up the
second row seat with the loop at the base of the
seat cushion to access the tools.
2. Turn the knob on the jack counterclockwise to lower
the jack head to release the jack from its holder.
3. Remove the wheel blocks and the wheel block
retainer by turning the wing nut counterclockwise.
4. Remove the wing nut used to retain the storage
bag and tools by turning it counterclockwise.
You will use the jack handle extensions and the wheel
wrench to remove the underbody-mounted spare tire.A. Spare Tire (Valve
Stem Pointed Down)
B. Hoist Assembly
C. Hoist Cable
D. Tire/Wheel Retainer
E. Hoist ShaftF. Hoist End of
Extension Tool
G. Hoist Shaft Access Hole
H. Wheel Wrench
I. Jack Handle Extensions
J. Spare Tire Lock
(If Equipped)
1. Open the spare tire lock cover on the bumper and
use the ignition key to remove the lock, if equipped
with a spare tire lock (J). TO remove the spare tire
lock, insert the ignition key turn and pull straight out.
5-97
Page 531 of 594

Fuses Usage
RR WPR Not Used
SEO ACCYSpecial Equipment Option
Accessory
WS WPR Windshield Wipers
TBC ACCYTruck Body Controller
Accessory
IGN 3 Ignition, Heated Seats
Fuses Usage
4WDFour-Wheel Drive System,
Auxiliary Battery
HTR A/C Climate Control System
LOCK (Relay)Power Door Lock Relay
(Lock Function)
HVAC 1 Climate Control System
LT DRDriver’s Door Harness
Connection
CRUISECruise Control, Power Take
Off (PTO)
UNLCK (Relay)Power Door Lock Relay
(Unlock Function)
RR FOG LP Not Used
BRAKE Anti-Lock Brake System
DRIVER UNLCKPower Door Lock Relay
(Driver’s Door Unlock
Function)
IGN 0 TCM
TBC IGN 0 Truck Body Controller
VEH CHMSLVehicle and Trailer High
Mounted Stoplamp
LT TRLR ST/TRN Left Turn Signal/Stop Trailer
5-127
Page 535 of 594

*1Fuel Injection Rail #2-Gasoline Engine; Engine
Control Module-Diesel Engine.
*2Fuel Injection Rail #1-Gasoline Engine;
Actuator-Diesel Engine.
*3Oxygen Sensors-Gasoline Engine; Fuel Heater-Diesel
Engine.
*4Oxygen Sensors-Gasoline Engine; Engine Control
Module 1-Diesel Engine.
*5Ignition 1-Gasoline Engine; Engine Control
Module-Diesel Engine.
*6Powertrain Control Module B-Gasoline Engine;
Engine Control Module B-Diesel Engine.
*7Rear Climate Control.
*8Sunroof.
Fuses Usage
GLOW PLUGDiesel Glow Plugs and Intake
Air Heater
CUST FEED Gasoline Accessory Power
HYBRID Hybrid
STUD #1Auxiliary Power (Single
Battery and Diesels Only)/
Dual Battery (TP2). Do not
install fuse.
MBECMid Bussed Electrical Center
Power Feed, Front Seats,
Right Doors
Fuses Usage
BLWR Front Climate Control Fan
LBECLeft Bussed Electrical Center,
Door Modules, Door Locks,
Auxiliary Power Outlet—Rear
Cargo Area and Instrument
Panel
STUD #2*Accessory Power/Trailer
Wiring Brake Feed
ABS Anti-lock Brakes
VSES/ECAS Vehicle Stability
IGN A Ignition Power
IGN B Ignition Power
LBEC 1Left Bussed Electrical Center,
Left Doors, Truck Body
Controller, Flasher Module
TRL PARK Parking Lamps Trailer Wiring
RR PARKRight Rear Parking and
Sidemarker Lamps
LR PARKLeft Rear Parking and
Sidemarker Lamps
PARK LP Parking Lamps Relay
STRTR Starter Relay
INTPARK Interior Lamps
STOP LP Stoplamps
TBC BATTTruck Body Controller
Battery Feed
5-131
Page 536 of 594

Fuses Usage
SEO B2 Off-Road Lamps
4WS Not Used
AUX PWRAuxiliary Power
Outlet — Console
PCM 1 Powertrain Control Module
ETC/ECMElectronic Throttle Control,
Electronic Brake
Controller-Gasoline Engine,
Fan Clutch-Diesel Engines
IGN EInstrument Panel Cluster, Air
Conditioning Relay, Turn
Signal/Hazard Switch,
Starter Relay
RTD Ride Control
TRL B/U Backup Lamps Trailer Wiring
F/PMP Fuel Pump (Relay)
B/U LPBack-up Lamps, Automatic
Transmission Shift Lock
Control System
RR DEFOG Rear Window Defogger
HDLP-HI Headlamp High Beam Relay
PRIME Not Used
AIRBAGSupplemental In�atable
Restraint System
FRT PARKFront Parking Lamps,
Sidemarker LampsFuses Usage
DRLDaytime Running
Lamps (Relay)
SEO IGN Rear Defog Relay
TBC IGN1 Truck Body Controller Ignition
HI HDLP-LT High Beam Headlamp-Left
LH HID Not Used
DRL Daytime Running Lamps
RVC Regulated Voltage Control
IPC/DICInstrument Panel
Cluster/Driver Information
Center
HVAC/ECAS Climate Control Controller
CIG LTR Cigarette Lighter
HI HDLP-RT High Beam Headlamp-Right
HDLP-LOW Headlamp Low Beam Relay
A/C COMPAir Conditioning
Compressor Relay
A/C COMP Air Conditioning Compressor
TCMB Transmission Control Module
RR WPR Not Used
RADIO Audio System
SEO B1Mid Bussed Electrical Center,
Rear Heated Seats,
Universal Home Remote
System
5-132
Page 553 of 594

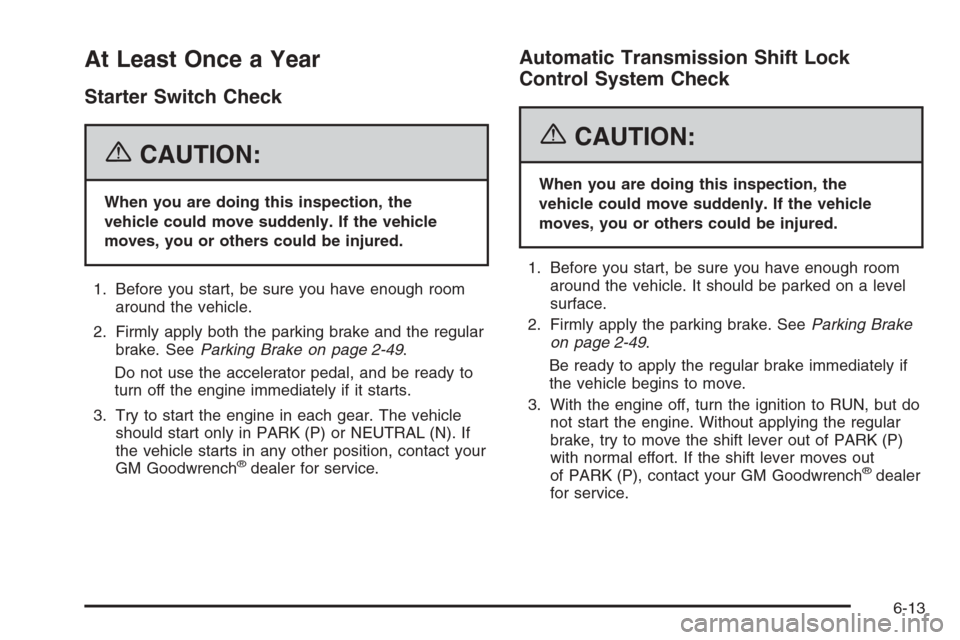
At Least Once a Year
Starter Switch Check
{CAUTION:
When you are doing this inspection, the
vehicle could move suddenly. If the vehicle
moves, you or others could be injured.
1. Before you start, be sure you have enough room
around the vehicle.
2. Firmly apply both the parking brake and the regular
brake. SeeParking Brake on page 2-49.
Do not use the accelerator pedal, and be ready to
turn off the engine immediately if it starts.
3. Try to start the engine in each gear. The vehicle
should start only in PARK (P) or NEUTRAL (N). If
the vehicle starts in any other position, contact your
GM Goodwrench
®dealer for service.
Automatic Transmission Shift Lock
Control System Check
{CAUTION:
When you are doing this inspection, the
vehicle could move suddenly. If the vehicle
moves, you or others could be injured.
1. Before you start, be sure you have enough room
around the vehicle. It should be parked on a level
surface.
2. Firmly apply the parking brake. SeeParking Brake
on page 2-49.
Be ready to apply the regular brake immediately if
the vehicle begins to move.
3. With the engine off, turn the ignition to RUN, but do
not start the engine. Without applying the regular
brake, try to move the shift lever out of PARK (P)
with normal effort. If the shift lever moves out
of PARK (P), contact your GM Goodwrench
®dealer
for service.
6-13
Page 554 of 594

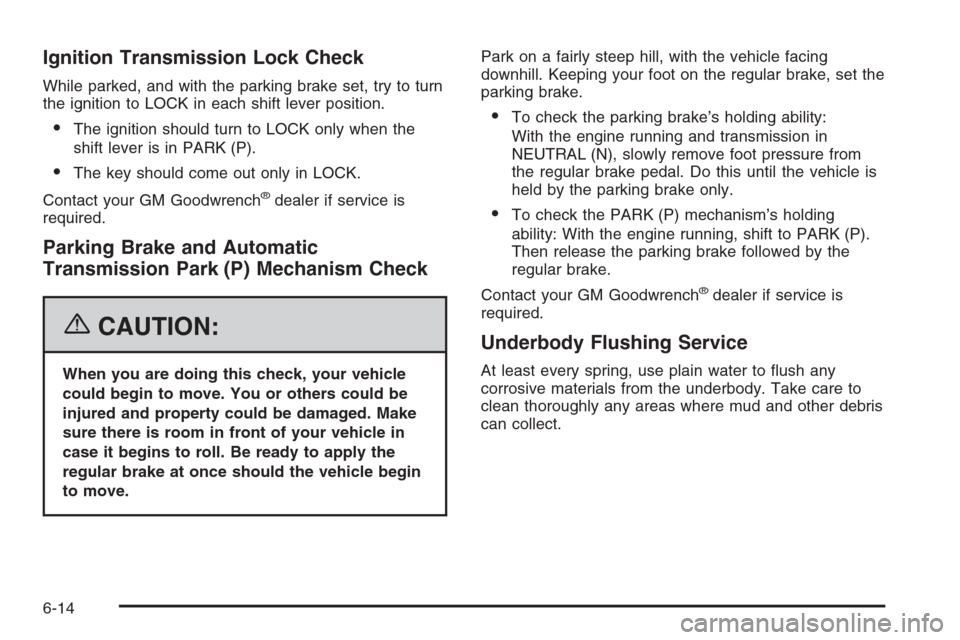
Ignition Transmission Lock Check
While parked, and with the parking brake set, try to turn
the ignition to LOCK in each shift lever position.
The ignition should turn to LOCK only when the
shift lever is in PARK (P).
The key should come out only in LOCK.
Contact your GM Goodwrench
®dealer if service is
required.
Parking Brake and Automatic
Transmission Park (P) Mechanism Check
{CAUTION:
When you are doing this check, your vehicle
could begin to move. You or others could be
injured and property could be damaged. Make
sure there is room in front of your vehicle in
case it begins to roll. Be ready to apply the
regular brake at once should the vehicle begin
to move.Park on a fairly steep hill, with the vehicle facing
downhill. Keeping your foot on the regular brake, set the
parking brake.
To check the parking brake’s holding ability:
With the engine running and transmission in
NEUTRAL (N), slowly remove foot pressure from
the regular brake pedal. Do this until the vehicle is
held by the parking brake only.
To check the PARK (P) mechanism’s holding
ability: With the engine running, shift to PARK (P).
Then release the parking brake followed by the
regular brake.
Contact your GM Goodwrench
®dealer if service is
required.
Underbody Flushing Service
At least every spring, use plain water to �ush any
corrosive materials from the underbody. Take care to
clean thoroughly any areas where mud and other debris
can collect.
6-14
Page 585 of 594

H
Hazard Warning Flashers................................... 3-6
Head Restraints............................................... 1-9
Headlamps............................................3-13, 5-62
Automatic Headlamp System.........................3-14
Bulb Replacement.......................................5-62
Daytime Running Lamps...............................3-14
Flash-to-Pass............................................... 3-8
Front Turn Signal, Sidemarker
and Daytime Running Lamps.....................5-64
Halogen Bulbs............................................5-62
High/Low Beam Changer................................ 3-8
On Reminder..............................................3-14
Pickup Box Identi�cation and
Fender Marker Lamps...............................5-69
Roof Marker Lamps.....................................5-66
Heated Seats................................................... 1-5
Heater...................................................3-20, 3-21
Heater...........................................................3-24
Highbeam On Light.........................................3-49
Highway Hypnosis...........................................4-40
Hill and Mountain Roads..................................4-40
Hood
Checking Things Under................................5-12
Release.....................................................5-13
Horn ............................................................... 3-6
How to Use This Manual...................................... ii
How to Wear Safety Belts Properly...................1-18
Hydraulic Clutch.............................................5-34
I
Ignition Positions.............................................2-20
Infants and Young Children, Restraints...............1-34
In�ation - Tire Pressure...................................5-81
Instrument Panel
Overview..................................................... 3-4
Instrument Panel (I/P)
Brightness..................................................3-17
Cluster.......................................................3-31
J
Jump Starting.................................................5-52
K
Keyless Entry System....................................... 2-4
Keys............................................................... 2-3
7