2006 CHEVROLET MALIBU ECU
[x] Cancel search: ECUPage 79 of 442
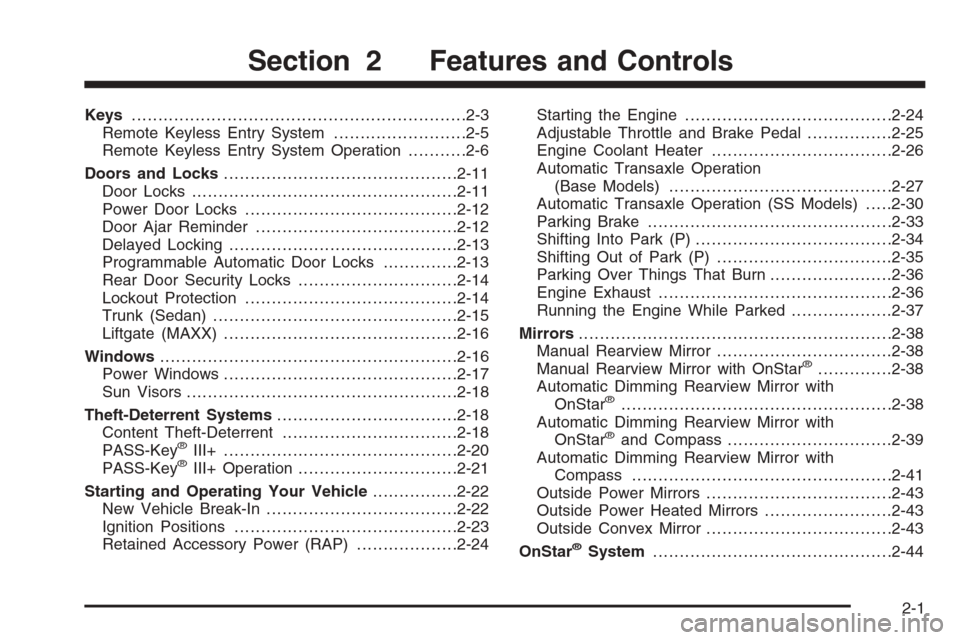
Keys...............................................................2-3
Remote Keyless Entry System.........................2-5
Remote Keyless Entry System Operation...........2-6
Doors and Locks............................................2-11
Door Locks..................................................2-11
Power Door Locks........................................2-12
Door Ajar Reminder......................................2-12
Delayed Locking...........................................2-13
Programmable Automatic Door Locks..............2-13
Rear Door Security Locks..............................2-14
Lockout Protection........................................2-14
Trunk (Sedan)..............................................2-15
Liftgate (MAXX)............................................2-16
Windows........................................................2-16
Power Windows............................................2-17
Sun Visors...................................................2-18
Theft-Deterrent Systems..................................2-18
Content Theft-Deterrent.................................2-18
PASS-Key
®III+............................................2-20
PASS-Key®III+ Operation..............................2-21
Starting and Operating Your Vehicle................2-22
New Vehicle Break-In....................................2-22
Ignition Positions..........................................2-23
Retained Accessory Power (RAP)...................2-24Starting the Engine.......................................2-24
Adjustable Throttle and Brake Pedal................2-25
Engine Coolant Heater..................................2-26
Automatic Transaxle Operation
(Base Models)..........................................2-27
Automatic Transaxle Operation (SS Models).....2-30
Parking Brake..............................................2-33
Shifting Into Park (P).....................................2-34
Shifting Out of Park (P).................................2-35
Parking Over Things That Burn.......................2-36
Engine Exhaust............................................2-36
Running the Engine While Parked...................2-37
Mirrors...........................................................2-38
Manual Rearview Mirror.................................2-38
Manual Rearview Mirror with OnStar
®..............2-38
Automatic Dimming Rearview Mirror with
OnStar
®...................................................2-38
Automatic Dimming Rearview Mirror with
OnStar
®and Compass...............................2-39
Automatic Dimming Rearview Mirror with
Compass.................................................2-41
Outside Power Mirrors...................................2-43
Outside Power Heated Mirrors........................2-43
Outside Convex Mirror...................................2-43
OnStar
®System.............................................2-44
Section 2 Features and Controls
2-1
Page 92 of 442
Rear Door Security Locks
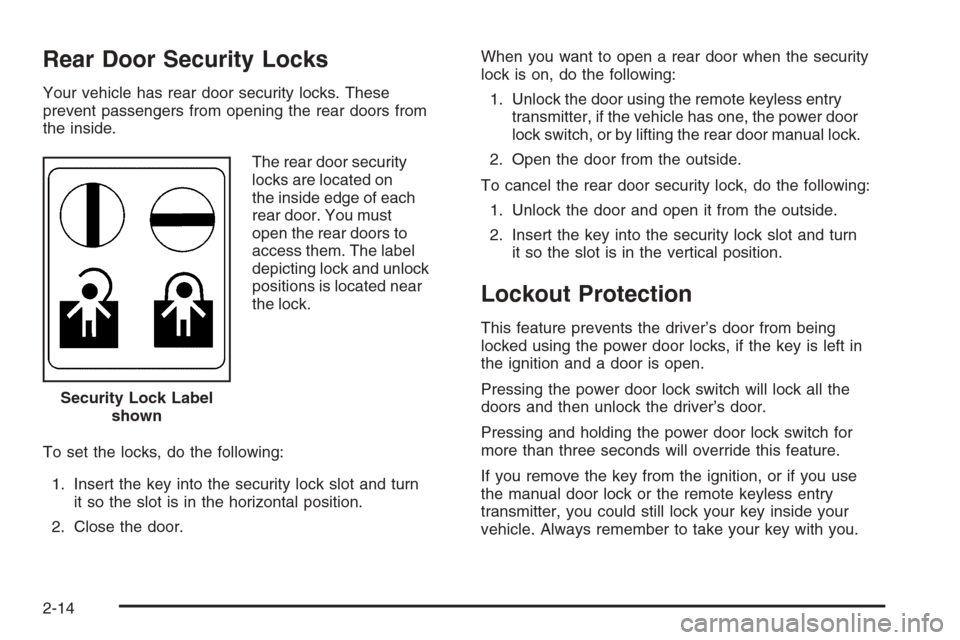
Your vehicle has rear door security locks. These
prevent passengers from opening the rear doors from
the inside.
The rear door security
locks are located on
the inside edge of each
rear door. You must
open the rear doors to
access them. The label
depicting lock and unlock
positions is located near
the lock.
To set the locks, do the following:
1. Insert the key into the security lock slot and turn
it so the slot is in the horizontal position.
2. Close the door.When you want to open a rear door when the security
lock is on, do the following:
1. Unlock the door using the remote keyless entry
transmitter, if the vehicle has one, the power door
lock switch, or by lifting the rear door manual lock.
2. Open the door from the outside.
To cancel the rear door security lock, do the following:
1. Unlock the door and open it from the outside.
2. Insert the key into the security lock slot and turn
it so the slot is in the vertical position.
Lockout Protection
This feature prevents the driver’s door from being
locked using the power door locks, if the key is left in
the ignition and a door is open.
Pressing the power door lock switch will lock all the
doors and then unlock the driver’s door.
Pressing and holding the power door lock switch for
more than three seconds will override this feature.
If you remove the key from the ignition, or if you use
the manual door lock or the remote keyless entry
transmitter, you could still lock your key inside your
vehicle. Always remember to take your key with you. Security Lock Label
shown
2-14
Page 94 of 442
Emergency Trunk Release Handle
Notice:Do not use the emergency trunk release
handle as a tie-down or anchor point when securing
items in the trunk as it could damage the handle.
The emergency trunk release handle is only
intended to aid a person trapped in a latched trunk,
enabling them to open the trunk from the inside.
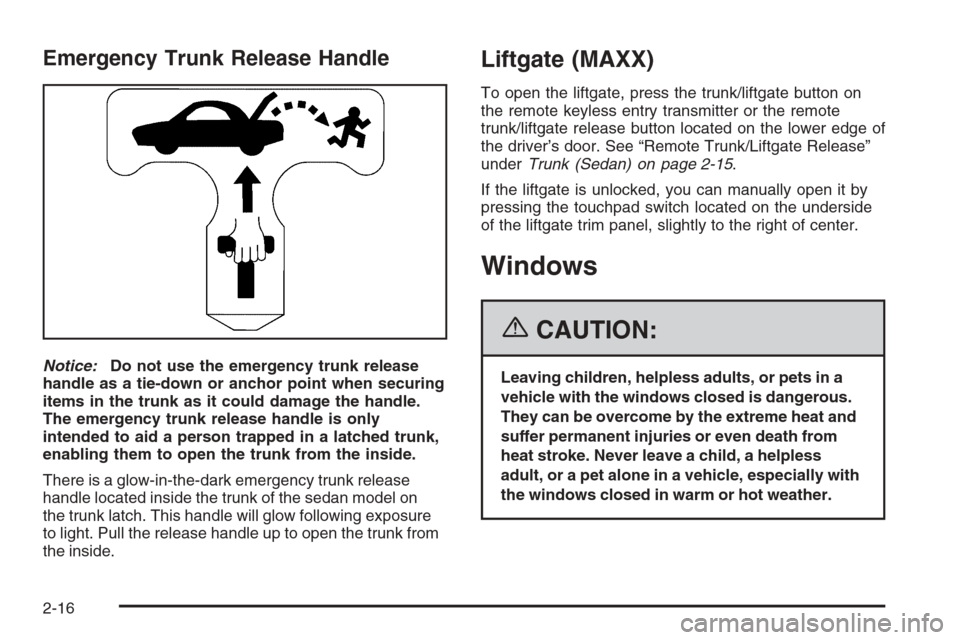
There is a glow-in-the-dark emergency trunk release
handle located inside the trunk of the sedan model on
the trunk latch. This handle will glow following exposure
to light. Pull the release handle up to open the trunk from
the inside.
Liftgate (MAXX)
To open the liftgate, press the trunk/liftgate button on
the remote keyless entry transmitter or the remote
trunk/liftgate release button located on the lower edge of
the driver’s door. See “Remote Trunk/Liftgate Release”
underTrunk (Sedan) on page 2-15.
If the liftgate is unlocked, you can manually open it by
pressing the touchpad switch located on the underside
of the liftgate trim panel, slightly to the right of center.
Windows
{CAUTION:
Leaving children, helpless adults, or pets in a
vehicle with the windows closed is dangerous.
They can be overcome by the extreme heat and
suffer permanent injuries or even death from
heat stroke. Never leave a child, a helpless
adult, or a pet alone in a vehicle, especially with
the windows closed in warm or hot weather.
2-16
Page 97 of 442
The system will arm either:
Thirty seconds after all the doors and the
liftgate (MAXX) are closed or,
Sixty seconds with any door open
If you press the lock button on the remote keyless
entry transmitter a second time while all the doors and
liftgate are closed, the system will arm immediately.
The system will still arm in sixty seconds if a door
or liftgate is open. When the opened door or liftgate
is closed, it will also become armed.
The security light, located on the instrument panel
cluster, will turn on to indicate that arming has been
initiated. Once the system is armed, the security light
will �ash once every three seconds.
If the security light is �ashing twice per second, this
means that a door or the liftgate is open.
If you do not want to arm the system, you may lock
the car with the lock knob on the doors.
Disarming the System
You can disarm the system by doing any one of the
following:
Press the remote keyless entry transmitter unlock
button.
Turn the ignition on.
Turn the driver’s door key lock cylinder
counterclockwise.
Once the system is disarmed, the security light will
stop �ashing.
How the System Alarm is Activated
If the system is armed, it can be activated by either:
Opening the driver’s door or liftgate (MAXX model).
This will cause a ten second pre-alarm chirp followed
by a thirty second full alarm of horn and lights.
Opening any other door. This will immediately cause
a full alarm of horn and lights for thirty seconds.
When an alarm event has �nished, the system will
re-arm itself automatically.
2-19
Page 98 of 442
How to Turn Off the System Alarm
To turn off the system alarm, do one of the following:
Press the lock button on the remote keyless
entry transmitter. The system will then re-arm itself.
Press the unlock button on the remote keyless entry
transmitter. This will also disarm the system.
Insert the key in the driver’s door key lock cylinder
and turn it counterclockwise. This will also disarm
the system.
Insert the key in the ignition and turn it on. This will
also disarm the system.
How to Detect a Tamper Condition
If you hear three chirps when you press the unlock or
lock buttons on the remote keyless entry transmitter,
it means that the content theft security system
alarm was triggered previously.
PASS-Key®III+
The PASS-Key®III+ system operates on a radio
frequency subject to Federal Communications
Commission (FCC) Rules and with Industry Canada.
This device complies with Part 15 of the FCC Rules.
Operation is subject to the following two conditions:
1. This device may not cause harmful interference.
2. This device must accept any interference received,
including interference that may cause undesired
operation.
This device complies with RSS-210 of Industry Canada.
Operation is subject to the following two conditions:
1. This device may not cause interference.
2. This device must accept any interference received,
including interference that may cause undesired
operation of the device.
Changes or modi�cations to this system by other than
an authorized service facility could void authorization to
use this equipment.
PASS-Key
®III+ uses a radio frequency transponder
in the key that matches a decoder in your vehicle.
2-20
Page 99 of 442
PASS-Key®III+ Operation
Your vehicle is equipped with PASS-Key®III +
(Personalized Automotive Security System)
theft-deterrent system. PASS-Key
®III + is a passive
theft-deterrent system. This means you don’t have to do
anything special to arm or disarm the system. It works
when you insert or remove the key from the ignition.
When the PASS-Key
®III + system senses that someone
is using the wrong key, it shuts down the vehicle’s starter
and fuel systems. The starter will not work and fuel will
stop �owing to the engine. Anyone using a trial-and-error
method to start the vehicle will be discouraged because
of the high number of electrical key codes.
When trying to start the vehicle if the engine does not
start and the security light comes on, the key may have a
damaged transponder. Turn the ignition off and try again.
If the engine still does not start, and the key appears
to be undamaged, try another ignition key. At this
time, you may also want to check the fuse, see
Fuses on page 5-99. If the engine still does not
start with the other key, your vehicle needs service.
If your vehicle does start, the �rst key may be faulty.See your dealer who can service the PASS-Key
®III +
to have a new key made. In an emergency, contact
Chevrolet Roadside Assistance. SeeRoadside
Assistance Program on page 7-6for more information.
It is possible for the PASS-Key
®III + decoder to
“learn” the transponder value of a new or replacement
key. Up to 10 additional keys may be programmed
for the vehicle. The following procedure is for
programming additional keys only. If all the currently
programmed keys are lost or do not operate, you must
see your dealer or a locksmith who can service
PASS-Key
®III + to have keys made and programmed
to the system.
See your GM dealer or a locksmith who can service
PASS-Key
®III + to get a new key blank that is cut
exactly as the ignition key that operates the system.
2-21
Page 100 of 442
To program the new key do the following:
1. Verify that the new key has “+” stamped on it.
2. Insert the already programmed key in the ignition
and start the engine. If the engine will not start,
see your dealer for service.
3. After the engine has started, turn the key to off,
and remove the key.
4. Insert the key to be programmed and turn it to on
within �ve seconds of removing the original key.
5. The security light will turn off once the key has
been programmed. It may not be apparent that
the security light went on due to how quickly
the key is programmed.
6. Repeat Steps 1 through 5 if additional keys are
to be programmed.
If you are ever driving and the security light comes on
and stays on, you may be able to restart your engine if
you turn it off. Your PASS-Key
®III + system, however,
is not working properly and must be serviced by
your dealer. Your vehicle is not protected by the
PASS-Key
®III + system at this time.
If you lose or damage your PASS-Key
®III + key,
see your GM dealer or a locksmith who can service
PASS-Key
®III + to have a new key made.
Starting and Operating Your
Vehicle
New Vehicle Break-In
Notice:Your vehicle does not need an elaborate
break-in. But it will perform better in the long run if
you follow these guidelines:
Do not drive at any one constant speed, fast or
slow, for the �rst 500 miles (805 km). Do not
make full-throttle starts. Avoid downshifting to
brake, or slow, the vehicle.
Avoid making hard stops for the �rst 200 miles
(322 km) or so. During this time your new brake
linings are not yet broken in. Hard stops with new
linings can mean premature wear and earlier
replacement. Follow this breaking-in guideline
every time you get new brake linings.
Do not tow a trailer during break-in. SeeTowing
a Trailer on page 4-42for the trailer towing
capabilities of your vehicle and more
information.
Following break-in, engine speed and load can be
gradually increased.
2-22
Page 122 of 442
OnStar®System
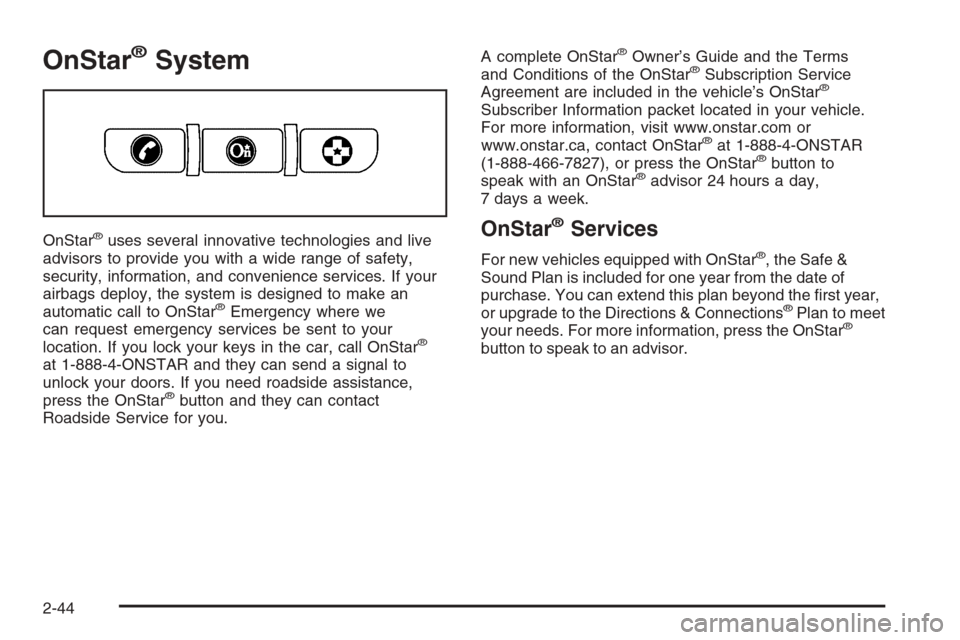
OnStar®uses several innovative technologies and live
advisors to provide you with a wide range of safety,
security, information, and convenience services. If your
airbags deploy, the system is designed to make an
automatic call to OnStar
®Emergency where we
can request emergency services be sent to your
location. If you lock your keys in the car, call OnStar
®
at 1-888-4-ONSTAR and they can send a signal to
unlock your doors. If you need roadside assistance,
press the OnStar
®button and they can contact
Roadside Service for you.A complete OnStar
®Owner’s Guide and the Terms
and Conditions of the OnStar®Subscription Service
Agreement are included in the vehicle’s OnStar®
Subscriber Information packet located in your vehicle.
For more information, visit www.onstar.com or
www.onstar.ca, contact OnStar
®at 1-888-4-ONSTAR
(1-888-466-7827), or press the OnStar®button to
speak with an OnStar®advisor 24 hours a day,
7 days a week.
OnStar®Services
For new vehicles equipped with OnStar®, the Safe &
Sound Plan is included for one year from the date of
purchase. You can extend this plan beyond the �rst year,
or upgrade to the Directions & Connections
®Plan to meet
your needs. For more information, press the OnStar®
button to speak to an advisor.
2-44