2006 CHEVROLET HHR bulb
[x] Cancel search: bulbPage 1 of 394

Seats and Restraint Systems........................... 1-1
Front Seats
............................................... 1-2
Rear Seats
..............................................1-10
Safety Belts
.............................................1-13
Child Restraints
.......................................1-34
Airbag System
.........................................1-58
Restraint System Check
............................1-74
Features and Controls..................................... 2-1
Keys
........................................................ 2-3
Doors and Locks
......................................2-10
Windows
.................................................2-16
Theft-Deterrent Systems
............................2-18
Starting and Operating Your Vehicle
...........2-21
Mirrors
....................................................2-38
OnStar
®System
......................................2-43
Storage Areas
.........................................2-45
Sunroof
..................................................2-49
Instrument Panel............................................. 3-1
Instrument Panel Overview
.......................... 3-4
Climate Controls
......................................3-19
Warning Lights, Gages, and Indicators
........3-24
Driver Information Center (DIC)
..................3-40
Audio System(s)
.......................................3-51Driving Your Vehicle....................................... 4-1
Your Driving, the Road, and Your Vehicle
..... 4-2
Towing
...................................................4-37
Service and Appearance Care.......................... 5-1
Service
..................................................... 5-3
Fuel
......................................................... 5-5
Checking Things Under the Hood
...............5-10
Headlamp Aiming
.....................................5-38
Bulb Replacement
....................................5-41
Windshield Wiper Blade Replacement
.........5-45
Tires
......................................................5-46
Appearance Care
.....................................5-74
Vehicle Identi�cation
.................................5-82
Electrical System
......................................5-83
Capacities and Speci�cations
.....................5-88
Maintenance Schedule..................................... 6-1
Maintenance Schedule
................................ 6-2
Customer Assistance and Information.............. 7-1
Customer Assistance and Information
........... 7-2
Reporting Safety Defects
...........................7-13
Index................................................................ 1
2006 Chevrolet HHR Owner ManualM
Page 139 of 394
Turn Signal/Multifunction Lever
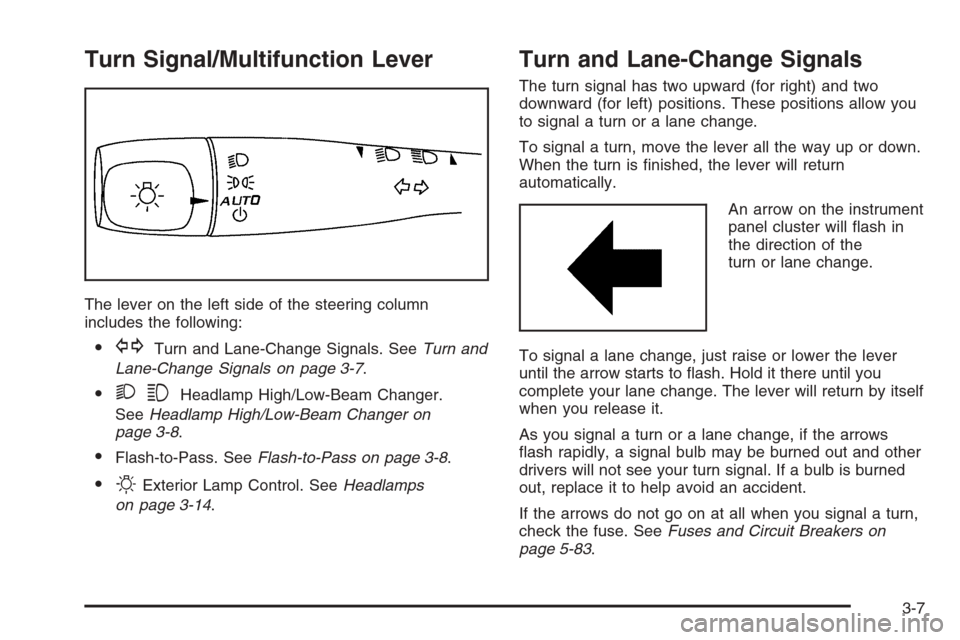
The lever on the left side of the steering column
includes the following:
GTurn and Lane-Change Signals. SeeTurn and
Lane-Change Signals on page 3-7.
23Headlamp High/Low-Beam Changer.
SeeHeadlamp High/Low-Beam Changer on
page 3-8.
Flash-to-Pass. SeeFlash-to-Pass on page 3-8.
OExterior Lamp Control. SeeHeadlamps
on page 3-14.
Turn and Lane-Change Signals
The turn signal has two upward (for right) and two
downward (for left) positions. These positions allow you
to signal a turn or a lane change.
To signal a turn, move the lever all the way up or down.
When the turn is �nished, the lever will return
automatically.
An arrow on the instrument
panel cluster will �ash in
the direction of the
turn or lane change.
To signal a lane change, just raise or lower the lever
until the arrow starts to �ash. Hold it there until you
complete your lane change. The lever will return by itself
when you release it.
As you signal a turn or a lane change, if the arrows
�ash rapidly, a signal bulb may be burned out and other
drivers will not see your turn signal. If a bulb is burned
out, replace it to help avoid an accident.
If the arrows do not go on at all when you signal a turn,
check the fuse. SeeFuses and Circuit Breakers on
page 5-83.
3-7
Page 170 of 394
Emissions Inspection and
Maintenance Programs
Some state/provincial and local governments have or
may begin programs to inspect the emission control
equipment on your vehicle. Failure to pass this
inspection could prevent you from getting a vehicle
registration.
Here are some things you need to know to help your
vehicle pass an inspection:
Your vehicle will not pass this inspection if the check
engine light is on or not working properly.
Your vehicle will not pass this inspection if the OBD
(on-board diagnostic) system determines that critical
emission control systems have not been completely
diagnosed by the system. The vehicle would be
considered not ready for inspection. This can happen if
you have recently replaced your battery or if your
battery has run down. The diagnostic system is
designed to evaluate critical emission control systems
during normal driving. This may take several days
of routine driving. If you have done this and your vehicle
still does not pass the inspection for lack of OBD
system readiness, your GM dealer can prepare the
vehicle for inspection.
Oil Pressure Light
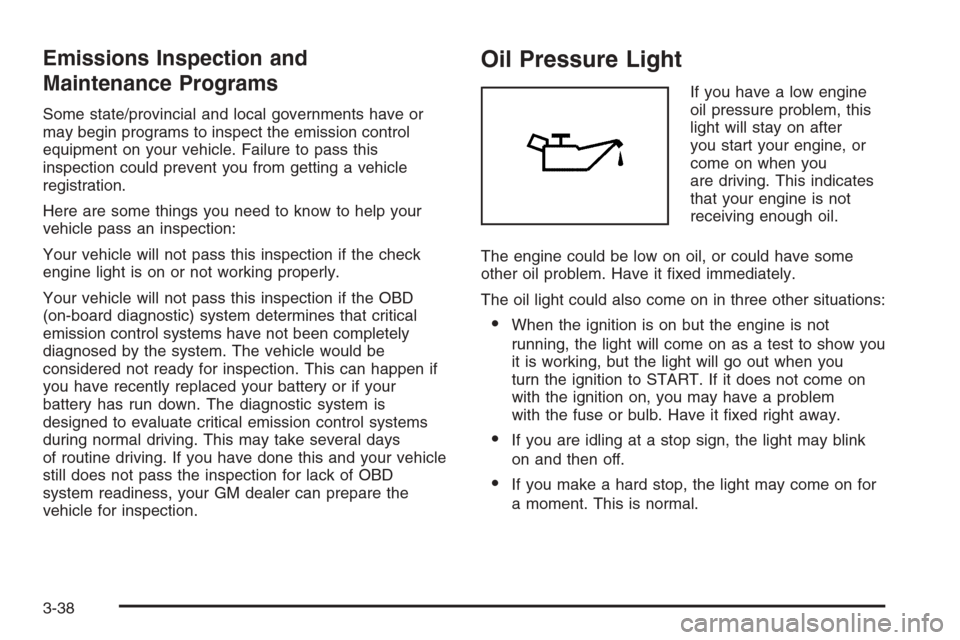
If you have a low engine
oil pressure problem, this
light will stay on after
you start your engine, or
come on when you
are driving. This indicates
that your engine is not
receiving enough oil.
The engine could be low on oil, or could have some
other oil problem. Have it �xed immediately.
The oil light could also come on in three other situations:
When the ignition is on but the engine is not
running, the light will come on as a test to show you
it is working, but the light will go out when you
turn the ignition to START. If it does not come on
with the ignition on, you may have a problem
with the fuse or bulb. Have it �xed right away.
If you are idling at a stop sign, the light may blink
on and then off.
If you make a hard stop, the light may come on for
a moment. This is normal.
3-38
Page 257 of 394
Following Distance
Stay at least twice as far behind the vehicle ahead as
you would when driving your vehicle without a trailer.
This can help you avoid situations that require
heavy braking and sudden turns.
Passing
You will need more passing distance up ahead when
you are towing a trailer. And, because the vehicle
is a good deal longer, you will need to go much farther
beyond the passed vehicle before you can return to
your lane.
Backing Up
Hold the bottom of the steering wheel with one hand.
Then, to move the trailer to the left, just move that hand
to the left. To move the trailer to the right, move your
hand to the right. Always back up slowly and, if possible,
have someone guide you.
Making Turns
Notice:Making very sharp turns while trailering
could cause the trailer to come in contact with the
vehicle. Your vehicle could be damaged. Avoid
making very sharp turns while trailering.
When you are turning with a trailer, make wider turns
than normal. Do this so your trailer will not strike
soft shoulders, curbs, road signs, trees or other objects.
Avoid jerky or sudden maneuvers. Signal well in
advance.
Turn Signals When Towing a Trailer
When you tow a trailer, your vehicle may need a
different turn signal �asher and/or extra wiring.
Check with your dealer. The arrows on your instrument
panel will �ash whenever you signal a turn or lane
change. Properly hooked up, the trailer lamps will also
�ash, telling other drivers you are about to turn,
change lanes or stop.
When towing a trailer, the arrows on your instrument
panel will �ash for turns even if the bulbs on the trailer
are burned out. Thus, you may think drivers behind
you are seeing your signal when they are not. It is
important to check occasionally to be sure the trailer
bulbs are still working.
4-45
Page 261 of 394

Service............................................................5-3
Accessories and Modi�cations..........................5-3
California Proposition 65 Warning.....................5-3
Doing Your Own Service Work.........................5-4
Adding Equipment to the Outside
of Your Vehicle...........................................5-4
Fuel................................................................5-5
Gasoline Octane............................................5-5
Gasoline Speci�cations....................................5-5
California Fuel...............................................5-6
Additives.......................................................5-6
Fuels in Foreign Countries...............................5-7
Filling the Tank..............................................5-8
Filling a Portable Fuel Container.....................5-10
Checking Things Under the Hood....................5-10
Hood Release..............................................5-11
Engine Compartment Overview.......................5-12
Engine Oil...................................................5-13
Engine Oil Life System..................................5-16
Engine Air Cleaner/Filter................................5-18
Automatic Transaxle Fluid..............................5-19
Manual Transaxle Fluid..................................5-19
Hydraulic Clutch...........................................5-20
Engine Coolant.............................................5-20Pressure Cap...............................................5-23
Engine Overheating.......................................5-23
Cooling System............................................5-25
Windshield Washer Fluid................................5-29
Brakes........................................................5-30
Battery........................................................5-32
Jump Starting...............................................5-33
Headlamp Aiming...........................................5-38
Bulb Replacement..........................................5-41
Halogen Bulbs..............................................5-41
Headlamps, Front Turn Signal,
and Parking Lamps....................................5-42
Center High-Mounted Stoplamp (CHMSL).........5-43
Taillamps, Turn Signal, Stoplamps and
Back-up Lamps.........................................5-44
Replacement Bulbs.......................................5-45
Windshield Wiper Blade Replacement..............5-45
Tires..............................................................5-46
Tire Sidewall Labeling...................................5-47
Tire Terminology and De�nitions.....................5-49
In�ation - Tire Pressure.................................5-52
Tire Inspection and Rotation...........................5-53
When It Is Time for New Tires.......................5-54
Section 5 Service and Appearance Care
5-1
Page 301 of 394
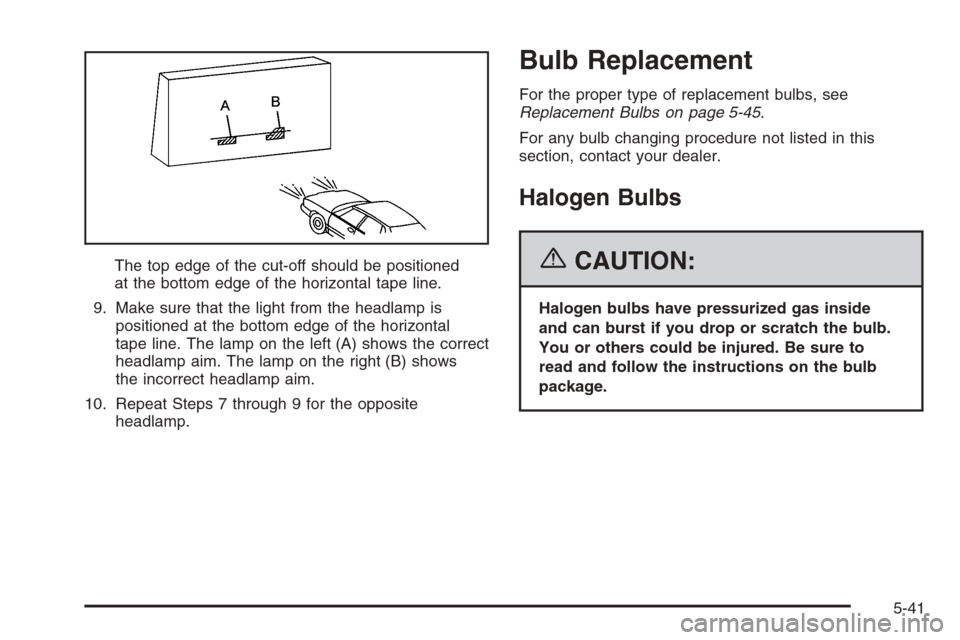
The top edge of the cut-off should be positioned
at the bottom edge of the horizontal tape line.
9. Make sure that the light from the headlamp is
positioned at the bottom edge of the horizontal
tape line. The lamp on the left (A) shows the correct
headlamp aim. The lamp on the right (B) shows
the incorrect headlamp aim.
10. Repeat Steps 7 through 9 for the opposite
headlamp.
Bulb Replacement
For the proper type of replacement bulbs, see
Replacement Bulbs on page 5-45.
For any bulb changing procedure not listed in this
section, contact your dealer.
Halogen Bulbs
{CAUTION:
Halogen bulbs have pressurized gas inside
and can burst if you drop or scratch the bulb.
You or others could be injured. Be sure to
read and follow the instructions on the bulb
package.
5-41
Page 302 of 394
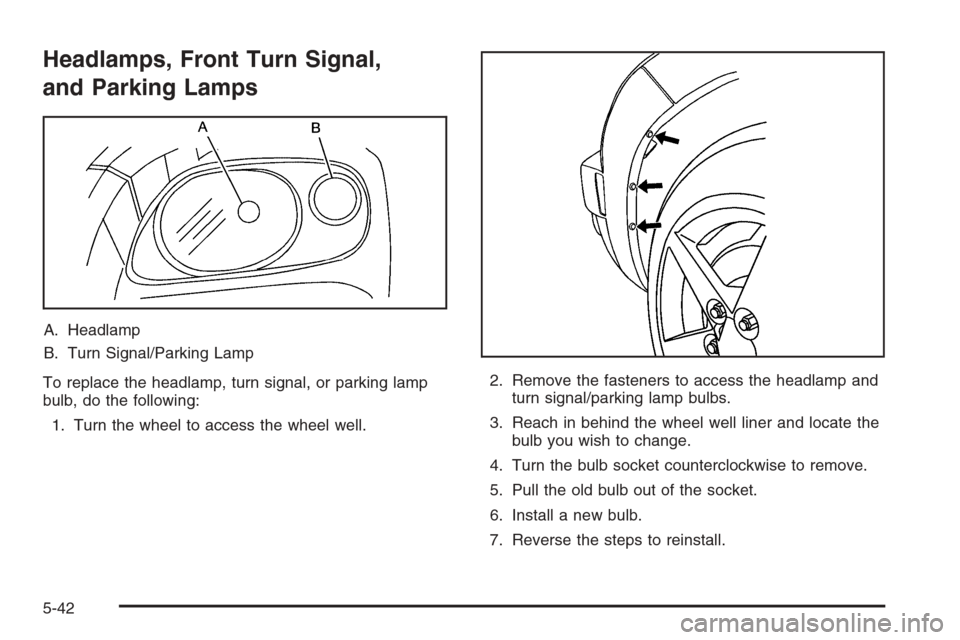
Headlamps, Front Turn Signal,
and Parking Lamps
A. Headlamp
B. Turn Signal/Parking Lamp
To replace the headlamp, turn signal, or parking lamp
bulb, do the following:
1. Turn the wheel to access the wheel well.2. Remove the fasteners to access the headlamp and
turn signal/parking lamp bulbs.
3. Reach in behind the wheel well liner and locate the
bulb you wish to change.
4. Turn the bulb socket counterclockwise to remove.
5. Pull the old bulb out of the socket.
6. Install a new bulb.
7. Reverse the steps to reinstall.
5-42
Page 303 of 394
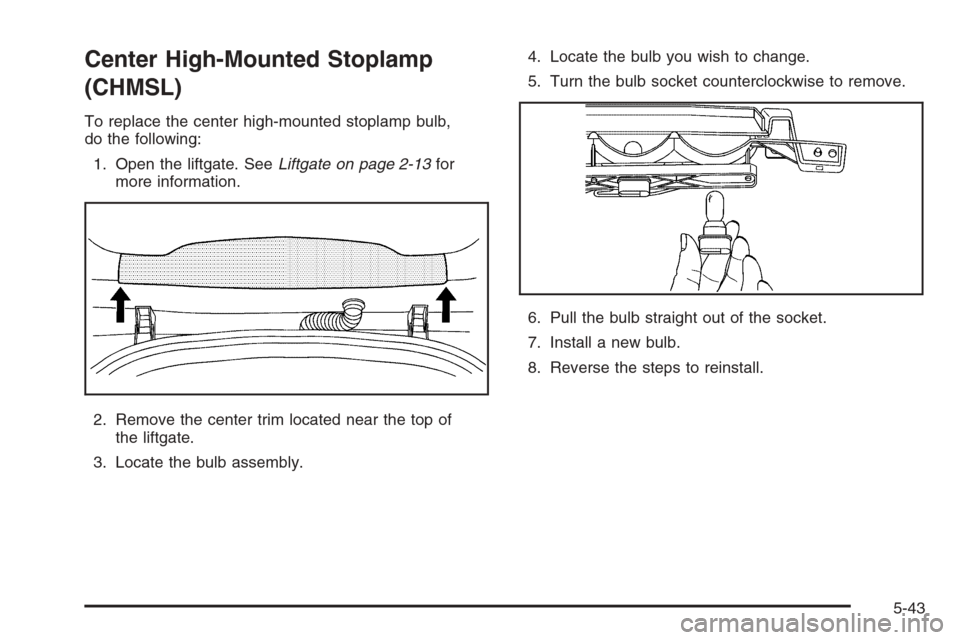
Center High-Mounted Stoplamp
(CHMSL)
To replace the center high-mounted stoplamp bulb,
do the following:
1. Open the liftgate. SeeLiftgate on page 2-13for
more information.
2. Remove the center trim located near the top of
the liftgate.
3. Locate the bulb assembly.4. Locate the bulb you wish to change.
5. Turn the bulb socket counterclockwise to remove.
6. Pull the bulb straight out of the socket.
7. Install a new bulb.
8. Reverse the steps to reinstall.
5-43