2006 CHEVROLET EQUINOX reset
[x] Cancel search: resetPage 127 of 382
With cruise control, you can maintain a speed of about
25 mph (40 km/h) or more without keeping your foot
on the accelerator. This can really help on long
trips. Cruise control does not work at speeds below
about 25 mph (40 km/h).
If you apply your brakes, the cruise control will shut off.
If you use the accelerator pedal to increase your
speed for approximately sixty seconds or longer, your
vehicle’s cruise control will disengage and you will need
to reset your desired speed.
{CAUTION:
Cruise control can be dangerous where you
cannot drive safely at a steady speed. So, do
not use your cruise control on winding roads
or in heavy traffic.
Cruise control can be dangerous on slippery
roads. On such roads, fast changes in tire
traction can cause excessive wheel slip, and
you could lose control. Do not use cruise
control on slippery roads.If your vehicle is in cruise control when the traction
control system begins to limit wheel spin, the cruise
control will automatically disengage. SeeTraction
Control System (TCS) on page 4-10. When road
conditions allow you to safely use it again, you may
turn the cruise control back on.
Setting Cruise Control
{CAUTION:
If you leave your cruise control on when you
are not using cruise, you might hit a button
and go into cruise when you do not want to.
You could be startled and even lose control.
Keep the cruise control switch off until you
want to use cruise control.
1. Press the cruise on/off button. The indicator light
in the button will come on.
2. Get up to the speed you want.
3. Press the set button.
4. Take your foot off the accelerator pedal.
3-11
Page 128 of 382
Resuming a Set Speed
Suppose you set your cruise control at a desired speed
and then you apply the brake. This, of course,
disengages the cruise control. But you don’t need to
reset it.
Once you’re going about 25 mph (40 km/h) or more,
you can press the cruise control resume button.
You will go right back up to your chosen speed and
stay there.
If you hold the resume button the vehicle will keep
going faster until you release the button or apply the
brake. So unless you want to go faster, do not hold the
resume button.
Increasing Speed While Using Cruise
Control
There are two ways to go to a higher speed:
Use the accelerator pedal to get to the higher speed.
Press the set button, then release the button and the
accelerator pedal. You’ll now cruise at the higher
speed.
Press the resume button. Hold it there until you get
up to the speed you want, and then release the
button. To increase your speed in very small
amounts, press the button brie�y. Each time you do
this, your vehicle will go about 1 mph (1.6 km/h)
faster.
Reducing Speed While Using Cruise
Control
There are two ways to reduce your speed while using
cruise control:
Press set button until you reach the lower speed
you want, then release it.
To slow down in very small amounts, brie�y press
the set button. Each time you do this, you will go
about 1 mph (1.6 km/h) slower.
Passing Another Vehicle While Using
Cruise Control
Use the accelerator pedal to increase your speed.
When you take your foot off the pedal, your vehicle will
slow down to the cruise control speed you set earlier.
However, if you use the accelerator pedal to increase
your speed for approximately 60 seconds or longer, your
cruise control will disengage and you will need to
reset your desired speed.
3-12
Page 141 of 382
Speedometer and Odometer
Your speedometer lets you see your speed in both
miles per hour (mph) and kilometers per hour (km/h).
Your odometer shows how far your vehicle has
been driven, in either miles (used in the United States)
or kilometers (used in Canada).
Your vehicle has a tamper resistant odometer. The
digital odometer will read 999,999 if someone tries to
turn it back.
The ERROR message is displayed on the odometer
indicating that the speedometer reading is approximately
10 percent above the actual speed. Press the trip
odometer button to return to the odometer/trip mode.
This message will appear every 10 minutes. If this
occurs, see your dealer for service.
You may wonder what happens if your vehicle needs a
new odometer installed. If the new one can be set to
the mileage total of the old odometer, then it must
be. But if it can’t, then it’s set at zero and a label must
be put on the driver’s door to show the old mileage
reading when the new odometer was installed.
Trip Odometer
Your trip odometer is located on the instrument panel
and shows how far your vehicle has been driven
since the trip odometer was last reset. To reset the trip
odometer to zero, press and hold the trip/reset button
on the speedometer for about two seconds.
Tachometer
The tachometer shows your engine speed in revolutions
per minute (rpm).
3-25
Page 145 of 382
Anti-Lock Brake System
Warning Light
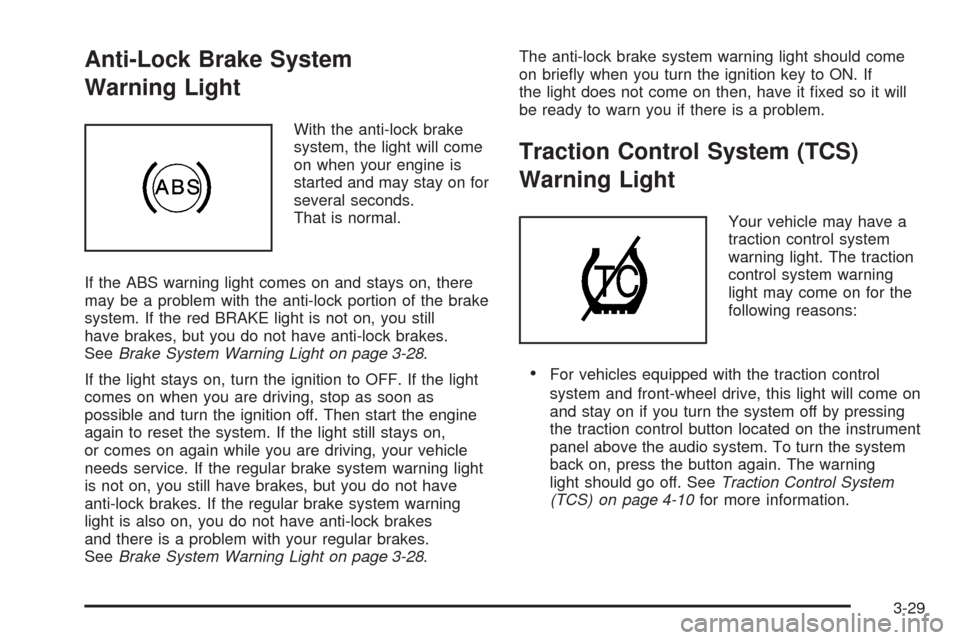
With the anti-lock brake
system, the light will come
on when your engine is
started and may stay on for
several seconds.
That is normal.
If the ABS warning light comes on and stays on, there
may be a problem with the anti-lock portion of the brake
system. If the red BRAKE light is not on, you still
have brakes, but you do not have anti-lock brakes.
SeeBrake System Warning Light on page 3-28.
If the light stays on, turn the ignition to OFF. If the light
comes on when you are driving, stop as soon as
possible and turn the ignition off. Then start the engine
again to reset the system. If the light still stays on,
or comes on again while you are driving, your vehicle
needs service. If the regular brake system warning light
is not on, you still have brakes, but you do not have
anti-lock brakes. If the regular brake system warning
light is also on, you do not have anti-lock brakes
and there is a problem with your regular brakes.
SeeBrake System Warning Light on page 3-28.The anti-lock brake system warning light should come
on brie�y when you turn the ignition key to ON. If
the light does not come on then, have it �xed so it will
be ready to warn you if there is a problem.
Traction Control System (TCS)
Warning Light
Your vehicle may have a
traction control system
warning light. The traction
control system warning
light may come on for the
following reasons:
For vehicles equipped with the traction control
system and front-wheel drive, this light will come on
and stay on if you turn the system off by pressing
the traction control button located on the instrument
panel above the audio system. To turn the system
back on, press the button again. The warning
light should go off. SeeTraction Control System
(TCS) on page 4-10for more information.
3-29
Page 151 of 382
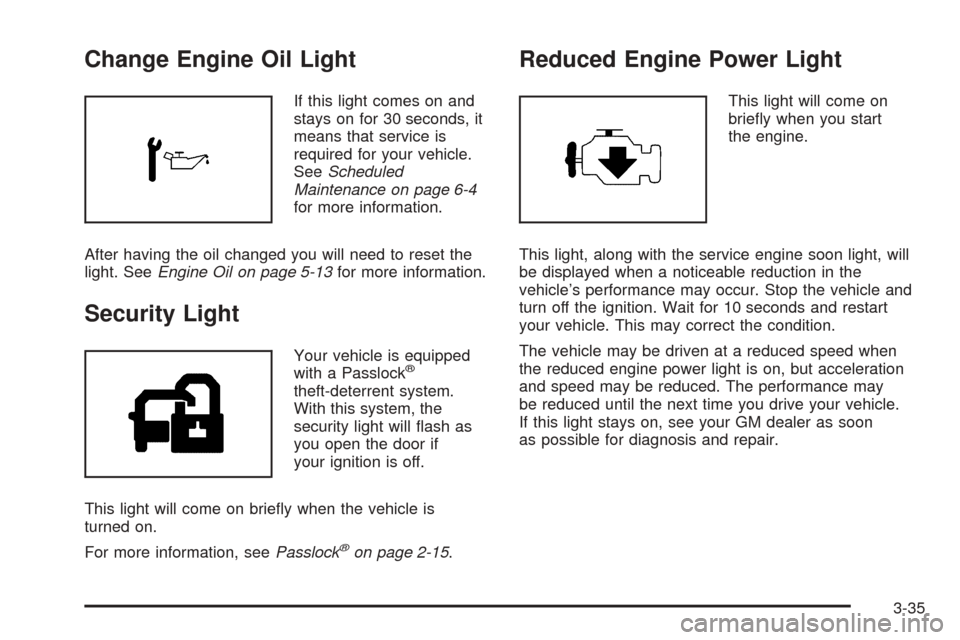
Change Engine Oil Light
If this light comes on and
stays on for 30 seconds, it
means that service is
required for your vehicle.
SeeScheduled
Maintenance on page 6-4
for more information.
After having the oil changed you will need to reset the
light. SeeEngine Oil on page 5-13for more information.
Security Light
Your vehicle is equipped
with a Passlock®
theft-deterrent system.
With this system, the
security light will �ash as
you open the door if
your ignition is off.
This light will come on brie�y when the vehicle is
turned on.
For more information, seePasslock
®on page 2-15.
Reduced Engine Power Light
This light will come on
brie�y when you start
the engine.
This light, along with the service engine soon light, will
be displayed when a noticeable reduction in the
vehicle’s performance may occur. Stop the vehicle and
turn off the ignition. Wait for 10 seconds and restart
your vehicle. This may correct the condition.
The vehicle may be driven at a reduced speed when
the reduced engine power light is on, but acceleration
and speed may be reduced. The performance may
be reduced until the next time you drive your vehicle.
If this light stays on, see your GM dealer as soon
as possible for diagnosis and repair.
3-35
Page 154 of 382
Audio System(s)
Determine which radio your vehicle has and then read the
pages following to familiarize yourself with its features.
Driving without distraction is a necessity for a safer
driving experience. SeeDefensive Driving on page 4-2.
By taking a few moments to read this manual and
get familiar with your vehicle’s audio system, you can
use it with less effort, as well as take advantage of
its features. While your vehicle is parked, set up your
audio system by presetting your favorite radio stations,
setting the tone, and adjusting the speakers. Then,
when driving conditions permit, you can tune to
your favorite stations using the presets and steering
wheel controls if the vehicle has them.
{CAUTION:
This system provides you with a far greater
access to audio stations and song listings.
Giving extended attention to entertainment
tasks while driving can cause a crash and you
or others can be injured or killed. Always keep
your eyes on the road and your mind on the
drive — avoid engaging in extended searching
while driving.Keeping your mind on the drive is important for safe
driving. For more information, seeDefensive Driving on
page 4-2.
Here are some ways in which you can help avoid
distraction while driving.
While your vehicle is parked:
Familiarize yourself with all of its controls.
Familiarize yourself with its operation.
Set up your audio system by presetting your
favorite radio stations, setting the tone, and
adjusting the speakers. Then, when driving
conditions permit, you can tune to your favorite
radio stations using the presets and steering wheel
controls if the vehicle has them.
3-38
Page 158 of 382
Finding a Station
AM/FM:Press this button to switch between FM1, FM2
or AM. The display will show the selection.
X M/AUX:Press this button to switch between XM1 or
XM2 (if equipped).
ADJ (Adjust):Turn this knob to select radio stations.
oSEEKp:Press the left or right arrow to go to
the previous or the next station and stay there.
The radio will only seek stations with a strong signal
that are in the selected band.
©SCAN¨:Press and hold either arrow for less than
two seconds until SCAN appears on the display and you
hear a beep. The radio will go to a station, play for a
few seconds, then go on to the next station. Press either
arrow again to stop scanning. If no station can be found
during scan, NOT FOUND will appear on the display and
the radio will go back to the last tuned station.To scan preset stations, press and hold SCAN for more
than two seconds until you hear a beep. The radio will go
to the �rst preset station stored on the pushbuttons, play
for �ve seconds, then go on to the next preset station.
Press SCAN again to stop scanning presets.
The radio will only scan stations with a strong signal that
are in the selected band.
1–6 (Preset Pushbuttons):Press this button to play
stations that are programmed on the radio preset
pushbuttons.
The radio will only seek preset stations with a strong
signal that are in the selected band.
3-42
Page 159 of 382
Setting Preset Stations
Up to 30 stations (six FM1, six FM2, and six AM,
six XM1 and six XM2 (if equipped)), can be programmed
on the six numbered pushbuttons, by performing the
following steps:
1. Turn the radio on.
2. Press AM/FM to select FM1, FM2 or AM.
Press XM/AUX to select XM1 or XM2.
3. Tune in the desired station.
4. Press EQ to select the equalization.
5. Press and hold one of the six numbered
pushbuttons until you hear a beep. Whenever that
numbered pushbutton is pressed, the station
that was set will return and the equalization that
was selected will be stored for that pushbutton.
6. Repeat the steps for each pushbutton.
Setting the Tone
(Bass/Midrange/Treble)
P
/Q(Bass/Treble):Press this button until BASS, MID,
or TREBLE appears on the display. Turn the ADJ
knob to increase or to decrease. The display will show
the bass, mid, or treble level. If a station is weak or
noisy, decrease the treble.
To adjust bass, midrange, or treble to the middle
position, select BASS, MID, or TREBLE. Then press
and hold this button for more than two seconds. You will
hear one beep and the tone control will be adjusted to
the middle position.
To adjust all tone controls to the middle position, push
and hold the tone button when no tone control is
displayed. ALL CENTERED will appear on the display
and you will hear one beep. The bass, midrange,
and treble will be adjusted to the middle position.
EQ (Equalizer):Press this button to select customized
equalization settings designed for country, jazz, talk,
pop, rock, and classical.
To return to the manual mode, press and release the
EQ button until TONE Custom appears on the display.
You can also manually adjust the bass, midrange,
and treble using the Bass/Treble button.
3-43