2006 CHEVROLET EQUINOX engine
[x] Cancel search: enginePage 149 of 382
The diagnostic system can determine if the fuel cap has
been left off or improperly installed. A loose or missing
fuel cap will allow fuel to evaporate into the atmosphere.
A few driving trips with the cap properly installed
should turn the light off.
Did you just drive through a deep puddle of water?
If so, your electrical system may be wet. The condition
will usually be corrected when the electrical system
dries out. A few driving trips should turn the light off.
Have you recently changed brands of fuel?
If so, be sure to fuel your vehicle with quality fuel.
SeeGasoline Octane on page 5-5. Poor fuel quality will
cause your engine not to run as efficiently as designed.
You may notice this as stalling after start-up, stalling
when you put the vehicle into gear, mis�ring, hesitation
on acceleration, or stumbling on acceleration. (These
conditions may go away once the engine is warmed up.)
This will be detected by the system and cause the light to
turn on.
If you experience one or more of these conditions,
change the fuel brand you use. It will require at least
one full tank of the proper fuel to turn the light off.
If none of the above steps have made the light turn off,
your dealer can check the vehicle. Your dealer has
the proper test equipment and diagnostic tools to �x
any mechanical or electrical problems that may
have developed.Emissions Inspection and
Maintenance Programs
Some state/provincial and local governments have or
may begin programs to inspect the emission control
equipment on your vehicle. Failure to pass this
inspection could prevent you from getting a vehicle
registration.
Here are some things you need to know to help your
vehicle pass an inspection:
Your vehicle will not pass this inspection if the check
engine light is on or not working properly.
Your vehicle will not pass this inspection if the OBD
(on-board diagnostic) system determines that critical
emission control systems have not been completely
diagnosed by the system. The vehicle would be
considered not ready for inspection. This can happen if
you have recently replaced your battery or if your
battery has run down. The diagnostic system is
designed to evaluate critical emission control systems
during normal driving. This may take several days
of routine driving. If you have done this and your vehicle
still does not pass the inspection for lack of OBD
system readiness, your GM dealer can prepare the
vehicle for inspection.
3-33
Page 150 of 382
Oil Pressure Light
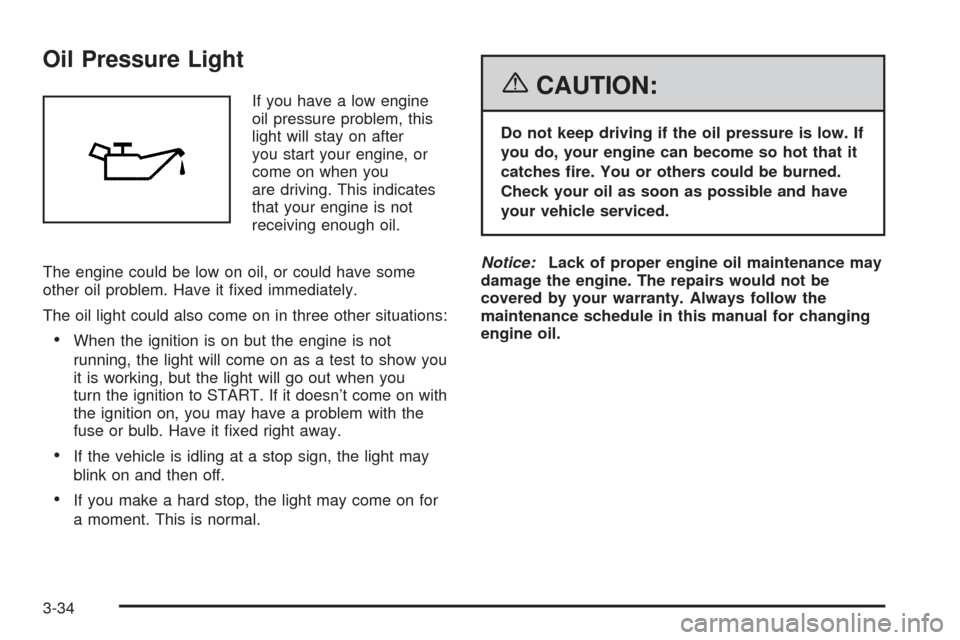
If you have a low engine
oil pressure problem, this
light will stay on after
you start your engine, or
come on when you
are driving. This indicates
that your engine is not
receiving enough oil.
The engine could be low on oil, or could have some
other oil problem. Have it �xed immediately.
The oil light could also come on in three other situations:
When the ignition is on but the engine is not
running, the light will come on as a test to show you
it is working, but the light will go out when you
turn the ignition to START. If it doesn’t come on with
the ignition on, you may have a problem with the
fuse or bulb. Have it �xed right away.
If the vehicle is idling at a stop sign, the light may
blink on and then off.
If you make a hard stop, the light may come on for
a moment. This is normal.
{CAUTION:
Do not keep driving if the oil pressure is low. If
you do, your engine can become so hot that it
catches �re. You or others could be burned.
Check your oil as soon as possible and have
your vehicle serviced.
Notice:Lack of proper engine oil maintenance may
damage the engine. The repairs would not be
covered by your warranty. Always follow the
maintenance schedule in this manual for changing
engine oil.
3-34
Page 151 of 382
Change Engine Oil Light
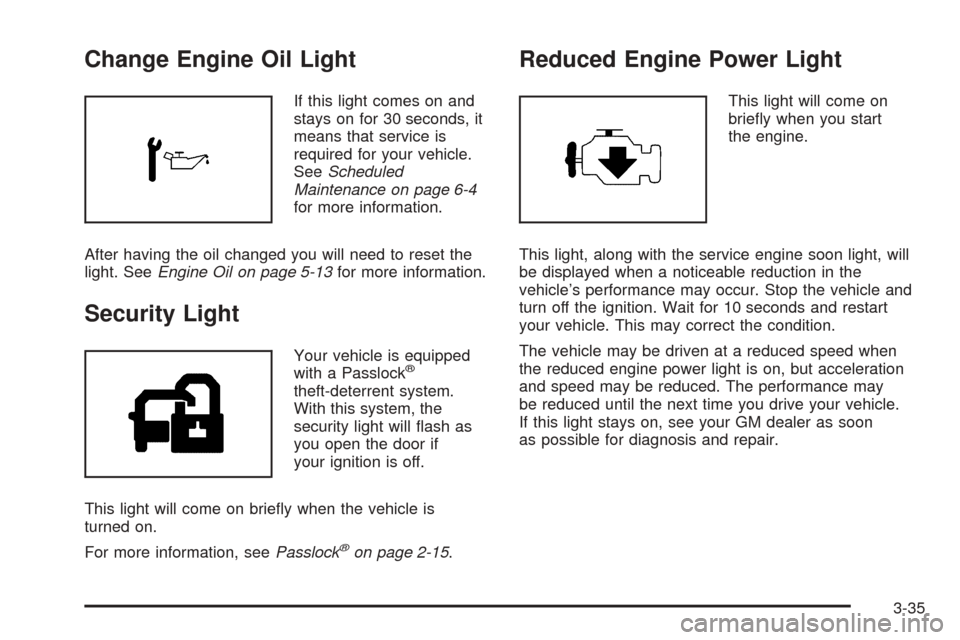
If this light comes on and
stays on for 30 seconds, it
means that service is
required for your vehicle.
SeeScheduled
Maintenance on page 6-4
for more information.
After having the oil changed you will need to reset the
light. SeeEngine Oil on page 5-13for more information.
Security Light
Your vehicle is equipped
with a Passlock®
theft-deterrent system.
With this system, the
security light will �ash as
you open the door if
your ignition is off.
This light will come on brie�y when the vehicle is
turned on.
For more information, seePasslock
®on page 2-15.
Reduced Engine Power Light
This light will come on
brie�y when you start
the engine.
This light, along with the service engine soon light, will
be displayed when a noticeable reduction in the
vehicle’s performance may occur. Stop the vehicle and
turn off the ignition. Wait for 10 seconds and restart
your vehicle. This may correct the condition.
The vehicle may be driven at a reduced speed when
the reduced engine power light is on, but acceleration
and speed may be reduced. The performance may
be reduced until the next time you drive your vehicle.
If this light stays on, see your GM dealer as soon
as possible for diagnosis and repair.
3-35
Page 152 of 382
Highbeam On Light
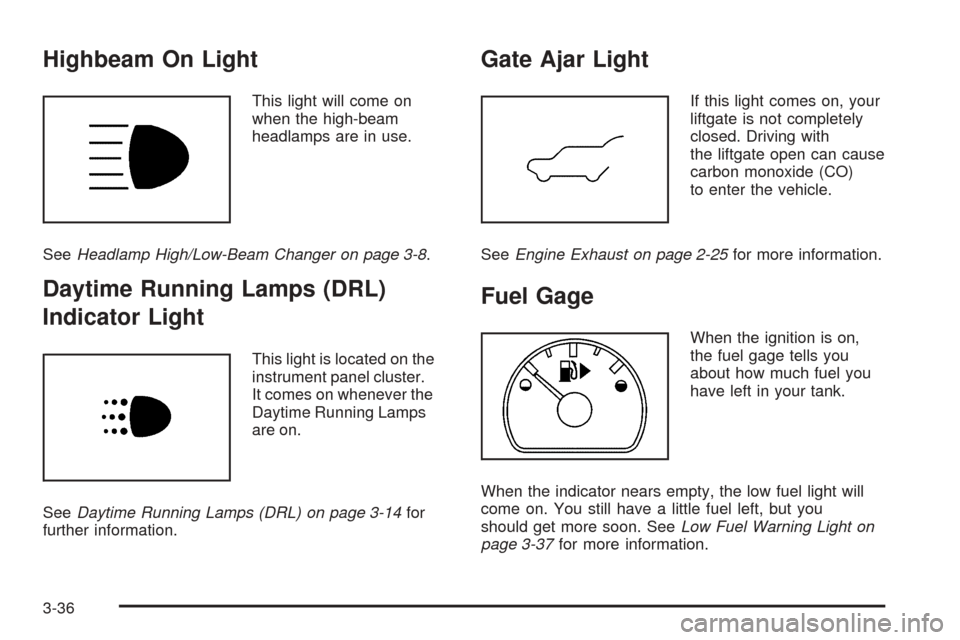
This light will come on
when the high-beam
headlamps are in use.
SeeHeadlamp High/Low-Beam Changer on page 3-8.
Daytime Running Lamps (DRL)
Indicator Light
This light is located on the
instrument panel cluster.
It comes on whenever the
Daytime Running Lamps
are on.
SeeDaytime Running Lamps (DRL) on page 3-14for
further information.
Gate Ajar Light
If this light comes on, your
liftgate is not completely
closed. Driving with
the liftgate open can cause
carbon monoxide (CO)
to enter the vehicle.
SeeEngine Exhaust on page 2-25for more information.
Fuel Gage
When the ignition is on,
the fuel gage tells you
about how much fuel you
have left in your tank.
When the indicator nears empty, the low fuel light will
come on. You still have a little fuel left, but you
should get more soon. SeeLow Fuel Warning Light on
page 3-37for more information.
3-36
Page 153 of 382
Here are four things that some owners ask about.
None of these show a problem with your fuel gage:
At the service station, the fuel pump shuts off before
the gage reads full.
It takes a little more or less fuel to �ll up than the
gage indicated. For example, the gage may have
indicated the tank was half full, but it actually took a
little more or less than half the tank’s capacity to
�ll the tank.
The gage moves a little when you turn a corner or
speed up.
The gage takes a few seconds to stabilize after the
ignition is turned on, and will go back to empty
when you turn the ignition off.
For your fuel tank capacity, seeCapacities and
Speci�cations on page 5-89.
Low Fuel Warning Light
The light below the fuel
gage will come on brie�y
when you are starting
the engine.
This light also comes on when the fuel tank is low on
fuel. When you add fuel the light should go off. If it does
not, have your vehicle serviced.
3-37
Page 155 of 382
Notice:Before adding any sound equipment to
your vehicle, such as an audio system, CD player,
CB radio, mobile telephone, or two-way radio, make
sure that it can be added by checking with your
dealer. Also, check federal rules covering mobile
radio and telephone units. If sound equipment can
be added, it is very important to do it properly.
Added sound equipment may interfere with
the operation of your vehicle’s engine, radio, or
other systems, and even damage them. Your
vehicle’s systems may interfere with the operation
of sound equipment that has been added.
Notice:The chime signals related to safety belts,
parking brake, and other functions of your vehicle
operate through the radio/entertainment system.
If that equipment is replaced or additional equipment
is added to your vehicle, the chimes may not
work. Make sure that replacement or additional
equipment is compatible with your vehicle before
installing it. SeeAccessories and Modifications
on page 5-3.
Your vehicle has a feature called Retained Accessory
Power (RAP). With RAP, the audio system can be
played even after the ignition is turned off. SeeRetained
Accessory Power (RAP) on page 2-16for more
information.Setting the Time
To set the hour, press the clock button. The clock
symbol will appear on the audio display and the hour
number will �ash. Then turn the ADJ knob to increase or
to decrease the hour. To set the minutes, press the
clock button again. The minute numbers will �ash. Then
turn the ADJ knob to increase or to decrease the
minutes. The time can be set with the ignition on or off.
To synchronize the time with an FM station broadcasting
Radio Data System (RDS) information, press and
release the clock button to enter the clock set mode,
then press and hold the clock button for three seconds
until UPDATED appears on the display. If the time
is not available from the station, NO TIME UPDATE will
appear on the display.
RDS time is broadcast once a minute. After tuning to an
RDS broadcast station, it may take a few minutes for
the time to update.
3-39
Page 157 of 382
XM™ Satellite Radio Service
XM™ is a satellite radio service that is based in the
48 contiguous United States and in Canada (if
available). XM™ offers over 100 coast-to-coast channels
including music, news, sports, talk, and children’s
programming. XM™ provides digital quality audio and
text information that includes song title and artist name.
A service fee is required in order to receive the XM™
service. For more information, contact XM™ at
www.xmradio.com or call 1-800-852-XMXM (9696).
Playing the Radio
O
(Power):Press this button to turn the system on
and off.
u(Volume):Turn this knob to increase or to decrease
the volume.
AUTO
e(Automatic Volume):With automatic
volume, the audio system adjusts automatically to
make up for road and wind noise as you drive.
Set the volume at the desired level. Press this button to
select LOW, MEDIUM, or HIGH. AUTO VOL LOW,
AUTO VOL MEDIUM, or AUTO VOL HIGH will appear
on the display. Each higher setting will allow for
more volume compensation at faster vehicle speeds.
Then as you drive, automatic volume increasesthe volume, as necessary, to overcome noise at any
speed. The volume level should always sound the same
to you as you drive. AUTO VOL NONE will appear on
the display if the radio cannot determine the vehicle
speed or if the engine is not running. To turn automatic
volume off, press this button until AUTO VOL OFF
appears on the display.
8(Mute):Press and release this button for less than
two seconds to silence the system. MUTE will appear
on the display. Pressing this button again or any
pushbutton on the radio turns the sound back on.
DISP (Display):For RDS, press the DISP knob to
change what appears on the display while using RDS.
The display options are station name, RDS station
frequency, PTY, and the name of the program
(if available).
For XM™ (if equipped), press the DISP knob while in
XM™ mode to retrieve four different categories of
information related to the current song or channel:
Artist, Song Title, Category or PTY, Channel
Number/Channel Name.
3-41
Page 168 of 382
XM™ Satellite Radio Service
XM™ is a satellite radio service that is based in the
48 contiguous United States and in Canada (if available).
XM™ offers over 100 coast-to-coast channels including
music, news, sports, talk, and children’s programming.
XM™ provides digital quality audio and text information
that includes song title and artist name. A service fee is
required in order to receive the XM™ service. For more
information, contact XM™ at www.xmradio.com or call
1-800-852-XMXM (9696).
Playing the Radio
O
(Power):Press this button to turn the system on
and off.
u(Volume):Turn this knob to increase or to decrease
the volume.
AUTO
e(Automatic Volume):With automatic
volume, the audio system adjusts automatically to make
up for road and wind noise as you drive.
Set the volume at the desired level. Press this button to
select LOW, MEDIUM, or HIGH. AUTO VOL LOW,
AUTO VOL MEDIUM, or AUTO VOL HIGH will appear
on the display. Each higher setting will allow for
more volume compensation at faster vehicle speeds.Then as you drive, automatic volume increases the
volume, as necessary, to overcome noise at any speed.
The volume level should always sound the same to
you as you drive. AUTO VOL NONE will appear on the
display if the radio cannot determine the vehicle
speed or if the engine is not running. To turn off
automatic volume, press this button until AUTO VOL
OFF appears on the display.
8(Mute):Press and release this button for less than
two seconds to silence the system. MUTE will appear
on the display. Pressing this button again or any
pushbutton on the radio turns the sound back on.
DISP (Display):For RDS, press the DISP knob to
change what appears on the display while using RDS.
The display options are station name, RDS station
frequency, PTY, and the name of the program (if
available).
For XM™ (if equipped), press the DISP knob while in
XM™ mode to retrieve four different categories of
information related to the current song or channel: Artist,
Song Title, Category or PTY, Channel
Number/Channel Name.
3-52