2006 CHEVROLET EPICA key battery
[x] Cancel search: key batteryPage 68 of 368
Servicing Your Airbag-Equipped
Vehicle
Airbags affect how your vehicle should be serviced.
There are parts of the airbag system in several places
around your vehicle. You do not want the system to
inflate while someone is working on your vehicle.
Your dealer and the service manual have information
about servicing your vehicle and the airbag system.
To purchase a service manual, seeService Publications
Ordering Information on page 7-14.
{CAUTION:
For up to 10 seconds after the ignition key is
turned off and the battery is disconnected,
an airbag can still in�ate during improper
service. You can be injured if you are close
to an airbag when it in�ates. Avoid yellow
connectors. They are probably part of the
airbag system. Be sure to follow proper
service procedures, and make sure the person
performing work for you is quali�ed to do so.
The airbag system does not need regular maintenance.
Adding Equipment to Your
Airbag-Equipped Vehicle
Q:Is there anything I might add to the front or
sides of the vehicle that could keep the
airbags from working properly?
A:Yes. If you add things that change your vehicle’s
frame, bumper system, front end or side sheet
metal or height, they may keep the airbag system
from working properly. Also, the airbag system may
not work properly if you relocate any of the airbag
sensors. If you have any questions about this,
you should contact Customer Assistance before
you modify your vehicle. The phone numbers
and addresses for Customer Assistance are in
Step Two of the Customer Satisfaction Procedure
in this manual. SeeCustomer Satisfaction
Procedure on page 7-2.
1-62
Page 74 of 368
At times you may notice a decrease in range. This is
normal for any remote keyless entry system. If the
transmitter does not work or if you have to stand closer
to your vehicle for the transmitter to work, try this:
•Check the distance. You may be too far from your
vehicle. You may need to stand closer during
rainy or snowy weather.
•Check the location. Other vehicles or objects may
be blocking the signal. Take a few steps to the
left or right, hold the transmitter higher, and
try again.
•Check to determine if battery replacement is
necessary. See “Battery Replacement” under
Remote Keyless Entry System Operation on
page 2-4.
•If you are still having trouble, see your dealer or
a qualified technician for service.
Remote Keyless Entry System
Operation
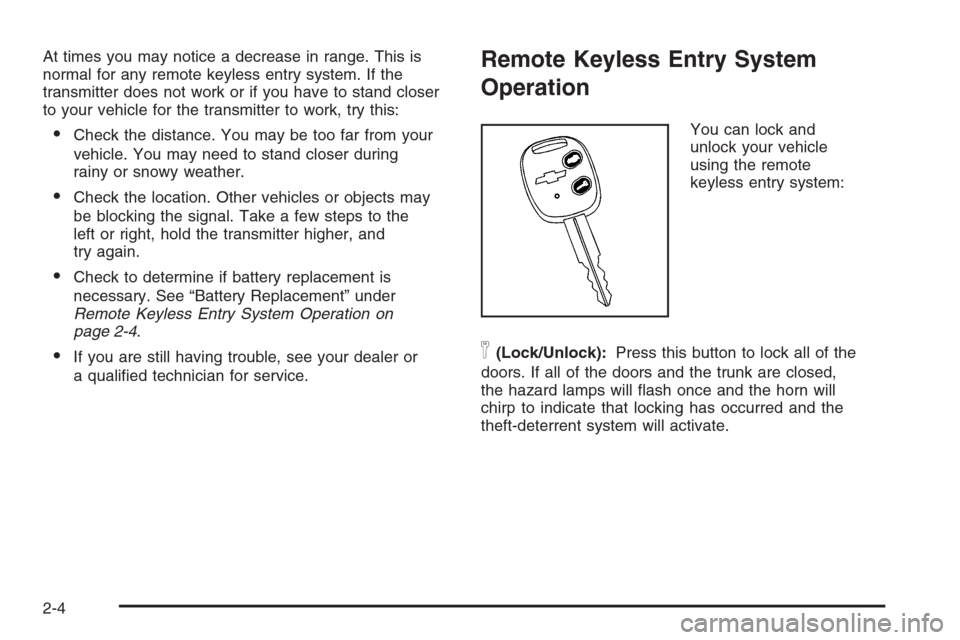
You can lock and
unlock your vehicle
using the remote
keyless entry system:
n(Lock/Unlock):Press this button to lock all of the
doors. If all of the doors and the trunk are closed,
the hazard lamps will flash once and the horn will
chirp to indicate that locking has occurred and the
theft-deterrent system will activate.
2-4
Page 75 of 368
Press the button again to unlock all of the doors. The
hazard lamps will flash twice to indicate that unlocking
has occurred and the theft-deterrent system will
deactivate.
If the door is not opened or if the engine is not started
within 30 seconds after unlocking the doors with the
transmitter, all of the doors will automatically lock and
the theft-deterrent system will re-activate.
V(Trunk):Press and hold this button for
approximately one second to unlock the trunk. The horn
will chirp twice to indicate that the trunk is unlocked.
The LED light on the transmitter will flash when
the buttons on the transmitter are pressed.
The buttons, on the remote keyless entry transmitter,
will not operate and the theft-deterrent system will
not activate while the key is in the ignition. See
Theft-Deterrent System on page 2-14for additional
information.
Matching Transmitter(s) to
Your Vehicle
Each remote keyless entry transmitter is coded to
prevent another transmitter from unlocking your vehicle.
If a transmitter is lost or stolen, a replacement can
be purchased through your dealer. Remember to bring
any remaining transmitters with you when you go to
your dealer. When the dealer matches the replacement
transmitter to your vehicle, any remaining transmitters
must also be matched. Once your dealer has coded the
new transmitter, the lost transmitter will not unlock
your vehicle. Each vehicle can have a maximum of
two transmitters matched to it.
Battery Replacement
Under normal use, the battery in your remote keyless
entry transmitter should last about two years.
You can tell the battery is weak if the LED light fails to
light or if the transmitter will not work at the normal
range in any location. If you have to get close to your
vehicle before the transmitter works, it is probably
time to change the battery.
2-5
Page 76 of 368
Notice:When replacing the battery, use care not
to touch any of the circuitry. Static from your body
transferred to these surfaces may damage the
transmitter.
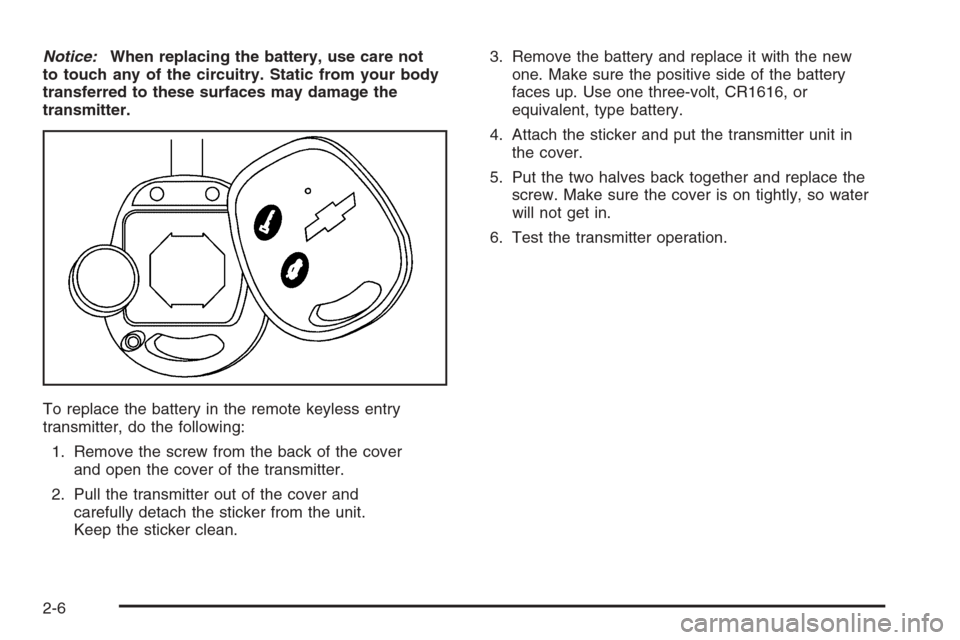
To replace the battery in the remote keyless entry
transmitter, do the following:
1. Remove the screw from the back of the cover
and open the cover of the transmitter.
2. Pull the transmitter out of the cover and
carefully detach the sticker from the unit.
Keep the sticker clean.3. Remove the battery and replace it with the new
one. Make sure the positive side of the battery
faces up. Use one three-volt, CR1616, or
equivalent, type battery.
4. Attach the sticker and put the transmitter unit in
the cover.
5. Put the two halves back together and replace the
screw. Make sure the cover is on tightly, so water
will not get in.
6. Test the transmitter operation.
2-6
Page 89 of 368
Starting the Engine
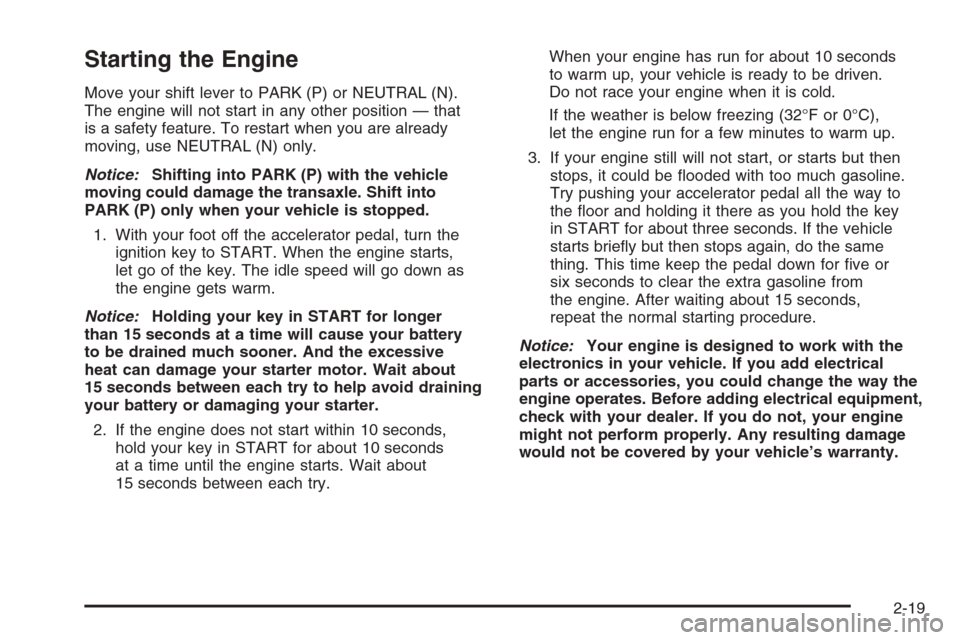
Move your shift lever to PARK (P) or NEUTRAL (N).
The engine will not start in any other position — that
is a safety feature. To restart when you are already
moving, use NEUTRAL (N) only.
Notice:Shifting into PARK (P) with the vehicle
moving could damage the transaxle. Shift into
PARK (P) only when your vehicle is stopped.
1. With your foot off the accelerator pedal, turn the
ignition key to START. When the engine starts,
let go of the key. The idle speed will go down as
the engine gets warm.
Notice:Holding your key in START for longer
than 15 seconds at a time will cause your battery
to be drained much sooner. And the excessive
heat can damage your starter motor. Wait about
15 seconds between each try to help avoid draining
your battery or damaging your starter.
2. If the engine does not start within 10 seconds,
hold your key in START for about 10 seconds
at a time until the engine starts. Wait about
15 seconds between each try.When your engine has run for about 10 seconds
to warm up, your vehicle is ready to be driven.
Do not race your engine when it is cold.
If the weather is below freezing (32°F or 0°C),
let the engine run for a few minutes to warm up.
3. If your engine still will not start, or starts but then
stops, it could be flooded with too much gasoline.
Try pushing your accelerator pedal all the way to
the floor and holding it there as you hold the key
in START for about three seconds. If the vehicle
starts briefly but then stops again, do the same
thing. This time keep the pedal down for five or
six seconds to clear the extra gasoline from
the engine. After waiting about 15 seconds,
repeat the normal starting procedure.
Notice:Your engine is designed to work with the
electronics in your vehicle. If you add electrical
parts or accessories, you could change the way the
engine operates. Before adding electrical equipment,
check with your dealer. If you do not, your engine
might not perform properly. Any resulting damage
would not be covered by your vehicle’s warranty.
2-19
Page 303 of 368
Fuses Usage
BCM
ABSBody Control Module (BCM),
Antilock Brake System (ABS)
CLSTR
AUTO
A/CInstrument Panel Cluster,
Automatic Temperature Control,
Daytime Running Lamps (DRL)
LTR Cigarette Lighter, Glove Box Lamp
RADIO Radio
CLKClock, Dome Lamp,
Key Interlock Unit
WSWA Windshield Washer
WPR Windshield Wiper
HTD/MIROutside Rearview Mirror (OSRVM),
Rear Glass Defogger Switch
RADIO
CRUISERadio Battery Positive Voltage,
Cruise
HTD/SEATHeating Mat, Accessory Power
Outlet
AUTO
A/C
CLSTRAutomatic Temperature Control,
Cluster
DLC Data Link Connector (DLC)Engine Compartment Fuse Block
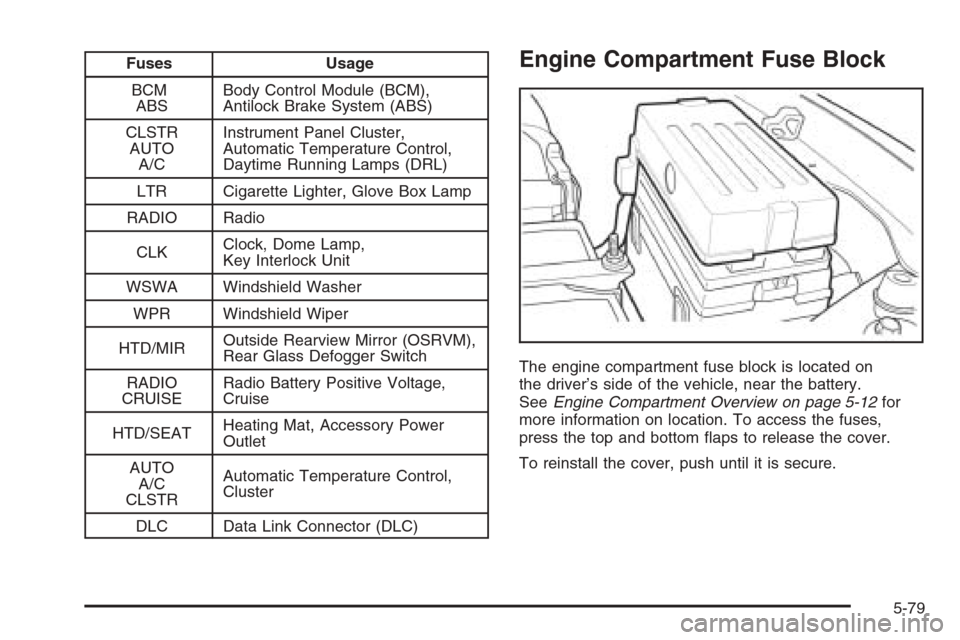
The engine compartment fuse block is located on
the driver’s side of the vehicle, near the battery.
SeeEngine Compartment Overview on page 5-12for
more information on location. To access the fuses,
press the top and bottom flaps to release the cover.
To reinstall the cover, push until it is secure.
5-79
Page 344 of 368
Roadside Assistance Program
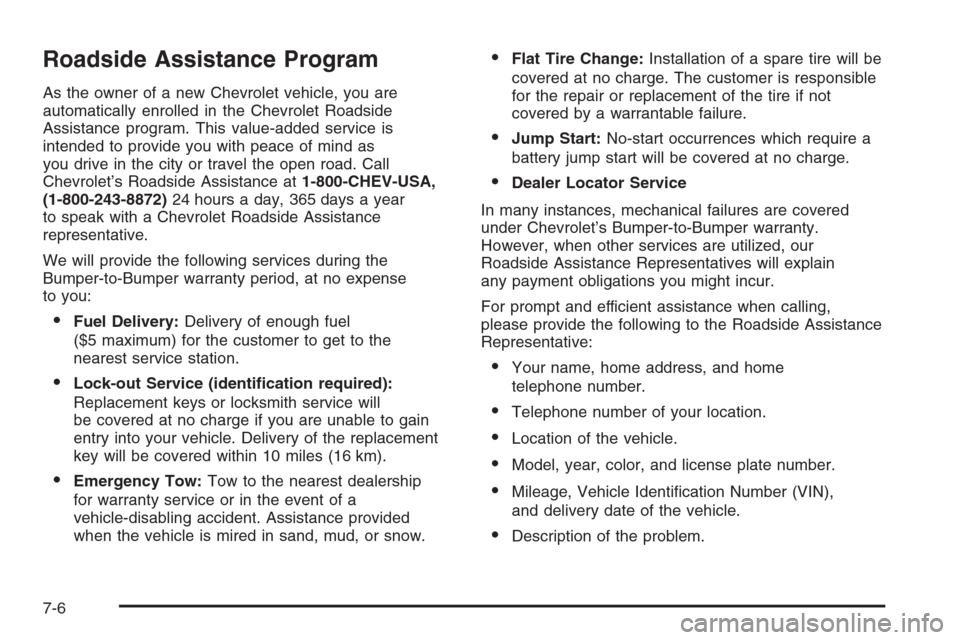
As the owner of a new Chevrolet vehicle, you are
automatically enrolled in the Chevrolet Roadside
Assistance program. This value-added service is
intended to provide you with peace of mind as
you drive in the city or travel the open road. Call
Chevrolet’s Roadside Assistance at1-800-CHEV-USA,
(1-800-243-8872)24 hours a day, 365 days a year
to speak with a Chevrolet Roadside Assistance
representative.
We will provide the following services during the
Bumper-to-Bumper warranty period, at no expense
to you:
•Fuel Delivery:Delivery of enough fuel
($5 maximum) for the customer to get to the
nearest service station.
•Lock-out Service (identi�cation required):
Replacement keys or locksmith service will
be covered at no charge if you are unable to gain
entry into your vehicle. Delivery of the replacement
key will be covered within 10 miles (16 km).
•Emergency Tow:Tow to the nearest dealership
for warranty service or in the event of a
vehicle-disabling accident. Assistance provided
when the vehicle is mired in sand, mud, or snow.
•Flat Tire Change:Installation of a spare tire will be
covered at no charge. The customer is responsible
for the repair or replacement of the tire if not
covered by a warrantable failure.
•Jump Start:No-start occurrences which require a
battery jump start will be covered at no charge.
•Dealer Locator Service
In many instances, mechanical failures are covered
under Chevrolet’s Bumper-to-Bumper warranty.
However, when other services are utilized, our
Roadside Assistance Representatives will explain
any payment obligations you might incur.
For prompt and efficient assistance when calling,
please provide the following to the Roadside Assistance
Representative:
•Your name, home address, and home
telephone number.
•Telephone number of your location.
•Location of the vehicle.
•Model, year, color, and license plate number.
•Mileage, Vehicle Identification Number (VIN),
and delivery date of the vehicle.
•Description of the problem.
7-6