2006 CHEVROLET EPICA fuse
[x] Cancel search: fusePage 8 of 368
Front Seats
Manual Seats
{CAUTION:
You can lose control of the vehicle if you try to
adjust a manual driver’s seat while the vehicle
is moving. The sudden movement could startle
and confuse you, or make you push a pedal
when you do not want to. Adjust the driver’s
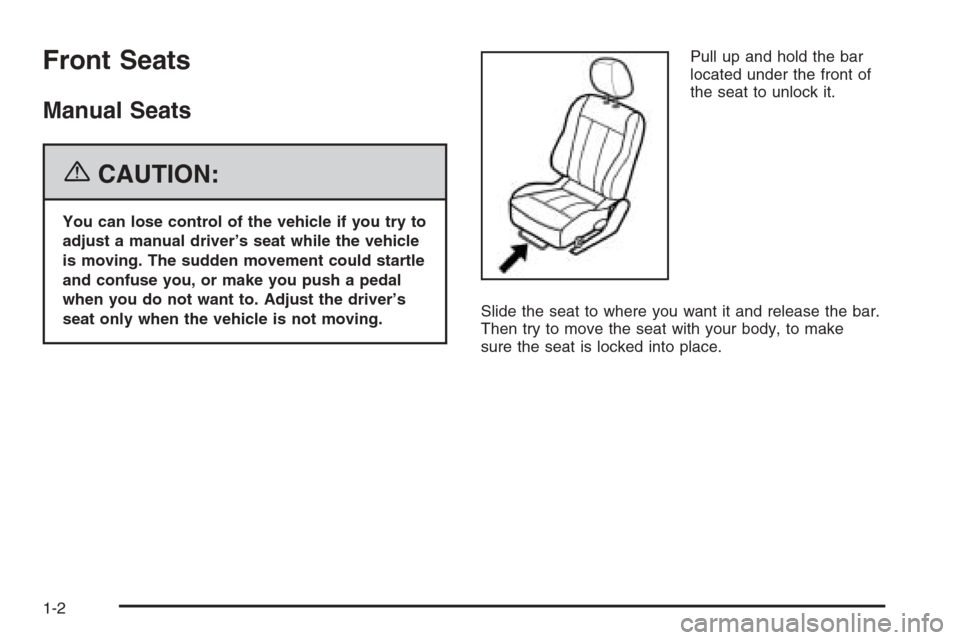
seat only when the vehicle is not moving.Pull up and hold the bar
located under the front of
the seat to unlock it.
Slide the seat to where you want it and release the bar.
Then try to move the seat with your body, to make
sure the seat is locked into place.
1-2
Page 87 of 368
When trying to start the vehicle, if the engine does
not start and the security light continues flashing, the
key may have a damaged transponder. Turn the ignition
off and try again.
If the engine still does not start, and the key appears
to be undamaged, try another key. At this time, you
may also want to check the fuse. SeeFuses and Circuit
Breakers on page 5-77. If the engine still does not
start with the other key, your vehicle needs service.
If your vehicle does start, the first key may be faulty.
See your dealer who can service the theft-deterrent
system to have a new key made.
Up to four keys may be programmed for the vehicle.
If you lose or damage your keys, only a GM dealer
can service the theft-deterrent system to have new
keys made.
If you are ever driving and the security light comes on
and stays on, you will be able to restart your engine
if you turn it off. The theft-deterrent system, however,
is not working properly and must be serviced by
your dealer. Your vehicle is not protected by the
theft-deterrent system at this time.
In an emergency, contact Chevrolet Roadside
Assistance. SeeRoadside Assistance Program
on page 7-6.Starting and Operating
Your Vehicle
New Vehicle Break-In
Notice:Your vehicle does not need an elaborate
break-in. But it will perform better in the long run
if you follow these guidelines:
Do not drive at any one constant speed, fast
or slow, for the �rst 500 miles (805 km).
Do not make full-throttle starts. Avoid
downshifting to brake, or slow, the vehicle.
Avoid making hard stops for the �rst 200 miles
(322 km) or so. During this time your new
brake linings are not yet broken in. Hard stops
with new linings can mean premature wear
and earlier replacement. Follow this breaking-in
guideline every time you get new brake
linings.
Do not tow a trailer during break-in. See
Towing a Trailer on page 4-35for the trailer
towing capabilities of your vehicle and more
information.
Following break-in, engine speed and load can
be gradually increased.
2-17
Page 113 of 368
Turn Signal/Multifunction Lever
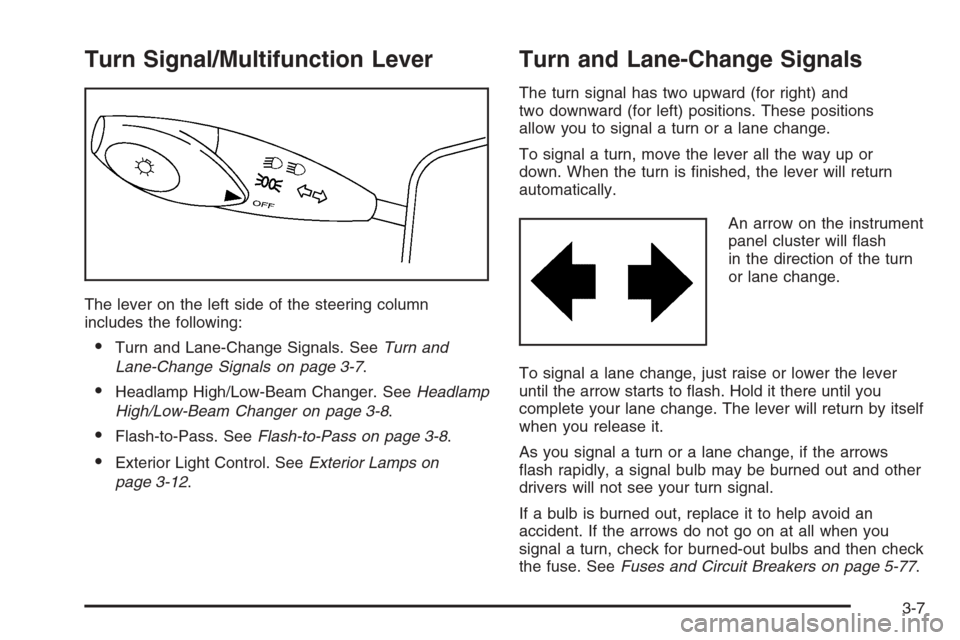
The lever on the left side of the steering column
includes the following:
•Turn and Lane-Change Signals. SeeTurn and
Lane-Change Signals on page 3-7.
•Headlamp High/Low-Beam Changer. SeeHeadlamp
High/Low-Beam Changer on page 3-8.
•Flash-to-Pass. SeeFlash-to-Pass on page 3-8.
•Exterior Light Control. SeeExterior Lamps on
page 3-12.
Turn and Lane-Change Signals
The turn signal has two upward (for right) and
two downward (for left) positions. These positions
allow you to signal a turn or a lane change.
To signal a turn, move the lever all the way up or
down. When the turn is finished, the lever will return
automatically.
An arrow on the instrument
panel cluster will flash
in the direction of the turn
or lane change.
To signal a lane change, just raise or lower the lever
until the arrow starts to flash. Hold it there until you
complete your lane change. The lever will return by itself
when you release it.
As you signal a turn or a lane change, if the arrows
flash rapidly, a signal bulb may be burned out and other
drivers will not see your turn signal.
If a bulb is burned out, replace it to help avoid an
accident. If the arrows do not go on at all when you
signal a turn, check for burned-out bulbs and then check
the fuse. SeeFuses and Circuit Breakers on page 5-77.
3-7
Page 122 of 368
Entry Lighting
When you open either a front or a rear door, the door
step lamps inside your vehicle will turn on. The door step
lamps are located on the driver’s and front passenger’s
door trims. The lamps will turn off after you close all
of the doors.
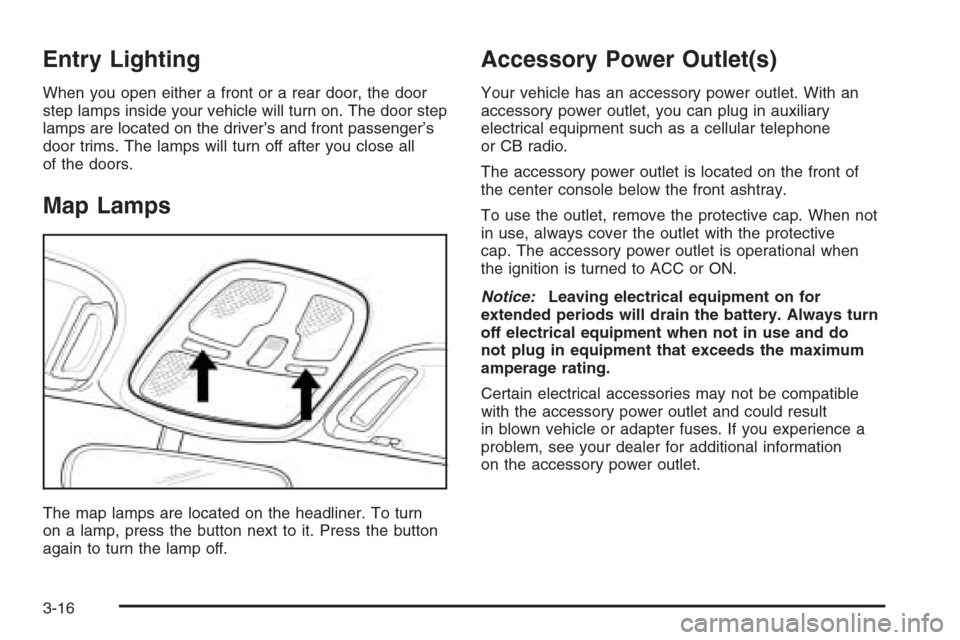
Map Lamps
The map lamps are located on the headliner. To turn
on a lamp, press the button next to it. Press the button
again to turn the lamp off.
Accessory Power Outlet(s)
Your vehicle has an accessory power outlet. With an
accessory power outlet, you can plug in auxiliary
electrical equipment such as a cellular telephone
or CB radio.
The accessory power outlet is located on the front of
the center console below the front ashtray.
To use the outlet, remove the protective cap. When not
in use, always cover the outlet with the protective
cap. The accessory power outlet is operational when
the ignition is turned to ACC or ON.
Notice:Leaving electrical equipment on for
extended periods will drain the battery. Always turn
off electrical equipment when not in use and do
not plug in equipment that exceeds the maximum
amperage rating.
Certain electrical accessories may not be compatible
with the accessory power outlet and could result
in blown vehicle or adapter fuses. If you experience a
problem, see your dealer for additional information
on the accessory power outlet.
3-16
Page 124 of 368
Clock
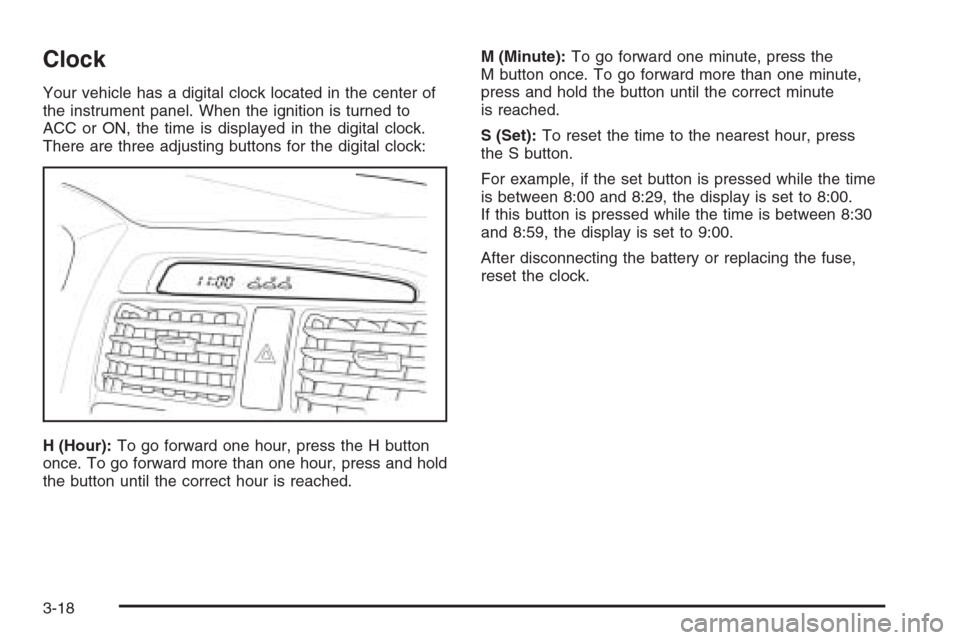
Your vehicle has a digital clock located in the center of
the instrument panel. When the ignition is turned to
ACC or ON, the time is displayed in the digital clock.
There are three adjusting buttons for the digital clock:
H (Hour):To go forward one hour, press the H button
once. To go forward more than one hour, press and hold
the button until the correct hour is reached.M (Minute):To go forward one minute, press the
M button once. To go forward more than one minute,
press and hold the button until the correct minute
is reached.
S (Set):To reset the time to the nearest hour, press
the S button.
For example, if the set button is pressed while the time
is between 8:00 and 8:29, the display is set to 8:00.
If this button is pressed while the time is between 8:30
and 8:59, the display is set to 9:00.
After disconnecting the battery or replacing the fuse,
reset the clock.
3-18
Page 149 of 368
Oil Pressure Light
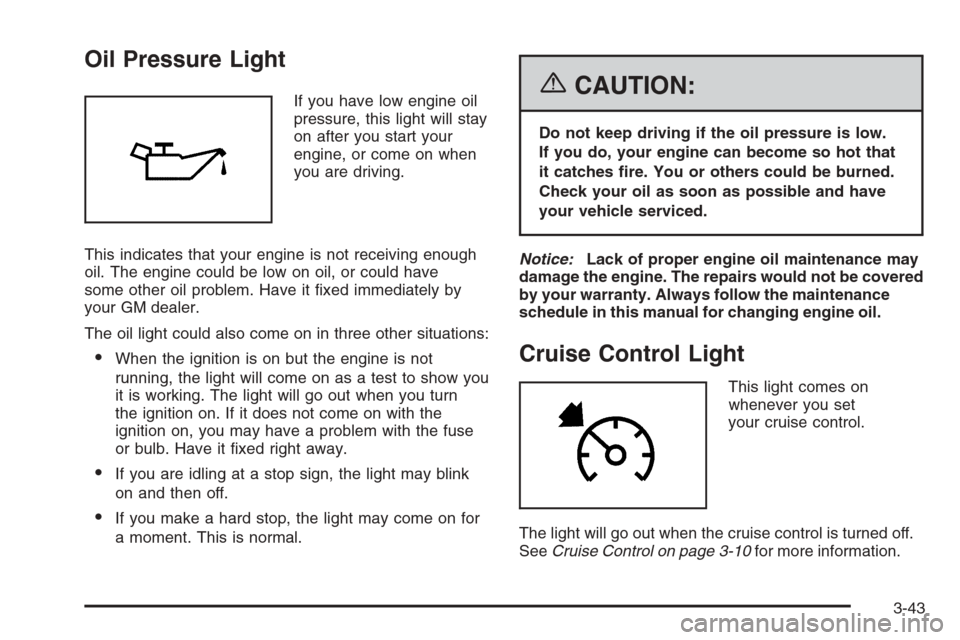
If you have low engine oil
pressure, this light will stay
on after you start your
engine, or come on when
you are driving.
This indicates that your engine is not receiving enough
oil. The engine could be low on oil, or could have
some other oil problem. Have it fixed immediately by
your GM dealer.
The oil light could also come on in three other situations:
•When the ignition is on but the engine is not
running, the light will come on as a test to show you
it is working. The light will go out when you turn
the ignition on. If it does not come on with the
ignition on, you may have a problem with the fuse
or bulb. Have it fixed right away.
•If you are idling at a stop sign, the light may blink
on and then off.
•If you make a hard stop, the light may come on for
a moment. This is normal.
{CAUTION:
Do not keep driving if the oil pressure is low.
If you do, your engine can become so hot that
it catches �re. You or others could be burned.
Check your oil as soon as possible and have
your vehicle serviced.
Notice:Lack of proper engine oil maintenance may
damage the engine. The repairs would not be covered
by your warranty. Always follow the maintenance
schedule in this manual for changing engine oil.
Cruise Control Light
This light comes on
whenever you set
your cruise control.
The light will go out when the cruise control is turned off.
SeeCruise Control on page 3-10for more information.
3-43
Page 226 of 368
Wheel Alignment and Tire Balance..................5-58
Wheel Replacement......................................5-58
Tire Chains..................................................5-59
If a Tire Goes Flat........................................5-60
Changing a Flat Tire.....................................5-61
Removing the Spare Tire and Tools................5-62
Removing the Flat Tire and Installing
the Spare Tire..........................................5-63
Storing a Flat or Spare Tire and Tools............5-66
Compact Spare Tire......................................5-67
Appearance Care............................................5-68
Cleaning the Inside of Your Vehicle.................5-68
Fabric/Carpet...............................................5-69
Leather.......................................................5-70
Instrument Panel, Vinyl, and
Other Plastic Surfaces................................5-70
Weatherstrips...............................................5-70
Washing Your Vehicle...................................5-70
Cleaning Exterior Lamps/Lenses.....................5-71
Finish Care..................................................5-71
Windshield and Wiper Blades.........................5-72Aluminum Wheels.........................................5-72
Tires...........................................................5-73
Sheet Metal Damage.....................................5-73
Finish Damage.............................................5-73
Underbody Maintenance................................5-73
Chemical Paint Spotting.................................5-73
Vehicle Care/Appearance Materials..................5-74
Vehicle Identi�cation......................................5-75
Vehicle Identification Number (VIN).................5-75
Service Parts Identification Label.....................5-75
Electrical System............................................5-76
Add-On Electrical Equipment..........................5-76
Headlamp Wiring..........................................5-76
Windshield Wiper Fuses................................5-76
Power Windows and Other Power Options.......5-76
Fuses and Circuit Breakers............................5-77
Instrument Panel Fuse Block..........................5-77
Engine Compartment Fuse Block....................5-79
Capacities and Speci�cations..........................5-83
Normal Maintenance Replacement Parts..........5-84
Section 5 Service and Appearance Care
5-2
Page 228 of 368
California Proposition 65 Warning
Most motor vehicles, including this one, contain and/or
emit chemicals known to the State of California to
cause cancer and birth defects or other reproductive
harm. Engine exhaust, many parts and systems
(including some inside the vehicle), many fluids, and
some component wear by-products contain and/or emit
these chemicals.
Doing Your Own Service Work
{CAUTION:
You can be injured and your vehicle could be
damaged if you try to do service work on a
vehicle without knowing enough about it.
Be sure you have sufficient knowledge,
experience, the proper replacement parts,
and tools before you attempt any vehicle
maintenance task.
Be sure to use the proper nuts, bolts,
and other fasteners. English and metric
fasteners can be easily confused. If you
use the wrong fasteners, parts can later
break or fall off. You could be hurt.
If you want to do some of your own service work,
you will want to use the proper service manual. It tells
you much more about how to service your vehicle
than this manual can. To order the proper service
manual, seeService Publications Ordering Information
on page 7-14.
5-4