2006 BMW Z4 3.0SI ROADSTER lights
[x] Cancel search: lightsPage 14 of 128

Cockpit
12
Instrument cluster
1Speedometer
2Indicator lamps for turn signals
3Indicator and warning lamps12
4Tachometer46
with indicator and warning lamps12
5Engine coolant temperature gauge47
6Fuel gauge46
7Button for
>Displaying the clock47
>Service interval display47
>Checking the oil level88
8Position of automatic transmission
*40
9Button for
>Resetting trip odometer46
>Setting the clock47
10Display for
>Trip odometer/Odometer46
>Clock47
>Service interval47
>Computer
*48
>Checking the oil level88
Indicator and warning lamps
Technology that monitors itself
Indicator and warning lamps that are identified
by
+ are tested for proper functioning whenever
the key is turned. They each light up once for
different periods of time.
If a malfunction occurs in one of the monitored
systems, the corresponding lamp does not go
out after the engine has started, or it lights up
again while the vehicle is in motion. You can find
more information about each system on the
specified pages.
Turn signal indicators42
Battery charge current
+97
Headlamp flasher/High beams42, 56
Engine oil pressure/
Engine oil level
+87
Antilock Brake System ABS/Driving
stability control systems
+49
Page 27 of 128
Reference
At a glance
Controls
Driving tips
Mobility
25
Switching off tilt alarm sensor and
interior motion sensor
>Press the button on the remote
control twice in a row.
The indicator lamp lights up briefly and then
flashes continuously. The tilt alarm sensor and
the interior motion sensor are deactivated until
the vehicle is again unlocked and locked.
Windows
To prevent injuries, exercise care when
closing the windows and keep them in
your field of vision until they are shut.
Take the key with you when you leave the car,
otherwise children could operate the windows
and possibly injure themselves.<
Opening, closing
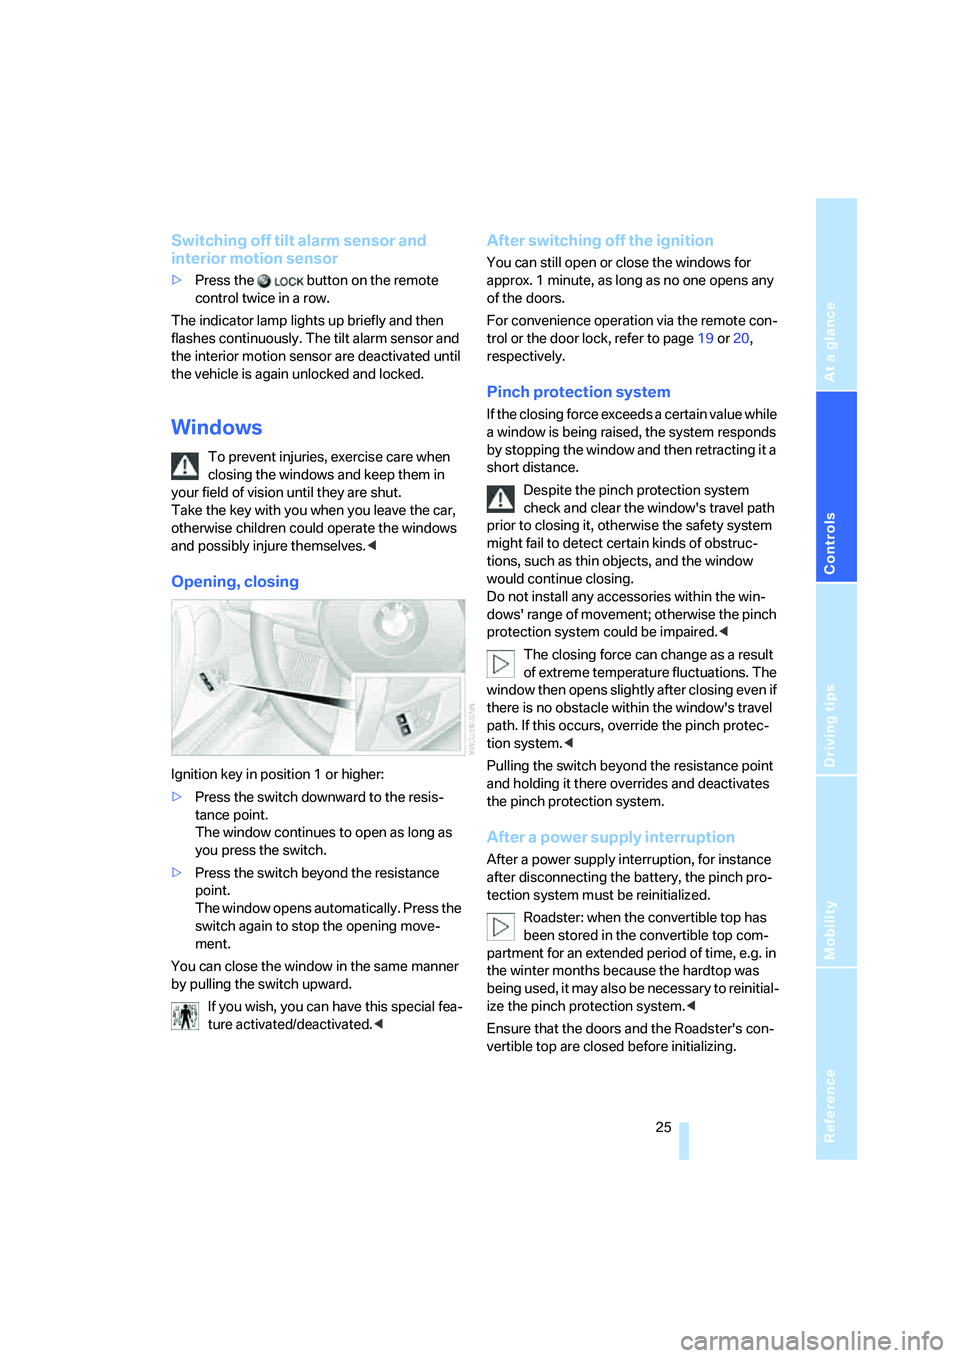
Ignition key in position 1 or higher:
>Press the switch downward to the resis-
tance point.
The window continues to open as long as
you press the switch.
>Press the switch beyond the resistance
point.
The window opens automatically. Press the
switch again to stop the opening move-
ment.
You can close the window in the same manner
by pulling the switch upward.
If you wish, you can have this special fea-
ture activated/deactivated.<
After switching off the ignition
You can still open or close the windows for
approx. 1 minute, as long as no one opens any
of the doors.
For convenience operation via the remote con-
trol or the door lock, refer to page19 or20,
respectively.
Pinch protection system
If the closing force exceeds a certain value while
a window is being raised, the system responds
by stopping the window and then retracting it a
short distance.
Despite the pinch protection system
check and clear the window's travel path
prior to closing it, otherwise the safety system
might fail to detect certain kinds of obstruc-
tions, such as thin objects, and the window
would continue closing.
Do not install any accessories within the win-
dows' range of movement; otherwise the pinch
protection system could be impaired.<
The closing force can change as a result
of extreme temperature fluctuations. The
window then opens slightly after closing even if
there is no obstacle within the window's travel
path. If this occurs, override the pinch protec-
tion system.<
Pulling the switch beyond the resistance point
and holding it there overrides and deactivates
the pinch protection system.
After a power supply interruption
After a power supply interruption, for instance
after disconnecting the battery, the pinch pro-
tection system must be reinitialized.
Roadster: when the convertible top has
been stored in the convertible top com-
partment for an extended period of time, e.g. in
the winter months because the hardtop was
being used, it may also be necessary to reinitial-
ize the pinch protection system.<
Ensure that the doors and the Roadster's con-
vertible top are closed before initializing.
Page 34 of 128
Adjustments
32
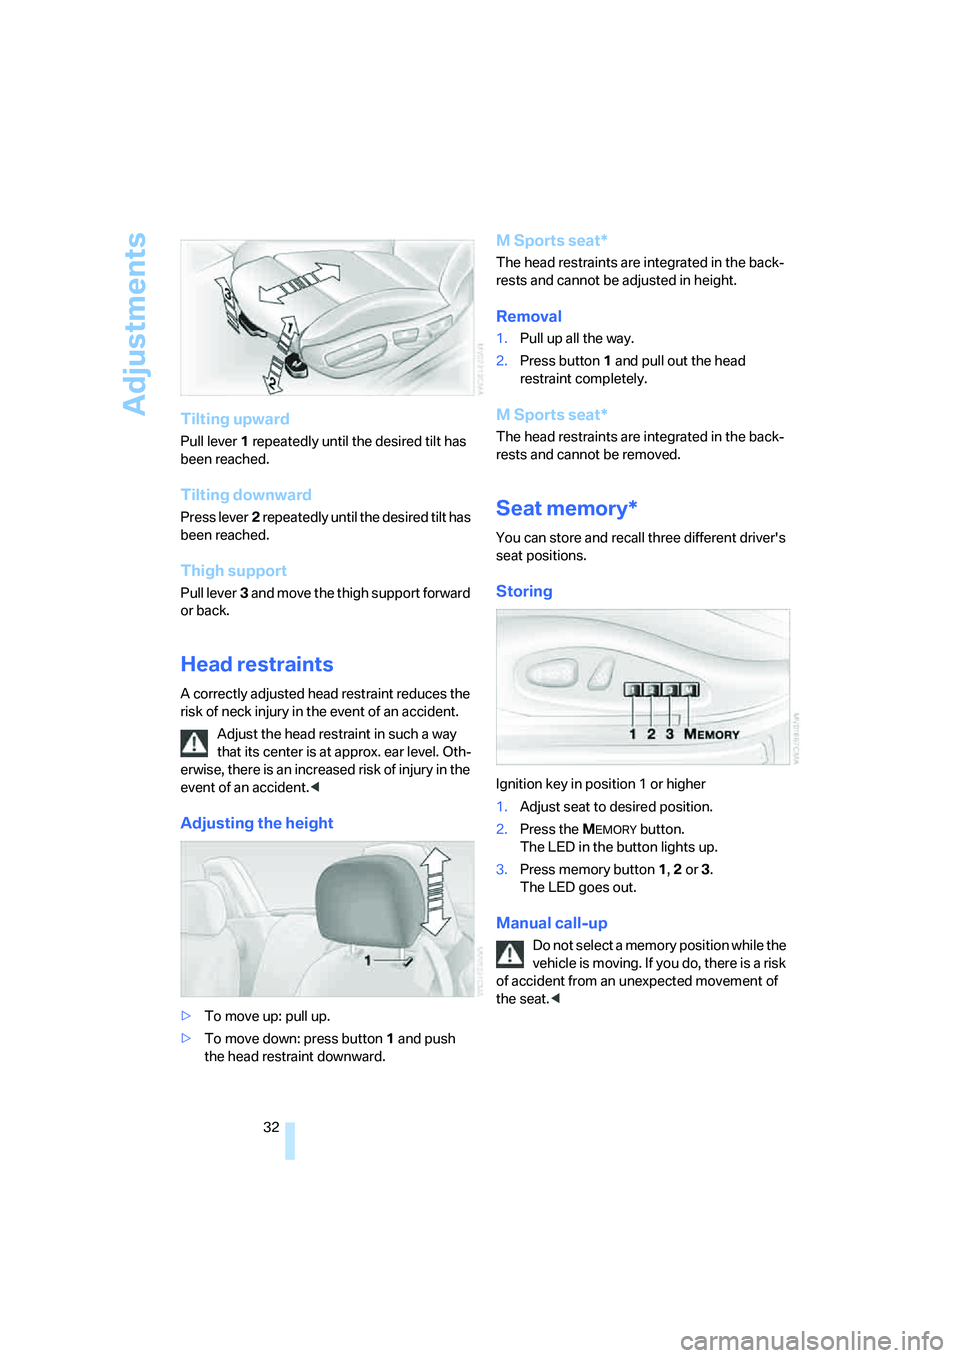
Tilting upward
Pull lever1 repeatedly until the desired tilt has
been reached.
Tilting downward
Press lever2 repeatedly until the desired tilt has
been reached.
Thigh support
Pull lever3 and move the thigh support forward
or back.
Head restraints
A correctly adjusted head restraint reduces the
risk of neck injury in the event of an accident.
Adjust the head restraint in such a way
that its center is at approx. ear level. Oth-
erwise, there is an increased risk of injury in the
event of an accident.<
Adjusting the height
>To move up: pull up.
>To move down: press button1 and push
the head restraint downward.
M Sports seat*
The head restraints are integrated in the back-
rests and cannot be adjusted in height.
Removal
1.Pull up all the way.
2.Press button1 and pull out the head
restraint completely.
M Sports seat*
The head restraints are integrated in the back-
rests and cannot be removed.
Seat memory*
You can store and recall three different driver's
seat positions.
Storing
Ignition key in position 1 or higher
1.Adjust seat to desired position.
2.Press the M
EMORY button.
The LED in the button lights up.
3.Press memory button 1, 2 or 3.
The LED goes out.
Manual call-up
Do not select a memory position while the
vehicle is moving. If you do, there is a risk
of accident from an unexpected movement of
the seat.<
Page 35 of 128
Reference
At a glance
Controls
Driving tips
Mobility
33
Convenience function
1.Unlock and open the driver's door or turn
the key to position 1, refer to page38.
2.Press memory button 1, 2 or 3 briefly.
Movement stops immediately when one of the
seat adjustment or memory buttons is operated
during the adjustment process.
You can have this feature programmed so
that after you use the remote control from
your personalized key to unlock your door, your
seat will move into your own preferred posi-
tion.<
Safety function
1.Close the driver's door and turn the key to
position 0 or 2.
2.Press the desired memory button 1, 2 or 3
until the adjustment process is completed.
If you press the M
EMORY button accidentally:
Press the button again; the LED goes out.
Before activating the programmed
adjustment feature, ensure that the space
behind the driver's seat is empty and unob-
structed. If you fail to do so, objects behind the
seat could be damaged, should the seat move
backward.<
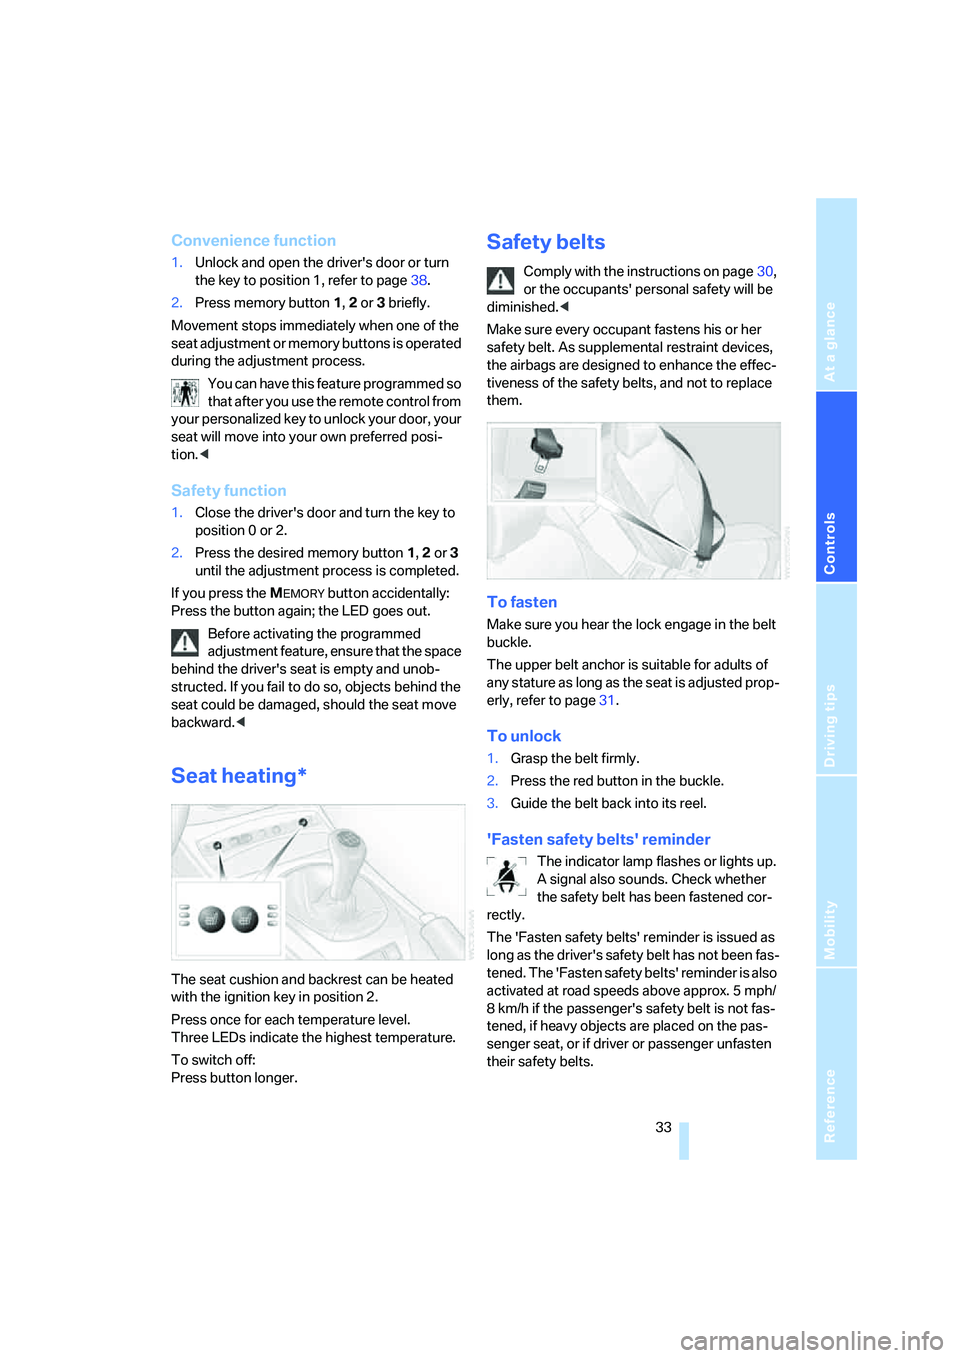
Seat heating*
The seat cushion and backrest can be heated
with the ignition key in position 2.
Press once for each temperature level.
Three LEDs indicate the highest temperature.
To switch off:
Press button longer.
Safety belts
Comply with the instructions on page30,
or the occupants' personal safety will be
diminished.<
Make sure every occupant fastens his or her
safety belt. As supplemental restraint devices,
the airbags are designed to enhance the effec-
tiveness of the safety belts, and not to replace
them.
To fasten
Make sure you hear the lock engage in the belt
buckle.
The upper belt anchor is suitable for adults of
any stature as long as the seat is adjusted prop-
erly, refer to page31.
To unlock
1.Grasp the belt firmly.
2.Press the red button in the buckle.
3.Guide the belt back into its reel.
'Fasten safety belts' reminder
The indicator lamp flashes or lights up.
A signal also sounds. Check whether
the safety belt has been fastened cor-
rectly.
The 'Fasten safety belts' reminder is issued as
long as the driver's safety belt has not been fas-
tened. The 'Fasten safety belts' reminder is also
activated at road speeds above approx. 5 mph/
8 km/h if the passenger's safety belt is not fas-
tened, if heavy objects are placed on the pas-
senger seat, or if driver or passenger unfasten
their safety belts.
Page 44 of 128

Driving
42 the transmission can cool down again. You can
continue your journey, but moderate your
speed and exercise due caution.
Have the system checked immediately.
Yellow warning lamp
The transmission system is malfunc-
tioning. Avoid heavy loads.
All of the selector lever positions can
continue to be engaged; in the forward drive
positions, however, the vehicle will be operating
in a restricted gear range only.
Have the system checked as soon as possible.
Instructions on towing, tow-starting and jump-
starting begin on page99.
Driving Dynamic Control
At the touch of a button, Driving Dynamic Con-
trol enables you to drive your BMW in an even
sportier style:
>The engine responds more spontaneously
to any motion of the accelerator pedal.
>The vehicle is steered more directly and
traction is enhanced.
>Cruise control
*:
The stored speed is achieved more quickly
when called up.
In addition with automatic transmission:
>The Sport program is activated.
To activate the system
Press the SPORT button while the key is in
position 2.
The LED in the button lights up.
To deactivate the system
Press the SPORT button again.
The LED in the button goes out.
Turn signal indicators/
Headlamp flasher
1High beams
2Headlamp flasher
3Turn signal indicators
Unusually rapid flashing of the indica-
tor lamp indicates that a turn signal
indicator has failed.<
To signal briefly
Press the lever as far as the resistance point for
as long as you wish to indicate a turn.
Triple turn signal activation
Press the lever as far as the resistance point.
The turn signals flash three times.
If you wish, you can have this function
activated.<
Page 49 of 128

Reference
At a glance
Controls
Driving tips
Mobility
47
Reserve
Once the fuel level has fallen to the reserve
zone of approx. 2.1 US gallons/8 liters, indicator
lamp 1 lights up continuously.
Do not drive until the fuel tank is empty
and refill it well in advance. Otherwise the
engine may not operate properly and damage
could result.<
When you switch on the ignition, the indicator
lamp comes on briefly to indicate an operational
check.
Engine coolant temperature
gauge
Blue
The engine is still cold. Drive at moderate
engine and vehicle speeds.
Between the blue and red zones
Normal operating range. The needle may rise as
far as the edge of the red sector during normal
operation.
Red
When you switch on the ignition, warning
lamp1 comes on briefly to indicate an opera-
tional check.
Comes on while driving:
The engine has overheated. Stop and switch
the engine off immediately and allow it to cool
down.
For checking the coolant level, refer to page89.
Service interval display
The remaining driving distance in miles/km until
the next scheduled service is displayed briefly
immediately after you start the engine or switch
on the ignition.
The words OILSERVICE or INSPECTION indi-
cate the type of service due next. The computer
bases its calculations of the remaining driving
distance on the preceding driving style.
A flashing message and a minus sign in front of
the number mean that the service interval has
already been exceeded by the number of miles/
kilometers shown on the display. Please sched-
ule an appointment with your BMW Center or a
workshop that works according to BMW repair
procedures with correspondingly trained per-
sonnel.
The extent of service work required can
be read out from the remote control by
your BMW Service Advisor.<
Clock
If you wish to have a permanent time display,
you can have it appear in the car radio display,
refer to the Owner's Manual for Radio.
You can set the time and the time display in the
car radio as follows.
Page 51 of 128
Reference
At a glance
Controls
Driving tips
Mobility
49
Technology for driving comfort and safety
Driving stability control
systems
Your BMW is equipped with a series of systems
that help maintain driving stability even in
adverse driving situations.
Antilock Brake System ABS
ABS keeps the wheels from locking during
braking. Steering stability is maintained even
during full brake applications. In this way, active
safety is enhanced.
ABS is operational each time the engine is
started. Braking safely, refer to page71.
Electronic brake-force distribution
The system controls brake-force application at
the rear wheels in order to obtain increased sta-
bility in the vehicle's braking response.
Dynamic Brake Control DBC
When you apply the brakes rapidly, this system
automatically produces the maximum braking
force boost and thus helps to achieve the short-
est possible braking distance during full brak-
ing. At the same time, the benefits of the ABS
are also exploited.
As long as you want full braking to continue, do
not reduce pressure on the brake.
Dynamic Stability Control DSC
DSC prevents slip at the drive wheels while
starting off and accelerating the vehicle. DSC
also recognizes unstable vehicle conditions,
such as fishtailing or nose-diving. In these
cases, and subject to physical limits, DSC helps
to keep the vehicle on a steady course by
reducing engine speed and by applying brakes
at individual wheels.
The laws of physics cannot be repealed
even with DSC. It will always be the
driver's responsibility to drive in a manner that
matches road conditions. Therefore, do not limit the additional safety margin by practicing
risky driving.<
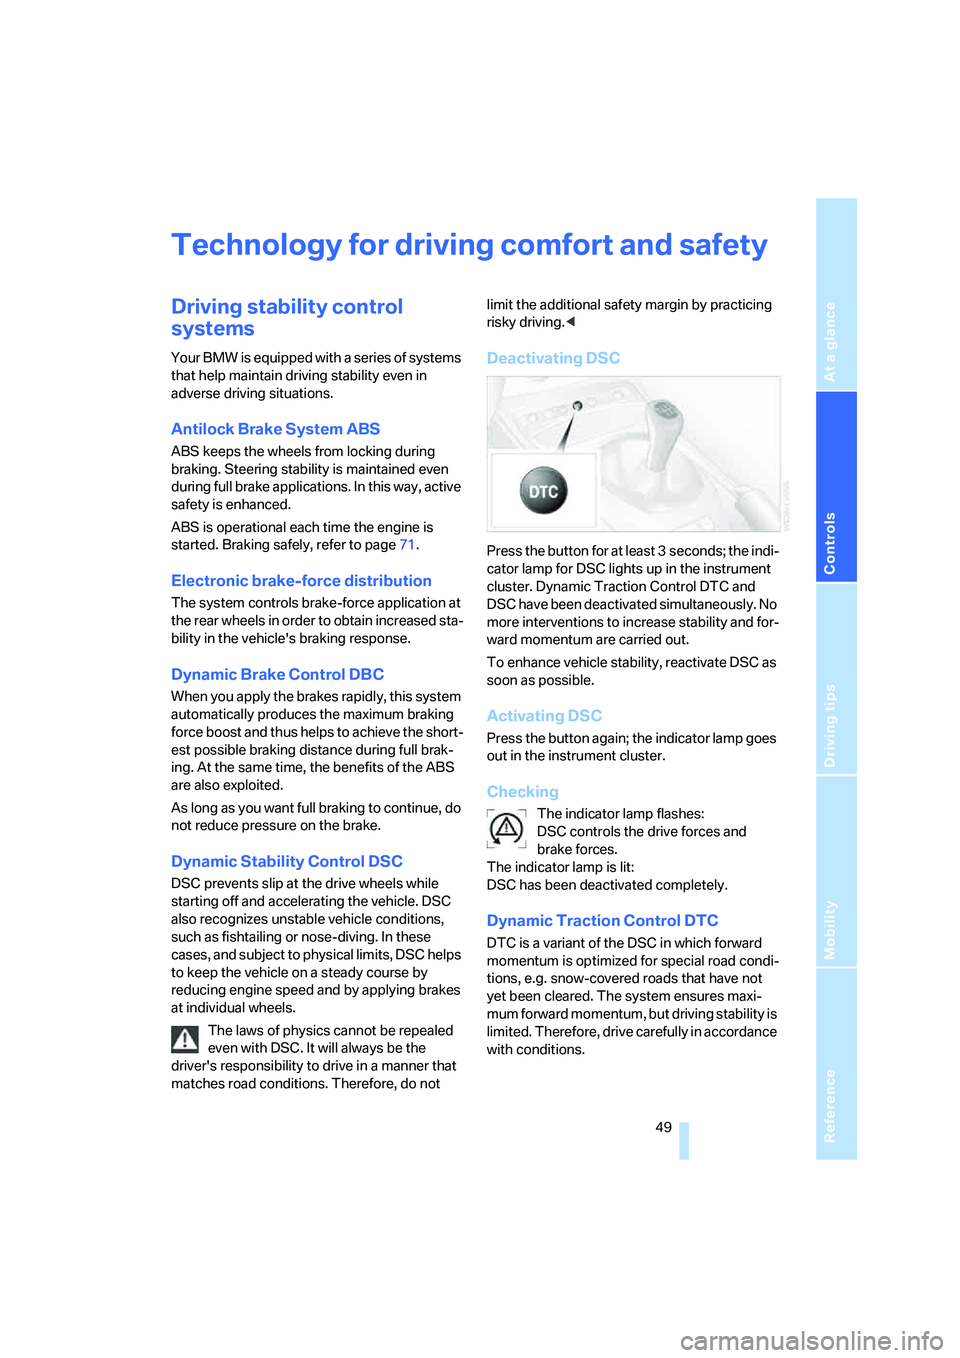
Deactivating DSC
Press the button for at least 3 seconds; the indi-
cator lamp for DSC lights up in the instrument
cluster. Dynamic Traction Control DTC and
DSC have been deactivated simultaneously. No
more interventions to increase stability and for-
ward momentum are carried out.
To enhance vehicle stability, reactivate DSC as
soon as possible.
Activating DSC
Press the button again; the indicator lamp goes
out in the instrument cluster.
Checking
The indicator lamp flashes:
DSC controls the drive forces and
brake forces.
The indicator lamp is lit:
DSC has been deactivated completely.
Dynamic Traction Control DTC
DTC is a variant of the DSC in which forward
momentum is optimized for special road condi-
tions, e.g. snow-covered roads that have not
yet been cleared. The system ensures maxi-
mum forward momentum, but driving stability is
limited. Therefore, drive carefully in accordance
with conditions.
Page 52 of 128
Technology for driving comfort and safety
50 In the following exceptional circumstances, it
may be effective to activate the DTC for a short
period:
>When driving on snow-covered grades, in
slush or on uncleared, snow-covered roads
>When rocking the vehicle or starting off in
deep snow or on loose surfaces
>When driving with snow chains
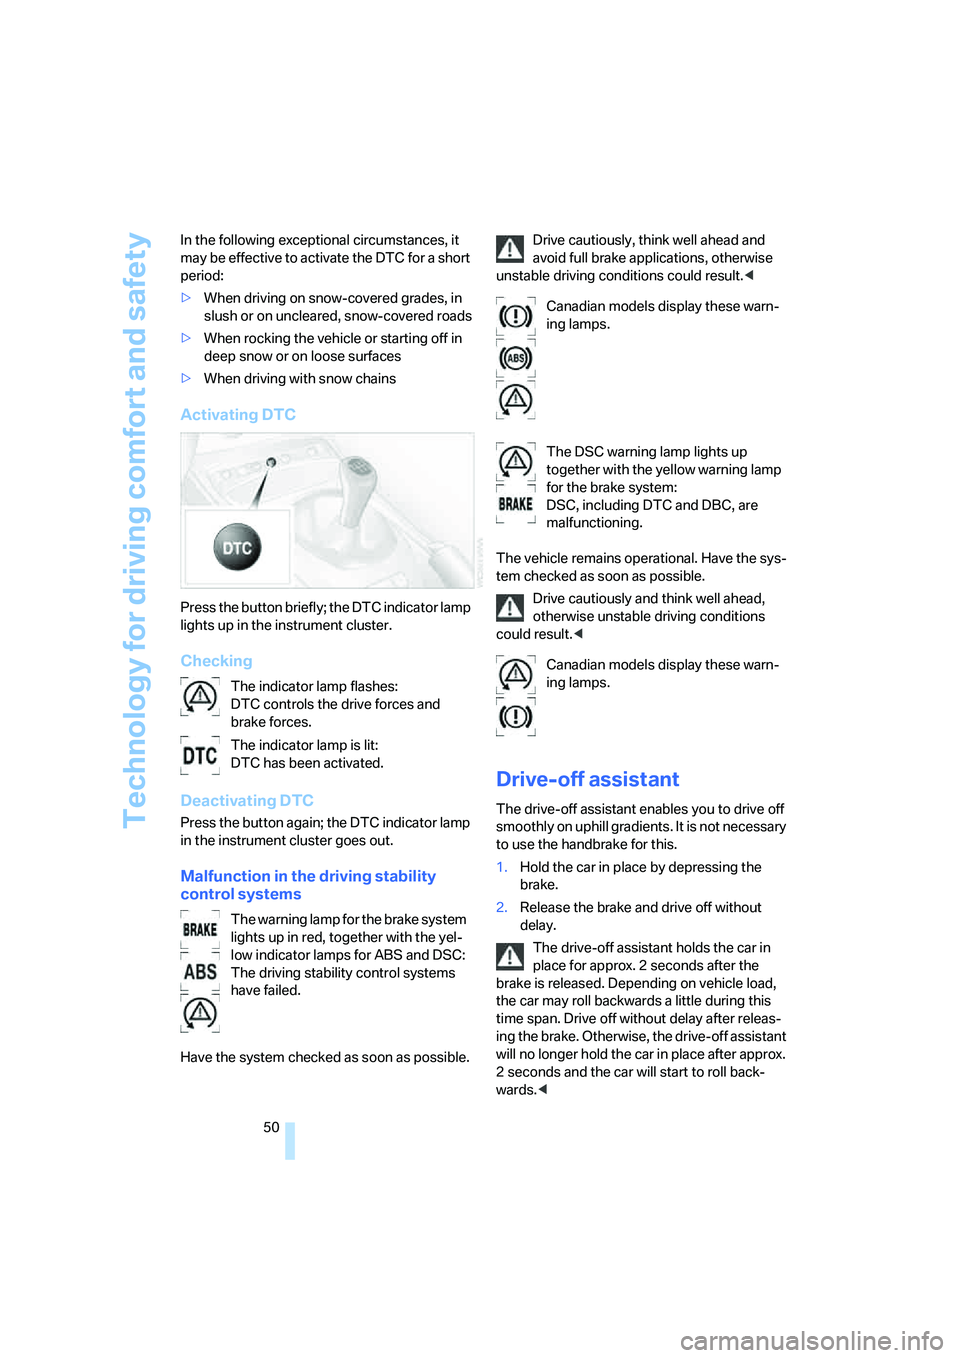
Activating DTC
Press the button briefly; the DTC indicator lamp
lights up in the instrument cluster.
Checking
Deactivating DTC
Press the button again; the DTC indicator lamp
in the instrument cluster goes out.
Malfunction in the driving stability
control systems
Have the system checked as soon as possible.Drive cautiously, think well ahead and
avoid full brake applications, otherwise
unstable driving conditions could result.<
The vehicle remains operational. Have the sys-
tem checked as soon as possible.
Drive cautiously and think well ahead,
otherwise unstable driving conditions
could result.<
Drive-off assistant
The drive-off assistant enables you to drive off
smoothly on uphill gradients. It is not necessary
to use the handbrake for this.
1.Hold the car in place by depressing the
brake.
2.Release the brake and drive off without
delay.
The drive-off assistant holds the car in
place for approx. 2 seconds after the
brake is released. Depending on vehicle load,
the car may roll backwards a little during this
time span. Drive off without delay after releas-
ing the brake. Otherwise, the drive-off assistant
will no longer hold the car in place after approx.
2 seconds and the car will start to roll back-
wards.< The indicator lamp flashes:
DTC controls the drive forces and
brake forces.
The indicator lamp is lit:
DTC has been activated.
The warning lamp for the brake system
lights up in red, together with the yel-
low indicator lamps for ABS and DSC:
The driving stability control systems
have failed.
Canadian models display these warn-
ing lamps.
The DSC warning lamp lights up
together with the yellow warning lamp
for the brake system:
DSC, including DTC and DBC, are
malfunctioning.
Canadian models display these warn-
ing lamps.