Page 68 of 160

ponents are not designed to
withstand. Damage caused in
this way is not covered by the
warranty.
Do not tamper with the
control unit of the electronic
engine-management
system.ChecklistUse the following checklist
to check important functions,
settings and wear limits be-
fore you ride off.Brakes
Brake-fluid levels, front and
rear
Clutch
Clutch fluid level
Shock absorber setting and
spring preload
Tyre-tread depth and tyre
pressures Cases correctly installed
and luggage secured
At regular intervals: Engine oil level (every refuel-
ling stop)
Brake-pad wear (every third
refuelling stop)
StartingSide standYou cannot start the motor-
cycle with the side stand ex-
tended and a gear engaged.
The engine will switch itself off
if you start it with the gearbox
in neutral and then engage a
gear before retracting the side
stand.GearboxYou can start the engine
when the gearbox is in neutral
or if you pull the clutch with
a gear engaged. Do not pull
the clutch until after you have switched on the ignition, as
otherwise the engine will
refuse to start. When the
gearbox is in neutral, the
green neutral telltale light is
on and the gear indicator
in the multifunction display
shows N.
Start the engineKill switch
1in run posi-
tion A.
Switch on the ignition.
Pre-ride check is
performed. ( 67)
566zRiding
Page 69 of 160

with OE BMW Motorrad
Integral ABS:Switch on the ignition.
Pre-ride check is
performed. ( 67)
ABS self-diagnosis is per-
formed. ( 68)
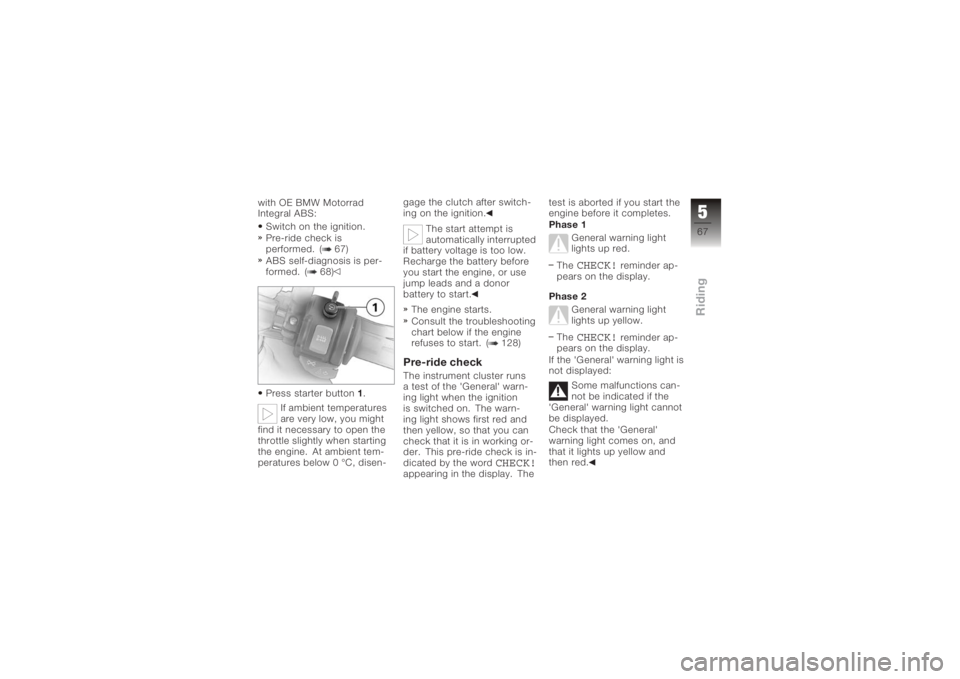
Press starter button 1.
If ambient temperatures
are very low, you might
find it necessary to open the
throttle slightly when starting
the engine. At ambient tem-
peratures below 0 °C, disen- gage the clutch after switch-
ing on the ignition.
The start attempt is
automatically interrupted
if battery voltage is too low.
Recharge the battery before
you start the engine, or use
jump leads and a donor
battery to start.
The engine starts.
Consult the troubleshooting
chart below if the engine
refuses to start. ( 128)
Pre-ride checkThe instrument cluster runs
a test of the 'General' warn-
ing light when the ignition
is switched on. The warn-
ing light shows first red and
then yellow, so that you can
check that it is in working or-
der. This pre-ride check is in-
dicated by the word
CHECK!
appearing in the display. The test is aborted if you start the
engine before it completes.
Phase 1
General warning light
lights up red.
The
CHECK!
reminder ap-
pears on the display.
Phase 2 General warning light
lights up yellow.
The
CHECK!
reminder ap-
pears on the display.
If the 'General' warning light is
not displayed:
Some malfunctions can-
not be indicated if the
'General' warning light cannot
be displayed.
Check that the 'General'
warning light comes on, and
that it lights up yellow and
then red.
567zRiding
Page 70 of 160

Have the fault rectified as
quickly as possible by a
specialist workshop, prefer-
ably an authorised BMW
Motorrad dealer.ABS self-diagnosis
OE
BMW Motorrad Integral ABS
performs self-diagnosis to en-
sure its operability. Self-dia-
gnosis is performed automat-
ically when you switch on the
ignition. The motorcycle has
to move forward at a speed
above 5 km/h for the wheel
sensors to be tested.
Phase 1Test of the diagnosis-com-
patible system components
with the motorcycle at a
standstill. ABS warning light
flashes. Possible national variant
of the ABS warning light.
Phase 2 Test of the wheel sensors
as the motorcycle pulls
away from rest. ABS warning light
flashes.
Possible national variant
of the ABS warning light.
ABS self-diagnosis
completed The ABS warning light goes
out.
If an indicator showing an
ABS fault appears when ABS
self-diagnosis completes: You can continue to ride.
Bear in mind that neither
the ABS function nor the
integral braking function is
available. Have the fault rectified as
quickly as possible by a
specialist workshop, prefer-
ably an authorised BMW
Motorrad dealer.
Running inThe first 1000 kmWhile running in the mo-
torcycle, vary the throttle
opening and engine-speed
range frequently.
Try to do most of your rid-
ing during this initial period
on twisting, fairly hilly roads,
avoiding high-speed main
roads and highways if pos-
sible.
Exceeding the specified
engine speeds while run-
ning in will lead to increased
engine wear.
Keep to the specified engine
speeds for running in.
568zRiding
Page 73 of 160

Excessive movements
could cause the centre
stand to retract, and the mo-
torcycle would topple in con-
sequence.
Do not lean or sit on the mo-
torcycle with the centre stand
extended.
Check that the motorcycle
is standing firmly.
Lock the steering lock.
Remove the motorcycle
from centre stand
OA
Unlock the steering lock.
Place your left hand on the
left handlebar grip.
With your right hand, grip
the rear grab handle or the
rear frame.
Push the motorcycle for-
ward off the centre stand.
Check that the centre stand
has fully retracted.
Refuelling
Fuel is highly flammable.
A naked flame close to
the fuel tank can cause a fire
or explosion.
Do not smoke. Never bring
a naked flame near the fuel
tank.
Fuel expands when hot.
Fuel escaping from an
overfilled tank could make its
way onto the rear tyre. This
could cause a fall.
Do not fill the tank past the
bottom edge of the filler
neck.
Fuel attacks plastics,
which become dull or
unsightly.
Wipe off plastic parts immedi-
ately if they come into contact
with fuel. Leaded fuel will destroy
the catalytic converter.
Use only unleaded fuel.
Make sure the ground is
level and firm and place the
motorcycle on its stand.
Open the protective cap.
Open the fuel tank cap with
the ignition key by turning it
counter-clockwise.
Refuel with fuel of the grade
stated below; do not fill the
tank past the bottom edge
of the filler neck.
571zRiding
Page 82 of 160

General instructionsBMW Motorrad recommends
the use of parts and ac-
cessories for your motorcycle
that are approved by BMW for
this purpose.
Genuine BMW parts and ac-
cessories and other products
which BMW has approved
can be obtained from your
authorised BMW Motorrad
dealer, together with expert
advice on their installation
and use.
These parts and products
have been tested by BMW for
safety, function and suitability.
BMW accepts product liability
for them.
Conversely, BMW is unable
to accept any liability whatso-
ever for parts and accessor-
ies which it has not approved.BMW Motorrad cannot
assess each non-BMW
product to determine whether
it can be used on or in con-
nection with BMW motor-
cycles without constituting
a safety hazard. Country-
specific official authorisa-
tion does not suffice as as-
surance. Tests conducted
by these instances cannot
make provision for all operat-
ing conditions experienced by
BMW motorcycles and, con-
sequently, they are not suffi-
cient in some circumstances.
Use only parts and accessor-
ies approved by BMW for
your motorcycle.
Whenever you are planning
modifications, comply with all
the legal requirements. Make
sure that the motorcycle does
not infringe national road-
vehicle construction and use
regulations.
Power socketRatingsThe supply to standard sock-
et 1and the extra socket (OA)
is cut off automatically if bat-
tery voltage is low or the load
exceeds the maximum for the
two sockets.Operating electrical
accessoriesYou can start using electrical
accessories only when the ig-
nition is switched on. The ac-
cessory remains operational
if the ignition is subsequently
680zAccessories
Page 83 of 160

switched off. In order to en-
sure that the drain on the on-
board power supply system is
minimised, the supply to the
power socket is cut off ap-
proximately 15 minutes after
the ignition is switched off,
and it is also temporarily in-
terrupted during the start pro-
cedure.Cable routingThe cables from the power
socket to the auxiliary device
must be routed in such a way
that they:Do not impede the rider
Do not restrict or obstruct
the steering angle and
handling characteristics
Cannot be trapped
Incorrectly routed cables
can impede the rider.
Route the cables as
described above.
LuggageCorrect loading
Overloading and imbal-
anced loads can ad-
versely affect the motorcycle's
handling.
Do not exceed the permiss-
ible gross weight and be sure
to comply with the instruc-
tions on loading.
The maximum speed recom-
mended for riding with loaded
cases is 180 km/h.
Set spring preload, damping
characteristic and tyre pres-
sures to suit total weight.
Ensure that the case
volumes on the left and right
are equal.
Make sure that the weight
is uniformly distributed
between right and left. Pack heavy items at the
bottom and toward the in-
board side.
Max. load in each case (left
and right): 8 kg.
Max. load in tank rucksack
5 kg.
Case
OA
Release leversEach case has two levers,
one on each side of the lock.
The grey lever marked OPEN
is for opening and closing the
case.
The black lever marked RE-
LEASE is for removing and
attaching the case.
681zAccessories
Page 90 of 160
the motorcycle on its centre
stand.
Allow the engine to idle for
one minute.
Switch off the ignition.
Check the oil level in oil-
level indicator1. Engine oil, specified
level
Between MIN and MAX
marks
If the oil level is below the
MIN mark: Top up the engine oil.
If the oil level is above the
MAX mark: Drain off the engine oil.
Top up the engine oilMake sure the ground is
level and firm and place the
motorcycle on its stand.
Removing the seat ( 54)
Damage to the engine
can result if it is oper-
ated without enough oil, but
the same also applies if the oil
level is too high.
Always make sure that the oil
level is correct.
Wipe the area around the
filler neck clean.
788zMaintenance
Page 110 of 160
Make sure the ground is
level and firm and place the
motorcycle on its stand.
Switch off the ignition.
Remove cover1(high-beam
headlight) or cover 2(low-
beam headlight) by turning
cover counter-clockwise. Disconnect plug
3.
Disengage spring clip 4
from the latches and swing
it up. The spring clip might
face in a direction oth-
er than that shown here, de-
pending on the light.
Remove bulb 5.
Replace the defective bulb.
High-beam headlight
bulb
H7/12V/55W Low-beam headlight
bulb
H7/12V/55W
7108zMaintenance