Page 86 of 170
86
Brake force displayBrake force display indicates to the
road users behind you how hard you
are braking.
>Normal braking: the brake lamps
among the rear lamps and the center
brake lamp light up
>Hard braking or braking with ABS: in
addition, the illuminated rear lamp
surface is extended, refer to the pic-
ture.
Page 87 of 170

87 Lamps
Parking lamps/Low beamsParking lamps
The front, rear and side vehicle
lighting is switched on. You can
use this to signal the position of
the vehicle when it is parked. For light-
ing on one side for parking as an addi-
tional feature refer to page 88.
Low beams
When you switch the ignition off
with the low-beam headlamps
on, only the parking lamps will
remain on.
Follow me home lampsWhen you activate the headlamp
flasher after parking the vehicle and
switching off the lights, the low beams
will come on for a brief period.
You can also have this function
deactivated.<
LIGHTS ON warningWhenever you open the driver's door
after having turned the ignition key to
position 0, you will hear an acoustic
signal for a few seconds to remind you
that the lamps have not been switched
off.Daytime driving lamps*If you desire, the light switch can be left
in the low-beam position: when the
ignition is switched off, the external
lighting is also switched off.
When required, switch on the parking
lamps as usual as described under
Parking lamps.
You can have the activation set-
tings for the daytime driving lamps
programmed on your vehicle.
When the switch is in this posi-
tion the system automatically
responds to changes in ambient
light, for example in tunnels, at dusk
and when it is raining or snowing, by
switching the low beams on or off.
The low-beam headlamps remain
on, regardless of the ambient
light, when you switch on the fog
lamps.<
Automatic headlamp control can-
not serve as a substitute for your
personal judgement in determining
when the lamps should be switched on.
For example, the sensors are not able
to detect fog. In such situations switch
on the lamp manually, as otherwise a
safety hazard will result.<
You can have the sensitivity of
your vehicle's automatic head-
lamp control adjusted.<
OverviewControlsMaintenanceRepairsDataIndex
Page 88 of 170
88
Instrument lightingTurn the rotary dial with the parking/low
beam lamps on to adjust the illumina-
tion intensity.
High beams/Standing lamps1High beams
2Headlamp flasher
3Standing lampsStanding lamps, left or rightAs an additional feature, you can illumi-
nate your vehicle on either side for
parking, if you wish to do so:
With the ignition key in position 0, push
the lever in the appropriate direction.
The lever engages in the turn signal
position.
The standing lamps discharge the
battery. Avoid using them for
longer periods of time; otherwise, you
may not be able to start the engine.<
Page 89 of 170

89
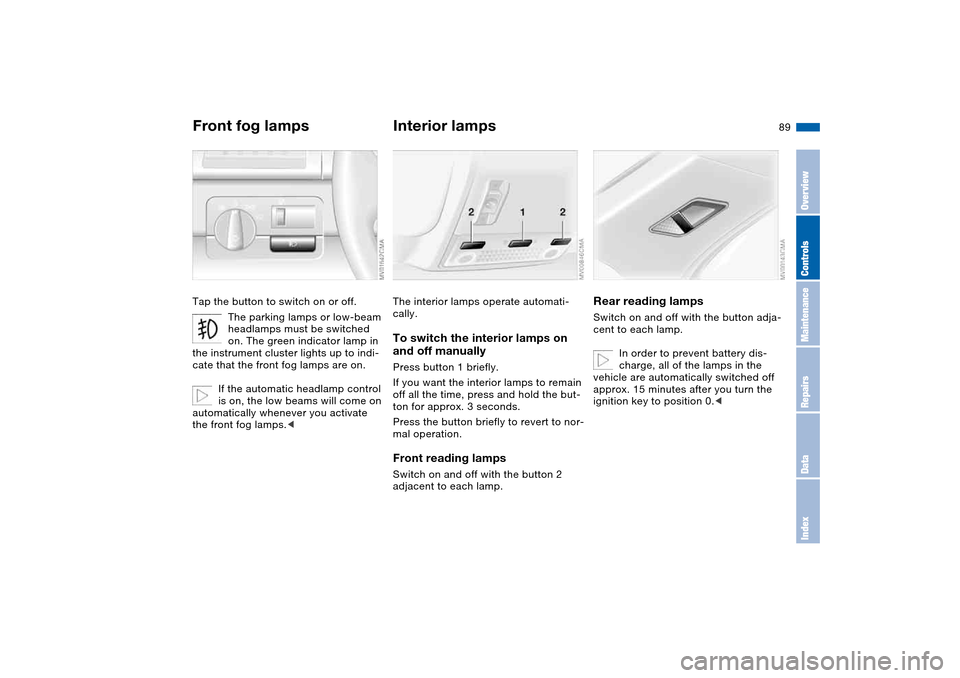
Front fog lampsTap the button to switch on or off.
The parking lamps or low-beam
headlamps must be switched
on. The green indicator lamp in
the instrument cluster lights up to indi-
cate that the front fog lamps are on.
If the automatic headlamp control
is on, the low beams will come on
automatically whenever you activate
the front fog lamps.<
Interior lampsThe interior lamps operate automati-
cally.To switch the interior lamps on
and off manuallyPress button 1 briefly.
If you want the interior lamps to remain
off all the time, press and hold the but-
ton for approx. 3 seconds.
Press the button briefly to revert to nor-
mal operation.Front reading lampsSwitch on and off with the button 2
adjacent to each lamp.
Rear reading lampsSwitch on and off with the button adja-
cent to each lamp.
In order to prevent battery dis-
charge, all of the lamps in the
vehicle are automatically switched off
approx. 15 minutes after you turn the
ignition key to position 0.<
OverviewControlsMaintenanceRepairsDataIndex
Page 95 of 170
95 Interior conveniences
Premium sound system*Harman Kardon premium sound
systemWhen the system is activated, the
impression of a significantly larger pas-
senger compartment is created at all
seating areas, together with an
improvement of the stereo effect.
The system responds to poor reception
conditions by repeatedly alternating
between the stereo and monophonic
modes. You should then switch the sys-
tem off.
Glove compartmentTo openPull the handle. The glove compartment
will light up.To closeFold up cover.
To prevent injury in the event of an
accident, close the glove com-
partment immediately after use.
master key can also be used for unlock-
ing.
OverviewControlsMaintenanceRepairsDataIndex
Page 98 of 170

98
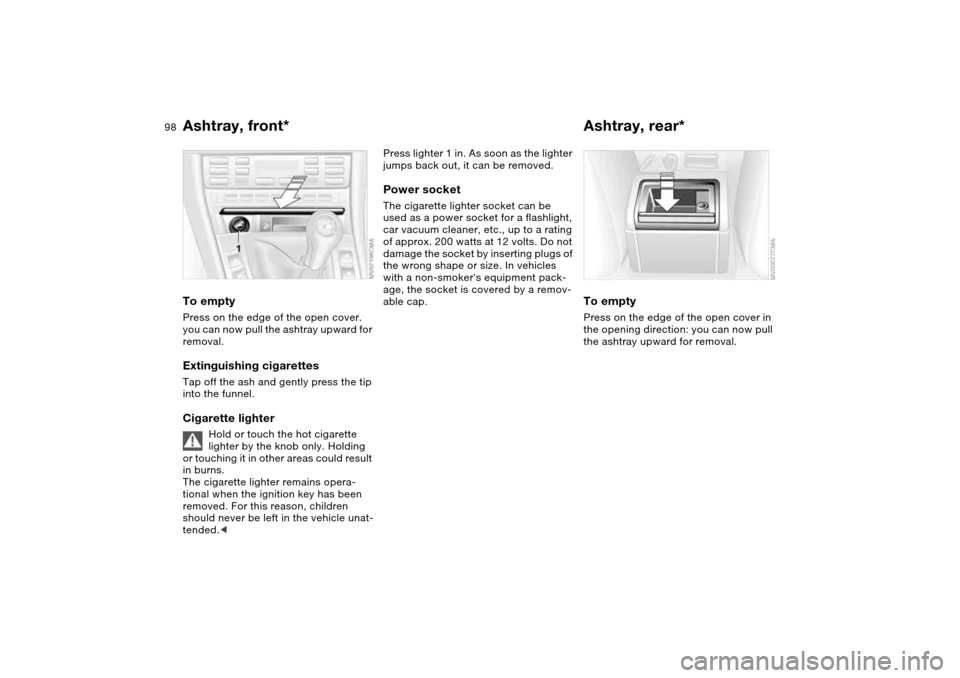
Ashtray, front*To emptyPress on the edge of the open cover.
you can now pull the ashtray upward for
removal.Extinguishing cigarettesTap off the ash and gently press the tip
into the funnel.Cigarette lighter
Hold or touch the hot cigarette
lighter by the knob only. Holding
or touching it in other areas could result
in burns.
The cigarette lighter remains opera-
tional when the ignition key has been
removed. For this reason, children
should never be left in the vehicle unat-
tended.<
Press lighter 1 in. As soon as the lighter
jumps back out, it can be removed.Power socketThe cigarette lighter socket can be
used as a power socket for a flashlight,
car vacuum cleaner, etc., up to a rating
of approx. 200 watts at 12 volts. Do not
damage the socket by inserting plugs of
the wrong shape or size. In vehicles
with a non-smoker's equipment pack-
age, the socket is covered by a remov-
able cap.
Ashtray, rear*To emptyPress on the edge of the open cover in
the opening direction: you can now pull
the ashtray upward for removal.
Page 100 of 170
100Loading and transporting
Through-loading systemFolding the rear backrest1. Pull the corresponding lever to
release
2. The backrest moves forward slightly
when released. Reach into the gap
and fold it down.
When folding the backrest back
into its original position always
ensure that the detent engages
securely. A loose backrest might fail to
prevent cargo from entering the pas-
senger compartment during sudden
braking or evasive maneuvers, posing a
potential hazard to occupants.<
Rear center 3-point safety belt*You can roll up the rear 3-point belt
before folding back the through-loading
system:
>Retracting the 3-point-safety belt:
Loosen the safety belt and insert the
buckle latch into the support mount
provided on the rear window shelf.
Page 104 of 170

104
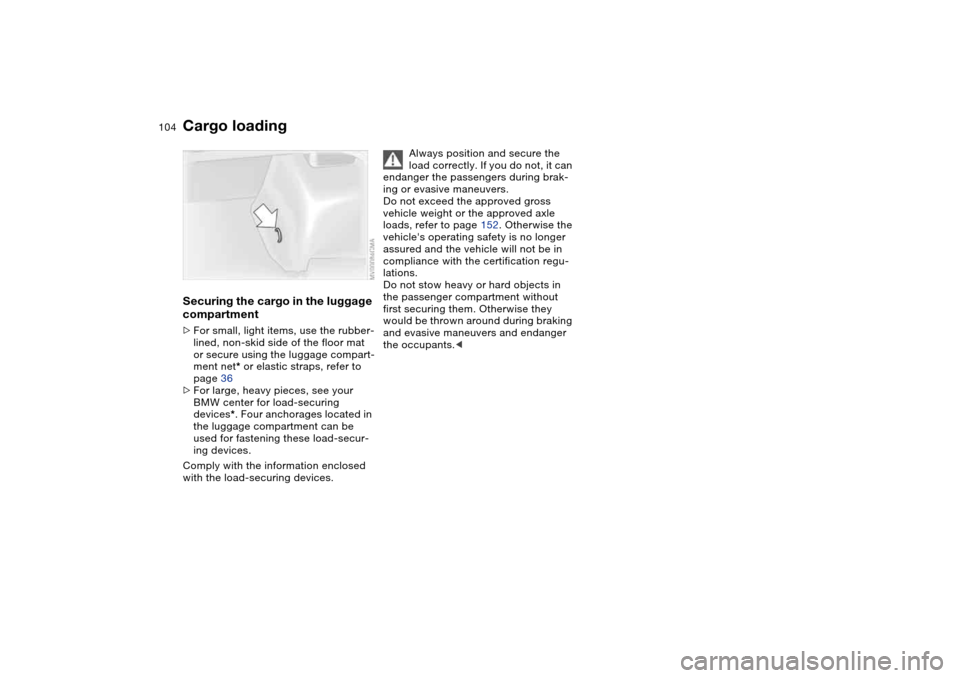
Securing the cargo in the luggage
compartment >For small, light items, use the rubber-
lined, non-skid side of the floor mat
or secure using the luggage compart-
ment net* or elastic straps, refer to
page 36
>For large, heavy pieces, see your
BMW center for load-securing
devices*. Four anchorages located in
the luggage compartment can be
used for fastening these load-secur-
ing devices.
Comply with the information enclosed
with the load-securing devices.
Always position and secure the
load correctly. If you do not, it can
endanger the passengers during brak-
ing or evasive maneuvers.
Do not exceed the approved gross
vehicle weight or the approved axle
loads, refer to page 152. Otherwise the
vehicle's operating safety is no longer
assured and the vehicle will not be in
compliance with the certification regu-
lations.
Do not stow heavy or hard objects in
the passenger compartment without
first securing them. Otherwise they
would be thrown around during braking
and evasive maneuvers and endanger
the occupants.<
Cargo loading