2006 BMW 325XI SPORTS WAGON change wheel
[x] Cancel search: change wheelPage 4 of 236

Reference
At a glance
Controls
Driving tips
Communications
Navigation
Entertainment
Mobility
Contents
The fastest way to find information on a partic-
ular topic or item is by using the index, refer to
page218.
Using this Owner's Manual
4Notes
6Reporting safety defects
At a glance
10Cockpit
16iDrive
22Voice command system
Controls
28Opening and closing
41Adjustments
50Transporting children safely
53Driving
67Everything under control
81Technology for driving comfort and
safety
90Lamps
94Climate
100Practical interior accessories
Driving tips
112Things to remember when driving
Navigation
120Starting the navigation system
121Destination entry
132Destination guidance
137What to do if …
Entertainment
140On/off and settings
144Radio
152CD player and CD changer
158External audio device
Communications
162Telephoning
174TeleService, BMW Assist
Mobility
182Refueling
184Wheels and tires
190Under the hood
195Maintenance
197Replacing components
203Giving and receiving assistance
Reference
210Technical data
214Short commands for the voice command
system
218Everything from A - Z
Page 24 of 236
At a glance
23Reference
Controls
Driving tips
Communications
Navigation
Entertainment
Mobility
If no further commands are possible, continue
by operating the item of equipment via iDrive.
Terminating or canceling voice
command system
Press the button on the steering wheel or in
the center console
or
Commands
Having the possible commands read
aloud
You can have the system read aloud the possi-
ble commands related to the selected menu
item on the Control Display.
To have the possible commands read out to
you:
For instance, if you have selected "CD", the
commands available for operating the CD
player and CD changer are read out.
Opening help
Using alternative commands
There are often a number of commands to run a
function, e.g.:
Calling up functions immediately via
short commands
Short commands enable you to perform certain
functions immediately, irrespective of which
menu item is selected, refer to page214.
Opening the start menu
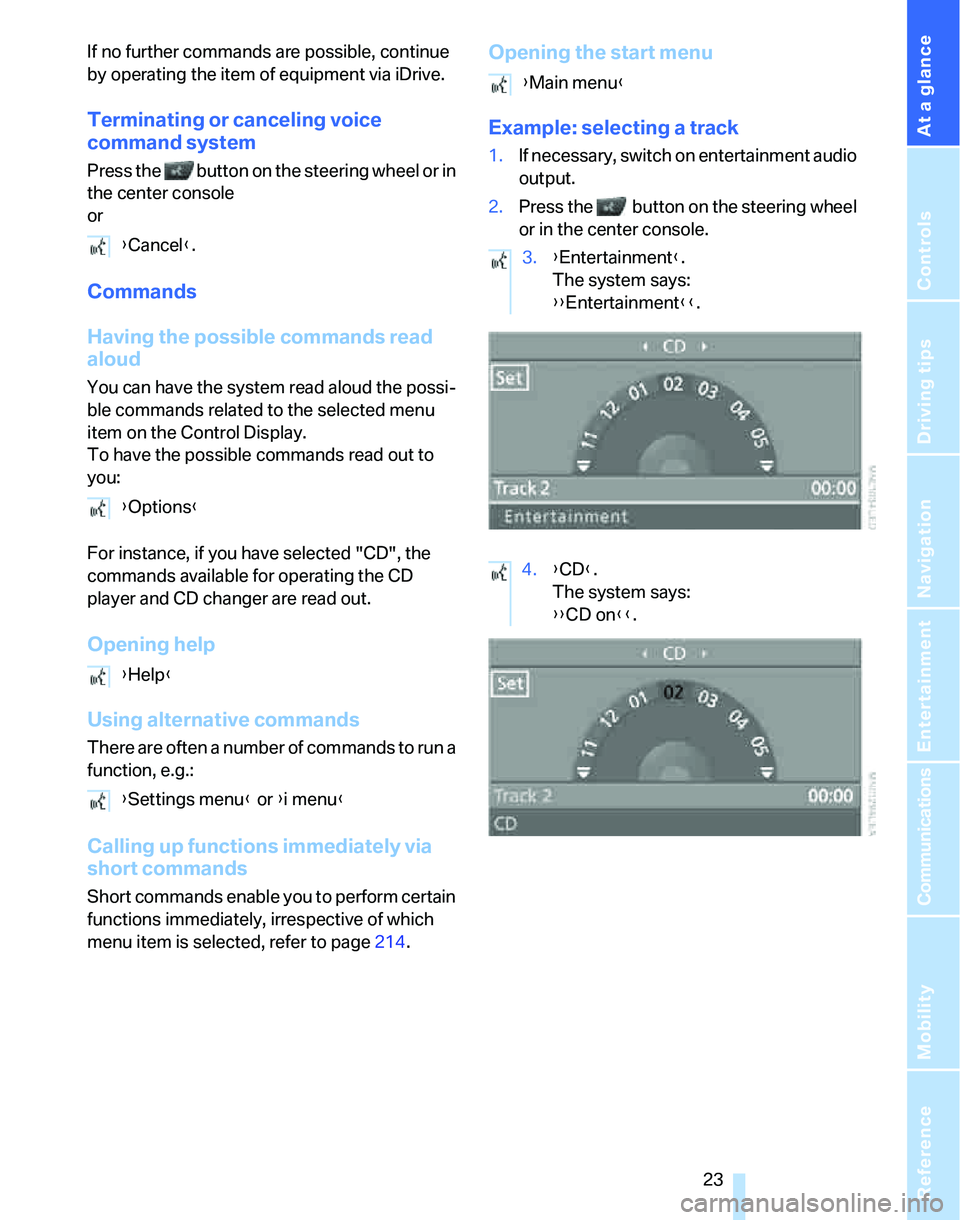
Example: selecting a track
1.If necessary, switch on entertainment audio
output.
2.Press the button on the steering wheel
or in the center console.
{Cancel}.
{Options}
{Help}
{Settings menu} or {i menu}
{Main menu}
3.{Entertainment}.
The system says:
{{Entertainment}}.
4.{CD}.
The system says:
{{CD on}}.
Page 30 of 236

Controls
29Reference
At a glance
Driving tips
Communications
Navigation
Entertainment
Mobility
Take the adapter out of the bracket on the
inside of the glove compartment and slide the
spare key into the adapter before using it.
Personal Profile
The concept
You can set many of your BMW's functions to
suit your personal needs and preferences.
Without any action on your part, Personal Pro-
file ensures that most of these settings are
stored for the remote control currently in use.
When you unlock the car, the remote control
used for the purpose is recognized and the set-
tings stored for it are called up and imple-
mented.
This means that your personal settings are
active when you return to your BMW, even if the
car was used in the meantime by someone else
with a remote control of their own and the set-
tings were changed accordingly.
You can configure a maximum of three remote
controls for three different people. The prereq-
uisite for this is that each person has his or her
own remote control.
Personal Profile settings
For more information on specific settings, refer
to the specified pages.
>Response of the central locking system
when the car is unlocked, refer to page30
>Automatic locking of the vehicle, refer to
page32
>Automatic call-up
* of the driver's-seat and
exterior-mirror positions after unlocking,
refer to page44>Functions assigned to the programmable
buttons
* on the steering wheel, refer to
page48
>12h/24h mode of the clock, refer to page76
>Date format, refer to page77
>Brightness of the Control Display, refer to
page80
>Language on the Control Display, refer to
page80
>Units of measure for fuel consumption, dis-
tance covered/remaining distances, and
temperature, refer to page71
>Show visual warning for Park Distance Con-
trol PDC
*, refer to page81
>Automatic climate control: AUTO program,
activating/deactivating cooling function and
automatic recirculated-air control, setting
temperature, air flow rate and distribution,
refer to page95 ff
>Audio volume, refer to page141
>Tone control, refer to page141
>Speed-dependent volume control, refer to
page141
Central locking system
The concept
The central locking system is ready for opera-
tion whenever the driver's door is closed.
The system simultaneously engages and
releases the locks on the following:
>Doors
>Tailgate
>Fuel filler door
Operating from outside
>Via the remote control
>Via the door lock
>In cars with convenient access
*, via the
handles on the driver's and front passen-
ger's doors
Page 35 of 236
Opening and closing
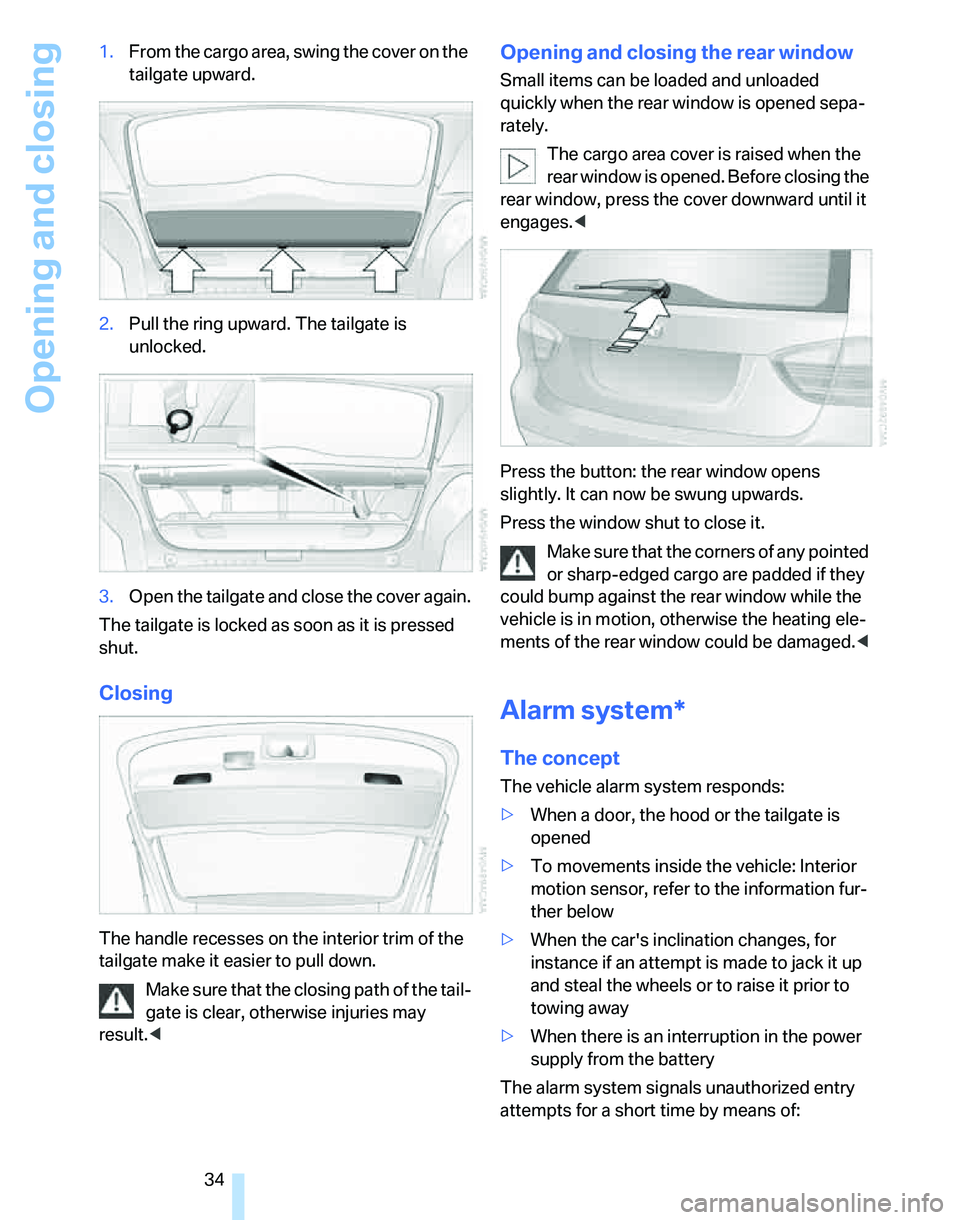
34 1.From the cargo area, swing the cover on the
tailgate upward.
2.Pull the ring upward. The tailgate is
unlocked.
3.Open the tailgate and close the cover again.
The tailgate is locked as soon as it is pressed
shut.
Closing
The handle recesses on the interior trim of the
tailgate make it easier to pull down.
Make sure that the closing path of the tail-
gate is clear, otherwise injuries may
result.<
Opening and closing the rear window
Small items can be loaded and unloaded
quickly when the rear window is opened sepa-
rately.
The cargo area cover is raised when the
rear window is opened. Before closing the
rear window, press the cover downward until it
engages.<
Press the button: the rear window opens
slightly. It can now be swung upwards.
Press the window shut to close it.
Make sure that the corners of any pointed
or sharp-edged cargo are padded if they
could bump against the rear window while the
vehicle is in motion, otherwise the heating ele-
ments of the rear window could be damaged.<
Alarm system*
The concept
The vehicle alarm system responds:
>When a door, the hood or the tailgate is
opened
>To movements inside the vehicle: Interior
motion sensor, refer to the information fur-
ther below
>When the car's inclination changes, for
instance if an attempt is made to jack it up
and steal the wheels or to raise it prior to
towing away
>When there is an interruption in the power
supply from the battery
The alarm system signals unauthorized entry
attempts for a short time by means of:
Page 49 of 236
Adjustments
48
Steering wheel
Adjustments
Do not adjust the steering wheel position
while the car is in motion, or an accident
may result from any unexpected movement.<
1.Fold the lever down.
2.Move the steering wheel to the preferred
height and angle to suit your seated posi-
tion.
3.Swing the lever back up.
Do not use force to swing the lever
back up, otherwise the mechanism
will be damaged.<
Electric steering wheel lock
The steering wheel locks or unlocks automati-
cally when the remote control is removed or
inserted, refer to page53.
Programmable buttons on the steering
wheel
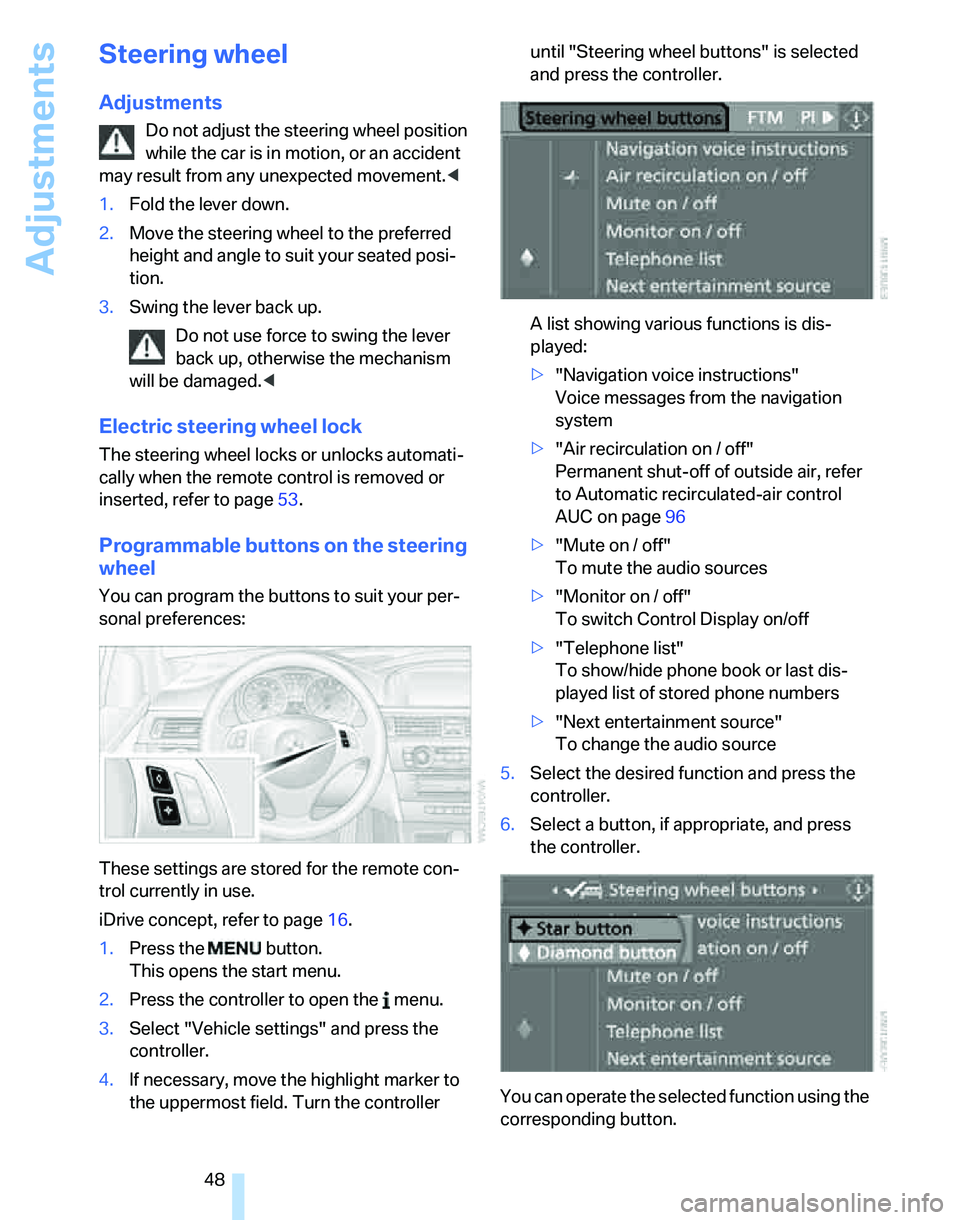
You can program the buttons to suit your per-
sonal preferences:
These settings are stored for the remote con-
trol currently in use.
iDrive concept, refer to page16.
1.Press the button.
This opens the start menu.
2.Press the controller to open the menu.
3.Select "Vehicle settings" and press the
controller.
4.If necessary, move the highlight marker to
the uppermost field. Turn the controller until "Steering wheel buttons" is selected
and press the controller.
A list showing various functions is dis-
played:
>"Navigation voice instructions"
Voice messages from the navigation
system
>"Air recirculation on / off"
Permanent shut-off of outside air, refer
to Automatic recirculated-air control
AUC on page96
>"Mute on / off"
To mute the audio sources
>"Monitor on / off"
To switch Control Display on/off
>"Telephone list"
To show/hide phone book or last dis-
played list of stored phone numbers
>"Next entertainment source"
To change the audio source
5.Select the desired function and press the
controller.
6.Select a button, if appropriate, and press
the controller.
You can operate the selected function using the
corresponding button.
Page 57 of 236
Driving
56
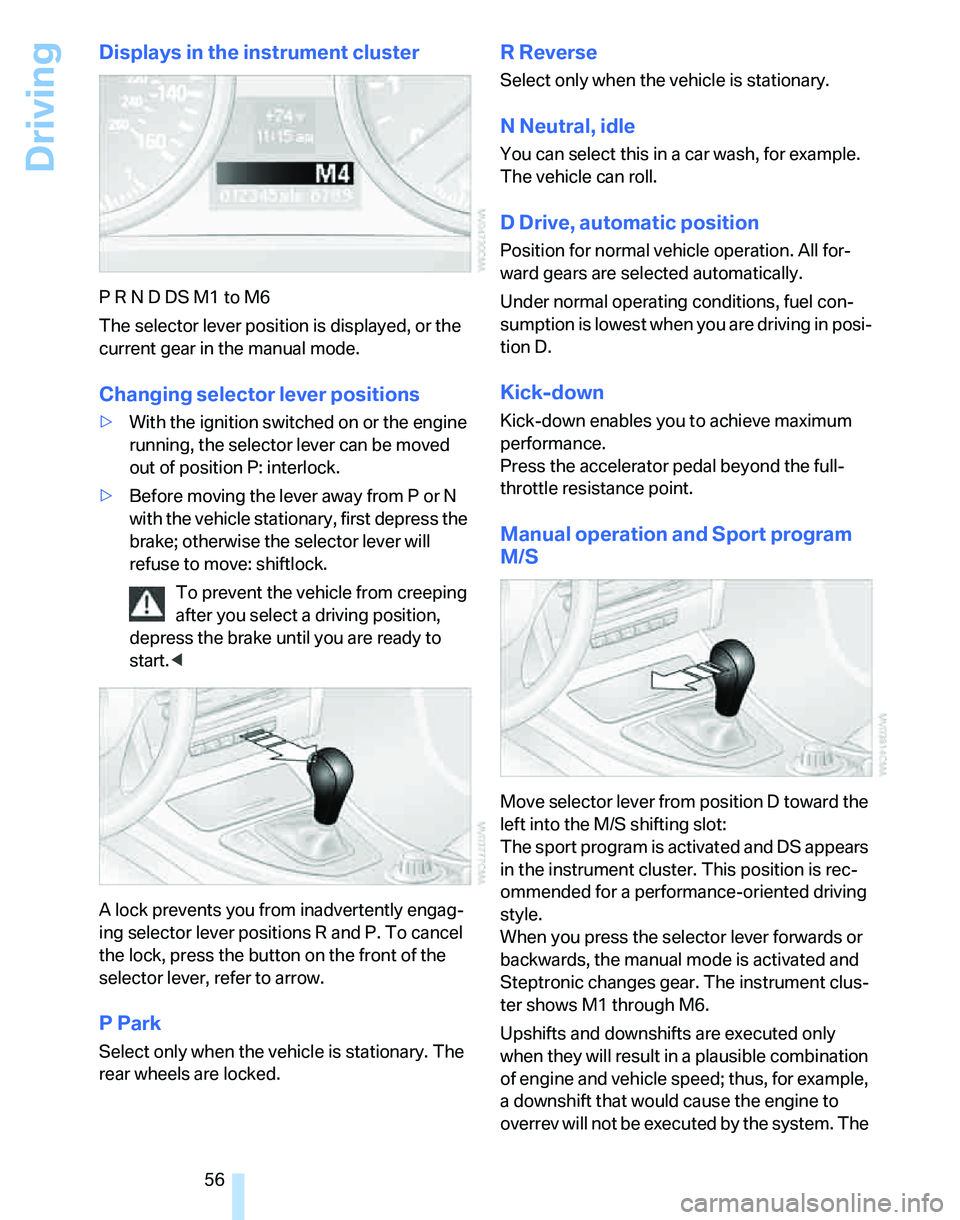
Displays in the instrument cluster
P R N D DS M1 to M6
The selector lever position is displayed, or the
current gear in the manual mode.
Changing selector lever positions
>With the ignition switched on or the engine
running, the selector lever can be moved
out of position P: interlock.
>Before moving the lever away from P or N
with the vehicle stationary, first depress the
brake; otherwise the selector lever will
refuse to move: shiftlock.
To prevent the vehicle from creeping
after you select a driving position,
depress the brake until you are ready to
start.<
A lock prevents you from inadvertently engag-
ing selector lever positions R and P. To cancel
the lock, press the button on the front of the
selector lever, refer to arrow.
P Park
Select only when the vehicle is stationary. The
rear wheels are locked.
R Reverse
Select only when the vehicle is stationary.
N Neutral, idle
You can select this in a car wash, for example.
The vehicle can roll.
D Drive, automatic position
Position for normal vehicle operation. All for-
ward gears are selected automatically.
Under normal operating conditions, fuel con-
sumption is lowest when you are driving in posi-
tion D.
Kick-down
Kick-down enables you to achieve maximum
performance.
Press the accelerator pedal beyond the full-
throttle resistance point.
Manual operation and Sport program
M/S
Move selector lever from position D toward the
left into the M/S shifting slot:
The sport program is activated and DS appears
in the instrument cluster. This position is rec-
ommended for a performance-oriented driving
style.
When you press the selector lever forwards or
backwards, the manual mode is activated and
Steptronic changes gear. The instrument clus-
ter shows M1 through M6.
Upshifts and downshifts are executed only
when they will result in a plausible combination
of engine and vehicle speed; thus, for example,
a downshift that would cause the engine to
overrev will not be executed by the system. The
Page 86 of 236
Controls
85Reference
At a glance
Driving tips
Communications
Navigation
Entertainment
Mobility
With xDrive 325xi
If one of the malfunctions described
below occurs, drive cautiously and think
well ahead. Also avoid situations that require full
braking, otherwise accidents could result.
Avoid driving on rough tracks and pressing the
accelerator pedal down to full throttle or kick-
down position, otherwise the drive system
could be damaged.<
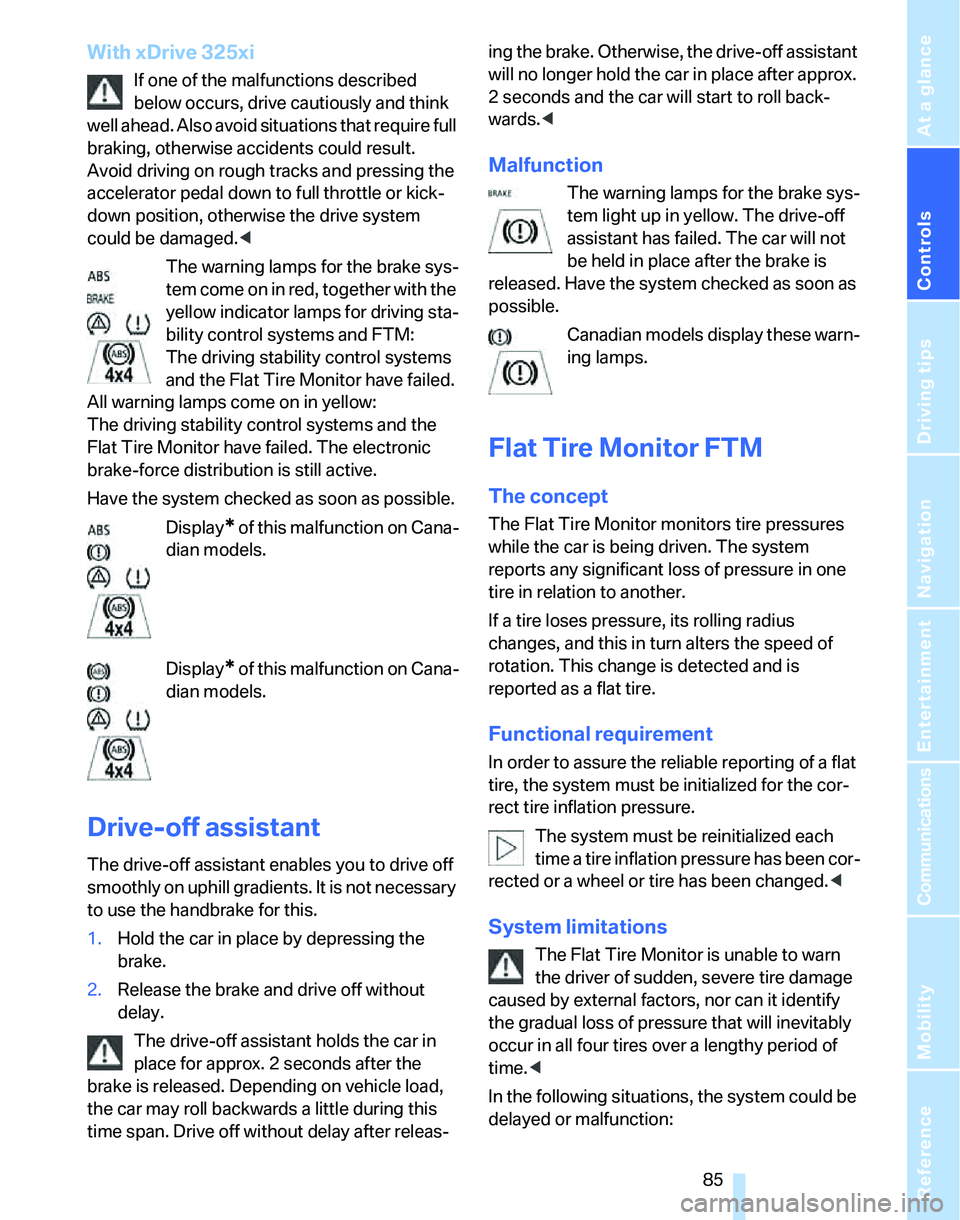
The warning lamps for the brake sys-
tem come on in red, together with the
yellow indicator lamps for driving sta-
bility control systems and FTM:
The driving stability control systems
and the Flat Tire Monitor have failed.
All warning lamps come on in yellow:
The driving stability control systems and the
Flat Tire Monitor have failed. The electronic
brake-force distribution is still active.
Have the system checked as soon as possible.
Display
* of this malfunction on Cana-
dian models.
Display
* of this malfunction on Cana-
dian models.
Drive-off assistant
The drive-off assistant enables you to drive off
smoothly on uphill gradients. It is not necessary
to use the handbrake for this.
1.Hold the car in place by depressing the
brake.
2.Release the brake and drive off without
delay.
The drive-off assistant holds the car in
place for approx. 2 seconds after the
brake is released. Depending on vehicle load,
the car may roll backwards a little during this
time span. Drive off without delay after releas-ing the brake. Otherwise, the drive-off assistant
will no longer hold the car in place after approx.
2 seconds and the car will start to roll back-
wards.<
Malfunction
The warning lamps for the brake sys-
tem light up in yellow. The drive-off
assistant has failed. The car will not
be held in place after the brake is
released. Have the system checked as soon as
possible.
Canadian models display these warn-
ing lamps.
Flat Tire Monitor FTM
The concept
The Flat Tire Monitor monitors tire pressures
while the car is being driven. The system
reports any significant loss of pressure in one
tire in relation to another.
If a tire loses pressure, its rolling radius
changes, and this in turn alters the speed of
rotation. This change is detected and is
reported as a flat tire.
Functional requirement
In order to assure the reliable reporting of a flat
tire, the system must be initialized for the cor-
rect tire inflation pressure.
The system must be reinitialized each
time a tire inflation pressure has been cor-
rected or a wheel or tire has been changed.<
System limitations
The Flat Tire Monitor is unable to warn
the driver of sudden, severe tire damage
caused by external factors, nor can it identify
the gradual loss of pressure that will inevitably
occur in all four tires over a lengthy period of
time.<
In the following situations, the system could be
delayed or malfunction:
Page 88 of 236
Controls
87Reference
At a glance
Driving tips
Communications
Navigation
Entertainment
Mobility
without luggage:
approx. 90 miles/150 km
>With a full load:
4 or more persons, cargo area full:
approx. 30 miles/50 km
Drive cautiously and do not exceed a
speed of 50 mph or 80 km/h. In the event
of pressure loss, vehicle handling changes. This
includes reduced tracking stability in braking,
extended braking distance and altered natural
steering characteristics.
If unusual vibration or loud noises occur during
the journey, this may be an indication that the
damaged tire has finally failed. Reduce your
speed and pull over to the side of the road at the
earliest opportunity. Otherwise, parts of the tire
could come loose and cause an accident. Do
not continue driving. Contact your BMW Cen-
ter.<
Malfunction
The warning lamps come on in yel-
low. A message appears on the Con-
trol Display. The Flat Tire Monitor has
a malfunction or has failed. Have the
system checked as soon as possible.
Active steering*
The concept
Active steering varies the turning angle of the
front wheels in relation to steering wheel move-
ments. It also varies the steering force required
to turn the wheels depending on the speed at
which you are driving.
When you are driving in the low road-speed
range, e.g. in a town or when parking, the steer-
ing angle increases, i.e. the steering becomes
very direct, and less effort is required to turn the
wheels. In the higher speed range, on the other
hand, the steering angle is reduced more and
more. This improves the handling capability of
your BMW over the entire speed range.
In critical situations, the system can make tar-
geted corrections to the steering angle pro-
vided by the driver and thus stabilize the vehicle before the driver intervenes. This stabilizing
intervention is simultaneously deactivated
when DSC is switched off, refer to page83.
Malfunction
The warning lamps come on. Active
steering is no longer operational. At
low speeds, greater steering wheel
movements are required, whereas at
higher speeds the vehicle reacts more sensi-
tively to steering wheel movements. Drive cau-
tiously and think well ahead. Have the system
checked.
If the warning lamp lights up during the first
engine starting following a power supply inter-
ruption, the system must be activated by being
initialized.
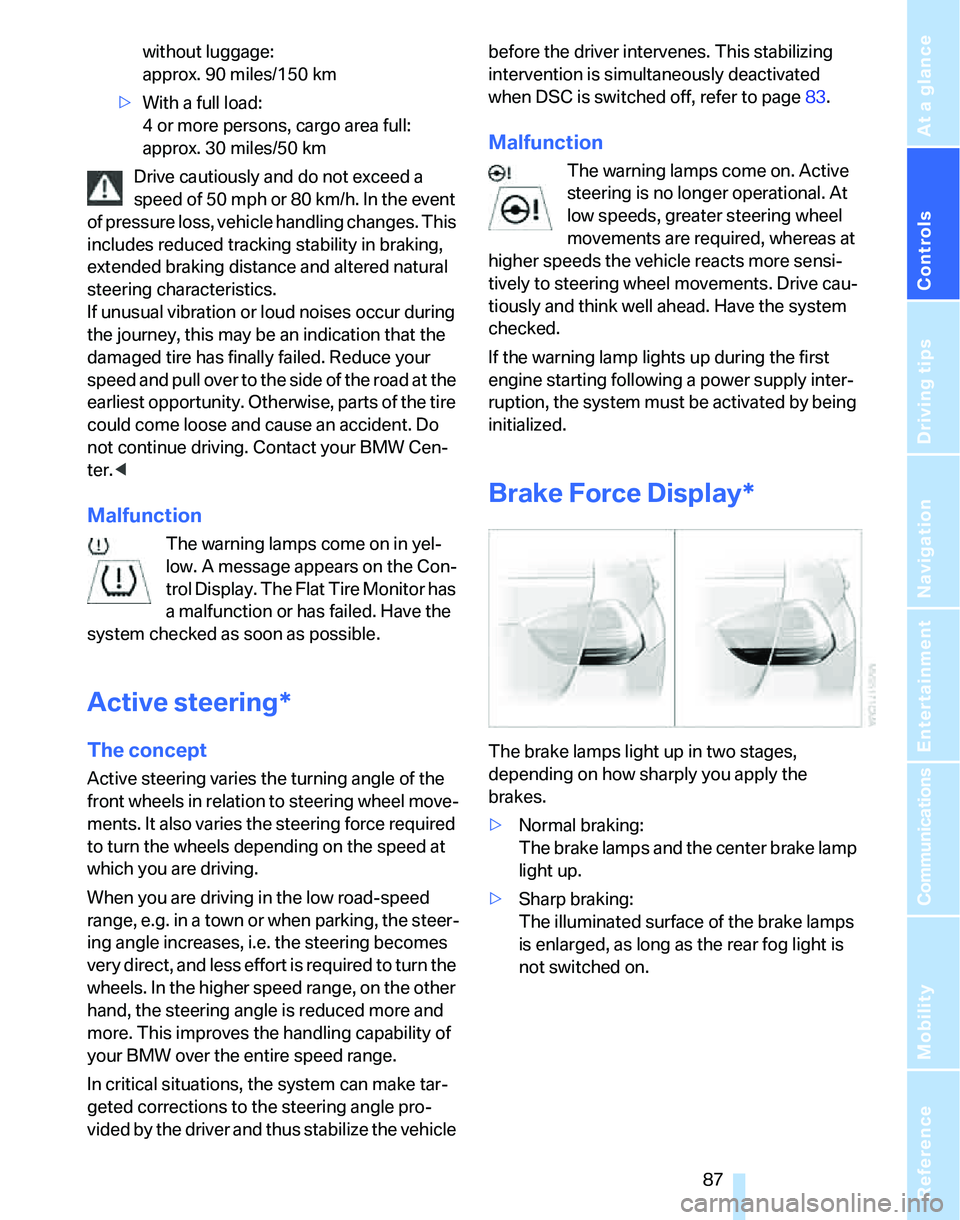
Brake Force Display*
The brake lamps light up in two stages,
depending on how sharply you apply the
brakes.
>Normal braking:
The brake lamps and the center brake lamp
light up.
>Sharp braking:
The illuminated surface of the brake lamps
is enlarged, as long as the rear fog light is
not switched on.