Page 87 of 123
pg. 120 Replacing bulbs
Front parking light
Front parking lights
Switch off the ignition.
Remove the plastic cover over the high beam bulb by turning it counterclockwise.
Pull out the bulb and its socket. Replace the bulb.
Press the bulb and its socket back into place.
Switch on the ignition to test the bulb.
Reinstall the plastic cover and turn it clockwise until it is correctly in place. "TOP" must be upward (see illustration
on previous page).
Front turn signal
Front turn signals
Switch off the ignition.
Open the hood.
Press down the retaining catch with a screwdriver and pull out the lamp housing.
Press the retaining spring downward and pull the connector out of the lamp housing.
Turn the bulb holder counterclockwise and remove it.
Remove the defective bulb from the holder by first pressing it in slightly and then turning it counterclockwise.
Install a new bulb in the holder and reinsert the bulb and holder in the lamp housing.
ProCarManuals.com
Page 89 of 123
· Press the bulb holder back into place.
· Reconnect the wiring.
· Fold up and close the covering panel.
To replace bulb 5:
· Pull the bulb holder straight out of its retainer.
· Pull the bulb out of the holder.
· Press a new bulb into the holder.
· Press the bulb holder back into place.
· Fold up and close the covering panel.
pg. 122 Replacing bulbs
Front fog lights (option)
CAUTION:
Avoid touching the glass on the bulb with your fingers.
Switch off the ignition.
Turn the bulb holder slightly counterclockwise to release it.
Replace the bulb. The shape of the foot of the bulb corresponds to the shape of the bulb holder.
Reinstall the bulb holder by turning it slightly clockwise. "TOP" on the holder should be upward.
Vanity mirror lights
ProCarManuals.com
Page 90 of 123
Carefully insert a screwdriver and pry out the lens.
Pry out the defective bulb and replace it.
Carefully press the lower edge of lens onto the four tabs and press the upper edge of the lens into place.
pg. 123 Replacing bulbs
License plate lights
Switch off the ignition.
Loosen the screws with a torx screwdriver.
Carefully pull out the lamp housing.
Turn the bulb holder counterclockwise and pull it out.
Pull out the defective bulb and insert a new one.
Reinsert the bulb holder into the housing and turn it clockwise.
Reinstall the housing and screw it in place.
Door step courtesy lights
The door step courtesy lights are located under the dash on the driver's and passenger's sides. To replace a bulb:
Carefully insert a screwdriver and pry out the lens.
Replace the defective bulb.
Reinstall the lens.
ProCarManuals.com
Page 103 of 123

Switch on/off
Press the knob to switch on or turn off the radio.
Volume control
Turn the knob clockwise to increase volume. Volume control is electronic and does not have an end stop. If you have
a key pad in the steering wheel, increase or decrease the volume with the + or- buttons.
Volume control - ALARM
If a CD is playing when the radio receives an alarm bulletin (available in certain areas only), the CD player enters
pause mode. The bulletin is broadcast at the volume selected for this type of message.
After the bulletin has been completed, the audio system reverts to the originally selected sound source (radio or CD),
which is played at the volume that was selected for that source.
If the bulletin volume is adjusted while the bulletin is being broadcast, this new volume is saved and used for
subsequent bulletins.
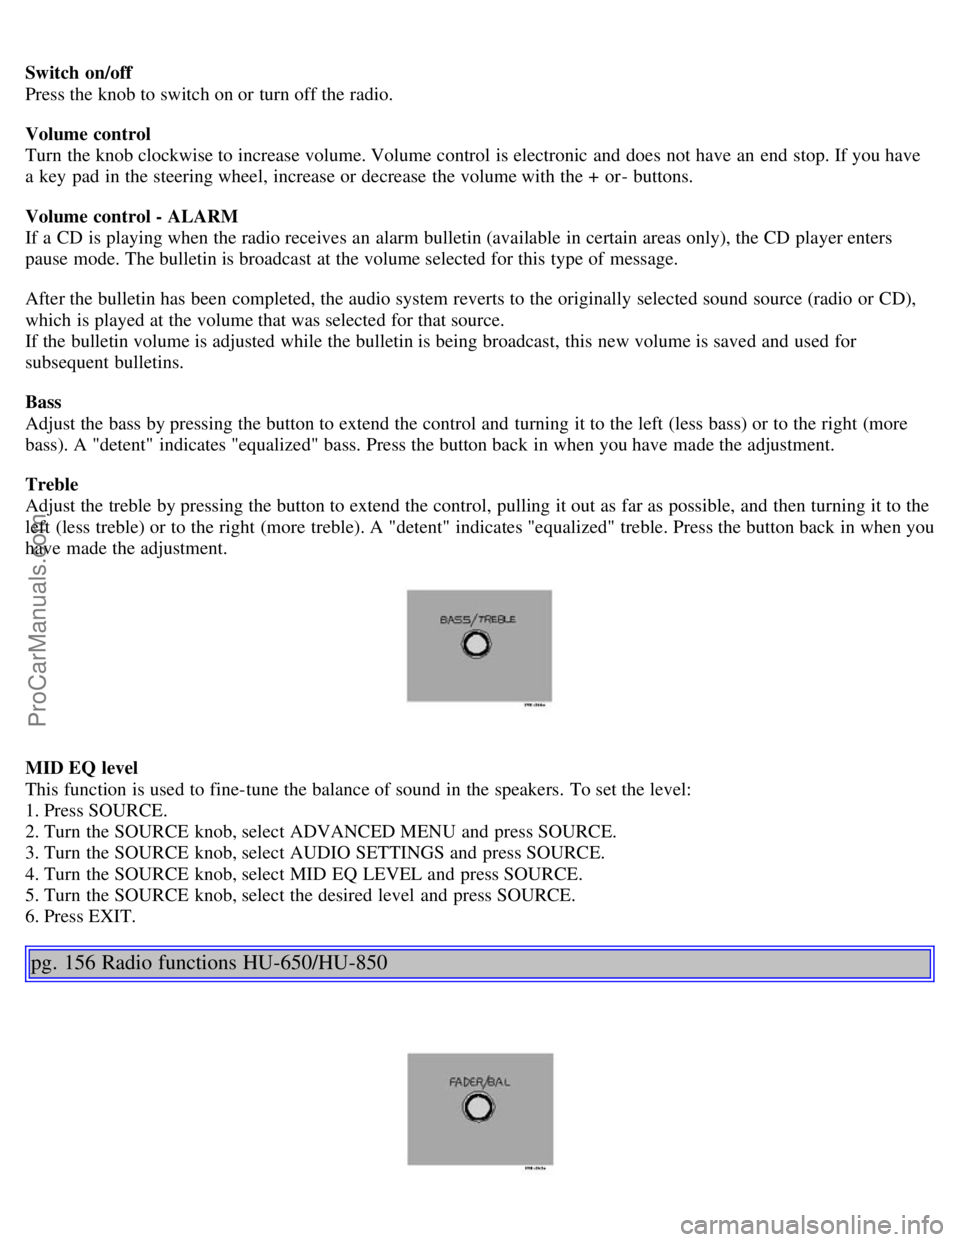
Bass
Adjust the bass by pressing the button to extend the control and turning it to the left (less bass) or to the right (more
bass). A "detent" indicates "equalized" bass. Press the button back in when you have made the adjustment.
Treble
Adjust the treble by pressing the button to extend the control, pulling it out as far as possible, and then turning it to the
left (less treble) or to the right (more treble). A "detent" indicates "equalized" treble. Press the button back in when you
have made the adjustment.
MID EQ level
This function is used to fine-tune the balance of sound in the speakers. To set the level:
1. Press SOURCE.
2. Turn the SOURCE knob, select ADVANCED MENU and press SOURCE.
3. Turn the SOURCE knob, select AUDIO SETTINGS and press SOURCE.
4. Turn the SOURCE knob, select MID EQ LEVEL and press SOURCE.
5. Turn the SOURCE knob, select the desired level and press SOURCE.
6. Press EXIT.
pg. 156 Radio functions HU-650/HU-850
ProCarManuals.com
Page 113 of 123

B
Backrests, rear seat - folding..........60
Battery..........93, 149
maintenance..........140
replacing..........139
ventilation hose..........139
Blinds - rear/side rear windows..........44
Booster cushion - integrated..........15
Brake failure warning light ..........28
Brake fluid..........138, 147
Brake system..........18
Bulbs (list)..........149
Bulbs - replacing..........119-125
C
Capacities (oils and fluids)..........143
, 147
Cargo net in trunk..........59
Cassette deck (HU-650)..........165
Catalytic converters - three-way..........95, 96
Center console - switches..........31
Center head restraint - rear seat..........3
Central locking buttons..........65
Changing wheels..........110, 111
Chassis setting ..........82
Child booster cushion ......... 15
Child restraint anchorages ........ 14
Child safety..........14 -17
Child safety locks - rear doors..........69
Child seat anchors ISOFIX ........ 14
Climate controls..........47 - 49, 51
Climate system - general information..........50
Clock..........27
Coat hanger..........55
Cold weather driving..........93
Combination filter..........47, 51
Coolant..........132, 147
Cooling system..........86, 147
Courtesy light..........56
Courtesy lights (front) - replacing..........125
Courtesy lights - exterior..........62
Cruise control..........33
Cup holder - opening..........58
D
Dimensions..........145
Distributor ignition system..........148
ProCarManuals.com