2005 VOLVO S80 door lock
[x] Cancel search: door lockPage 3 of 123

Fuel filler door
The fuel filler door, located on the right rear fender, is connected to your car's central locking system.
Press the button on the light switch panel (see page 32
) when the car is at a standstill to unlock the fuel filler door.
Please note that the fuel filler door will remain unlocked until the car begins to move forward.
An audible click will be heard when the fuel filler door relocks.
Fuel filler cap
After refueling, close the fuel filler cap by turning it clockwise until it clicks into place. If this cap is not closed tightly
or if the engine is running when the car is refueled, the Malfunction Indicator Lamp ("Check Engine" light) may
indicate a fault. WARNING! If your vehicle is
Warning!
If your vehicle is involved in an accident, unseen damage may affect your vehicle's driveability and safety.
Important
Before you operate your car for the first time, please familiarize yourself with the new-engine oil consumption
information on page 136
. You should also be familiar with the information in chapters one, two and four of this
manual.
Information contained in the balance of the manual is extremely useful and should be read after operating the
vehicle for the first time.
The manual is structured so that it can be used for reference. For this reason, it should be kept in the car for
ready access. Do not export your Volvo to another country before investigating that country's applicable safety
and exhaust emission requirements. In some cases it may be difficult or impossible to comply with these
requirements. Modifications to the emission control system(s) may render your Volvo not certifiable for legal
operation in the U.S., Canada and other countries.
All information, illustrations and specifications contained in this manual are based on the latest product
information available at the time of publication. Please note that some vehicles may be equipped differently,
depending on special legal requirements and that optional equipment described in this manual may not be
available in all markets.
Volvo reserves the right to make model changes at any time, or to change specifications or design, without
notice and without incurring obligation.
CALIFORNIA Proposition 65 Warning
WARNING! Engine exhaust, some of its constituents, and certain vehicle components contain or emit chemicals
known to the state of California to cause cancer, and birth defects or other reproductive harm. In addition, certain
fluids contained in vehicles and certain products of component wear contain or emit chemicals known to the State
of California to cause cancer, and birth defects or other reproductive harm.
Volvo and the environment
Volvo is committed to the well being of its customers. As a natural part of this commitment, we care about the
environment in which we all live. Caring for the environment means an everyday involvement in reducing our
environmental impact.
Volvo's environmental activities are based on a holistic view, which means we consider the overall environmental
impact of a product throughout its complete life cycle. In this context, design, production, product use, and recycling
are all important considerations.
ProCarManuals.com
Page 9 of 123

When installing any optional equipment, make sure that the SRS system is not damaged. Do not attempt to service
any component of the SRS yourself. Attempting to do so may result in serious personal injury. If a problem arises,
take your car to the nearest authorized Volvo retailer for inspection as soon as possible.
pg. 5 Front airbags - SRS
A self -diagnostic system incorporated in the sensor monitors certain safety system components. A check is performed
on components such as seat belt locks, SRS, SIPS, and/or the VIC system. If a fault is detected, the warning light will
illuminate. The light is included in the warning/indicator light cluster in the instrument panel. Normally, the safety
system warning lamp should light up when the ignition key is turned to positions I, II or III and should go out after
approximately 7 seconds or when the engine is started. Check that this light is functioning properly every time the
vehicle is started.WARNING!
Never drive an SRS equipped car with your hands on the steering wheel pad / airbag housing.
No objects, accessory equipment or stickers may be placed on, attached to or installed near the SRS cover in the
center of the steering wheel, the SRS cover above the glove compartment or the area affected by airbag deployment.
If the SRS warning light stays on after the engine has started or if it comes on while you are driving, drive the car
to the nearest authorized Volvo retailer for inspection as soon as possible.
There is no maintenance to perform on the SRS yourself. The month and year shown on the decal on the door pillar
indicate when you should contact your Volvo retailer for specific servicing or replacement of airbags and seatbelt
tensioners. This service must be performed by an authorized Volvo retailer.
Should you have any questions about the SRS system, please contact your authorized Volvo retailer or Volvo
Customer Support:
ProCarManuals.com
Page 16 of 123

2 0 0 5
VOLVO S80
Chapter 2 - Instruments, switches and controls
pg. 23 Instruments, switches and controls
Interior24
Exterior25
Instruments26
Instrument panel27
Indicator and warning lights28
Text information window30
Switches in center console31
Trip computer32
Cruise control33
Light switch panel34
Manually unlocking the fuel filler door35
Turn signals36
Windshield wipers/washers37
Steering wheel adjustment/lock, ignition switch38
Warning flashers, heated mirrors/rear window, heated front seats39
Parking brake, auxiliary socket, ashtrays40
Electrically operated windows41
Rearview/sideview, vanity mirrors42
Power moonroof43
Sun visor, sun blinds44
pg. 24 Interior
ProCarManuals.com
Page 20 of 123

Instrument panel lighting34
Button to unlock fuel filler door34
pg. 27 Instrument panel
1 Turn signals
2 Text window
3 Temperature gauge
The pointer should be approximately midway on the gauge when driving.
Do not drive the car if the warning light is on. The text window will provide you with additional information.
If the engine temperature remains high, check coolant level - see page 132
.
4 Trip odometer/reset button
The trip odometer is used for measuring shorter distances. The last digit indicates 1/10 mile/kilometer. Press the button
quickly to toggle between trip odometers 1 and 2. Hold in the button for more than 2 seconds to reset.
5 Odometer
6 Speedometer
7 General warning light (see page 28
).
8 High beam indicator light
9 Tachometer
Indicates engine speed in thousands of rpm. Do not drive for long with the needle in the red section. The engine has an
built-in function preventing too high an engine speed. When this function operates, you may discern some pulsation,
which is normal.
10 Gear and driving mode indicator
The currently selected driving mode is displayed here. If you use the Geartronic function on the automatic
transmission, the currently selected gear will be displayed.
11 Ambient temperature indicator
This sensor indicates the air temperature outside your car. A "snowflake" symbol in the text window is displayed when
the temperature is in the range of 23 - 36° F (-5 - +2° C).
Please note that this symbol does not indicate a fault with your car.
At low speeds or when the car is not moving, the temperature readings may be slightly higher than the actual ambient
temperature.
12 Clock/reset button
Turn the button to adjust the clock.
ProCarManuals.com
Page 32 of 123

It can also be adjusted as follows with the ignition off:
· Within 10 minutes after the driver's door has been unlocked from the outside and has been opened and remains open.
· Within 40 seconds, if the driver's door has just been closed.
· Within 40 seconds, if the driver's door has not been opened after the ignition has been switched off.
Passenger's seat:
The seat can only be adjusted if the ignition key is in position I, II or if the engine is running.
Electrically operated driver's seat controls
A Front edge of seat (raise/lower)
B Forward - rearward
C Rear edge of seat (raise/lower)
D Backrest tilt
WARNING!
Because the driver's seat can be adjusted with the ignition off, children should never be left unattended in the car.
Movement of the seat can be STOPPED at any time by pressing any button on the power seat control panel.
Do not adjust the seat while driving. The seat should be adjusted so that the brake pedal can be depressed fully. In
addition, position the seat as far rearward as comfort and control allow.
The seat rails on the floor must not be obstructed in any way when the seat is in motion.
Programming the driver's seat memory (option)*
Three different seating and door mirror positions can be stored in the driver seat's memory.
The following example explains how button 1 can be programmed.
Buttons 2 and 3 can be programmed in the same way.
To program (store) a seat position in button 1:
1. Move the seat to the desired position using the seat adjustment controls (see the previous page).
2. Press and hold down the MEM (memory) button.
3. With the MEM button depressed, press button 1 briefly to store the seat's current position.
ProCarManuals.com
Page 33 of 123

To move the seat to the position that it was in when button 1 was programmed:
Press and hold down button 1 until the seat stops moving.
As a safety precaution, the seat will stop automatically if the button is released before the seat has reached the preset
position.
* This option is only available on the driver's seat.
pg. 55 Front seats, Coat hanger
Remote keyless entry system and the driver's seat
The remote control transmitter also controls the position of the electrically operated driver's seat in the following way:
1. Adjust the seat to your preferences.
2. When you leave your vehicle, lock it using the remote control.
The position of the seat is now stored in the remote control.
Automatic seat adjustment
To move the seat to the position in which you left it:
1. Unlock the driver's door with the same remote control (the one used to lock the doors).
2. Open the driver's door within 2 minutes.
The driver's seat will automatically move to the position in which you left it.
NOTE:
· The seat will move to this position even if someone else has moved it to a different seating position and locked the
car with a different remote control.
· This feature will work in the same way with all of the remote control transmitters (up to 3) that you use with your
vehicle.
· This feature will not function if your lock your vehicle with the key.
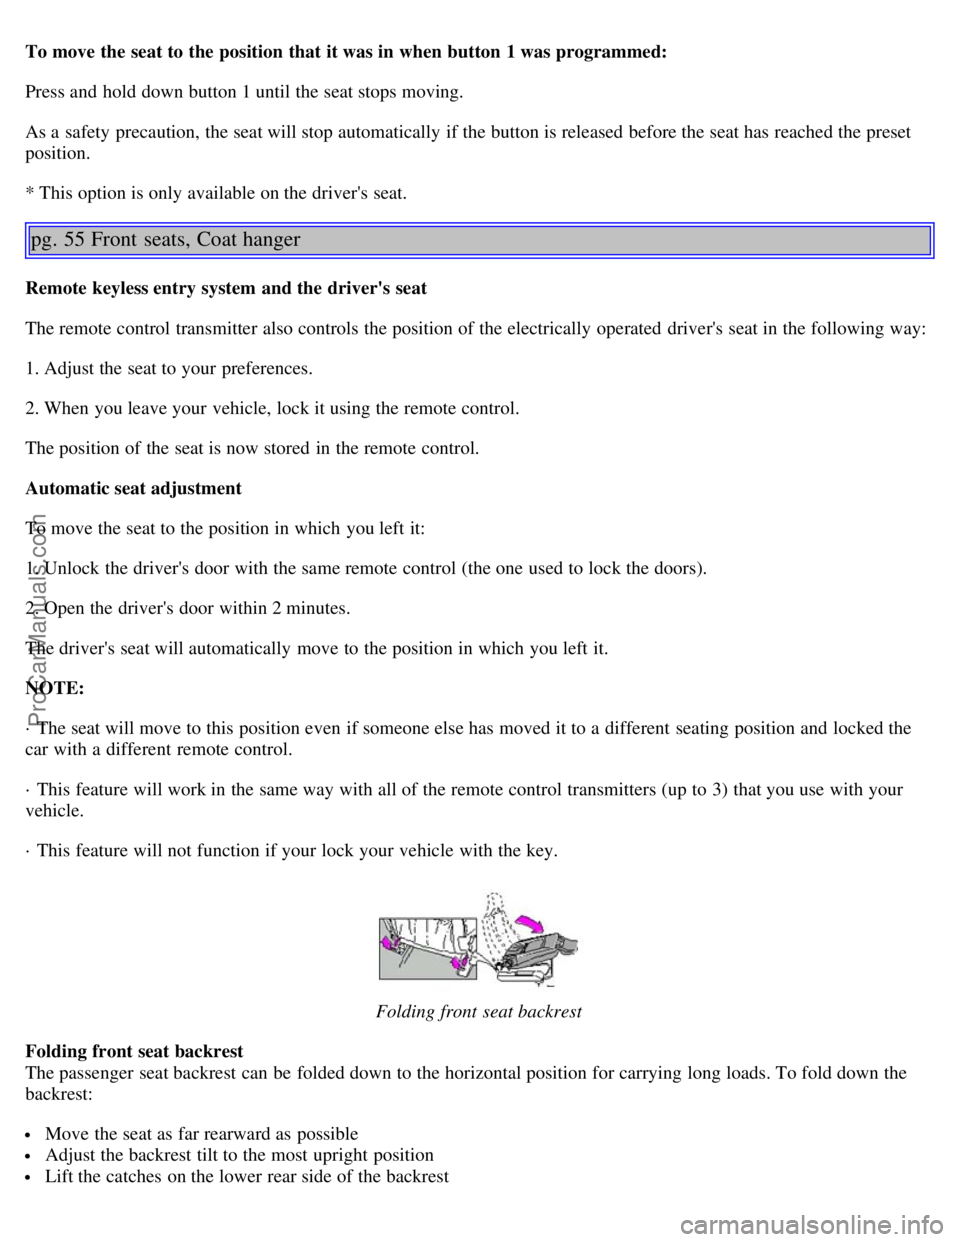
Folding front seat backrest
Folding front seat backrest
The passenger seat backrest can be folded down to the horizontal position for carrying long loads. To fold down the
backrest:
Move the seat as far rearward as possible
Adjust the backrest tilt to the most upright position
Lift the catches on the lower rear side of the backrest
ProCarManuals.com
Page 34 of 123

Without releasing the catches, push the backrest forward
Move the seat as far forward as possible so that the head restraint slides under the glove compartment.
WARNING!
Cover sharp edges on the load to help prevent injury to occupants. Secure the load to help prevent shifting during
sudden stops.
Coat hanger
Coat hanger
Use the coat hanger for light jackets, etc.
pg. 56 Interior lighting
Courtesy light
Front reading lights
Courtesy light
The courtesy light can be turned on or off by pressing the button. The light also has a timer function which turns the
light (in dark conditions) on for 30 seconds if:
You unlock the car from the outside with the key or remote control.
You switch off the ignition (turn the key to position 0).
The courtesy light stays on for 10 minutes if one of the doors is left open after the car is unlocked.
The courtesy light switches off if:
ProCarManuals.com
Page 35 of 123

The engine is started.
The car is locked from the outside with the key or remote control.
The interior courtesy light can be switched on or off at any time by pressing the center button in the panel above the
rearview mirror. When switched on with the engine off, the light will stay on for 10 minutes. When switched on with
the engine running, the light will stay on indefinitely. The light may be switched off at any time by pressing the center
button a second time.
The courtesy light timer periods can be changed. Consult your Volvo retailer.
Overriding the Interior and Trunk Courtesy Lights
Normally if a car door is left open with the engine turned off, the interior courtesy light will stay on for 10 minutes.
Normally, if the trunk is left open with the engine turned off, the trunk courtesy lights will stay on for 10 minutes.
If a car door is left open or the interior courtesy lights are turned on while the engine is left running, the interior
courtesy lights will stay on indefinitely. Likewise, if the trunk is left open while the engine is running, the trunk
courtesy light will stay on indefinitely.
At times, you may wish to be assured that the courtesy lights will stay off regardless of door or trunk lid position.
To switch off the interior and trunk courtesy lights indefinitely, press and hold the center button in the panel above the
rearview mirror for 3 seconds.The courtesy lights will go off and remain off until the center button is pressed again.
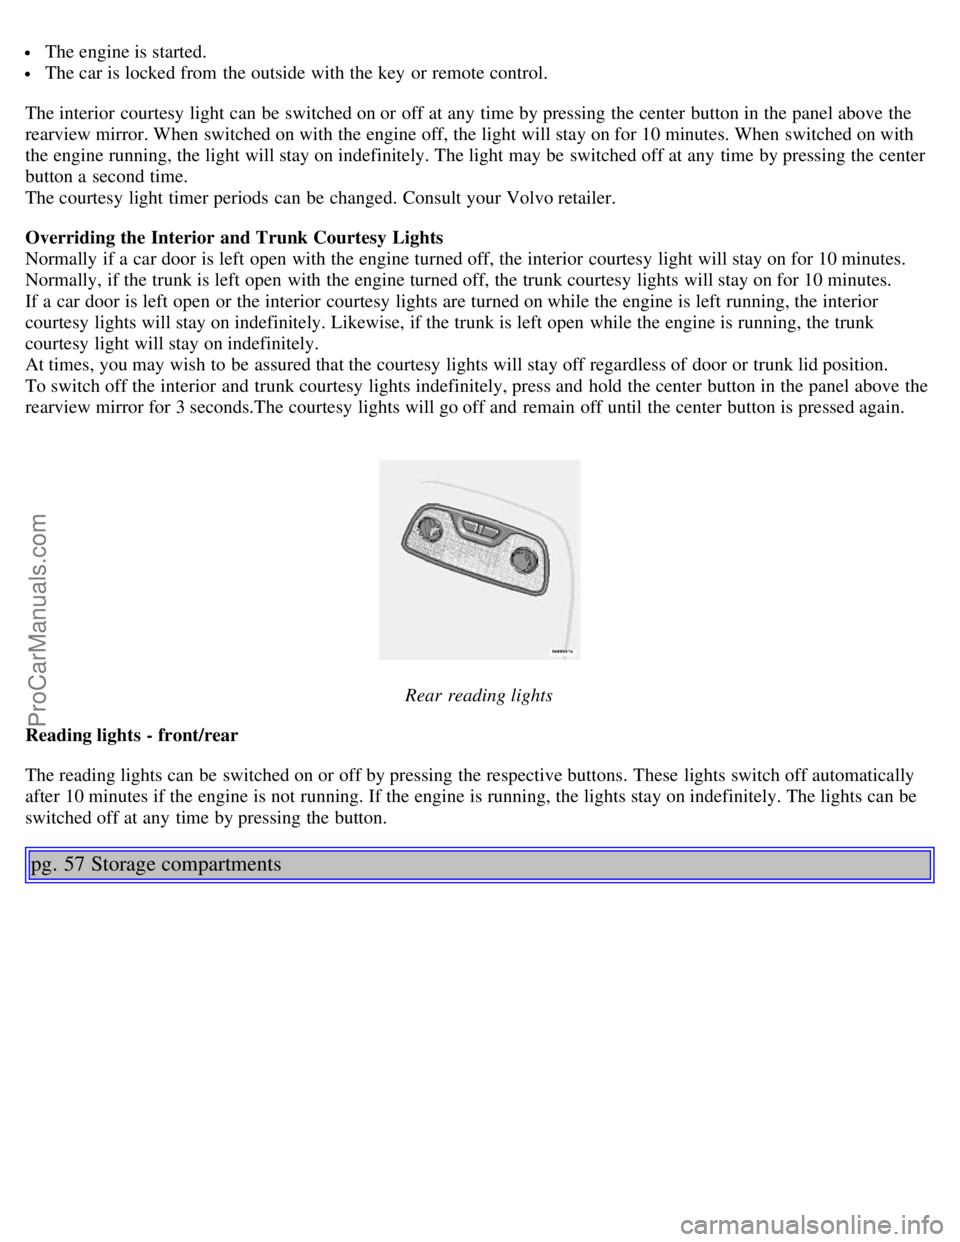
Rear reading lights
Reading lights - front/rear
The reading lights can be switched on or off by pressing the respective buttons. These lights switch off automatically
after 10 minutes if the engine is not running. If the engine is running, the lights stay on indefinitely. The lights can be
switched off at any time by pressing the button.
pg. 57 Storage compartments
ProCarManuals.com