2005 VOLVO S40 buttons
[x] Cancel search: buttonsPage 29 of 127
based on average fuel consumption during the last 20 miles (30 km) of driving and the amount of fuel remaining in the
tank when the reading was taken. When the driving distance on current fuel reserve is less than 12 miles (20 km), "---"
will be displayed in the information display.
Average fuel consumption
This value indicates fuel consumption since the last time the trip computer was reset (by pressing RESET, button C).
When the engine is switched off, information on fuel consumption is stored and remains in system memory until the
RESET (button C) is pressed again.
Current fuel consumption
This value indicates the current fuel consumption, based on readings taken once per second. When the car is not
moving, "---- " will be displayed.
Average speed
This value indicates average speed since the last time the trip computer was reset (by pressing RESET, button C).
When the engine is switched off, information on average speed is stored and remains in system memory until the
RESET (button C) is pressed again.
Current speed in m.p.h. (Canadian models only)
This function provides the driver with an instantaneous conversion of the car's current speed from km/h to m.p.h.
NOTE: Trip computer readings may vary slightly depending on the circumference of the tires on the car or on tire
inflation.
pg. 49 Cruise control (option)
Cruise control
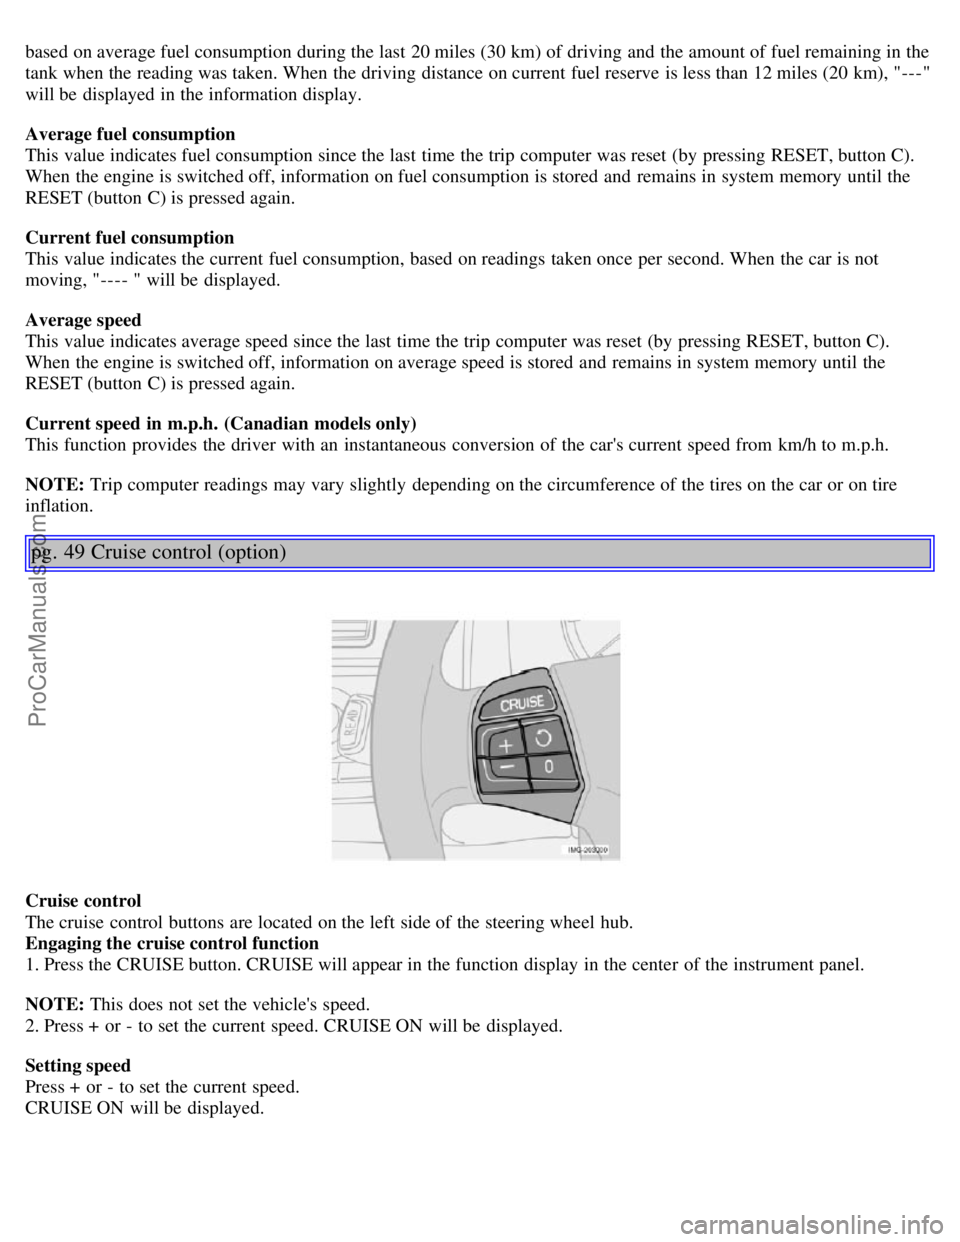
The cruise control buttons are located on the left side of the steering wheel hub.
Engaging the cruise control function
1. Press the CRUISE button. CRUISE will appear in the function display in the center of the instrument panel.
NOTE: This does not set the vehicle's speed.
2. Press + or - to set the current speed. CRUISE ON will be displayed.
Setting speed
Press + or - to set the current speed.
CRUISE ON will be displayed.
ProCarManuals.com
Page 37 of 127
The air is not recirculated.
pg. 71 Manual climate control
4. Airflow controls
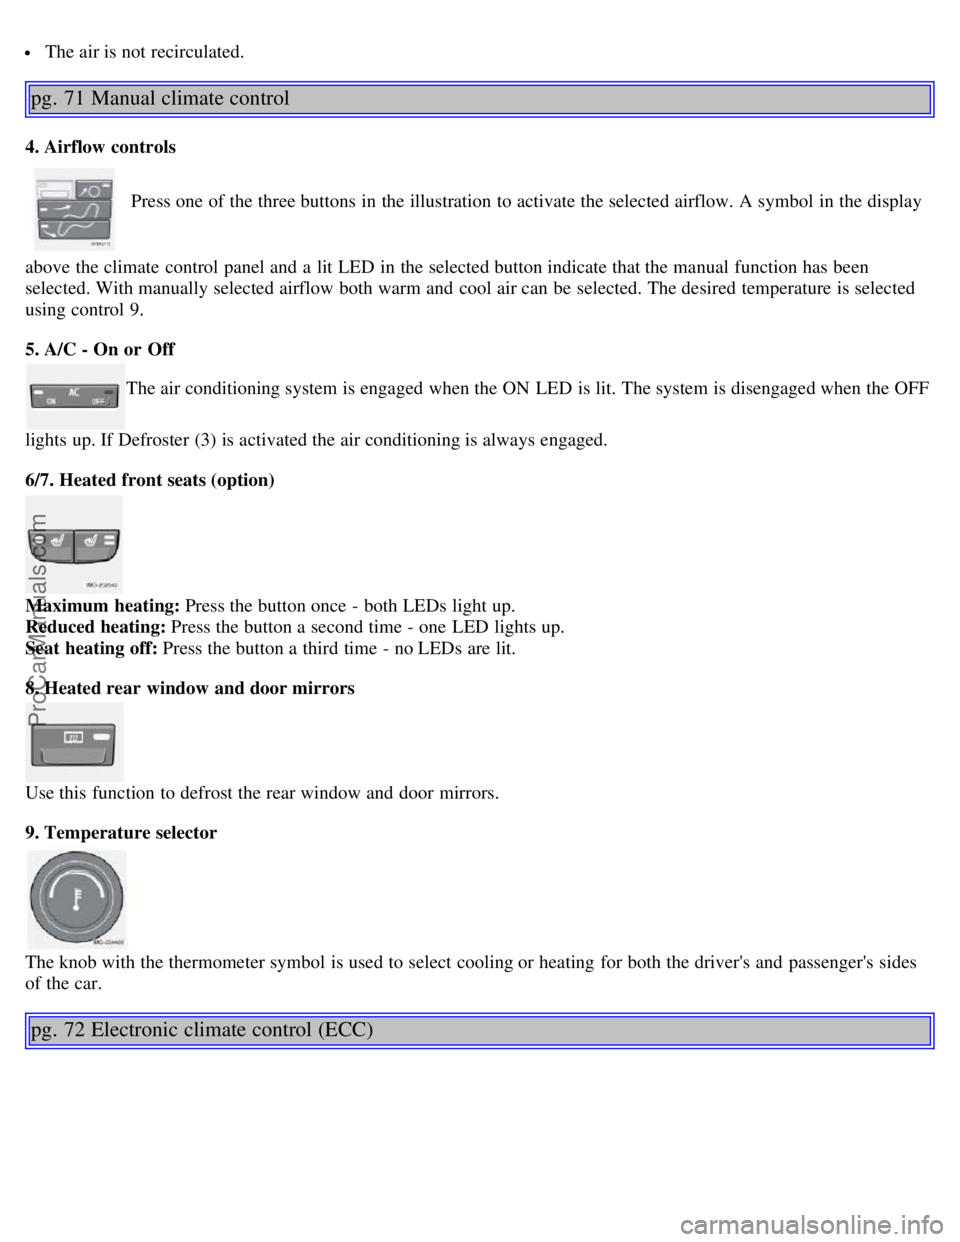
Press one of the three buttons in the illustration to activate the selected airflow. A symbol in the display
above the climate control panel and a lit LED in the selected button indicate that the manual function has been
selected. With manually selected airflow both warm and cool air can be selected. The desired temperature is selected
using control 9.
5. A/C - On or Off
The air conditioning system is engaged when the ON LED is lit. The system is disengaged when the OFF
lights up. If Defroster (3) is activated the air conditioning is always engaged.
6/7. Heated front seats (option)
Maximum heating: Press the button once - both LEDs light up.
Reduced heating: Press the button a second time - one LED lights up.
Seat heating off: Press the button a third time - no LEDs are lit.
8. Heated rear window and door mirrors
Use this function to defrost the rear window and door mirrors.
9. Temperature selector
The knob with the thermometer symbol is used to select cooling or heating for both the driver's and passenger's sides
of the car.
pg. 72 Electronic climate control (ECC)
ProCarManuals.com
Page 39 of 127
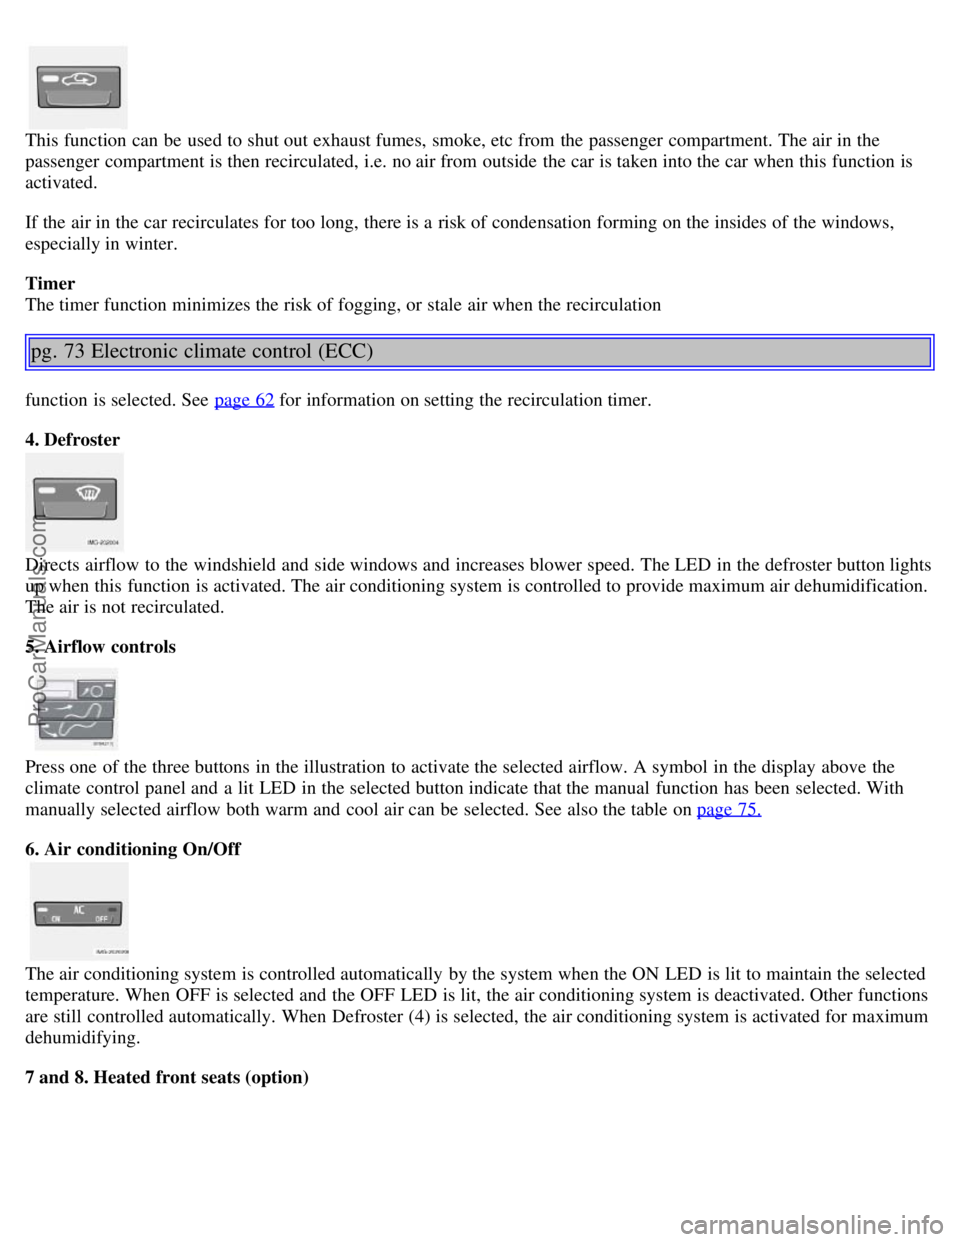
This function can be used to shut out exhaust fumes, smoke, etc from the passenger compartment. The air in the
passenger compartment is then recirculated, i.e. no air from outside the car is taken into the car when this function is
activated.
If the air in the car recirculates for too long, there is a risk of condensation forming on the insides of the windows,
especially in winter.
Timer
The timer function minimizes the risk of fogging, or stale air when the recirculation
pg. 73 Electronic climate control (ECC)
function is selected. See page 62 for information on setting the recirculation timer.
4. Defroster
Directs airflow to the windshield and side windows and increases blower speed. The LED in the defroster button lights
up when this function is activated. The air conditioning system is controlled to provide maximum air dehumidification.
The air is not recirculated.
5. Airflow controls
Press one of the three buttons in the illustration to activate the selected airflow. A symbol in the display above the
climate control panel and a lit LED in the selected button indicate that the manual function has been selected. With
manually selected airflow both warm and cool air can be selected. See also the table on page 75.
6. Air conditioning On/Off
The air conditioning system is controlled automatically by the system when the ON LED is lit to maintain the selected
temperature. When OFF is selected and the OFF LED is lit, the air conditioning system is deactivated. Other functions
are still controlled automatically. When Defroster (4) is selected, the air conditioning system is activated for maximum
dehumidifying.
7 and 8. Heated front seats (option)
ProCarManuals.com
Page 44 of 127
If the ignition key is in position I or II.
During a 10 minute period after the doors have been unlocked if the door remains open.
If the door is closed and the ignition key is not yet in the ignition, or if the key is in position 0, the seat can be
adjusted or during a period of 40 seconds. The power passenger's seat can only be adjusted if the ignition key is in
position I or II, or if the engine is running.
Adjusting the seat
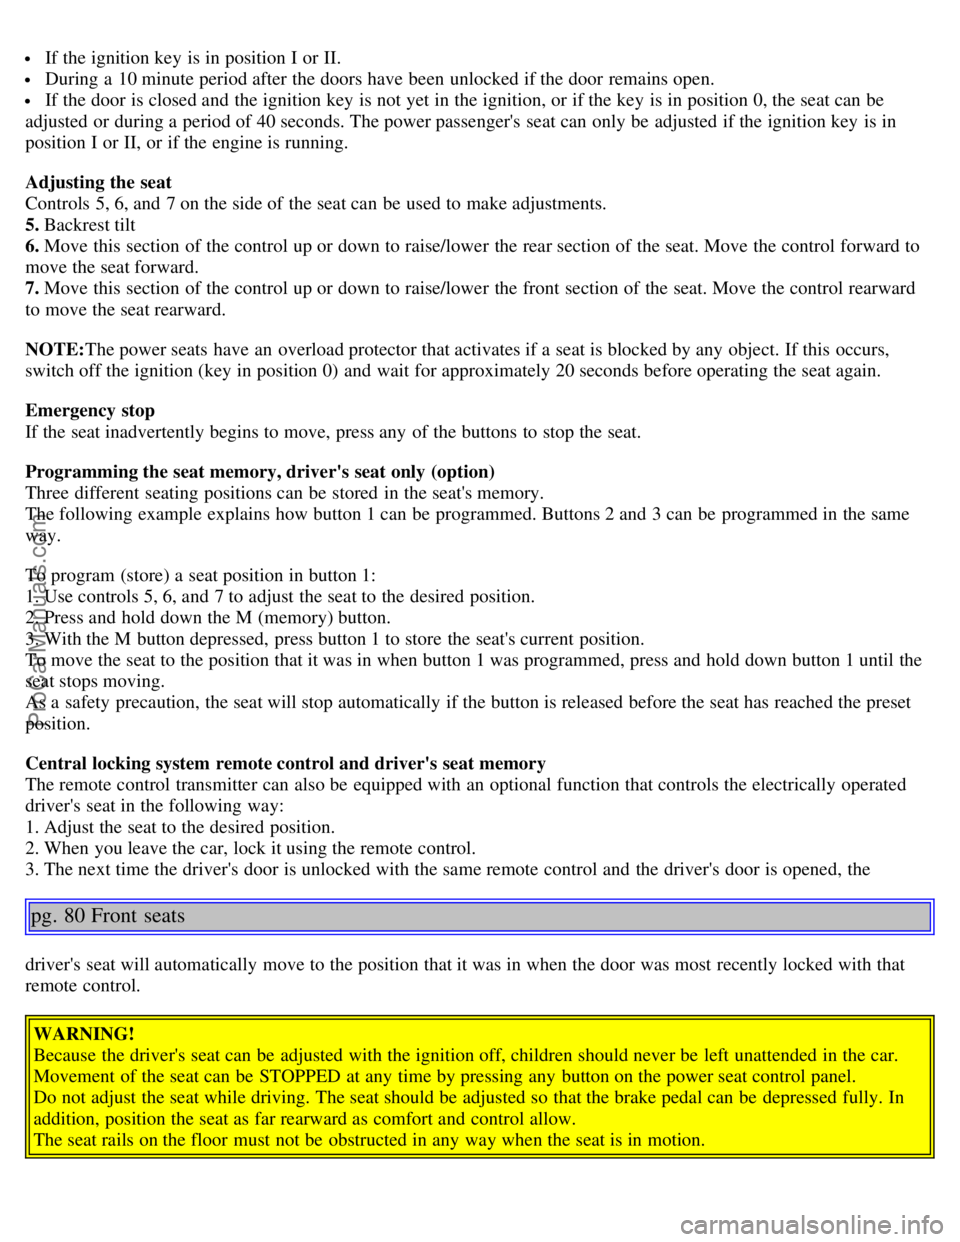
Controls 5, 6, and 7 on the side of the seat can be used to make adjustments.
5. Backrest tilt
6. Move this section of the control up or down to raise/lower the rear section of the seat. Move the control forward to
move the seat forward.
7. Move this section of the control up or down to raise/lower the front section of the seat. Move the control rearward
to move the seat rearward.
NOTE: The power seats have an overload protector that activates if a seat is blocked by any object. If this occurs,
switch off the ignition (key in position 0) and wait for approximately 20 seconds before operating the seat again.
Emergency stop
If the seat inadvertently begins to move, press any of the buttons to stop the seat.
Programming the seat memory, driver's seat only (option)
Three different seating positions can be stored in the seat's memory.
The following example explains how button 1 can be programmed. Buttons 2 and 3 can be programmed in the same
way.
To program (store) a seat position in button 1:
1. Use controls 5, 6, and 7 to adjust the seat to the desired position.
2. Press and hold down the M (memory) button.
3. With the M button depressed, press button 1 to store the seat's current position.
To move the seat to the position that it was in when button 1 was programmed, press and hold down button 1 until the
seat stops moving.
As a safety precaution, the seat will stop automatically if the button is released before the seat has reached the preset
position.
Central locking system remote control and driver's seat memory
The remote control transmitter can also be equipped with an optional function that controls the electrically operated
driver's seat in the following way:
1. Adjust the seat to the desired position.
2. When you leave the car, lock it using the remote control.
3. The next time the driver's door is unlocked with the same remote control and the driver's door is opened, the
pg. 80 Front seats
driver's seat will automatically move to the position that it was in when the door was most recently locked with that
remote control.
WARNING!
Because the driver's seat can be adjusted with the ignition off, children should never be left unattended in the car.
Movement of the seat can be STOPPED at any time by pressing any button on the power seat control panel.
Do not adjust the seat while driving. The seat should be adjusted so that the brake pedal can be depressed fully. In
addition, position the seat as far rearward as comfort and control allow.
The seat rails on the floor must not be obstructed in any way when the seat is in motion.
ProCarManuals.com
Page 45 of 127
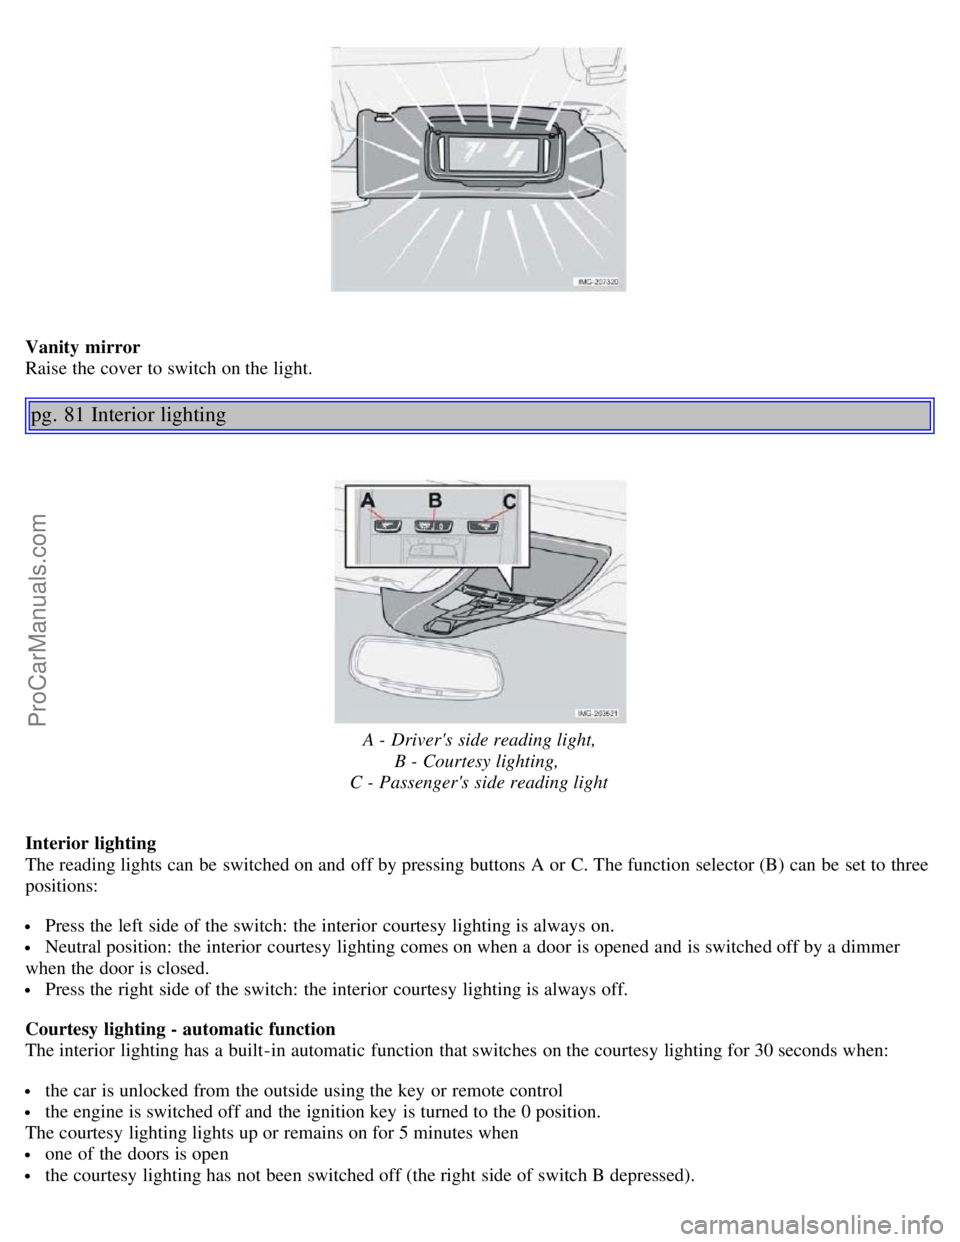
Vanity mirror
Raise the cover to switch on the light.
pg. 81 Interior lighting
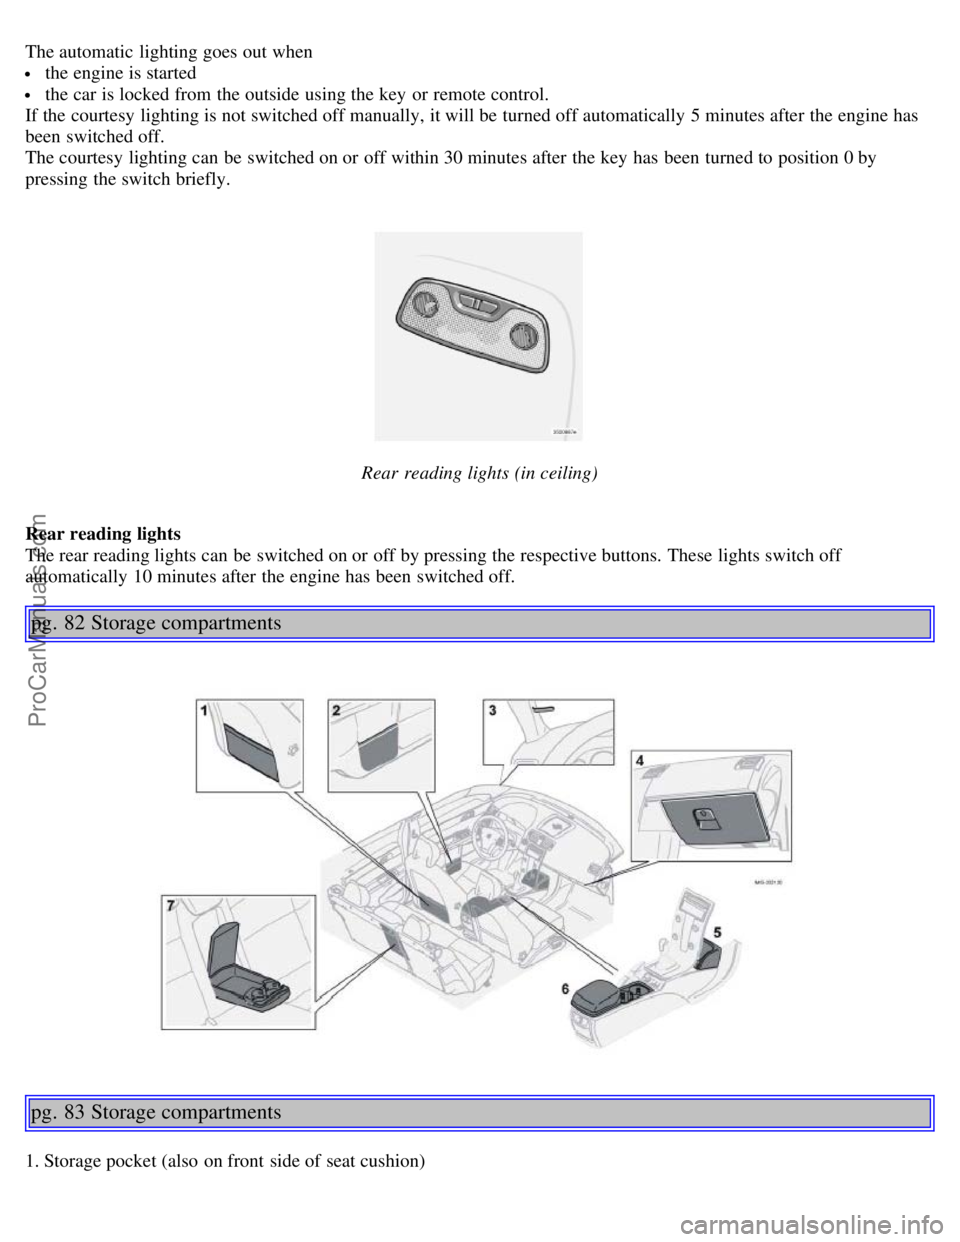
A - Driver's side reading light,B - Courtesy lighting,
C - Passenger's side reading light
Interior lighting
The reading lights can be switched on and off by pressing buttons A or C. The function selector (B) can be set to three
positions:
Press the left side of the switch: the interior courtesy lighting is always on.
Neutral position: the interior courtesy lighting comes on when a door is opened and is switched off by a dimmer
when the door is closed.
Press the right side of the switch: the interior courtesy lighting is always off.
Courtesy lighting - automatic function
The interior lighting has a built-in automatic function that switches on the courtesy lighting for 30 seconds when:
the car is unlocked from the outside using the key or remote control
the engine is switched off and the ignition key is turned to the 0 position.
The courtesy lighting lights up or remains on for 5 minutes when
one of the doors is open
the courtesy lighting has not been switched off (the right side of switch B depressed).
ProCarManuals.com
Page 46 of 127
The automatic lighting goes out when
the engine is started
the car is locked from the outside using the key or remote control.
If the courtesy lighting is not switched off manually, it will be turned off automatically 5 minutes after the engine has
been switched off.
The courtesy lighting can be switched on or off within 30 minutes after the key has been turned to position 0 by
pressing the switch briefly.
Rear reading lights (in ceiling)
Rear reading lights
The rear reading lights can be switched on or off by pressing the respective buttons. These lights switch off
automatically 10 minutes after the engine has been switched off.
pg. 82 Storage compartments
pg. 83 Storage compartments
1. Storage pocket (also on front side of seat cushion)
ProCarManuals.com
Page 98 of 127

2 0 0 5
VOLVO S40
Chapter 11 - Audio
pg. 167 Audio
Audio system - introduction168
Audio system overview169
Audio functions171
Radio functions174
CD player177
CD changer (certain audio systems only)179
Audio menu settings and selections181
pg. 168 Audio system - introduction
The audio system in your car is operated with the buttons and keys in the front, center control panel. Certain functions,
such as adjusting the volume, changing radio stations or tracks on a CD, etc, can also be controlled with the optional
steering wheel-mounted keypad.
The audio system is available in three
1 versions:
Performance
Features: AM/FM radio, single-disc CD player, 4x25W output, 4 full-range speakers and two treble speakers.
High-performance
Features: AM/FM radio, CD player, 4x40W output, eight speakers (bass and treble speakers in each door).
Premium sound
Features: AM/FM radio, integrated CD changer (6 discs), 4x70W output plus 25W Dolby Pro Logic II, twelve
speakers (bass, mid-range and treble speakers in the front doors, bass and treble speakers in the rear doors, and bass
and treble in the dashboard's center speaker).
A subwoofer mounted under the floor in the trunk is available as an accessory. Consult your Volvo retailer.
1. All three audio systems may not be available in all markets.
pg. 169 Audio system overview
ProCarManuals.com
Page 99 of 127
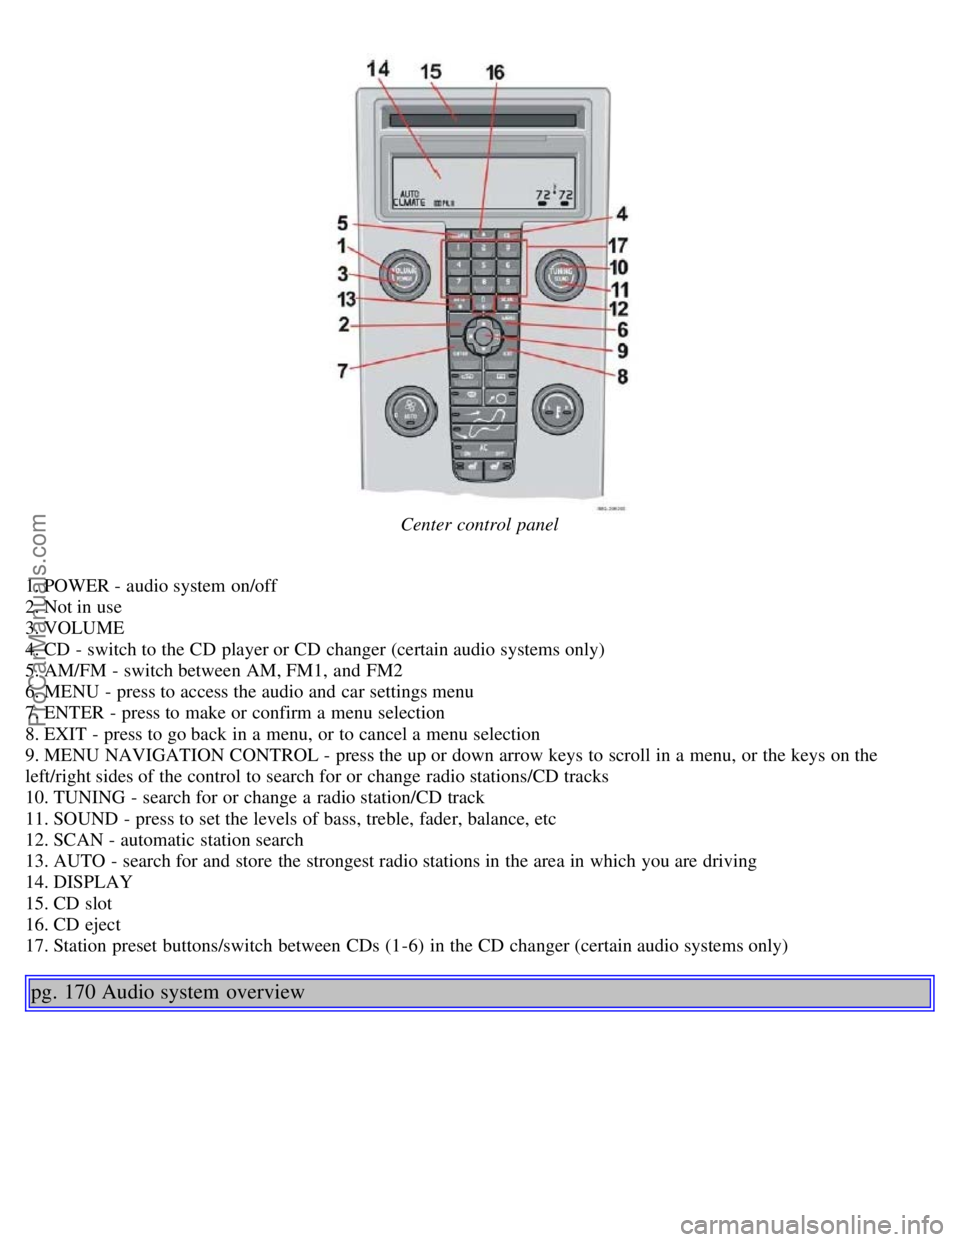
Center control panel
1. POWER - audio system on/off
2. Not in use
3. VOLUME
4. CD - switch to the CD player or CD changer (certain audio systems only)
5. AM/FM - switch between AM, FM1, and FM2
6. MENU - press to access the audio and car settings menu
7. ENTER - press to make or confirm a menu selection
8. EXIT - press to go back in a menu, or to cancel a menu selection
9. MENU NAVIGATION CONTROL - press the up or down arrow keys to scroll in a menu, or the keys on the
left/right sides of the control to search for or change radio stations/CD tracks
10. TUNING - search for or change a radio station/CD track
11. SOUND - press to set the levels of bass, treble, fader, balance, etc
12. SCAN - automatic station search
13. AUTO - search for and store the strongest radio stations in the area in which you are driving
14. DISPLAY
15. CD slot
16. CD eject
17. Station preset buttons/switch between CDs (1-6) in the CD changer (certain audio systems only)
pg. 170 Audio system overview
ProCarManuals.com