2005 VOLVO S40 warning light
[x] Cancel search: warning lightPage 63 of 127

fuel. Volvo allows the use of the following "oxygenated" fuels; however, the octane ratings listed on this page must
still be met.
Alcohol - Ethanol: Fuels containing up to 10% ethanol by volume may be used. Ethanol may also be referred to as
Ethyl alcohol, or "Gasohol". Ethers - MTBE: Fuels containing up to 15% MTBE may be used.
Fuel Formulations
Do not use gasoline that contains lead as a knock inhibitor, and do not use lead additives. Besides damaging the
exhaust emission control systems on your vehicle, lead has been strongly linked to certain forms of cancer. Many fuels
contain benzene as a solvent. Unburned benzene has been strongly linked to certain forms of cancer. If you live in an
area where you must fill your own gas tank, take precautions.
These may include:
standing upwind away from the filler nozzle while refueling
pg. 102 Fuel requirements
refueling only at gas stations with vapor recovery systems that fully seal the mouth of the filler neck during
refueling
wearing neoprene gloves while handling a fuel filler nozzle.
WARNING!
Carbon monoxide is a poisonous, colorless, and odorless gas. It is present in all exhaust gases. If you ever smell
exhaust fumes inside the vehicle, make sure the passenger compartment is ventilated, and immediately return the
vehicle to your retailer for correction.
Use of Additives
With the exception of fuel line antifreeze during winter months, do not add solvents, thickeners, or other store -bought
additives to your vehicle's fuel, cooling, or lubricating systems. Overuse may damage your engine, and some of these
additives contain organically volatile chemicals. Do not needlessly expose yourself to these chemicals.
Fuel filler door
Press the button on the light switch panel (see the illustration on page 45
) with the ignition switched off to unlock the
fuel filler door. Please note that the fuel filler door will remain unlocked until the vehicle begins to move forward. An
audible click will be heard when the fuel filler door relocks.
If you intend to leave your vehicle while it is being refueled, this feature enables you to lock the doors/trunk while
leaving the fuel filler door unlocked.
You can also keep the vehicle locked if you remain inside it during refueling. The central locking button does not lock
the fuel filler door.
Be sure the fuel filler door is not obstructed and is completely closed after refueling.
Open the fuel filler cap slowly during hot weather.
Refueling
The fuel tank is designed to hold approximately 15.9 US gallons (60 liters)
1 with sufficient volume left over to
accommodate possible expansion of the fuel in hot weather. Be aware that the "usable" tank capacity will be somewhat
less than the specified maximum. When the fuel level is low, such factors as ambient temperature, the fuel's "Reid
vapor pressure" characteristics, and terrain can affect the fuel pump's ability to supply the engine with an adequate
supply of fuel. Therefore, it is advisable to refuel as soon as possible when the needle nears the red zone, or when the
fuel warning light comes on.
1. Models with All Wheel Drive have a tank volume of 15 US gallons (57 liters).
Models with engine code 39 have a fuel tank capacity of 14.5 US gallons (55 liters). This code is the 6th and 7th digits
from the left in your vehicle's VIN number. See page 184
for the location of the VIN plate.
ProCarManuals.com
Page 64 of 127

pg. 103 Fuel requirements
CAUTION!
Do not refuel with the engine running
a. Turn the ignition off or to position I. If the ignition is on, an incorrect
reading could occur in the fuel gauge
After refueling, close the fuel filler cap by turning it clockwise until it clicks into place.
Allow for fuel expansion by not overfilling the tank. Overfilling could also cause damage to the emission control
systems.
Avoid spilling gasoline during refueling. In addition to causing damage to the environment, gasolines containing
alcohol can cause damage to painted surfaces, which may not be covered under the New Vehicle Limited Warranty.
Do not use gasolines containing methanol (methyl alcohol, wood alcohol). This practice can result in vehicle
performance deterioration and can damage critical parts in the fuel system. Such damage may not be covered under
the New Vehicle Limited Warranty.
a. If the fuel filler cap is not closed tightly or if the engine is running when the vehicle is refueled, the Check Engine
Light (malfunction indicator lamp) may indicate a fault. However, your vehicle's performance will not be affected. Use
only Volvo original or approved fuel filler caps.
pg. 104 Starting the vehicle
Starting the vehicle
To start the engine:
1. Fasten the seat belt. WARNING!
Before starting, check that the seat, steering wheel and mirrors are adjusted properly. Make sure the brake pedal can
be depressed completely. Adjust the seat if necessary.
2. Apply the parking brake if not already set. The gear selector (automatic transmission) is locked in the (P)ark position
(SHIFTLOCK). See also page 109.
Manual transmission: the clutch must be fully depressed.
3. Without touching the accelerator pedal, turn the ignition key to the starting position. Allow the starter to operate for
up to 10 seconds. Release the key as soon as the engine starts. If the engine fails to start, repeat this step.
NOTE:
On certain models, when the vehicle is started, idle speed may be noticeably higher than normal for a short period,
depending on the temperature of the engine. This has been done to help bring components in the emission control
system to their normal operating temperature as quickly as possible, which enables them to function normally.
For cold starts at altitudes above 6000 ft. (1800 meters), depress the accelerator pedal halfway and turn the key to
the starting position. Release the pedal slowly when the engine starts.
4. To release the gear selector from the (P)ark position, the engine must be running (or the ignition key must be in
position II) and the brake pedal must be depressed.
5. Select the desired gear. On models with an automatic transmission, the gear engages after a very slight delay which
is especially noticeable when selecting R.
NOTE:
ProCarManuals.com
Page 65 of 127

Immobilizer: If two of the keys to your vehicle are close together, e.g., on the same key ring when you try to start
the vehicle, this could cause interference in the immobilizer system and result in the vehicle not starting. If this should
occur, remove one of the keys from the key ring before trying to start the vehicle again.
Keylock: Your vehicle is equipped with a keylock system. When the engine is switched off, the gear selector must
be in the (P)ark position before the key can be removed from the ignition switch.
When starting in cold weather, the automatic transmission may shift up at slightly higher engine speeds than normal
until the automatic transmission fluid reaches normal operating temperature.
Do not race a cold engine immediately after starting. Oil flow may not reach some lubrication points fast enough to
prevent engine damage.
WARNING!
Volvo's floor mats are specially manufactured for your car. They must be firmly secured in the clips on the floor so
that they cannot slide and become trapped under the pedals on the driver's side.
pg. 105 Starting the vehicle
CAUTION!
Automatic transmission: The engine should be idling when you move the gear selector. Never accelerate until after
you feel the transmission engage! Accelerating immediately after selecting a gear will cause harsh engagement and
premature transmission wear. Selecting P or N when idling at a standstill for prolonged periods of time will help
prevent overheating of the automatic transmission fluid.
WARNING!
Always place the gear selector in Park and apply the parking brake before leaving the vehicle. Never leave the
vehicle unattended with the engine running.
Always open garage doors fully before starting the engine inside a garage to ensure adequate ventilation. The
exhaust gases contain carbon monoxide, which is invisible and odorless but very poisonous.
pg. 106 Ignition switch and steering wheel lock
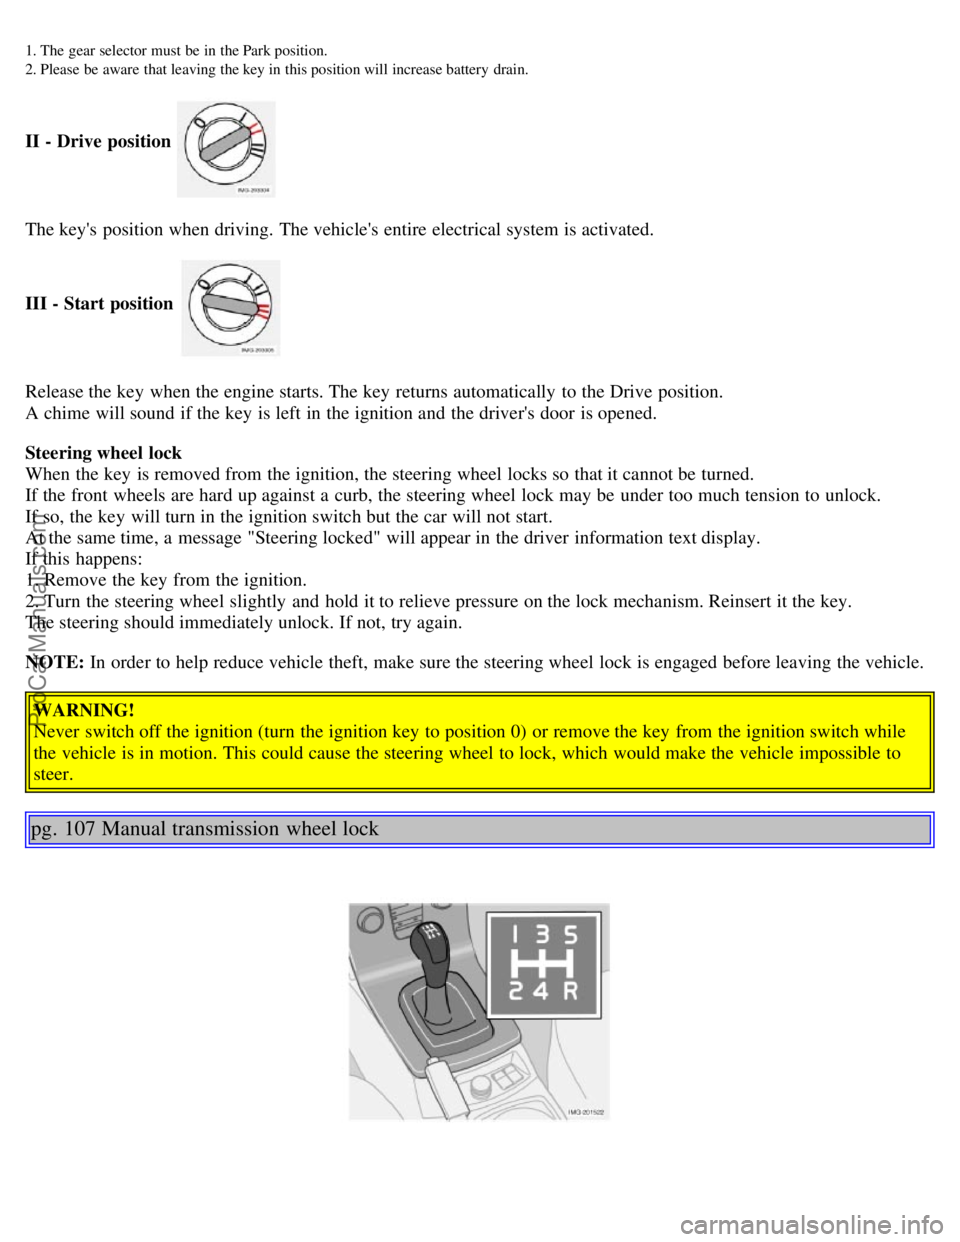
0 - Locked position
Remove the key to lock the steering wheel1. Never turn the key to position 0 while driving or when the vehicle is
being towed.
NOTE: A ticking sound may be audible if the key is turned to a position between 0 and I. To stop this sound, turn the
key to position II and back to position 0.
I - Intermediate position
2
Certain accessories, radio, etc. on, daytime running lights off
ProCarManuals.com
Page 66 of 127

1. The gear selector must be in the Park position.
2. Please be aware that leaving the key in this position will increase battery drain.
II - Drive position
The key's position when driving. The vehicle's entire electrical system is activated.
III - Start position
Release the key when the engine starts. The key returns automatically to the Drive position.
A chime will sound if the key is left in the ignition and the driver's door is opened.
Steering wheel lock
When the key is removed from the ignition, the steering wheel locks so that it cannot be turned.
If the front wheels are hard up against a curb, the steering wheel lock may be under too much tension to unlock.
If so, the key will turn in the ignition switch but the car will not start.
At the same time, a message "Steering locked" will appear in the driver information text display.
If this happens:
1. Remove the key from the ignition.
2. Turn the steering wheel slightly and hold it to relieve pressure on the lock mechanism. Reinsert it the key.
The steering should immediately unlock. If not, try again.
NOTE: In order to help reduce vehicle theft, make sure the steering wheel lock is engaged before leaving the vehicle.
WARNING!
Never switch off the ignition (turn the ignition key to position 0) or remove the key from the ignition switch while
the vehicle is in motion. This could cause the steering wheel to lock, which would make the vehicle impossible to
steer.
pg. 107 Manual transmission wheel lock
ProCarManuals.com
Page 85 of 127

toward the rear side of the engine. Special moonroof cautions:
Always close the moonroof and sun shade before washing your vehicle.
Never use abrasive cleaning agents on the moonroof.
Never use wax on the rubber seals around the moonroof.
Automatic washing - simple and quick
We do NOT recommend washing your car in an automatic wash during the first six months (because the paint will
not have hardened sufficiently).
An automatic wash is a simple and quick way to clean your car, but it is worth remembering that it may not be as
thorough as when you yourself go over the car with sponge and water. Keeping the underbody clean is most important,
pg. 141 Washing and cleaning the car
especially in the winter. Some automatic washers do not have facilities for washing the underbody.
CAUTION!
Before driving into an automatic carwash, turn off the optional rain sensor to avoid damaging the windshield wipers.
Make sure that side view mirrors, auxiliary lamps, etc, are secure, and that any antenna(s) are retracted or removed.
Otherwise there is risk of the machine dislodging them.
WARNING!
When the car is driven immediately after being washed, apply the brakes several times in order to remove any
moisture from the brake linings.
Engine cleaning agents should not be used when the engine is warm. This constitutes a fire risk.
Polishing and Waxing
Normally, polishing is not required during the first year after delivery, however, waxing may be beneficial.
Before applying polish or wax the vehicle must be washed and dried. Tar spots can be removed with kerosene or tar
remover. Difficult spots may require a fine rubbing compound.
After polishing use liquid or paste wax.
Several commercially available products contain both polish and wax.
Waxing alone does not substitute for polishing a dull surface.
A wide range of polymer-based waxes can be purchased today. These waxes are easy to use and produce a long-
lasting, high-gloss finish that protects the bodywork against oxidation, road dirt and fading.
Do not polish or wax your vehicle in direct sunlight (the surface of the vehicle should not be warmer than 113° F
(45° C).
CAUTION!
Volvo does not recommend the use of long-life or durable paint protection coatings, some of which may claim to
prevent pitting, fading, oxidation, etc. These coatings have not been tested by Volvo for compatibility with your
vehicle's clear coat. Some of them may cause the clear coat to soften, crack, or cloud. Damage caused by application
of paint protection coatings may not be covered under your vehicle's paint warranty.
pg. 142 Upholstery care
Fabric
Clean with soapy water or a detergent. For more difficult spots caused by oil, ice cream, shoe polish, grease, etc.,
use a clothing/fabric stain remover.
ProCarManuals.com
Page 90 of 127

Wash the car, including the undercarriage, to reduce wear that can be caused by a buildup of dirt, and corrosion that
can be caused by salt residues.
Clean leaves and twigs from air intake vents at the base of the windshield, and from other places where they may
collect.
NOTE:
Complete service information for qualified technicians is available online for purchase or subscription at
www.volvotechinfo.com
.
pg. 148 Hood and engine compartment
Hood and engine compartment
Opening the hood
To open the hood:
Pull the lever located under the left side of the dash to release the hood lock.
Lift the hood slightly.
Press up the release control located under the front edge of the hood (at the center) up to the right, and lift the hood.
WARNING!
Check that the hood locks engage properly when closed.
Engine compartment
1. Cooling system expansion tank
2. Power steering fluid reservoir
3. Dipstick - engine oil
4. Radiator
5. Cooling fan
6. Washer fluid reservoir
7. Engine oil filler cap
8. Brake/clutch fluid reservoir
9. Battery
10. Relay/fuse box
11. Air cleaner
ProCarManuals.com
Page 96 of 127

Driving habits and conditions, climate, the number of starts, etc. all affect the service life and function of the battery.
In order for your battery to perform satisfactorily, keep the following in mind:
Check the fluid level in each cell in the battery every 24 months or every 15,0001 miles (24,000 km), whichever is
sooner. The fluid should be at the level shown in the illustration above (A). Do not overfill.
Use a screw driver to open the caps and a flashlight to inspect the level.
If necessary, add distilled water. The level should never be above the indicator (A).
The fluid level should be checked if the battery has been recharged.
After inspection, be sure the cap over each battery cell is securely in place.
Check that the battery cables are correctly connected and properly tightened.
Never disconnect the battery when the engine is running, for example when changing the battery.
The battery should be disconnected from the vehicle when a battery charger is used directly on the battery.
1. More frequently in warm climates.
WARNING!
PROPOSITION 65 WARNING!
Battery posts, terminals, and related accessories contain lead and lead compounds, chemicals known to the state of
California to cause cancer and reproductive harm. Wash hands after handling.
pg. 154 Battery
Battery replacement
1. Switch off the ignition and remove the key.
2. Unscrew the cover over the battery.
3. Wait at least 5 minutes after switching off the ignition before disconnecting the battery so that all information in the
vehicle's electrical system can be stored in the control modules.
4. Remove the cover and unscrew the front side of the battery box using a screwdriver.
ProCarManuals.com
Page 120 of 127

Brake fluid151
Bulbs155
C
Capacities, fluids186
Catalytic converter, three-way190
CD changer179
CD player177
Central locking system, remote controls88
Changing a tire135
Changing oil149
Charge air cooler188
Child restraint anchorages35
Child safety32
Clock setting button38
Cold weather precautions99
Collision status30
Collisions, driving after30
Compact disc care177
Compass in rearview mirror57
Coolant150
Courtesy lighting81
Cruise control49
D
Dimensions185
Disabling the passenger's side front airbag19
Display, instrument panel38
Dolby Surround Pro Logic II172
Door mirrors58
Door open warning42
Driving after a collision30
DSTC44
E
Economical driving98
Electrical current - conserving99
Electrical system189
Electronic Brake Force Distribution (EBD)112
Emergency Brake Assistance - EBA113
Engine compartment148
Engine oil, changing149
Engine specifications188
Environment3
Equalizer, audio system172
F
Federal Clean Air Act146
ProCarManuals.com