2005 VOLVO S40 ECO mode
[x] Cancel search: ECO modePage 76 of 127
tire.
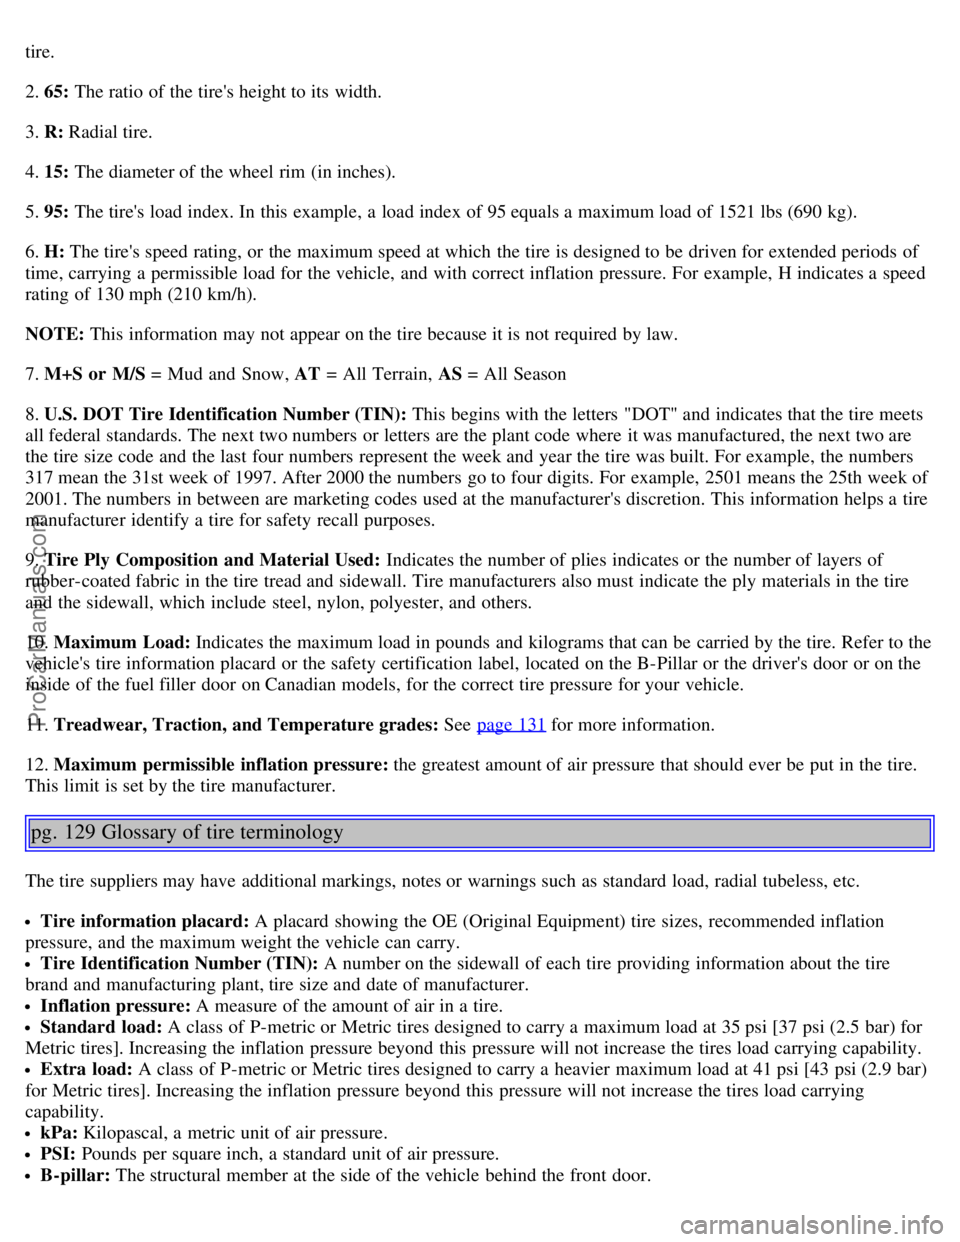
2. 65: The ratio of the tire's height to its width.
3. R: Radial tire.
4. 15: The diameter of the wheel rim (in inches).
5. 95: The tire's load index. In this example, a load index of 95 equals a maximum load of 1521 lbs (690 kg).
6. H: The tire's speed rating, or the maximum speed at which the tire is designed to be driven for extended periods of
time, carrying a permissible load for the vehicle, and with correct inflation pressure. For example, H indicates a speed
rating of 130 mph (210 km/h).
NOTE: This information may not appear on the tire because it is not required by law.
7. M+S or M/S = Mud and Snow, AT = All Terrain, AS = All Season
8. U.S. DOT Tire Identification Number (TIN): This begins with the letters "DOT" and indicates that the tire meets
all federal standards. The next two numbers or letters are the plant code where it was manufactured, the next two are
the tire size code and the last four numbers represent the week and year the tire was built. For example, the numbers
317 mean the 31st week of 1997. After 2000 the numbers go to four digits. For example, 2501 means the 25th week of
2001. The numbers in between are marketing codes used at the manufacturer's discretion. This information helps a tire
manufacturer identify a tire for safety recall purposes.
9. Tire Ply Composition and Material Used: Indicates the number of plies indicates or the number of layers of
rubber-coated fabric in the tire tread and sidewall. Tire manufacturers also must indicate the ply materials in the tire
and the sidewall, which include steel, nylon, polyester, and others.
10. Maximum Load: Indicates the maximum load in pounds and kilograms that can be carried by the tire. Refer to the
vehicle's tire information placard or the safety certification label, located on the B-Pillar or the driver's door or on the
inside of the fuel filler door on Canadian models, for the correct tire pressure for your vehicle.
11. Treadwear, Traction, and Temperature grades: See page 131
for more information.
12. Maximum permissible inflation pressure: the greatest amount of air pressure that should ever be put in the tire.
This limit is set by the tire manufacturer.
pg. 129 Glossary of tire terminology
The tire suppliers may have additional markings, notes or warnings such as standard load, radial tubeless, etc.
Tire information placard: A placard showing the OE (Original Equipment) tire sizes, recommended inflation
pressure, and the maximum weight the vehicle can carry.
Tire Identification Number (TIN): A number on the sidewall of each tire providing information about the tire
brand and manufacturing plant, tire size and date of manufacturer.
Inflation pressure: A measure of the amount of air in a tire.
Standard load: A class of P-metric or Metric tires designed to carry a maximum load at 35 psi [37 psi (2.5 bar) for
Metric tires]. Increasing the inflation pressure beyond this pressure will not increase the tires load carrying capability.
Extra load: A class of P-metric or Metric tires designed to carry a heavier maximum load at 41 psi [43 psi (2.9 bar)
for Metric tires]. Increasing the inflation pressure beyond this pressure will not increase the tires load carrying
capability.
kPa: Kilopascal, a metric unit of air pressure.
PSI: Pounds per square inch, a standard unit of air pressure.
B-pillar: The structural member at the side of the vehicle behind the front door.
ProCarManuals.com
Page 77 of 127
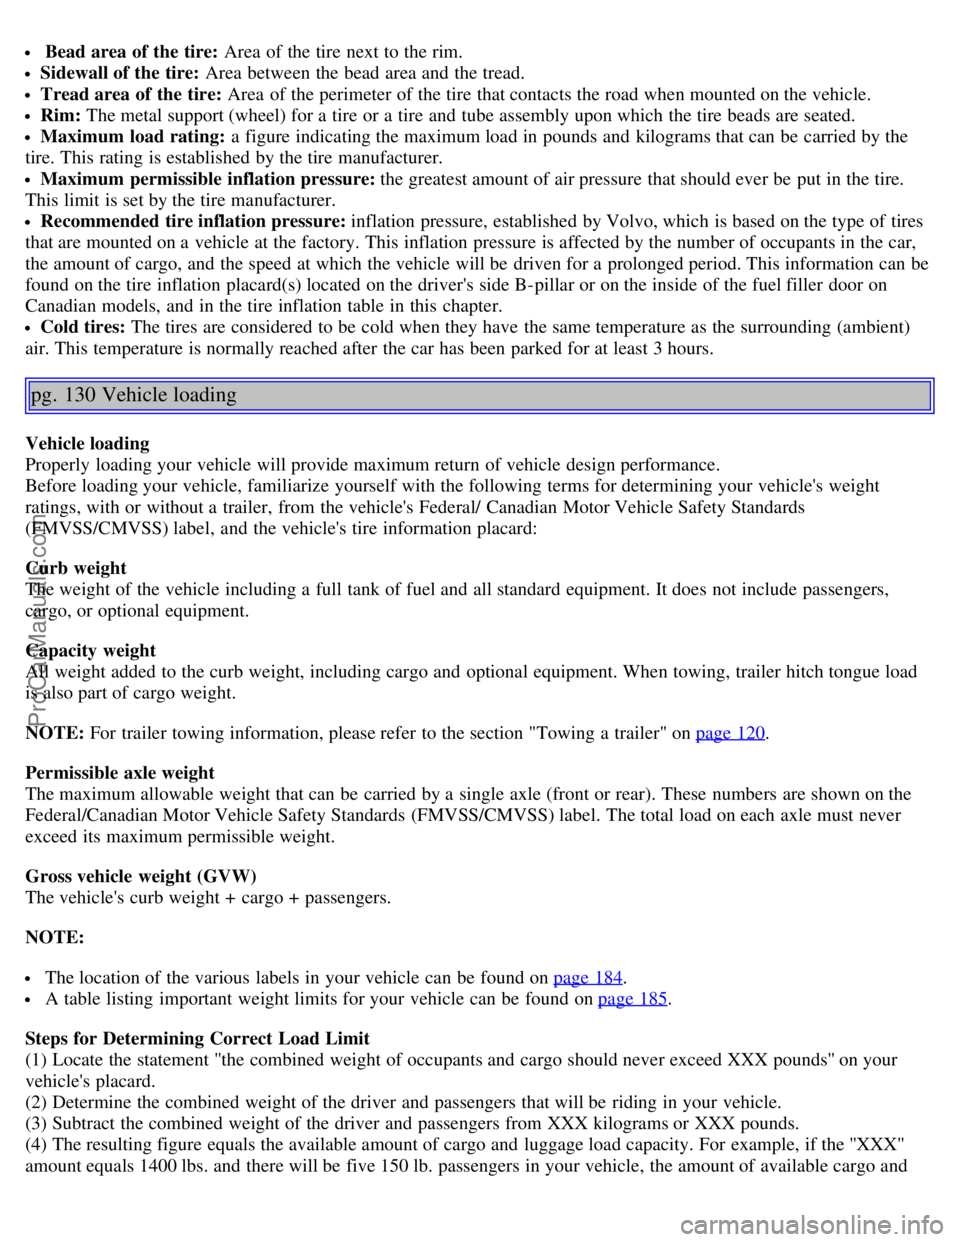
Bead area of the tire: Area of the tire next to the rim.
Sidewall of the tire: Area between the bead area and the tread.
Tread area of the tire: Area of the perimeter of the tire that contacts the road when mounted on the vehicle.
Rim: The metal support (wheel) for a tire or a tire and tube assembly upon which the tire beads are seated.
Maximum load rating: a figure indicating the maximum load in pounds and kilograms that can be carried by the
tire. This rating is established by the tire manufacturer.
Maximum permissible inflation pressure: the greatest amount of air pressure that should ever be put in the tire.
This limit is set by the tire manufacturer.
Recommended tire inflation pressure: inflation pressure, established by Volvo, which is based on the type of tires
that are mounted on a vehicle at the factory. This inflation pressure is affected by the number of occupants in the car,
the amount of cargo, and the speed at which the vehicle will be driven for a prolonged period. This information can be
found on the tire inflation placard(s) located on the driver's side B-pillar or on the inside of the fuel filler door on
Canadian models, and in the tire inflation table in this chapter.
Cold tires: The tires are considered to be cold when they have the same temperature as the surrounding (ambient)
air. This temperature is normally reached after the car has been parked for at least 3 hours.
pg. 130 Vehicle loading
Vehicle loading
Properly loading your vehicle will provide maximum return of vehicle design performance.
Before loading your vehicle, familiarize yourself with the following terms for determining your vehicle's weight
ratings, with or without a trailer, from the vehicle's Federal/ Canadian Motor Vehicle Safety Standards
(FMVSS/CMVSS) label, and the vehicle's tire information placard:
Curb weight
The weight of the vehicle including a full tank of fuel and all standard equipment. It does not include passengers,
cargo, or optional equipment.
Capacity weight
All weight added to the curb weight, including cargo and optional equipment. When towing, trailer hitch tongue load
is also part of cargo weight.
NOTE: For trailer towing information, please refer to the section "Towing a trailer" on page 120
.
Permissible axle weight
The maximum allowable weight that can be carried by a single axle (front or rear). These numbers are shown on the
Federal/Canadian Motor Vehicle Safety Standards (FMVSS/CMVSS) label. The total load on each axle must never
exceed its maximum permissible weight.
Gross vehicle weight (GVW)
The vehicle's curb weight + cargo + passengers.
NOTE:
The location of the various labels in your vehicle can be found on page 184.
A table listing important weight limits for your vehicle can be found on page 185.
Steps for Determining Correct Load Limit
(1) Locate the statement ''the combined weight of occupants and cargo should never exceed XXX pounds'' on your
vehicle's placard.
(2) Determine the combined weight of the driver and passengers that will be riding in your vehicle.
(3) Subtract the combined weight of the driver and passengers from XXX kilograms or XXX pounds.
(4) The resulting figure equals the available amount of cargo and luggage load capacity. For example, if the ''XXX''
amount equals 1400 lbs. and there will be five 150 lb. passengers in your vehicle, the amount of available cargo and
ProCarManuals.com
Page 86 of 127
Plastic
The plastic in the upholstery can be cleaned with a soft cloth and mild soap solution.
Alcantera
TM suede-like material
Suede -like upholstery can be cleaned with a soft cloth and mild soap solution.
Leather care
Volvo's leather upholstery is manufactured with a protectant to repel soiling. Over time, sunlight, grease and dirt can
break down the protection. Staining, cracking, scuffing, and fading can result.
Volvo offers an easy-to-use, non-greasy leather care kit formulated to clean and beautify your vehicle's leather, and to
renew the protective qualities of its finish. The cleaner removes dirt and oil buildup. The light cream protectant
restores a barrier against soil and sunlight.
Volvo also offers a special leather softener that should be applied after the cleaner and protectant. It leaves leather soft
and smooth, and reduces friction between leather and other finishes in the vehicle.
Volvo recommends cleaning, protecting and conditioning your vehicle's leather two to four times a year. Ask your
Volvo retailer about Leather Care Kit 951 0251 and Leather Softener 943 7429.
CAUTION!
- Under no circumstances should gasoline, naphtha or similar cleaning agents be used on the plastic or the leather
since these can cause damage.
- Take extra care when removing stains such as ink or lipstick since the coloring can spread.
- Use solvents sparingly. Too much solvent can damage the seat padding.
- Start from the outside of the stain and work toward the center.
-- Sharp objects (e.g. pencils or pens in a pocket) or Velcro fasteners on clothing may damage the textile upholstery.
Cleaning the seat belts
Clean only with lukewarm water and a mild soap solution.
Cleaning floor mats
The floor mats should be vacuumed or brushed clean regularly, especially during winter when they should be taken out
for drying. Spots on textile mats can be removed with a mild detergent. For best protection in winter, Volvo
recommends the use of rubber floor mats. Consult your Volvo retailer.
pg. 143 Paint touch up
Paint touch up
Paint damage requires immediate attention to avoid rusting. Make it a habit to check the finish regularly - when
washing the vehicle for instance. Touch-up if necessary. Paint repairs require special equipment and skill. Contact your
Volvo retailer for any extensive damage. Minor scratches can be repaired by using Volvo touch-up paint.
Color code
When ordering touch-up paint from your Volvo retailer, make sure you have the right color. Use the paint code
indicated on the model plate. The plate is located on the passenger's side center door pillar.
Minor stone chips and scratches
Material:
Primer - can
Paint - touch-up pen
Brush
Masking tape
ProCarManuals.com
Page 101 of 127
Audio system On/Off
With the ignition key in position I or higher, press the POWER button to switch the audio system on or off.
If the audio system is active when the ignition is switched off, it will reactivate automatically when the car is restarted.
Selecting a sound source
Use the CD and AM/FM buttons to select the sound source of your choice.
Press the AM/FM button repeatedly to switch between FM1, FM2 and AM.
The selected sound source is shown in the display.
Volume control
Turn the volume knob clockwise or counterclockwise to increase or lower the volume. The volume can also be
increased (+) or lowered (-) using the optional steering wheel keypad.
Pause mode
When the volume is turned all the way down, the CD player switches to pause mode. Reactivate the player by turning
up the volume.
Volume control - ALARM
If a CD is playing when the radio receives an alarm bulletin (available in certain areas only), the CD player enters
pause mode. The bulletin is broadcast at the volume selected for this type of message.
After the bulletin has been completed, the audio system reverts to the originally selected sound source (radio or CD),
which is played at the volume that was selected for that source.
If the bulletin volume is adjusted while the bulletin is being broadcast, this new volume is saved and used for
subsequent bulletins.
Sound settings
1. Press SOUND.
2. Press the SOUND button repeatedly until you come to the setting that you wish to change. Choose BASS, TREBLE,
FADER, BALANCE, SUBWOOFER (option), CENTER or SURROUND
1.
3. Use the TUNING knob to adjust the level. The display will show a scale from the min. to max. settings. The center
of this scale is the default setting.
Display text Sound setting
BASS Bass
TREBLE Treble
BALANCE Balance between the speakers on the left and right sides of the car
FADER Balance between the front and rear speakers
SUBWOOFER Level for the optional subwoofer (bass speaker)
CENTER Setting for the center speaker (Premium sound system only)
SURROUND Setting for surround sound (Premium sound system only)
1. The Center and Surround functions are only available on the Premium sound system.
pg. 172 Audio functions
NOTE:
The settings for the center speaker can only be adjusted if Dolby Pro Logic II (DPL II) or 3-channel stereo (3CH) is
selected in the menu.
The level for the subwoofer can only be set if SUBWOOFER is activated in the menu.
3-channel mode is recommended for AM/FM radio broadcasts.
ProCarManuals.com
Page 102 of 127

Dolby Surround Pro Logic II
Dolby Surround Pro Logic II together with a center speaker in the dashboard offers you a sound experience very close
to a live performance. The normal left-right stereo channels are divided to left-center -right. In addition, surround
sound is produced by the rear speakers. This surround sound mirrors the ambience of a concert hall. Dolby Surround
Pro Logic II functions in CD, AM, and FM modes.
NOTE:
Dolby Surround Pro Logic II is only available on the Premium Sound system.
Weak and/or distorted radio signals can cause static in Dolby Surround Pro Logic II mode. 3-channel mode is
recommended in such cases.
To select Dolby Surround Pro Logic II:
1. Press MENU.
2. Select the menu for relevant sound source and press ENTER.
3. Select AUDIO SETTINGS from the menu and press ENTER.
4. Select SURROUND AM/FM or SURROUND CD and press ENTER.
5. Select PRO LOGIC II, 3 CHANNEL or OFF and press ENTER The symbol Dolby PL II is shown in the display if
Pro Logic II has been selected. 3 CH is shown in the display if 3 CHANNEL has been selected. OFF means the audio
system is in normal stereo mode.
Dolby Surround Pro Logic II and the Dolby icon are trademarks of Dolby Laboratories Licensing
Corporation. Dolby Pro Logic II Surround System is manufactured under license from Dolby Laboratories Licensing
Corporation.
Bass speaker - SUBWOOFER
(accessory)
The subwoofer helps the system provide fuller sound and deeper bass.
To switch the subwoofer on or off:
1. Press MENU.
2. Select the menu for relevant sound source and press ENTER.
3. Select SUBWOOFER and press ENTER. A check in the box in the display indicates that SUBWOOFER is
activated.
Equalizer Front/Rear
This function is used to fine-tune the sound from the front and rear speakers.
NOTE: This function is only available on certain sound systems.
To adjust the equalizer settings:
1. Press MENU.
2. Select the menu for the current sound source and press ENTER.
3. Select Audio settings in the menu and press ENTER.
4. Select Equalizer front/rear and press ENTER.
5. Use the MENU NAVIGATION control or the TUNING knob to set the level.
6. Use the MENU NAVIGATION control to select the new frequency. Five frequencies can be selected.
7. Press ENTER to save any changes made and to exit the menu.
pg. 173 Audio functions
ProCarManuals.com
Page 103 of 127
8. Press EXIT to leave the menu without saving any changes.
ASC - speed compensated volume
The audio system's volume is adjusted automatically according to the speed of the vehicle. There are three settings
available (see e.g. menu point 4.6), which determine the level of volume compensation:
Low
Medium*
High
* Default setting.
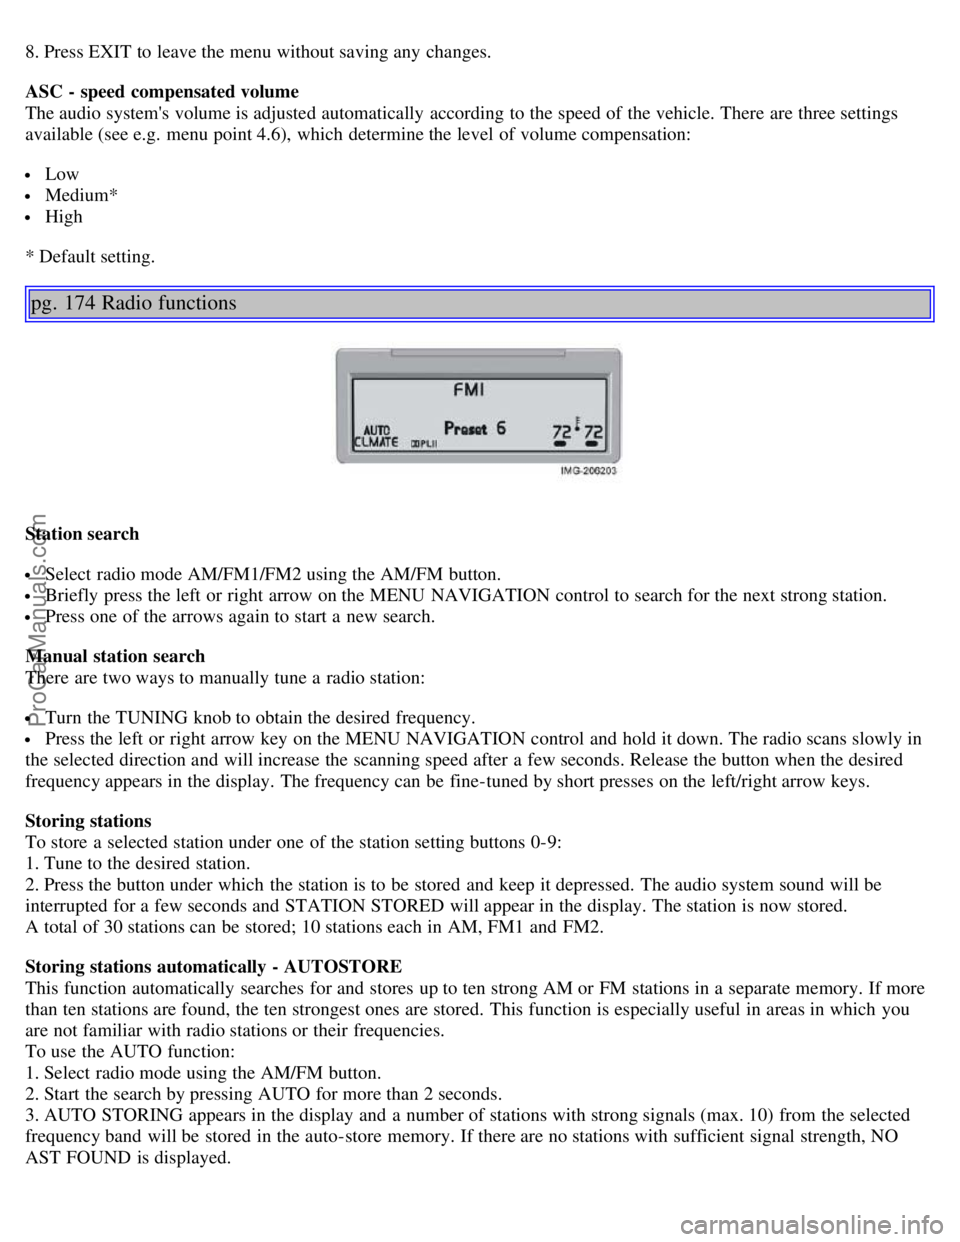
pg. 174 Radio functions
Station search
Select radio mode AM/FM1/FM2 using the AM/FM button.
Briefly press the left or right arrow on the MENU NAVIGATION control to search for the next strong station.
Press one of the arrows again to start a new search.
Manual station search
There are two ways to manually tune a radio station:
Turn the TUNING knob to obtain the desired frequency.
Press the left or right arrow key on the MENU NAVIGATION control and hold it down. The radio scans slowly in
the selected direction and will increase the scanning speed after a few seconds. Release the button when the desired
frequency appears in the display. The frequency can be fine-tuned by short presses on the left/right arrow keys.
Storing stations
To store a selected station under one of the station setting buttons 0-9:
1. Tune to the desired station.
2. Press the button under which the station is to be stored and keep it depressed. The audio system sound will be
interrupted for a few seconds and STATION STORED will appear in the display. The station is now stored.
A total of 30 stations can be stored; 10 stations each in AM, FM1 and FM2.
Storing stations automatically - AUTOSTORE
This function automatically searches for and stores up to ten strong AM or FM stations in a separate memory. If more
than ten stations are found, the ten strongest ones are stored. This function is especially useful in areas in which you
are not familiar with radio stations or their frequencies.
To use the AUTO function:
1. Select radio mode using the AM/FM button.
2. Start the search by pressing AUTO for more than 2 seconds.
3. AUTO STORING appears in the display and a number of stations with strong signals (max. 10) from the selected
frequency band will be stored in the auto-store memory. If there are no stations with sufficient signal strength, NO
AST FOUND is displayed.
ProCarManuals.com
Page 104 of 127
The stored stations can be found using the buttons 0-9.
When the radio is in auto-store mode, AUTO is shown in the display. AUTO disappears when you return to the
normal radio mode. Return to the normal radio mode by pressing the AM/FM button, EXIT, or by briefly pressing the
AUTO button (for less than approx. 0.5 seconds).
To return to the Auto-store mode, press the AUTO button briefly and select a stored station by pressing one of the
number keys (0-9)
Scanning - SCAN
This function automatically searches for the next strong AM or FM station signal. When the radio finds a station,
scanning is interrupted for approximately 8 seconds, after which it will continue scanning.
pg. 175 Radio functions
1. Select radio mode using the AM/FM button.
2. Press SCAN (SCAN is shown in the display).
3. Press the SCAN or EXIT button to stop the scan function and listen to the selected station.
To start a new station scanning, repeat steps 1-3.
Radio Broadcast Data System - RBDS
This feature, which may not be available in your area, functions only with FM broadcasts. The radio in your car is
equipped with an advanced system allowing information from broadcasters to be transmitted visually, as text, together
with the audio signal. This information is then decoded by the radio and made available for several new and unique
features.
The RBDS or Radio Broadcast Data System operates in the FM band only, and the information transmitted is
supplied exclusively by participating broadcasters. Volvo has no control over the accuracy of the data or
information.
Coverage by local broadcasters may be limited at this time, but as the technology and benefits grow, you will find the
radio in your car is equipped to take advantage of this system.
PI (Program Information) seek
When an FM station has been stored as a preset, the radio also stores RBDS program information if it is available.
When the preset is selected at a later time, the radio tries to access updated program information. In weak signal areas,
there may be a delay before the station becomes audible. During this delay, there will be no sound.
PI seek can be interrupted by pressing EXIT.
Radio text
Certain RBDS stations broadcast program information, which can be shown in the display.
To start this function:
1. Select FM1 or FM2 and press the MENU button.
2. Press ENTER.
3. Select RADIOTEXT in the menu and press ENTER.
To deactivate this function, select RADIOTEXT again and press ENTER.
Alarm
Alarms bulletins are transmitted automatically by certain RBDS stations. The function cannot be deactivated.
"Alarm!" is shown in the radio display when an alarm message is sent. The function is used to warn motorists of
serious accidents, etc.
Program type/station format - PTY
The PTY function allows you to find stations whose programs suit your taste. Use the PTY function to select among
the different station formats shown in the list.
To show the format of the current station:
1. Select FM1 or FM2 and press the MENU button.
ProCarManuals.com
Page 106 of 127
3. Select ADVANCED RADIO SETTINGS in the menu and press ENTER.
4. Select AF and press ENTER.
To deactivate this function, select AF and press ENTER.
Resetting RBDS functions
This function restores all radio settings to the original factory settings.
1. Select FM1 or FM2 and press the MENU button.
2. Press ENTER.
3. Select ADVANCED RADIO SETTINGS in the menu and press ENTER.
4. Select RESET ALL in the menu and press ENTER.
5. Press ENTER again to confirm your selection.
pg. 177 CD player
CD player
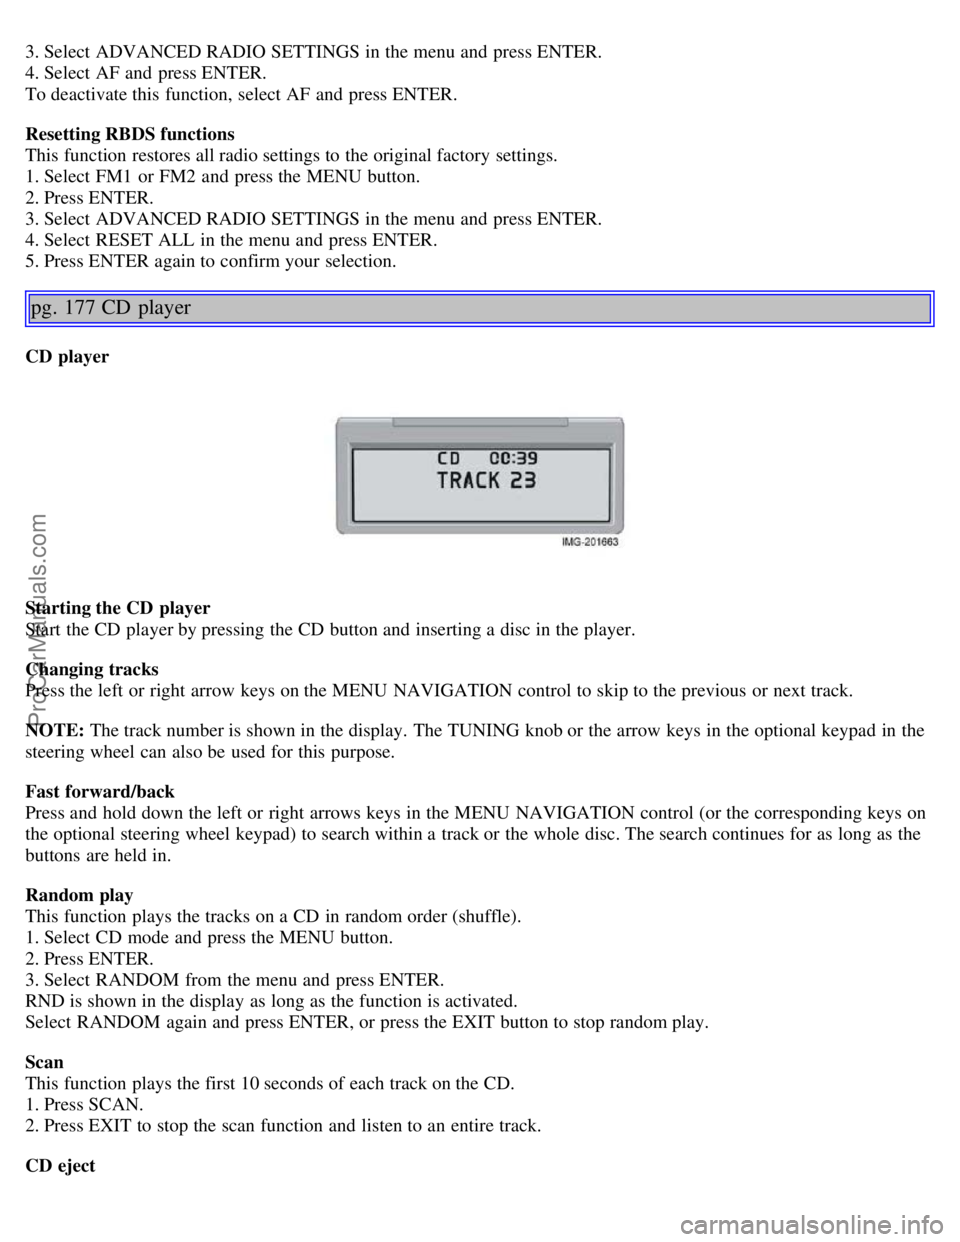
Starting the CD player
Start the CD player by pressing the CD button and inserting a disc in the player.
Changing tracks
Press the left or right arrow keys on the MENU NAVIGATION control to skip to the previous or next track.
NOTE: The track number is shown in the display. The TUNING knob or the arrow keys in the optional keypad in the
steering wheel can also be used for this purpose.
Fast forward/back
Press and hold down the left or right arrows keys in the MENU NAVIGATION control (or the corresponding keys on
the optional steering wheel keypad) to search within a track or the whole disc. The search continues for as long as the
buttons are held in.
Random play
This function plays the tracks on a CD in random order (shuffle).
1. Select CD mode and press the MENU button.
2. Press ENTER.
3. Select RANDOM from the menu and press ENTER.
RND is shown in the display as long as the function is activated.
Select RANDOM again and press ENTER, or press the EXIT button to stop random play.
Scan
This function plays the first 10 seconds of each track on the CD.
1. Press SCAN.
2. Press EXIT to stop the scan function and listen to an entire track.
CD eject
ProCarManuals.com