Page 81 of 336

81
A child restraint system for a small
child or baby must itself be properly
restrained on the seat with the lap por-
tion of the lap/shoulder belt. You must
carefully consult the manufacturer ’s in-
structions which accompany child re-
straint system.
To provide proper restraint, use a child
restraint system following the manufactur-
er ’s instructions about the appropriate age
and size of the child for the child restraint
system.
Install the child restraint system correctly
following the instructions provided by its
manufacturer. General directions are also
provided under the following instructions.
The child restraint system should be
installed on the rear seat. According to
accident statistics, the child is safer when
properly restrained in the rear seat than
in the front seat.
When not using the child restraint system,
keep it secured with the seat belt or place
it somewhere other than the passenger
compartment. This will prevent it from in-
juring passengers in the event of a sud-
den stop or accident.Child restraint systems are classified into
the following 3 types depending on the
child’s age and size.
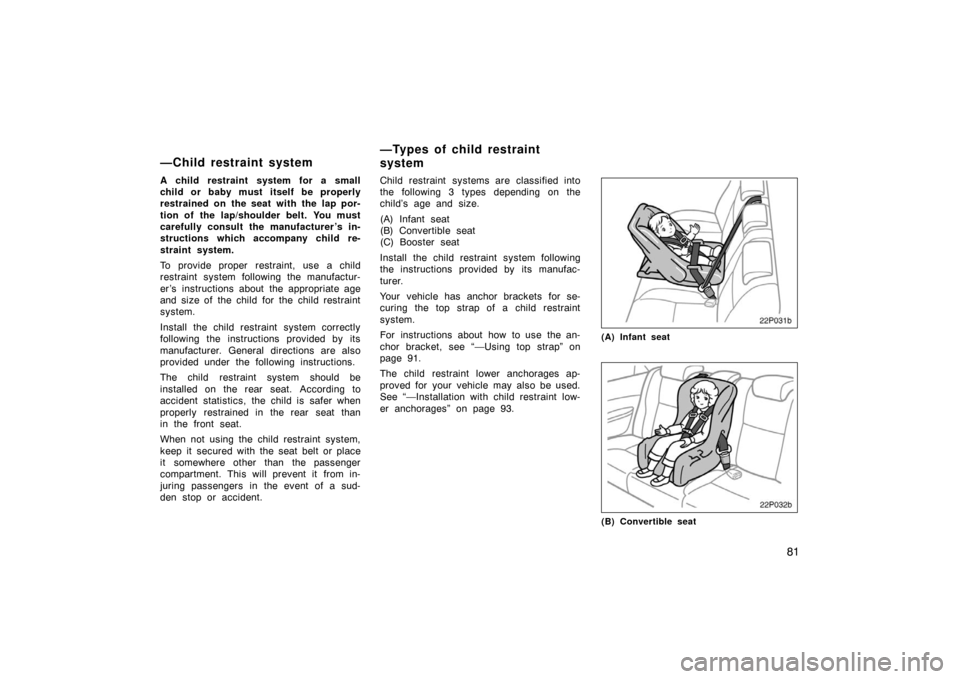
(A) Infant seat
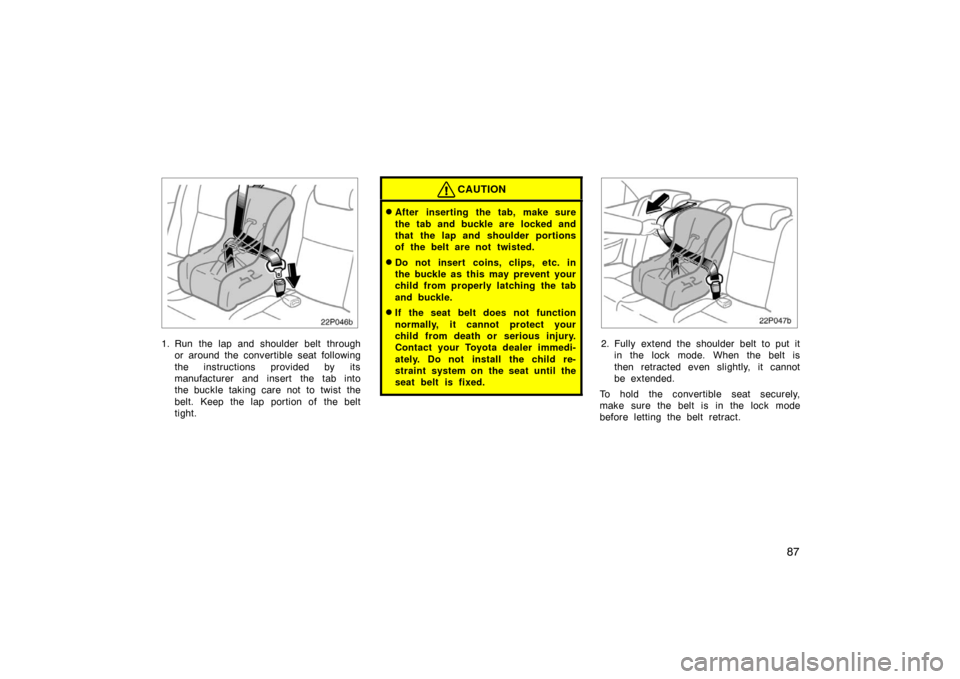
(B) Convertible seat
(C) Booster seat
Install the child restraint system following
the instructions provided by its manufac-
turer.
Your vehicle has anchor brackets for se-
curing the top strap of a child restraint
system.
For instructions about how to use the an-
chor bracket, see “—Using top strap” on
page 91.
The child restraint lower anchorages ap-
proved for your vehicle may also be used.
See “—Installation with child restraint low-
er anchorages” on page 93.
22p031b
(A) Infant seat
22p032b
(B) Convertible seat
—Child restraint system
—Types of child restraint
system
Page 84 of 336
84
22p038b
2. Fully extend the shoulder belt to put itin the lock mode. When the belt is
then retracted even slightly, it cannot
be extended.
To hold the infant seat securely, make
sure the belt is in the lock mode before
letting the belt retract.
22p039b
3. While pressing the infant seat firmly against the seat cushion and seatback,
let the shoulder belt retract as far as
it will go to hold the infant seat secure-
ly.
22p040b
CAUTION
Push and pull the child restraint sys-
tem in different directions to be sure
it is secure. Follow all the installation
instructions provided by its manufac-
turer.
Page 87 of 336

87
22p046b
1. Run the lap and shoulder belt throughor around the convertible seat following
the instructions provided by its
manufacturer and insert the tab into
the buckle taking care not to twist the
belt. Keep the lap portion of the belt
tight.
CAUTION
�After inserting the tab, make sure
the tab and buckle are locked and
that the lap and shoulder portions
of the belt are not twisted.
�Do not insert coins, clips, etc. in
the buckle as this may prevent your
child from properly latching the tab
and buckle.
�If the seat belt does not function
normally, it cannot protect your
child from death or serious injury.
Contact your Toyota dealer immedi-
ately. Do not install the child re-
straint system on the seat until the
seat belt is fixed.
22p047b
2. Fully extend the shoulder belt to put itin the lock mode. When the belt is
then retracted even slightly, it cannot
be extended.
To hold the convertible seat securely,
make sure the belt is in the lock mode
before letting the belt retract.
Page 88 of 336
88
22p048b
3. While pressing the convertible seatfirmly against the seat cushion and
seatback, let the shoulder belt retract
as far as it will go to hold the convert-
ible seat securely.
22p049b
CAUTION
Push and pull the child restraint sys-
tem in different directions to be sure
it is secure. Follow all the installation
instructions provided by its manufac-
turer.
22p050b
4. To remove the convertible seat, pressthe buckle release button and allow the
belt to retract completely. The belt will
move freely again and be ready to
work for an adult or older child passen-
ger.
Page 93 of 336
93
CAUTION
Make sure the top strap is securely
latched, and check that the child re-
straint system is secure by pushing
and pulling it in different directions.
Follow all the installation instructions
provided by its manufacturer.
22p076e
The lower anchorages for the child re-
straint system interfaced with the
FMVSS225 or CMVSS210.2 specification
are installed in the rear seat.
The anchorages are installed in the clear-
ance between the seat cushion and seat-
back of both outside rear seats.
Child restraint system interfaced with the
FMVSS213 or CMVSS213 specification
can be fixed with these anchorages. In
this case, it is not necessary to fix the
child restraint system with a seat belt on
the vehicle.22p077g
Canada only
Ty p e A
—Installation with child
restraint lower anchorages
Page 94 of 336

94
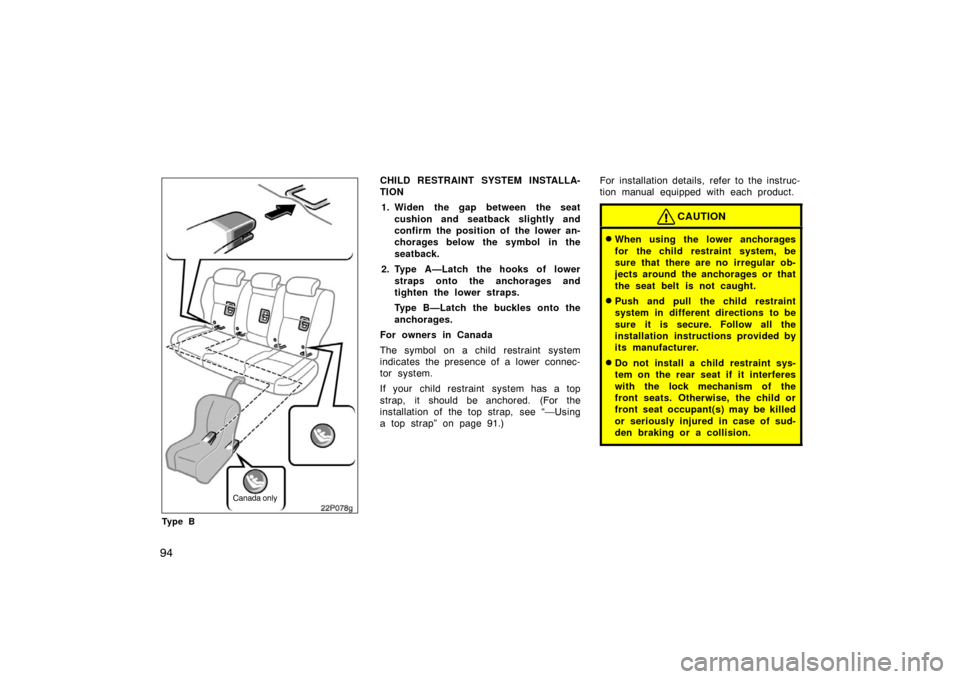
22p078g
Canada only
Ty p e B
CHILD RESTRAINT SYSTEM INSTALLA-
TION1. Widen the gap between the seat cushion and seatback slightly and
confirm the position of the lower an-
chorages below the symbol in the
seatback.
2. Type A—Latch the hooks of lower straps onto the anchorages and
tighten the lower straps.
Type B—Latch the buckles onto the
anchorages.
For owners in Canada
The symbol on a child restraint system
indicates the presence of a lower connec-
tor system.
If your child restraint system has a top
strap, it should be anchored. (For the
installation of the top strap, see “—Using
a top strap” on page 91.) For installation details, refer to the instruc-
tion manual equipped with each product.
CAUTION
�When using the lower anchorages
for the child restraint system, be
sure that there are no irregular ob-
jects around the anchorages or that
the seat belt is not caught.
�Push and pull the child restraint
system in different directions to be
sure it is secure. Follow all the
installation instructions provided by
its manufacturer.
�Do not install a child restraint sys-
tem on the rear seat if it interferes
with the lock mechanism of the
front seats. Otherwise, the child or
front seat occupant(s) may be killed
or seriously injured in case of sud-
den braking or a collision.
Page 138 of 336

138
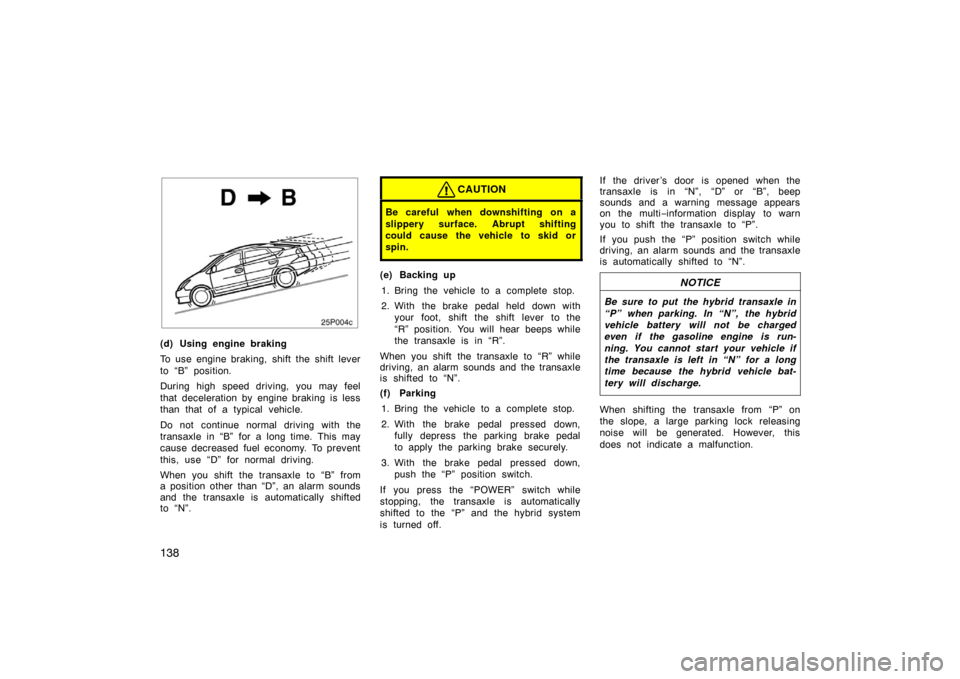
25p004c
(d) Using engine braking
To use engine braking, shift the shift lever
to “B” position.
During high speed driving, you may feel
that deceleration by engine braking is less
than that of a typical vehicle.
Do not continue normal driving with the
transaxle in “B” for a long time. This may
cause decreased fuel economy. To prevent
this, use “D” for normal driving.
When you shift the transaxle to “B” from
a position other than “D”, an alarm sounds
and the transaxle is automatically shifted
to “N”.
CAUTION
Be careful when downshifting on a
slippery surface. Abrupt shifting
could cause the vehicle to skid or
spin.
(e) Backing up1. Bring the vehicle to a complete stop.
2. With the brake pedal held down with your foot, shift the shift lever to the
“R” position. You will hear beeps while
the transaxle is in “R”.
When you shift the transaxle to “R” while
driving, an alarm sounds and the transaxle
is shifted to “N”.
(f) Parking 1. Bring the vehicle to a complete stop.
2. With the brake pedal pressed down, fully depress the parking brake pedal
to apply the parking brake securely.
3. With the brake pedal pressed down, push the “P” position switch.
If you press the “POWER” switch while
stopping, the transaxle is automatically
shifted to the “P” and the hybrid system
is turned off. If the driver ’s door is opened when the
transaxle is in “N”, “D” or “B”, beep
sounds and a warning message appears
on the multi
−information display to warn
you to shift the transaxle to “P”.
If you push the “P” position switch while
driving, an alarm sounds and the transaxle
is automatically shifted to “N”.NOTICE
Be sure to put the hybrid transaxle in
“P” when parking. In “N”, the hybrid
vehicle battery will not be charged
even if the gasoline engine is run-
ning. You cannot start your vehicle if
the transaxle is left in “N” for a long
time because the hybrid vehicle bat-
tery will discharge.
When shifting the transaxle from “P” on
the slope, a large parking lock releasing
noise will be generated. However, this
does not indicate a malfunction.
Page 139 of 336

139
(g) Vehicle driving characteristics
Creeping
In order to hold the vehicle properly on an
incline and for better accelerator pedal
operation at starting, your vehicle is de-
signed like a typical automatic transmis-
sion vehicle which tends to move without
depressing the accelerator pedal with the
transaxle in a position other than “P” or
“N”.
With the transaxle in a position other than
“P” or “N”, depress the brake pedal firmly
even when stopped and apply the parking
brake as required.
When moving in a compact area or during
a traffic jam, it is an effective way to
control the speed using only the brake
pedal operation without depressing the ac-
celerator pedal.
Regenerative brake
When the accelerator pedal is released or
the brake pedal is depressed, the electric
motor acts as a generator and converts
kinetic energy to electric energy to provide
deceleration and recover electric energy to
charge the hybrid vehicle battery.
At this time, the electric motor running
noise may increase.The operation is the same as a typical
gasoline powered vehicle.
You may experience the following condi-
tion while braking. As they do not indicate
a malfunction, perform braking as usual:
�In the “OFF” mode, pressing the
“POWER” switch once or twice will se-
lect “ACC” or “IG
−ON” only if the brake
pedal is not depressed. In this condi-
tion, the brake pedal may move a little.
Hybrid driving
This vehicle runs in combination with the
gasoline engine and electric motor.
If the “READY” light is on, you can start
your vehicle even with the gasoline engine
stopped. (h) If the system malfunctions
In the following conditions, there is some
problem in the system.
�The indicator on the “P” position switch
flashes. However, this does not indi-
cate a malfunction unless a warning
message appears in the multi
−informa-
tion display.
�All frames of shift position indicators in
the instrument cluster flash.
�The parking system error message ap-
pears on the multi −information display.
�The instrument cluster and multi −infor-
mation display does not come on when
the “IG −ON” mode is enabled.
In these cases, stop your vehicle in a
safe and level place, apply the parking
brake securely and contact your Toyota
dealer immediately.
(i) When the auxiliary battery is dis- connected
Before you disconnect the aux iliary bat-
tery, confirm the shift position is “P” and
apply the parking brake completely.
After you reconnect the auxiliary battery,
shift the shift lever to “N” and confirm the
shift position is in “N” when the “IG −ON”
mode is enabled.