Page 322 of 477
8-21
Driving tips
– CONTINUED –
NOTE
It may be necessary to start the inner clamp and
end support at the center of the roof rail for easier
installation, then move the crossbar forward. Use
care not to cross-thread the screw in the insert if it
has been removed.
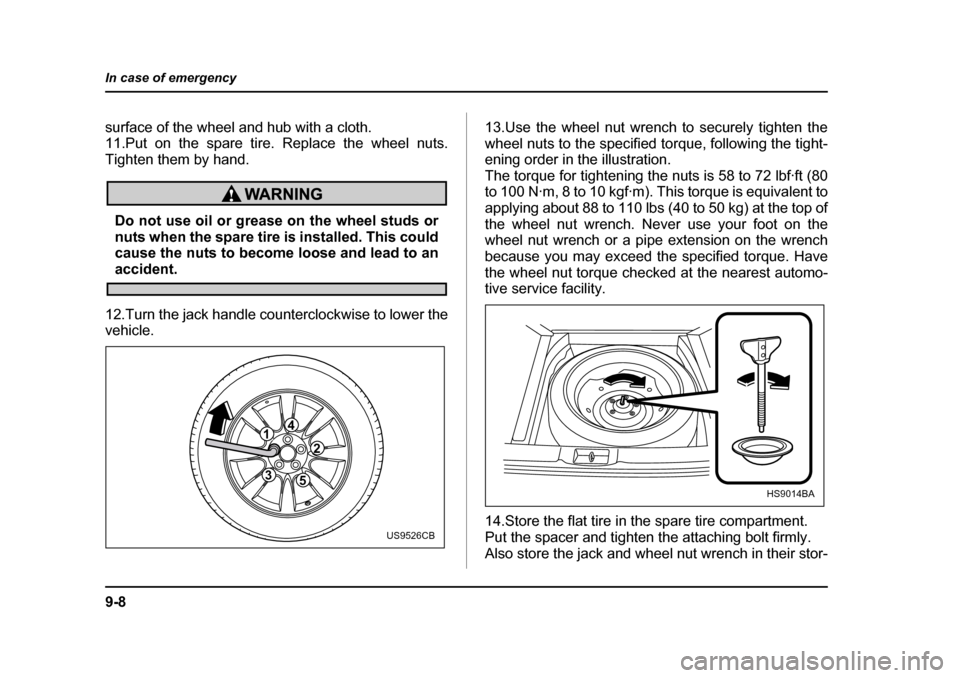
5. Adjust the alignment of the crossbar on the roof
rails, and if available, use a T-30 torx® bit and torque
wrench and tighten the T-30 torx® head screws to 30
to 35 lbf·in (3.4 to 4.0 N·m, 0.35 to 0.41 kgf·m) of
torque (or tighten securely with the torx® wrench pro-
vided). Rear crossbar:
A) T-30 torx® head screw
B) Front arrow label
C) 6 in (150 mm)
Install the rear crossbar in the same manner as the front crossbar.
NOTE
The rear crossbar should be positioned 6 inches
(150 mm) forward of the rear radius in the roof rail.
Do not carry cargo on the roof when the cross-
FRFRONTONT
A
B
C
HS8027BC
Page 345 of 477

9-8
In case of emergency
surface of the wheel and hub with a cloth.
11.Put on the spare tire. Replace the wheel nuts.
Tighten them by hand.
Do not use oil or grease on the wheel studs or
nuts when the spare tire is installed. This could
cause the nuts to become loose and lead to an
accident.
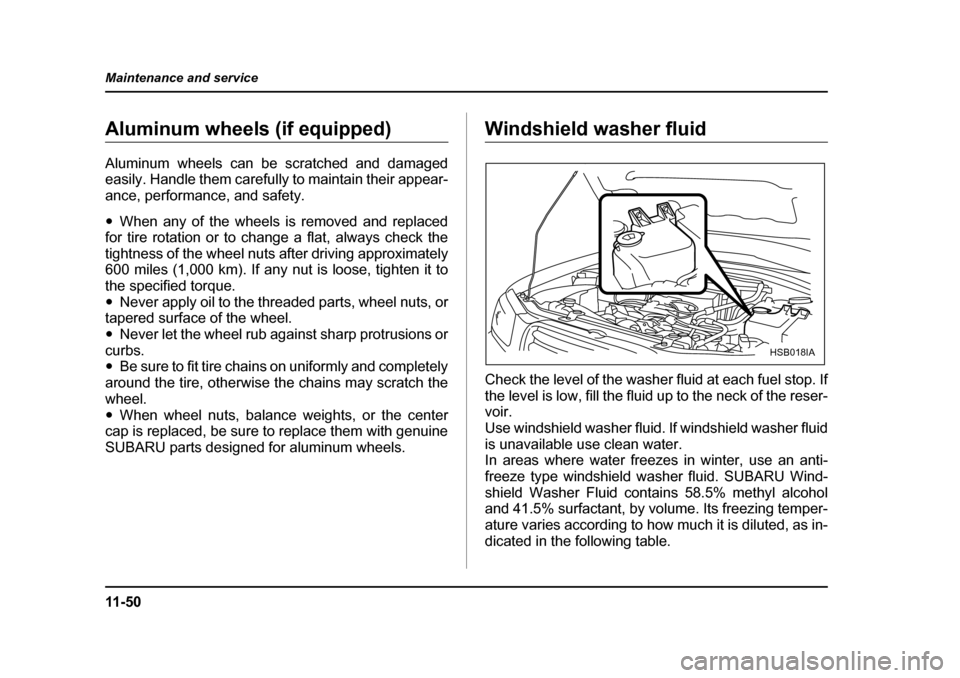
12.Turn the jack handle counterclockwise to lower the
vehicle. 13.Use the wheel nut wrench to securely tighten the
wheel nuts to the specified torque, following the tight-
ening order in the illustration.
The torque for tightening the nuts is 58 to 72 lbf·ft (80
to 100 N·m, 8 to 10 kgf·m). This torque is equivalent to
applying about 88 to 110 lbs (40 to 50 kg) at the top of
the wheel nut wrench. Never use your foot on the
wheel nut wrench or a pipe extension on the wrench
because you may exceed the specified torque. Have
the wheel nut torque checked at the nearest automo-
tive service facility.
14.Store the flat tire in the spare tire compartment.
Put the spacer and tighten the attaching bolt firmly.
Also store the jack and wheel nut wrench in their stor-
3
412
5
US9526CB
HS9014BA
Page 415 of 477

11 - 5 0
Maintenance and service
Aluminum wheels (if equipped)
Aluminum wheels can be scratched and damaged
easily. Handle them carefully to maintain their appear-
ance, performance, and safety. �y
When any of the wheels is removed and replaced
for tire rotation or to change a flat, always check the
tightness of the wheel nuts after driving approximately
600 miles (1,000 km). If any nut is loose, tighten it to
the specified torque.�y Never apply oil to the threaded parts, wheel nuts, or
tapered surface of the wheel.�y Never let the wheel rub against sharp protrusions or
curbs. �y Be sure to fit tire chains on uniformly and completely
around the tire, otherwise the chains may scratch the
wheel.�y When wheel nuts, balance weights, or the center
cap is replaced, be sure to replace them with genuine
SUBARU parts designed for aluminum wheels.Windshield washer fluid
Check the level of the washer fluid at each fuel stop. If
the level is low, fill the fluid up to the neck of the reser- voir.
Use windshield washer fluid. If windshield washer fluid
is unavailable use clean water.
In areas where water freezes in winter, use an anti-
freeze type windshield washer fluid. SUBARU Wind-
shield Washer Fluid contains 58.5% methyl alcohol
and 41.5% surfactant, by volume. Its freezing temper-
ature varies according to how much it is diluted, as in-
dicated in the following table.
HSB018IA
Page 458 of 477

13-9
Consumer information and Reporting safety defects
– CONTINUED –
left hand side of the vehicle. (Each tire must be
kept on its original side of the vehicle.) Replace
any damaged or unevenly worn tire at the time of
rotation. After tire rotation, adjust the tire pres-
sures and make sure the wheel nuts are correct-
ly tightened. A tightening torque specification
and a tightening sequence specification for the
wheel nuts can be found “Flat tires” in Chapter 9. �„Vehicle load limit – how to determine
The load capacity of your vehicle is determined
by weight, not by available cargo space. The
load limit of your vehicle is shown on the vehicle
placard attached to the driver’s side B-pillar. Lo-
cate the statement “The combined weight of oc-
cupants and cargo should never exceed XXX kg
or XXX lbs” on your vehicle’s placard.
The vehicle placard also shows seating capacity
of your vehicle.
The total load capacity includes the total weight
of driver and all passengers and their belong-
ings, any cargo, any optional equipment such as
a trailer hitch, roof rack or bike carrier, etc., and
the tongue load of a trailer. Therefore cargo ca-
pacity can be calculated by the following method. Cargo capacity = Load limit – (total weight of oc-
cupants + total weight of optional equipment +
tongue load of a trailer (if applicable))
For towing capacity information and weight lim-
its, refer to “Trailer towing” in Chapter 8. �T
Calculating total and load capacities vary-
ing seating configurations
Calculate the available load capacity as shown in
the following examples:
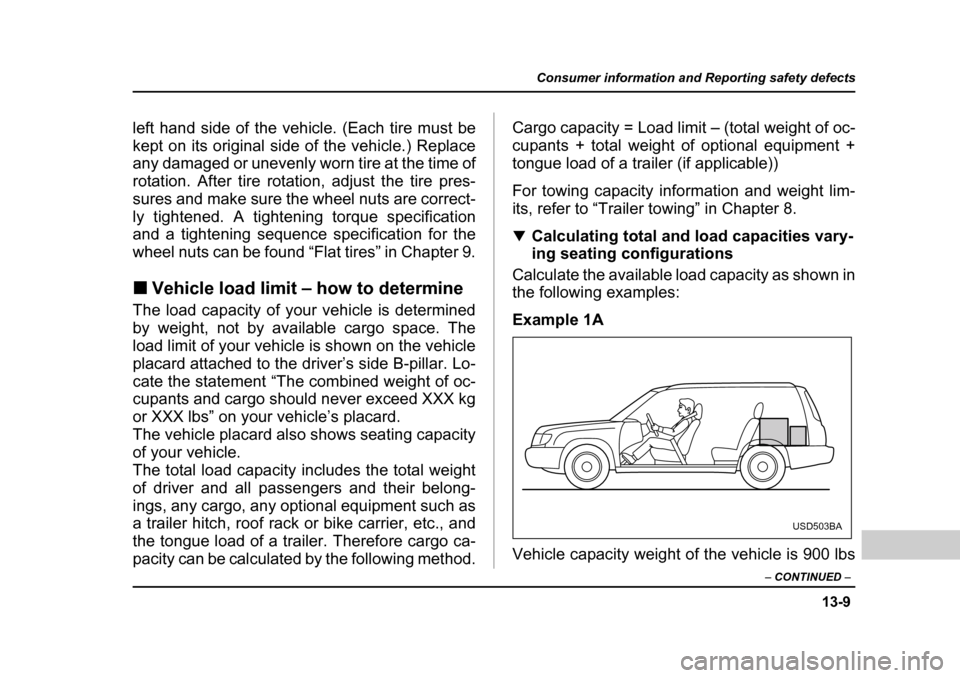
Example 1A
Vehicle capacity weight of the vehicle is 900 lbs
USD503BA