2005 PONTIAC BONNEVILLE service
[x] Cancel search: servicePage 88 of 438
Ignition Positions
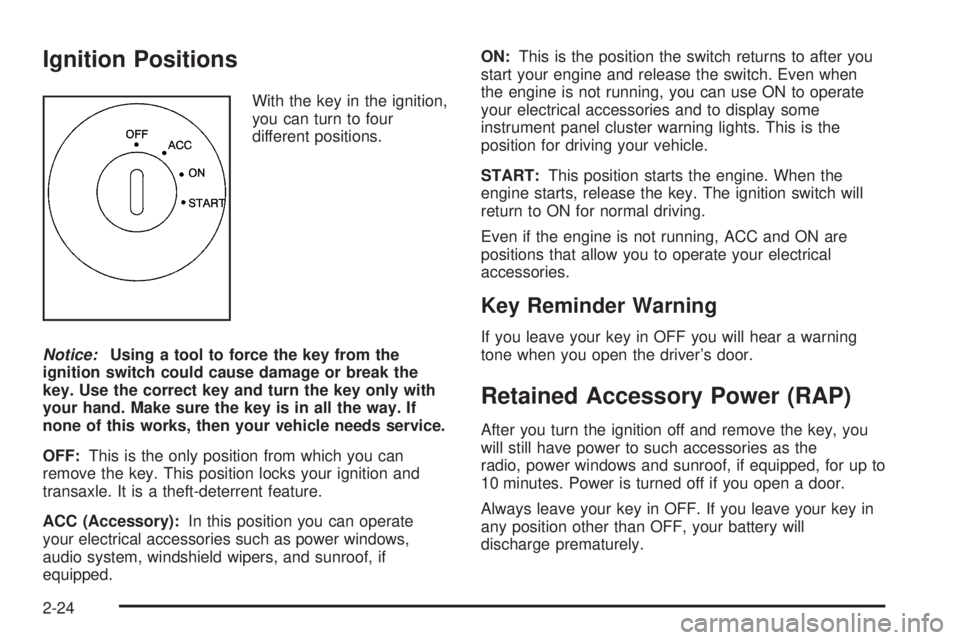
With the key in the ignition,
you can turn to four
different positions.
Notice:Using a tool to force the key from the
ignition switch could cause damage or break the
key. Use the correct key and turn the key only with
your hand. Make sure the key is in all the way. If
none of this works, then your vehicle needs service.
OFF:This is the only position from which you can
remove the key. This position locks your ignition and
transaxle. It is a theft-deterrent feature.
ACC (Accessory):In this position you can operate
your electrical accessories such as power windows,
audio system, windshield wipers, and sunroof, if
equipped.ON:This is the position the switch returns to after you
start your engine and release the switch. Even when
the engine is not running, you can use ON to operate
your electrical accessories and to display some
instrument panel cluster warning lights. This is the
position for driving your vehicle.
START:This position starts the engine. When the
engine starts, release the key. The ignition switch will
return to ON for normal driving.
Even if the engine is not running, ACC and ON are
positions that allow you to operate your electrical
accessories.
Key Reminder Warning
If you leave your key in OFF you will hear a warning
tone when you open the driver’s door.
Retained Accessory Power (RAP)
After you turn the ignition off and remove the key, you
will still have power to such accessories as the
radio, power windows and sunroof, if equipped, for up to
10 minutes. Power is turned off if you open a door.
Always leave your key in OFF. If you leave your key in
any position other than OFF, your battery will
discharge prematurely.
2-24
Page 103 of 438
OnStar®System
OnStar®uses global positioning system (GPS) satellite
technology, wireless communications, and call centers
to provide you with a wide range of safety, security,
information, and convenience services.
A complete OnStar
®user’s guide and the terms and
conditions of the OnStar®Subscription Service
Agreement are included in the vehicle’s glove box
literature. For more information, visit www.onstar.com or
www.onstarcanada.com. Contact OnStar
®at
1-888-4-ONSTAR (1-888-466-7827), or press the
OnStar
®button to speak to an OnStar®advisor 24 hours
a day, 7 days a week.
Terms and conditions of the Subscription Service
Agreement can be found at www.onstar.com or
www.onstarcanada.com.
OnStar®Services
For new vehicles equipped with OnStar®, the Safe and
Sound Plan is included for the �rst year. You can
extend this plan beyond the �rst year, or upgrade to the
Directions and Connections Plan to meet your needs.
For more information, press the OnStar
®button to speak
with an advisor.
Safe and Sound Plan
Automatic Noti�cation of Airbag Deployment
Emergency Services
Roadside Assistance
Stolen Vehicle Tracking
AccidentAssist
Remote Door Unlock/Vehicle Alert
Remote Diagnostics
Online Concierge
Directions and Connections Plan
All Safe and Sound Plan Services
Driving Directions
RideAssist
Information and Convenience Services
2-39
Page 105 of 438
If your vehicle is equipped with the HomeLink®
Transmitter, it complies with Part 15 of the FCC Rules.
Operation is subject to the following two conditions:
(1) this device may not cause harmful interference, and
(2) this device must accept any interference received,
including interference that may cause undesired
operation.
This device complies with RSS-210 of Industry Canada.
Operation is subject to the following two conditions:
(1) this device may not cause interference, and (2) this
device must accept any interference, including
interference that may cause undesired operation of the
device.
Changes and modi�cations to this system by other than
an authorized service facility could void authorization
to use this equipment.
Programming the HomeLink®
Transmitter
Do not use the HomeLink®Transmitter with any garage
door opener that does not have the “stop and reverse”
feature. This includes any garage door opener model
manufactured before April 1, 1982. If you have a newer
garage door opener with rolling codes, please be
sure to follow Steps 6 through 8 to complete the
programming of your HomeLink
®Transmitter.Read the instructions completely before attempting to
program the HomeLink
®Transmitter. Because of
the steps involved, it may be helpful to have another
person available to assist you in programming the
transmitter.
Keep the original transmitter for use in other vehicles as
well as for future HomeLink
®programming. It is also
recommended that upon the sale of the vehicle,
the programmed HomeLink
®buttons should be erased
for security purposes. Refer to “Erasing HomeLink®
Buttons” or, for assistance, contact HomeLink®on the
internet at: www.homelink.com or by calling
1-800-355-3515.
Be sure that people and objects are clear of the garage
door or gate operator you are programming. When
programming a garage door, it is advised to park outside
of the garage.
It is recommended that a new battery be installed in
your hand-held transmitter for quicker and more
accurate transmission of the radio frequency.
2-41
Page 114 of 438
Engine Coolant Temperature Gage
(V8 Engine)..............................................3-46
Tire Pressure Light.......................................3-47
Malfunction Indicator Lamp.............................3-48
Oil Pressure Gage (V6 Engine).......................3-51
Oil Pressure Gage (V8 Engine).......................3-52
Check Oil Level Light....................................3-53
Security Light...............................................3-53
Highbeam On Light.......................................3-54
Low Washer Fluid Warning Light.....................3-54
Check Gages Warning Light...........................3-54
Door Ajar Light.............................................3-54
Trunk Ajar Light............................................3-55
Service Vehicle Soon Light............................3-55
Fuel Gage (V6 Engine)..................................3-56
Fuel Gage (V8 Engine)..................................3-57
Systems Monitor............................................3-58
Driver Information Center (DIC).......................3-59
DIC Controls and Displays.............................3-60
DIC Warnings and Messages.........................3-62
Driver Identi�er DIC Display...........................3-64
DIC Vehicle Personalization............................3-64Secondary Information Center (SIC).................3-70
Electronic Compass......................................3-70
Audio System(s).............................................3-72
Setting the Time...........................................3-72
Radio with CD..............................................3-73
Radio with Cassette and CD..........................3-83
Trunk-Mounted CD Changer...........................3-95
Theft-Deterrent Feature..................................3-99
Audio Steering Wheel Controls.......................3-99
Radio Reception.........................................3-100
Care of Your Cassette Tape Player...............3-101
Care of Your CDs.......................................3-102
Care of Your CD Player...............................3-102
Diversity Antenna System.............................3-102
XM™ Satellite Radio Antenna System............3-103
Chime Level Adjustment...............................3-103
Section 3 Instrument Panel
3-2
Page 132 of 438
Front Reading Lamps
The front reading lamps, located on the headliner, will
come on as courtesy lamps when you open any of
the doors while it is dark outside. They will also come
on as part of the interior lighting features listed
previously.
To turn on a reading lamp when the doors are closed,
press either button. Press it again to turn the lamp off.
To avoid draining your vehicle’s battery, be sure to
turn off the reading lamps when leaving your vehicle.
See “Inadvertent Power Battery Saver” later in this
section for more information.
Rear Reading Lamps
The rear reading lamps, located over each rear door,
will come on as courtesy lamps when you open
any of the doors while it is dark outside. They will also
come on as part of the interior lighting features listed
previously.
To turn on a reading lamp when the doors are closed,
press either button. Press it again to turn the lamp off.
Battery Load Management
The battery load management feature is designed to
monitor the vehicle’s electrical load and determine when
the battery is in a heavy discharge condition. During
times of high electrical loading, the engine may idle at
higher revolutions per minute (RPM) than normal to make
sure the battery charges. High electrical loads may occur
when several of the following are on: headlamps, high
beams, fog lamps, rear window defogger, fan on high
speed, heated seats, and engine cooling fans.
If your vehicle’s battery remains in a heavy discharge
condition for a long period of time, the fan, rear
defogger, heated seats and heated mirrors will be
disabled and the DIC will display BATTERY SAVER
ACTIVE. This can happen either under long periods of
idling or low speed driving with high electrical loading,
or in the event of a charging system fault.
Monitor the battery voltage when in the BATTERY
SAVER ACTIVE mode.
If the voltmeter remains in the shaded area, below
11 volts, when driving then have the charging
system serviced immediately.
If the voltage increases above 12 volts then the
battery needs to be recharged. Try driving on
the highway with as few electrical accessories on
as possible.
3-20
Page 151 of 438
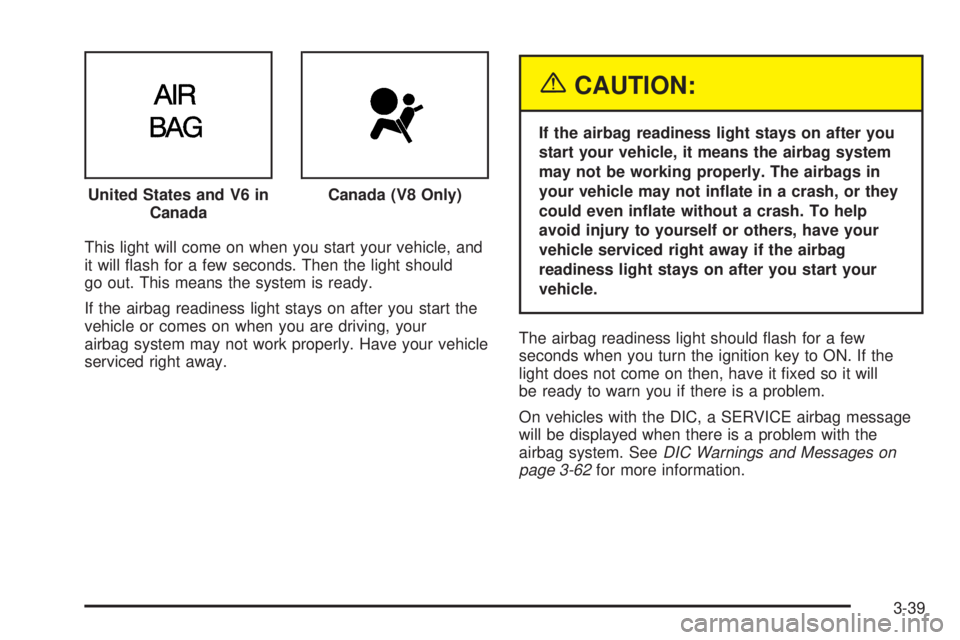
This light will come on when you start your vehicle, and
it will �ash for a few seconds. Then the light should
go out. This means the system is ready.
If the airbag readiness light stays on after you start the
vehicle or comes on when you are driving, your
airbag system may not work properly. Have your vehicle
serviced right away.
{CAUTION:
If the airbag readiness light stays on after you
start your vehicle, it means the airbag system
may not be working properly. The airbags in
your vehicle may not in�ate in a crash, or they
could even in�ate without a crash. To help
avoid injury to yourself or others, have your
vehicle serviced right away if the airbag
readiness light stays on after you start your
vehicle.
The airbag readiness light should �ash for a few
seconds when you turn the ignition key to ON. If the
light does not come on then, have it �xed so it will
be ready to warn you if there is a problem.
On vehicles with the DIC, a SERVICE airbag message
will be displayed when there is a problem with the
airbag system. SeeDIC Warnings and Messages on
page 3-62for more information. United States and V6 in
Canada
Canada (V8 Only)
3-39
Page 152 of 438
Voltmeter Gage
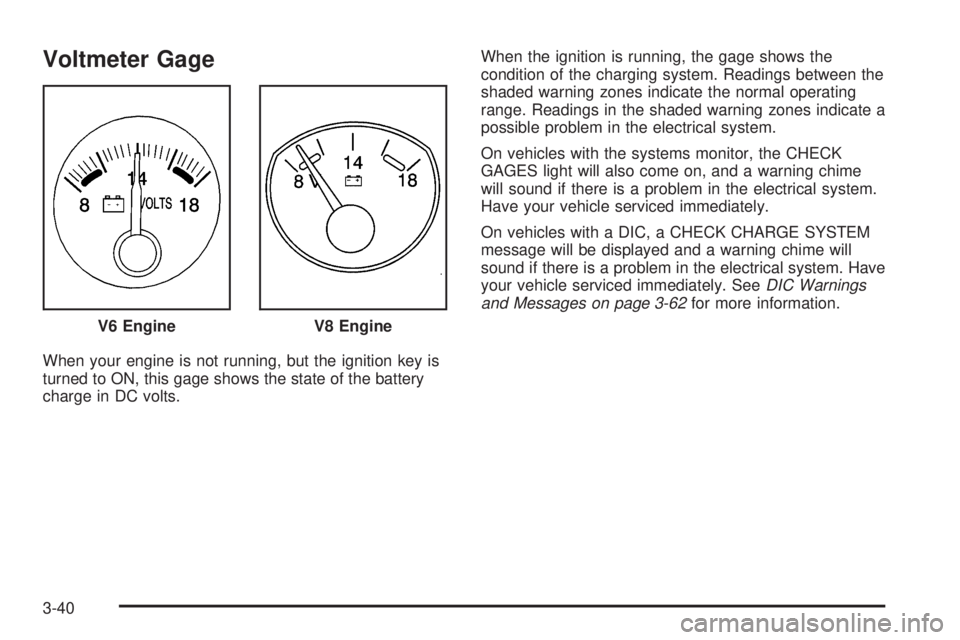
When your engine is not running, but the ignition key is
turned to ON, this gage shows the state of the battery
charge in DC volts.When the ignition is running, the gage shows the
condition of the charging system. Readings between the
shaded warning zones indicate the normal operating
range. Readings in the shaded warning zones indicate a
possible problem in the electrical system.
On vehicles with the systems monitor, the CHECK
GAGES light will also come on, and a warning chime
will sound if there is a problem in the electrical system.
Have your vehicle serviced immediately.
On vehicles with a DIC, a CHECK CHARGE SYSTEM
message will be displayed and a warning chime will
sound if there is a problem in the electrical system. Have
your vehicle serviced immediately. SeeDIC Warnings
and Messages on page 3-62for more information.
V6 Engine
V8 Engine
3-40
Page 153 of 438
Brake System Warning Light
Your vehicle’s hydraulic brake system is divided into two
parts. If one part is not working, the other part can
still work and stop you. For good braking, though, you
need both parts working well.
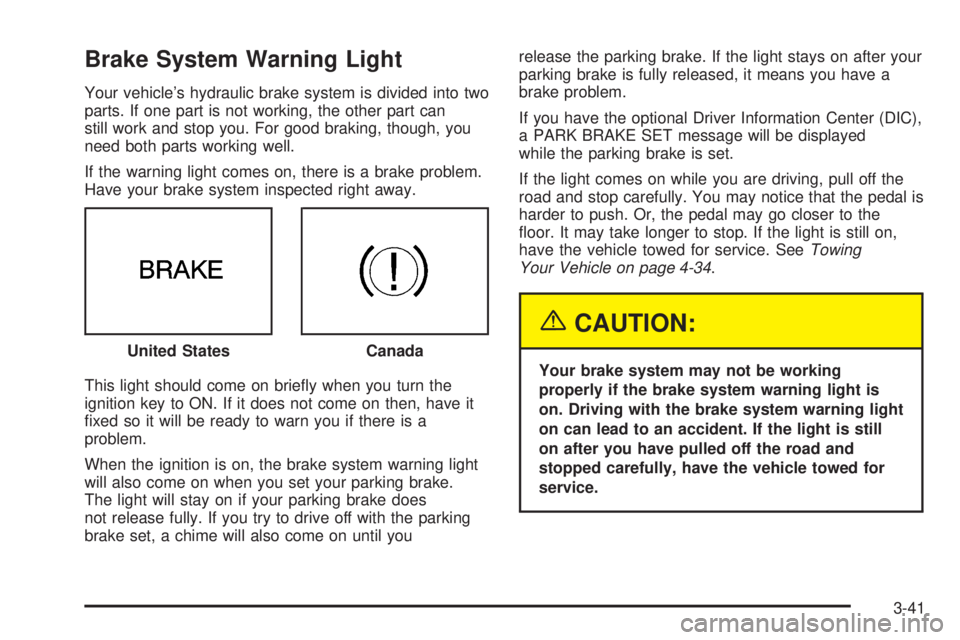
If the warning light comes on, there is a brake problem.
Have your brake system inspected right away.
This light should come on brie�y when you turn the
ignition key to ON. If it does not come on then, have it
�xed so it will be ready to warn you if there is a
problem.
When the ignition is on, the brake system warning light
will also come on when you set your parking brake.
The light will stay on if your parking brake does
not release fully. If you try to drive off with the parking
brake set, a chime will also come on until yourelease the parking brake. If the light stays on after your
parking brake is fully released, it means you have a
brake problem.
If you have the optional Driver Information Center (DIC),
a PARK BRAKE SET message will be displayed
while the parking brake is set.
If the light comes on while you are driving, pull off the
road and stop carefully. You may notice that the pedal is
harder to push. Or, the pedal may go closer to the
�oor. It may take longer to stop. If the light is still on,
have the vehicle towed for service. SeeTowing
Your Vehicle on page 4-34.
{CAUTION:
Your brake system may not be working
properly if the brake system warning light is
on. Driving with the brake system warning light
on can lead to an accident. If the light is still
on after you have pulled off the road and
stopped carefully, have the vehicle towed for
service. United States
Canada
3-41