2005 PONTIAC BONNEVILLE start stop button
[x] Cancel search: start stop buttonPage 92 of 438
Ensure the shift lever is fully in PARK (P) before starting
the engine. Your vehicle has an automatic transaxle
shift lock control system. You have to fully apply
your regular brakes before you can shift from PARK (P)
when the ignition key is in ON. If you cannot shift out
of PARK (P), ease pressure on the shift lever by pushing
it all the way into PARK (P) and also release the shift
lever button on console shift models as you maintain
brake application. Then move the shift lever into
the gear you want. Press the shift lever button before
moving the shift lever on console shift models. See
Shifting Out of Park (P) on page 2-33.
REVERSE (R):Use this gear to back up.
Notice:Shifting to REVERSE (R) while your vehicle
is moving forward could damage the transaxle.
The repairs would not be covered by your warranty.
Shift to REVERSE (R) only after your vehicle is
stopped.
To rock your vehicle back and forth to get out of snow,
ice or sand without damaging your transaxle, seeIf
You Are Stuck: In Sand, Mud, Ice or Snow on
page 4-28.
NEUTRAL (N):In this position, your engine does not
connect with the wheels. To restart when you are
already moving, use NEUTRAL (N) only. Also, use
NEUTRAL (N) when your vehicle is being towed.
{CAUTION:
Shifting into a drive gear while your engine is
running at high speed is dangerous. Unless
your foot is �rmly on the brake pedal, your
vehicle could move very rapidly. You could
lose control and hit people or objects. Do not
shift into a drive gear while your engine is
running at high speed.
Notice:Shifting out of PARK (P) or NEUTRAL (N)
with the engine racing may damage the transaxle.
The repairs would not be covered by your warranty.
Be sure the engine is not racing when shifting
your vehicle.
2-28
Page 109 of 438
Front Storage Area
Press the buttons on either side of the armrest to open
the front storage area.
Center Console Storage Area
If your vehicle has this feature, press the button at the
front edge of the armrest to open the center console
storage area.
Rear Seat Pass Through
Your vehicle has a rear seat armrest with cupholders
and a pass-through feature.
Pull down the interior door to access the trunk.
Convenience Net
Your vehicle may have a convenience net. You will see
it just inside the back wall of the trunk.
Put small loads behind the net. It can help keep them
from falling over during sharp turns or quick starts
and stops. For heavier loads, store them in the trunk as
far forward as you can.
You can unhook the net so that it will lie �at when you
are not using it.
Sunroof
Your vehicle may be equipped with a sunroof. The
sunroof has both manual and express features
for opening the glass panel and sunshade.
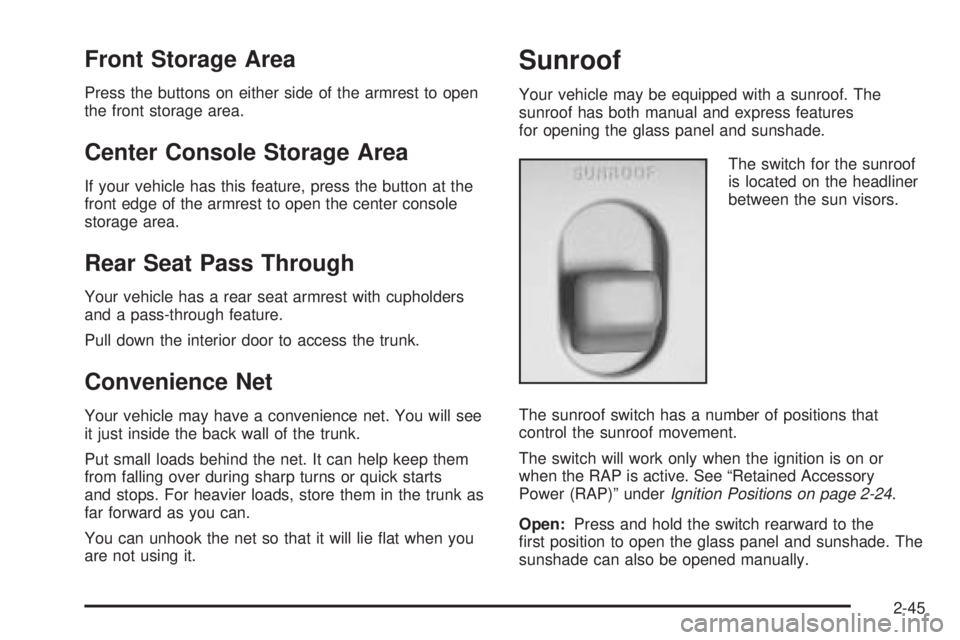
The switch for the sunroof
is located on the headliner
between the sun visors.
The sunroof switch has a number of positions that
control the sunroof movement.
The switch will work only when the ignition is on or
when the RAP is active. See “Retained Accessory
Power (RAP)” underIgnition Positions on page 2-24.
Open:Press and hold the switch rearward to the
�rst position to open the glass panel and sunshade. The
sunshade can also be opened manually.
2-45
Page 111 of 438
2. Adjust the driver’s seat and lumbar position to a
safe and comfortable driving position. Adjust both
outside mirrors to suit you. SeeDIC Vehicle
Personalization on page 3-64.
3. Press and hold the memory button corresponding
with your DRIVER # displayed on the DIC for
longer than three seconds. You will hear two beeps
con�rming that the seat and mirror positions
have been entered into memory.
To set the seat and mirror positions for a second driver,
follow the previous steps, but start by pressing the unlock
button on the remote keyless entry transmitter that
displays the other DRIVER # on the DIC. Be sure to use
the memory button which corresponds to the DRIVER #
identi�ed by the second remote keyless entry transmitter.
To recall your memory positions, your vehicle must be
in PARK (P). Press and release the memory button
corresponding to the desired driving position. The seat
and mirrors will move to the position previously
stored for the identi�ed driver. You will hear one beep.
To store the exit position for an easy exit, do the
following:
1. First identify the DRIVER # by pressing memory
button 1 or 2 or by pressing the unlock button on
the remote keyless entry transmitter.2. Adjust the driver’s seat to the desired exit position.
3. Press and hold the EXIT button for longer than
three seconds. You will hear two beeps con�rming
that the seat exit position has been entered into
memory.
To set the exit position for a second driver, follow the
previous steps, but start by pressing the unlock
button on the remote keyless entry transmitter that
displays the other DRIVER # on the DIC. Be sure to use
the memory button which corresponds to the DRIVER #
identi�ed by the other remote keyless entry transmitter.
To recall the exit position, your vehicle must be in
PARK (P). Press and release the EXIT button and the
seat will move to the exit position previously stored
for the current identi�ed driver. You will hear one beep.
If an exit position has not been stored for the current
identi�ed driver, the seat will move all the way back.
To stop recall movement of the seat at any time, press
the driver’s power seat control located on the outboard
side of the front seat.
Mirrors and lumbar positions will not be stored or
recalled for the exit position.
If you would like your stored driving or exit position to
be recalled when unlocking your vehicle with the remote
keyless entry transmitter, seeDIC Vehicle
Personalization on page 3-64.
2-47
Page 174 of 438
When you have the oil changed according to the
maintenance schedule, you will have to reset the engine
oil life system. To reset the engine oil life system, see
“How to Reset the Engine Oil Life System” underEngine
Oil Life System on page 5-20.
Tire Pressure Status:Press the SELECT button until
TIRE PRESSURE appears in the display. TIRE
PRESSURE NORMAL is displayed when the Check
Tire Pressure System believes your vehicle’s tire
pressures are normal. If a potential problem is detected,
the display will show CHECK TIRE PRESSURE and
the tire pressure status will show TIRE PRESSURE
LOW. If you see the CHECK TIRE PRESSURE
message, you should stop as soon as you can and
check all your tires for damage. If a tire is �at, seeIf a
Tire Goes Flat on page 5-92. Also check the tire
pressure in all four tires as soon as you can. See
In�ation - Tire Pressure on page 5-80andCheck Tire
Pressure System on page 5-83.DIC Warnings and Messages
Other messages or warnings may appear in the DIC
display. For Canadian drivers, in addition to the
DIC message your DIC will display EXP with a number
after it which re�ects the following messages:
EXP
(Export ID) Warning Message
6 TRANSMISSION HOT IDLE ENGINE**
9 CHECK GAGES VOLT
11 CHECK GAGES LOW FUEL
15 LOW ENGINE COOLANT**
16 ENGINE HOT A/C DISABLED
20 TURN SIGNAL ON?
24 TRUNK AJAR
25 WASHER FLUID LOW
27 BATTERY SAVER ACTIVE
32 ENGINE HOT IDLE ENGINE**
33 STARTING DISABLED — THEFT*
34 SERVICE THEFT SYSTEM
35 CHECK GAGES OIL PRESSURE*
36 OIL LEVEL LOW
37 BRAKE FLUID LOW*
40 ALARM OCCURRED
44 CHECK GAGES TEMPERATURE*
3-62
Page 175 of 438
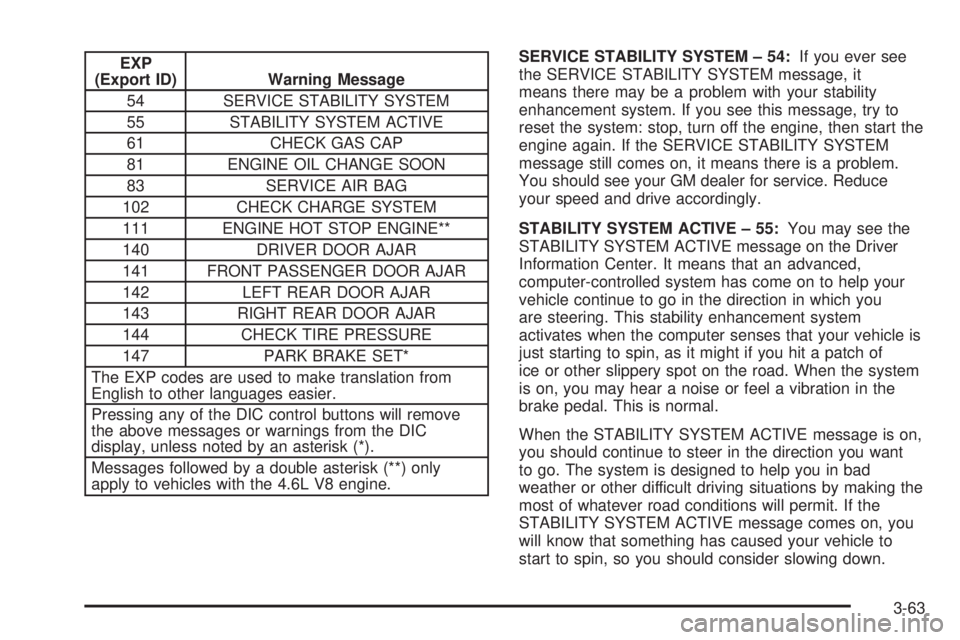
EXP
(Export ID) Warning Message
54 SERVICE STABILITY SYSTEM
55 STABILITY SYSTEM ACTIVE
61 CHECK GAS CAP
81 ENGINE OIL CHANGE SOON
83 SERVICE AIR BAG
102 CHECK CHARGE SYSTEM
111 ENGINE HOT STOP ENGINE**
140 DRIVER DOOR AJAR
141 FRONT PASSENGER DOOR AJAR
142 LEFT REAR DOOR AJAR
143 RIGHT REAR DOOR AJAR
144 CHECK TIRE PRESSURE
147 PARK BRAKE SET*
The EXP codes are used to make translation from
English to other languages easier.
Pressing any of the DIC control buttons will remove
the above messages or warnings from the DIC
display, unless noted by an asterisk (*).
Messages followed by a double asterisk (**) only
apply to vehicles with the 4.6L V8 engine.SERVICE STABILITY SYSTEM – 54:If you ever see
the SERVICE STABILITY SYSTEM message, it
means there may be a problem with your stability
enhancement system. If you see this message, try to
reset the system: stop, turn off the engine, then start the
engine again. If the SERVICE STABILITY SYSTEM
message still comes on, it means there is a problem.
You should see your GM dealer for service. Reduce
your speed and drive accordingly.
STABILITY SYSTEM ACTIVE – 55:You may see the
STABILITY SYSTEM ACTIVE message on the Driver
Information Center. It means that an advanced,
computer-controlled system has come on to help your
vehicle continue to go in the direction in which you
are steering. This stability enhancement system
activates when the computer senses that your vehicle is
just starting to spin, as it might if you hit a patch of
ice or other slippery spot on the road. When the system
is on, you may hear a noise or feel a vibration in the
brake pedal. This is normal.
When the STABILITY SYSTEM ACTIVE message is on,
you should continue to steer in the direction you want
to go. The system is designed to help you in bad
weather or other difficult driving situations by making the
most of whatever road conditions will permit. If the
STABILITY SYSTEM ACTIVE message comes on, you
will know that something has caused your vehicle to
start to spin, so you should consider slowing down.
3-63
Page 193 of 438
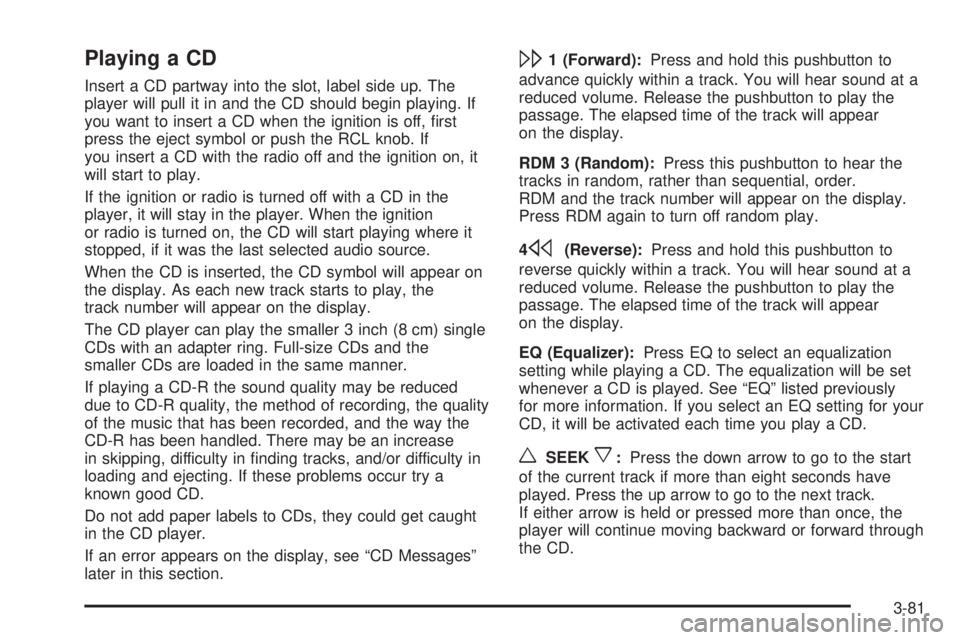
Playing a CD
Insert a CD partway into the slot, label side up. The
player will pull it in and the CD should begin playing. If
you want to insert a CD when the ignition is off, �rst
press the eject symbol or push the RCL knob. If
you insert a CD with the radio off and the ignition on, it
will start to play.
If the ignition or radio is turned off with a CD in the
player, it will stay in the player. When the ignition
or radio is turned on, the CD will start playing where it
stopped, if it was the last selected audio source.
When the CD is inserted, the CD symbol will appear on
the display. As each new track starts to play, the
track number will appear on the display.
The CD player can play the smaller 3 inch (8 cm) single
CDs with an adapter ring. Full-size CDs and the
smaller CDs are loaded in the same manner.
If playing a CD-R the sound quality may be reduced
due to CD-R quality, the method of recording, the quality
of the music that has been recorded, and the way the
CD-R has been handled. There may be an increase
in skipping, difficulty in �nding tracks, and/or difficulty in
loading and ejecting. If these problems occur try a
known good CD.
Do not add paper labels to CDs, they could get caught
in the CD player.
If an error appears on the display, see “CD Messages”
later in this section.
\1 (Forward):Press and hold this pushbutton to
advance quickly within a track. You will hear sound at a
reduced volume. Release the pushbutton to play the
passage. The elapsed time of the track will appear
on the display.
RDM 3 (Random):Press this pushbutton to hear the
tracks in random, rather than sequential, order.
RDM and the track number will appear on the display.
Press RDM again to turn off random play.
4
s(Reverse):Press and hold this pushbutton to
reverse quickly within a track. You will hear sound at a
reduced volume. Release the pushbutton to play the
passage. The elapsed time of the track will appear
on the display.
EQ (Equalizer):Press EQ to select an equalization
setting while playing a CD. The equalization will be set
whenever a CD is played. See “EQ” listed previously
for more information. If you select an EQ setting for your
CD, it will be activated each time you play a CD.
wSEEKx:Press the down arrow to go to the start
of the current track if more than eight seconds have
played. Press the up arrow to go to the next track.
If either arrow is held or pressed more than once, the
player will continue moving backward or forward through
the CD.
3-81
Page 205 of 438
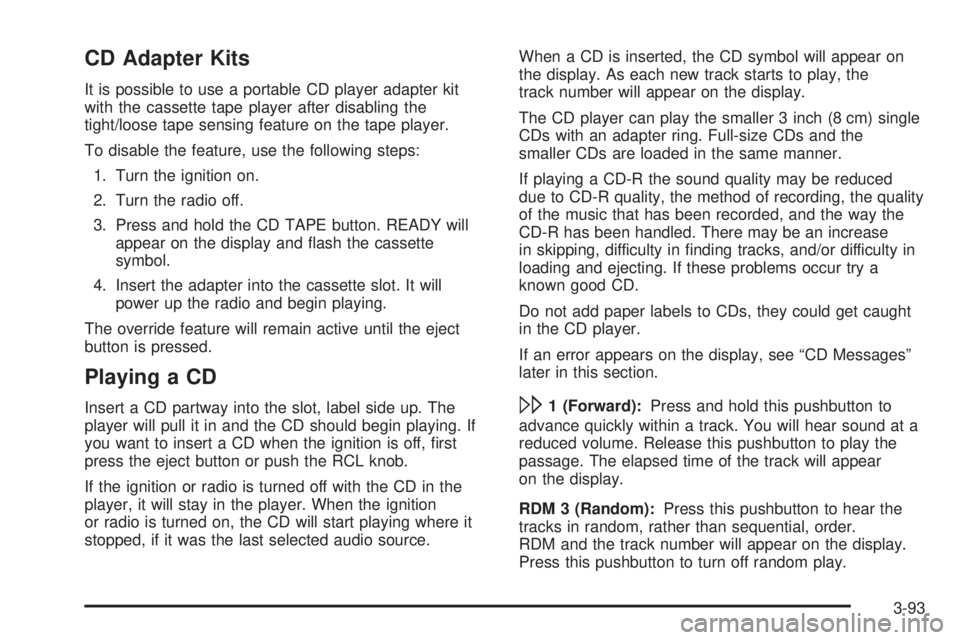
CD Adapter Kits
It is possible to use a portable CD player adapter kit
with the cassette tape player after disabling the
tight/loose tape sensing feature on the tape player.
To disable the feature, use the following steps:
1. Turn the ignition on.
2. Turn the radio off.
3. Press and hold the CD TAPE button. READY will
appear on the display and �ash the cassette
symbol.
4. Insert the adapter into the cassette slot. It will
power up the radio and begin playing.
The override feature will remain active until the eject
button is pressed.
Playing a CD
Insert a CD partway into the slot, label side up. The
player will pull it in and the CD should begin playing. If
you want to insert a CD when the ignition is off, �rst
press the eject button or push the RCL knob.
If the ignition or radio is turned off with the CD in the
player, it will stay in the player. When the ignition
or radio is turned on, the CD will start playing where it
stopped, if it was the last selected audio source.When a CD is inserted, the CD symbol will appear on
the display. As each new track starts to play, the
track number will appear on the display.
The CD player can play the smaller 3 inch (8 cm) single
CDs with an adapter ring. Full-size CDs and the
smaller CDs are loaded in the same manner.
If playing a CD-R the sound quality may be reduced
due to CD-R quality, the method of recording, the quality
of the music that has been recorded, and the way the
CD-R has been handled. There may be an increase
in skipping, difficulty in �nding tracks, and/or difficulty in
loading and ejecting. If these problems occur try a
known good CD.
Do not add paper labels to CDs, they could get caught
in the CD player.
If an error appears on the display, see “CD Messages”
later in this section.\1 (Forward):Press and hold this pushbutton to
advance quickly within a track. You will hear sound at a
reduced volume. Release this pushbutton to play the
passage. The elapsed time of the track will appear
on the display.
RDM 3 (Random):Press this pushbutton to hear the
tracks in random, rather than sequential, order.
RDM and the track number will appear on the display.
Press this pushbutton to turn off random play.
3-93
Page 206 of 438
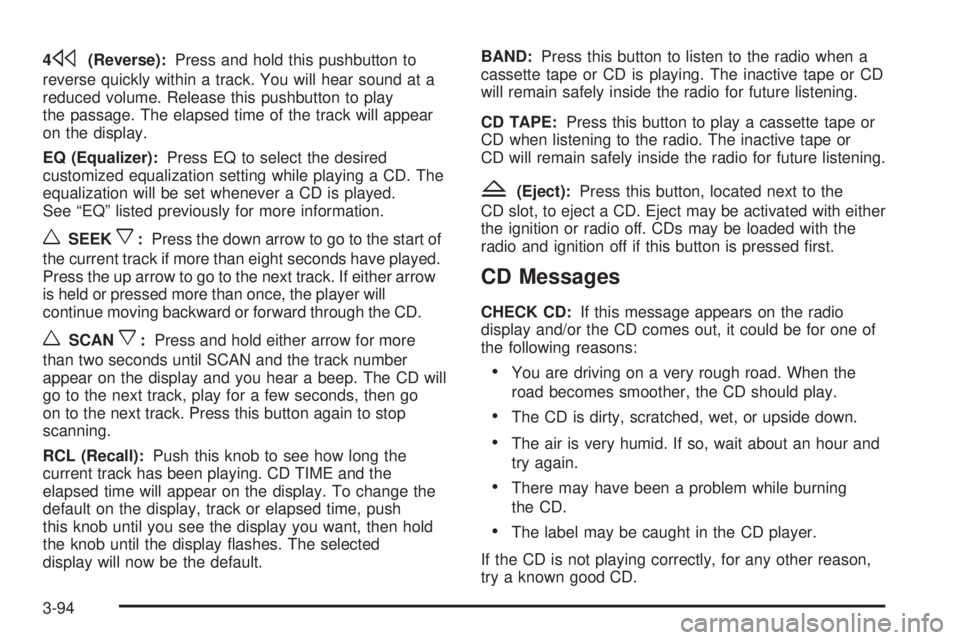
4s(Reverse):Press and hold this pushbutton to
reverse quickly within a track. You will hear sound at a
reduced volume. Release this pushbutton to play
the passage. The elapsed time of the track will appear
on the display.
EQ (Equalizer):Press EQ to select the desired
customized equalization setting while playing a CD. The
equalization will be set whenever a CD is played.
See “EQ” listed previously for more information.
wSEEKx:Press the down arrow to go to the start of
the current track if more than eight seconds have played.
Press the up arrow to go to the next track. If either arrow
is held or pressed more than once, the player will
continue moving backward or forward through the CD.
wSCANx:Press and hold either arrow for more
than two seconds until SCAN and the track number
appear on the display and you hear a beep. The CD will
go to the next track, play for a few seconds, then go
on to the next track. Press this button again to stop
scanning.
RCL (Recall):Push this knob to see how long the
current track has been playing. CD TIME and the
elapsed time will appear on the display. To change the
default on the display, track or elapsed time, push
this knob until you see the display you want, then hold
the knob until the display �ashes. The selected
display will now be the default.BAND:Press this button to listen to the radio when a
cassette tape or CD is playing. The inactive tape or CD
will remain safely inside the radio for future listening.
CD TAPE:Press this button to play a cassette tape or
CD when listening to the radio. The inactive tape or
CD will remain safely inside the radio for future listening.
Z(Eject):Press this button, located next to the
CD slot, to eject a CD. Eject may be activated with either
the ignition or radio off. CDs may be loaded with the
radio and ignition off if this button is pressed �rst.
CD Messages
CHECK CD:If this message appears on the radio
display and/or the CD comes out, it could be for one of
the following reasons:
You are driving on a very rough road. When the
road becomes smoother, the CD should play.
The CD is dirty, scratched, wet, or upside down.
The air is very humid. If so, wait about an hour and
try again.
There may have been a problem while burning
the CD.
The label may be caught in the CD player.
If the CD is not playing correctly, for any other reason,
try a known good CD.
3-94