Page 31 of 438
Rear Safety Belt Comfort Guides for
Children and Small Adults
Rear shoulder belt comfort guides provide added safety
belt comfort for older children who have outgrown
booster seats and for small adults. When installed on a
shoulder belt, the comfort guide better positions the
belt away from the neck and head.
There is one guide for each outside passenger position
in the rear seat. To provide added safety belt comfort
for children who have outgrown child restraints and
booster seats and for smaller adults, the comfort guides
may be installed on the shoulder belts. Here is how
to install a comfort guide and use the safety belt:
1. Remove the guide from its storage pocket on the
side of the seatback.
1-25
Page 33 of 438
4. Buckle, position and release the safety belt as
described inRear Seat Passengers on page 1-21.
Make sure that the shoulder belt crosses the
shoulder.
To remove and store the comfort guides, squeeze the
belt edges together so that you can take them out of the
guides. Slide the guide into its storage pocket on the
side of the seatback.
Safety Belt Extender
If the vehicle’s safety belt will fasten around you, you
should use it.
But if a safety belt is not long enough, your dealer will
order you an extender. It is free. When you go in to
order it, take the heaviest coat you will wear, so
the extender will be long enough for you. To help avoid
personal injury, do not let someone else use it, and
use it only for the seat it is made to �t. The extender has
been designed for adults. Never use it for securing
child seats. To wear it, just attach it to the regular safety
belt. For more information, see the instruction sheet
that comes with the extender.
1-27
Page 34 of 438
Child Restraints
Older Children
Older children who have outgrown booster seats should
wear the vehicle’s safety belts.
Q:What is the proper way to wear safety belts?
A:If possible, an older child should wear a
lap-shoulder belt and get the additional restraint a
shoulder belt can provide. The shoulder belt
should not cross the face or neck. The lap belt
should �t snugly below the hips, just touching the
top of the thighs. It should never be worn over
the abdomen, which could cause severe or even
fatal internal injuries in a crash.
Accident statistics show that children are safer if they
are restrained in the rear seat.
In a crash, children who are not buckled up can strike
other people who are buckled up, or can be thrown
out of the vehicle. Older children need to use safety
belts properly.
1-28
Page 41 of 438
A forward-facing child seat (C-E) provides restraint for
the child’s body with the harness and also sometimes
with surfaces such as T-shaped or shelf-like shields.A booster seat (F-G) is a child restraint designed to
improve the �t of the vehicle’s safety belt system. Some
booster seats have a shoulder belt positioner, and
some high-back booster seats have a �ve-point harness.
A booster seat can also help a child to see out the
window.
1-35
Page 51 of 438

Securing a Child Restraint in the
Right Front Seat Position
If your vehicle is equipped with the LATCH system, see
Lower Anchorages and Top Tethers for Children
(LATCH System) on page 1-40. SeeTop Strap on
page 1-38if the child restraint has one.
There is no top strap anchor in the right front
passenger’s position. Do not secure a child seat in this
position if a national or local law requires that the
top strap be anchored, or if the instructions that come
with the child restraint say that the top strap must
be anchored.
Your vehicle has a right front passenger airbag.Never
put a rear facing child restraint in this seat. Here is why:
{CAUTION:
A child in a rear-facing child restraint can be
seriously injured or killed if the right front
passenger’s airbag in�ates. This is because the
back of the rear-facing child restraint would be
very close to the in�ating airbag. Always secure
a rear-facing child restraint in a rear seat.A rear seat is a safer place to secure a forward-facing
child restraint. If you need to secure a forward-facing
child restraint in the right front seat, you will be using the
lap-shoulder belt to secure the child restraint in this
position. Be sure to follow the instructions that came with
the child restraint. Secure the child in the child restraint
when and as the instructions say.
1. Because your vehicle has a right front passenger
airbag, always move the seat as far back as it will
go before securing a forward-facing child restraint.
SeePower Seats on page 1-2orManual Seats
on page 1-2.
2. Put the child restraint on the seat.
3. Pick up the latch plate, and run the lap and shoulder
portions of the vehicle’s safety belt through or
around the restraint. The child restraint instructions
will show you how.
1-45
Page 91 of 438

Automatic Transaxle Operation
Your automatic transaxle may have a shift lever located
on the console between the seats or on the steering
column.
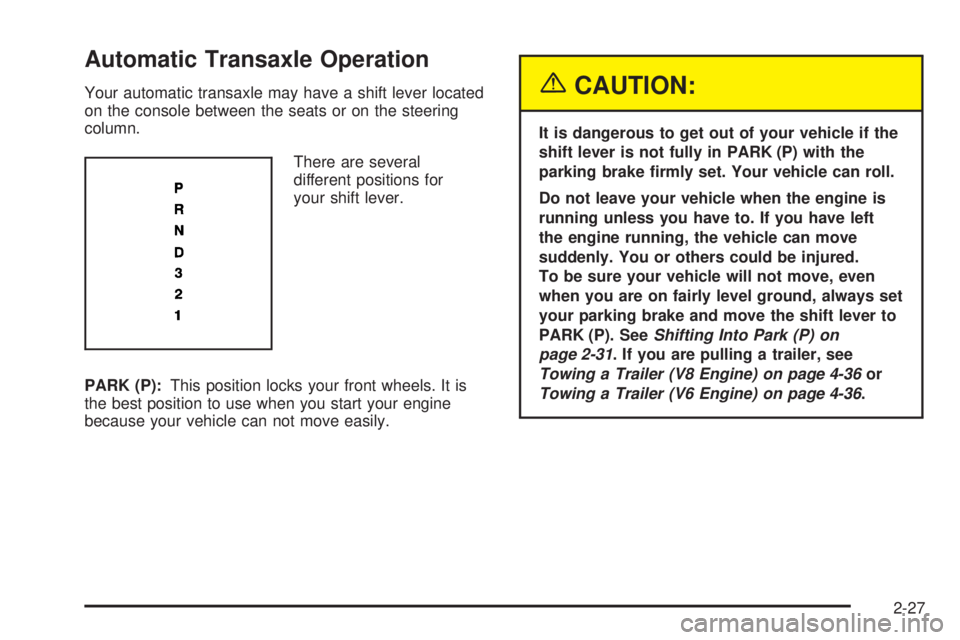
There are several
different positions for
your shift lever.
PARK (P):This position locks your front wheels. It is
the best position to use when you start your engine
because your vehicle can not move easily.{CAUTION:
It is dangerous to get out of your vehicle if the
shift lever is not fully in PARK (P) with the
parking brake �rmly set. Your vehicle can roll.
Do not leave your vehicle when the engine is
running unless you have to. If you have left
the engine running, the vehicle can move
suddenly. You or others could be injured.
To be sure your vehicle will not move, even
when you are on fairly level ground, always set
your parking brake and move the shift lever to
PARK (P). SeeShifting Into Park (P) on
page 2-31. If you are pulling a trailer, see
Towing a Trailer (V8 Engine) on page 4-36or
Towing a Trailer (V6 Engine) on page 4-36.
2-27
Page 117 of 438

The main components of your instrument panel are the following:
A. Air Outlets. See “Air Outlets” underOutlet
Adjustment on page 3-32.
B. Turn Signal/Multifunction Lever. SeeTurn
Signal/Multifunction Lever on page 3-7.
C. Audio System Steering Wheel Controls (If Equipped).
SeeAudio Steering Wheel Controls on page 3-99.
D. Windshield Wiper Lever. See “Windshield Wipers”
underWindshield Wiper Lever on page 3-9.
E. Steering Column Shift Lever (If Equipped). See
Automatic Transaxle Operation on page 2-27.
F. Driver Information Center (DIC) Controls (If
Equipped). SeeDriver Information Center (DIC) on
page 3-59.
G. Audio System. SeeAudio System(s) on page 3-72.
H. Hazard Warning Flashers Control. SeeHazard
Warning Flashers on page 3-6.I. Twilight Sentinel
®Controls and Fog Lamps Button.
SeeTwilight Sentinel®on page 3-16andFog
Lamps on page 3-16.
J. Ignition Switch. SeeIgnition Positions on page 2-24.
K. Climate Control System. SeeClimate Control
System on page 3-25andAutomatic Climate Control
System on page 3-28.
L. Heated Seat Switches (If Equipped). SeeHeated
Seats on page 1-4.
M. Traction Control Button (If Equipped). SeeTraction
Control System (TCS) on page 4-8.
N. Cigarette Lighter. SeeAshtrays and Cigarette
Lighter on page 3-24.
O. Glove Box. SeeGlove Box on page 2-44.
3-5
Page 132 of 438

Front Reading Lamps
The front reading lamps, located on the headliner, will
come on as courtesy lamps when you open any of
the doors while it is dark outside. They will also come
on as part of the interior lighting features listed
previously.
To turn on a reading lamp when the doors are closed,
press either button. Press it again to turn the lamp off.
To avoid draining your vehicle’s battery, be sure to
turn off the reading lamps when leaving your vehicle.
See “Inadvertent Power Battery Saver” later in this
section for more information.
Rear Reading Lamps
The rear reading lamps, located over each rear door,
will come on as courtesy lamps when you open
any of the doors while it is dark outside. They will also
come on as part of the interior lighting features listed
previously.
To turn on a reading lamp when the doors are closed,
press either button. Press it again to turn the lamp off.
Battery Load Management
The battery load management feature is designed to
monitor the vehicle’s electrical load and determine when
the battery is in a heavy discharge condition. During
times of high electrical loading, the engine may idle at
higher revolutions per minute (RPM) than normal to make
sure the battery charges. High electrical loads may occur
when several of the following are on: headlamps, high
beams, fog lamps, rear window defogger, fan on high
speed, heated seats, and engine cooling fans.
If your vehicle’s battery remains in a heavy discharge
condition for a long period of time, the fan, rear
defogger, heated seats and heated mirrors will be
disabled and the DIC will display BATTERY SAVER
ACTIVE. This can happen either under long periods of
idling or low speed driving with high electrical loading,
or in the event of a charging system fault.
Monitor the battery voltage when in the BATTERY
SAVER ACTIVE mode.
If the voltmeter remains in the shaded area, below
11 volts, when driving then have the charging
system serviced immediately.
If the voltage increases above 12 volts then the
battery needs to be recharged. Try driving on
the highway with as few electrical accessories on
as possible.
3-20