Page 219 of 498
217 Controls in detail
Audio system
Manual tuning�
Select desired waveband.
�
Press S or Tbutton for approx.
three seconds.
�
Press button repeatedly until desired
frequency has been reached.
Step-by-step station tuning takes place
in ascending or descending order. Each
time the button is pressed, the radio
tunes further by 0.2 MHz. During man-
ual tuning, the radio is muted.Automatic seek tuning
�
Select desired waveband.
�
Press S or T button briefly.
The radio will tune to the next highest
or next lowest receivable frequency.Scan search
�
Starting scan search�
Select desired waveband.
�
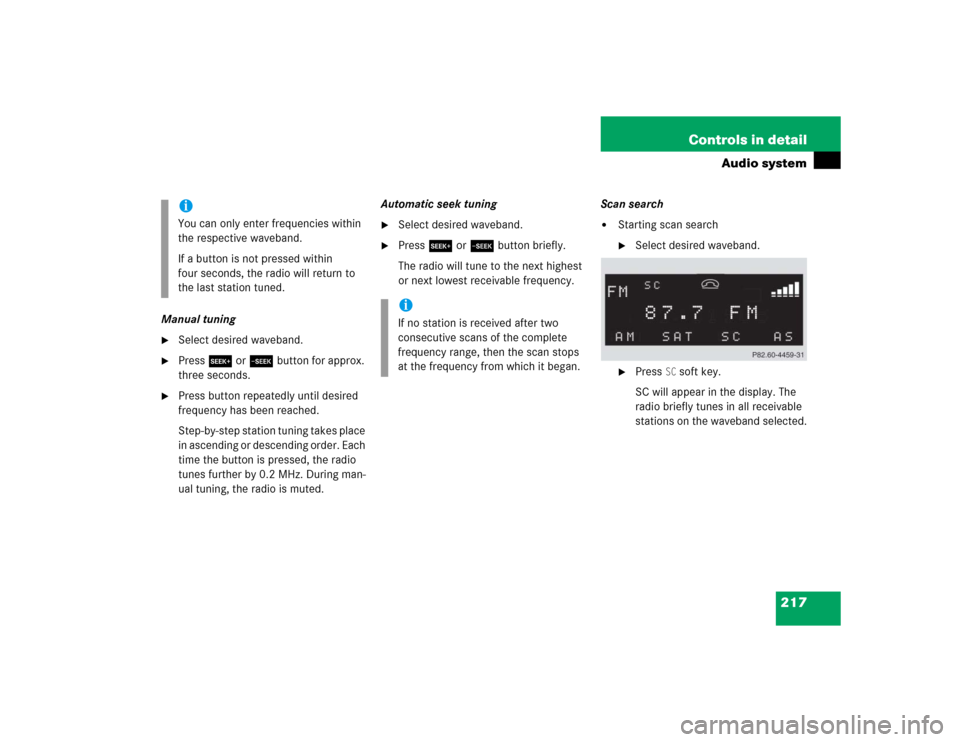
Press
SC soft key.
SC will appear in the display. The
radio briefly tunes in all receivable
stations on the waveband selected.
iYou can only enter frequencies within
the respective waveband.
If a button is not pressed within
four seconds, the radio will return to
the last station tuned.
iIf no station is received after two
consecutive scans of the complete
frequency range, then the scan stops
at the frequency from which it began.
Page 221 of 498
219 Controls in detail
Audio system
�
Calling up stations�
Press desired station button1
to R.
�
Leaving the Autostore memory level�
Press
FM or
AM
soft key briefly.
Interrupting radio mode
The radio mode is interrupted by an incom-
ing call on the telephone* (
�page 237)
�
Mute on�
Press U button.
The radio mode is interrupted and MUTED
appears in the display.
�
Mute off�
Press U button.
The radio mode is again active.
Weather band
�
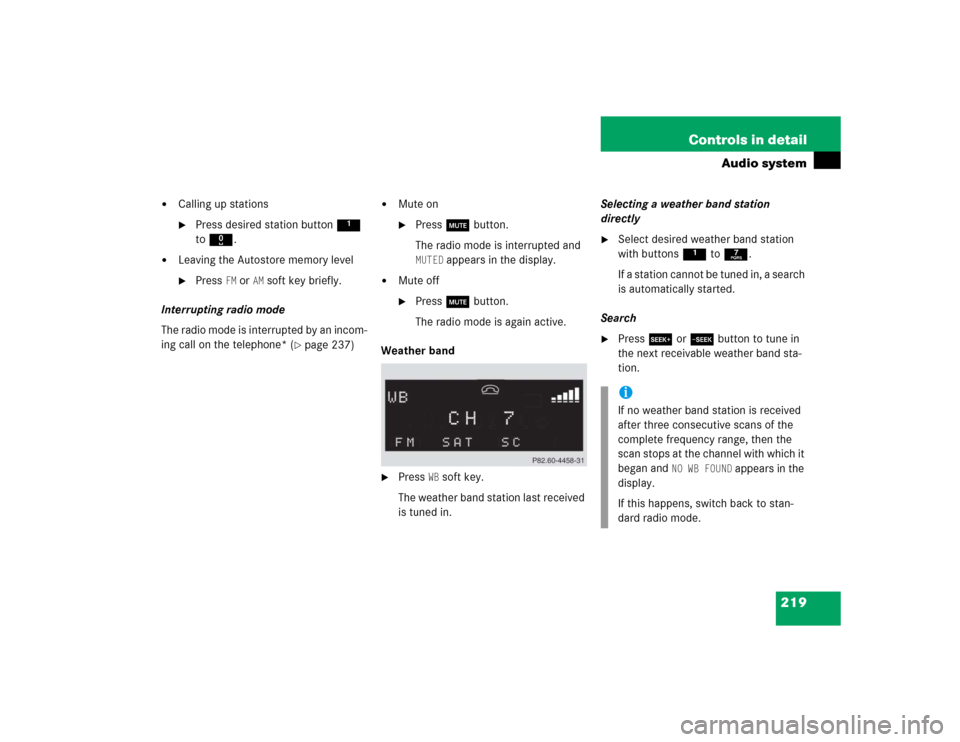
Press
WB soft key.
The weather band station last received
is tuned in.Selecting a weather band station
directly
�
Select desired weather band station
with buttons 1 to 7.
If a station cannot be tuned in, a search
is automatically started.
Search
�
Press S or T button to tune in
the next receivable weather band sta-
tion.iIf no weather band station is received
after three consecutive scans of the
complete frequency range, then the
scan stops at the channel with which it
began and
NO WB FOUND
appears in the
display.
If this happens, switch back to stan-
dard radio mode.
Page 226 of 498
224 Controls in detailAudio systemTuning via scan search
Scan search is characterized as follows:�
Scan search plays a channel for ap-
prox. eight seconds and then skips to
the next channel within the current cat-
egory.
�
Scan search can be terminated manu-
ally.
�
Press
SC soft key.
The search starts. SC appears in the
display.
�
Press
SC soft key again.
The search stops.Obtaining additional text information
Additional text information (artist, title) re-
lated to the current channel can be dis-
played.
�
Press
INF
soft key.
The title being played is displayed.
�
Press
INF
soft key again.
The name of the artist performing the
title being played is displayed.Storing stations
�
Tune in desired station.
�
Press and hold desired station button
1 to R until a brief signal tone is
heard.
The frequency is stored on the selected
station button.
The radio saves the current station at
the memory preset selected. The mem-
ory preset selected appears in the sta-
tus line, e.g. S3.
iIf a button is not pressed within
four seconds, the radio will return to
the standard display.
iThere are ten presets available.
An existing entry is overwritten in the
memory list when a new entry is given.
Page 249 of 498
247 Controls in detail
Power windows
�Power windows
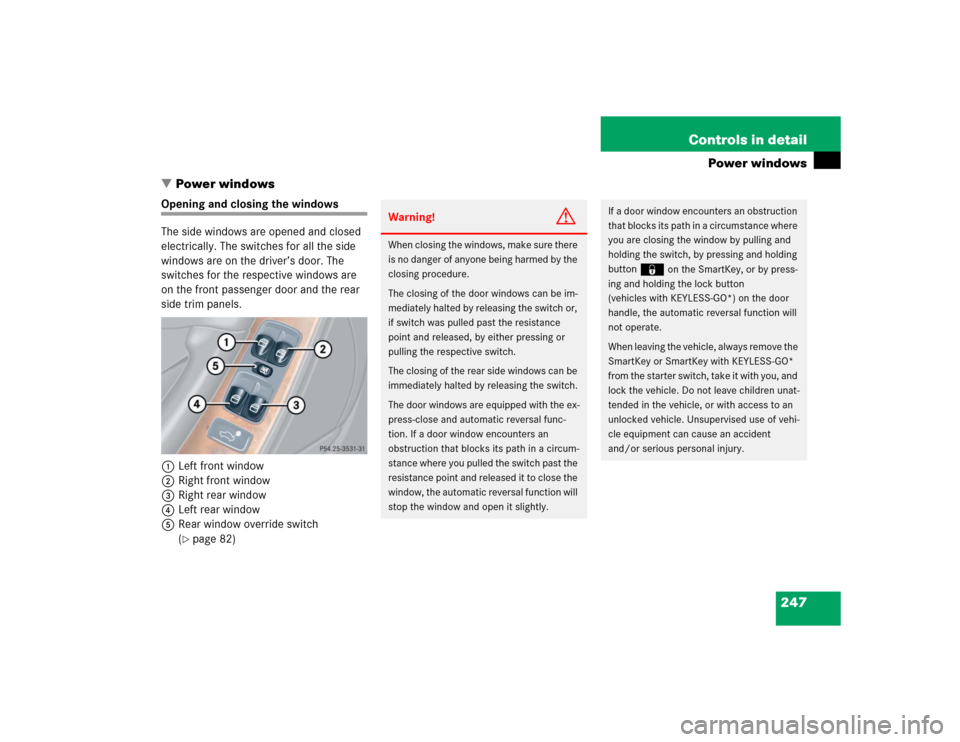
Opening and closing the windows
The side windows are opened and closed
electrically. The switches for all the side
windows are on the driver’s door. The
switches for the respective windows are
on the front passenger door and the rear
side trim panels.
1Left front window
2Right front window
3Right rear window
4Left rear window
5Rear window override switch
(
�page 82)
Warning!
G
When closing the windows, make sure there
is no danger of anyone being harmed by the
closing procedure.
The closing of the door windows can be im-
mediately halted by releasing the switch or,
if switch was pulled past the resistance
point and released, by either pressing or
pulling the respective switch.
The closing of the rear side windows can be
immediately halted by releasing the switch.
The door windows are equipped with the ex-
press-close and automatic reversal func-
tion. If a door window encounters an
obstruction that blocks its path in a circum-
stance where you pulled the switch past the
resistance point and released it to close the
window, the automatic reversal function will
stop the window and open it slightly.
If a door window encounters an obstruction
that blocks its path in a circumstance where
you are closing the window by pulling and
holding the switch, by pressing and holding
button
‹
on the SmartKey, or by press-
ing and holding the lock button
(vehicles with KEYLESS-GO*) on the door
handle, the automatic reversal function will
not operate.
When leaving the vehicle, always remove the
SmartKey or SmartKey with KEYLESS-GO*
from the starter switch, take it with you, and
lock the vehicle. Do not leave children unat-
tended in the vehicle, or with access to an
unlocked vehicle. Unsupervised use of vehi-
cle equipment can cause an accident
and/or serious personal injury.
Page 254 of 498
252 Controls in detailPower tilt/sliding sunroof*
�
Switch on ignition (
�page 36).
Opening and closing the power
tilt/sliding sunroof
�
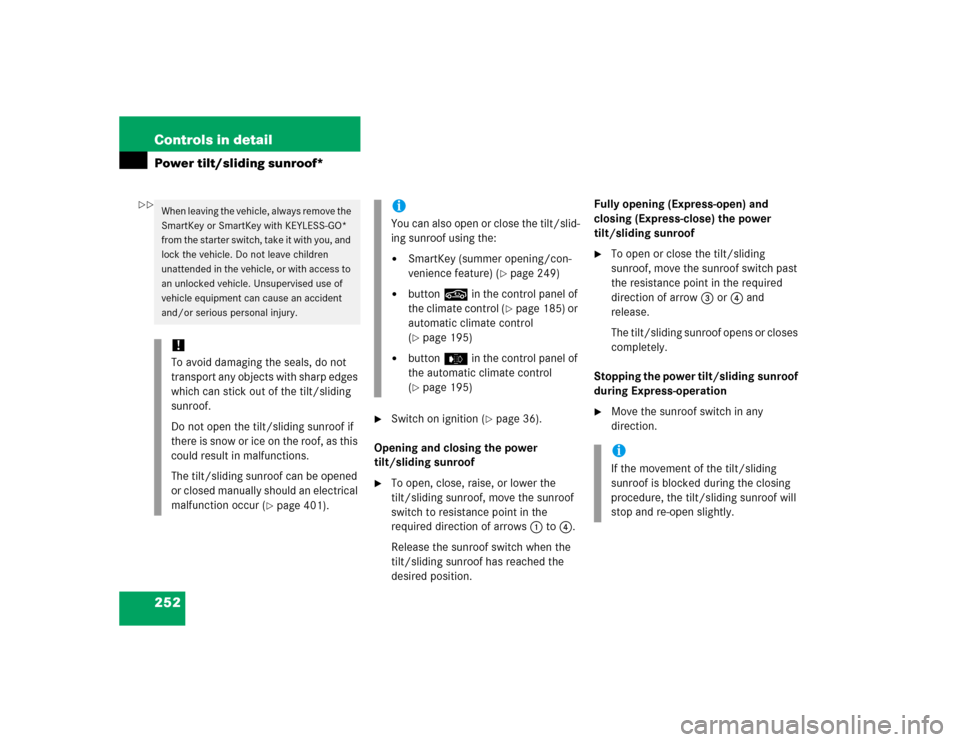
To open, close, raise, or lower the
tilt/sliding sunroof, move the sunroof
switch to resistance point in the
required direction of arrows1 to4.
Release the sunroof switch when the
tilt/sliding sunroof has reached the
desired position.Fully opening (Express-open) and
closing (Express-close) the power
tilt/sliding sunroof
�
To open or close the tilt/sliding
sunroof, move the sunroof switch past
the resistance point in the required
direction of arrow3 or4 and
release.
The tilt/sliding sunroof opens or closes
completely.
Stopping the power tilt/sliding sunroof
during Express-operation
�
Move the sunroof switch in any
direction.
When leaving the vehicle, always remove the
SmartKey or SmartKey with KEYLESS-GO*
from the starter switch, take it with you, and
lock the vehicle. Do not leave children
unattended in the vehicle, or with access to
an unlocked vehicle. Unsupervised use of
vehicle equipment can cause an accident
and/or serious personal injury.!To avoid damaging the seals, do not
transport any objects with sharp edges
which can stick out of the tilt/sliding
sunroof.
Do not open the tilt/sliding sunroof if
there is snow or ice on the roof, as this
could result in malfunctions.
The tilt/sliding sunroof can be opened
or closed manually should an electrical
malfunction occur (
�page 401).
iYou can also open or close the tilt/slid-
ing sunroof using the:�
SmartKey (summer opening/con-
venience feature) (
�page 249)
�
button, in the control panel of
the climate control (
�page 185) or
automatic climate control
(
�page 195)
�
buttone in the control panel of
the automatic climate control
(�page 195)
iIf the movement of the tilt/sliding
sunroof is blocked during the closing
procedure, the tilt/sliding sunroof will
stop and re-open slightly.
��
Page 300 of 498
298 OperationDriving instructions
TiresTreadwear indicators (TWI) are required by
law. These indicators are located in six
places on the tread circumference and be-
come visible at a tread depth of approxi-
mately
1/16 in (1.6 mm), at which point the
tire is considered worn and should be re-
placed.
The treadwear indicator appears as a solid
band across the tread.
Warning!
G
To reduce the risk of personal injury as a re-
sult of inadvertent vehicle movement, be-
fore turning off the engine and leaving the
vehicle always:�
Keep right foot firmly on brake pedal.
�
Firmly depress parking brake pedal.
�
Move the gear selector lever to
positionP.
�
Slowly release brake pedal.
�
When parked on an incline, turn front
wheels towards the road curb.
�
Turn the SmartKey in the starter switch
to position0 and remove the SmartKey
from the starter switch, or press
KEYLESS-GO* start/stop button
(vehicles with KEYLESS-GO*).
�
Take the SmartKey or the SmartKey with
KEYLESS-GO* with you and lock the
vehicle when leaving.
Warning!
G
If you feel a sudden significant vibration or
ride disturbance, or you suspect that possi-
ble damage to your vehicle has occurred,
you should turn on the hazard warning flash-
ers, carefully slow down, and drive with cau-
tion to an area which is a safe distance from
the road.
Inspect the tires and the vehicle underbody
for possible damage. If the vehicle or tires
appear unsafe, have it towed to the nearest
Mercedes-Benz Center or tire dealer for re-
pairs.
Warning!
G
Although the applicable federal motor
vehicle safety laws consider a tire to be
worn when the treadwear indicators (TWI)
become visible at approximately
1/16in
(1.6 mm), we recommend that you do not al-
low your tires to wear down to that level. As
tread depth approaches
1/8in (3 mm), the
adhesion properties on a wet road are
sharply reduced.
Depending upon the weather and/or road
surface (conditions), the tire traction varies
widely.
Page 307 of 498
305 Operation
At the gas station
�At the gas station
Refueling
The fuel filler flap is located on the
right-hand side of the vehicle towards the
rear. Locking/unlocking the vehicle with
the SmartKey or the SmartKey with
KEYLESS-GO* automatically locks/un-
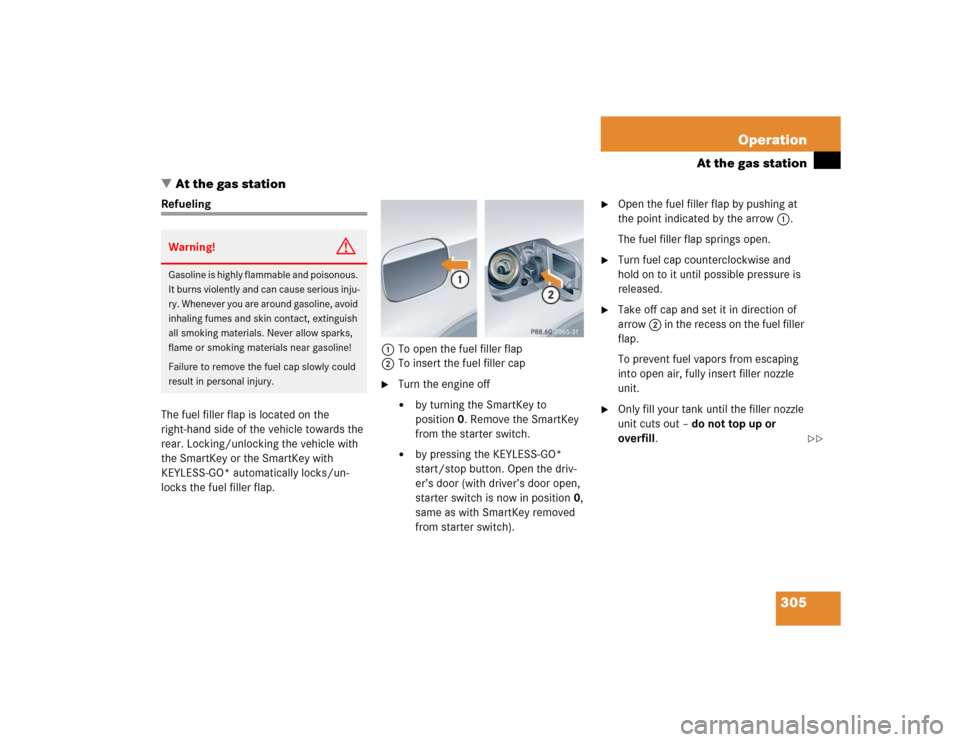
locks the fuel filler flap.1To open the fuel filler flap
2To insert the fuel filler cap
�
Turn the engine off�
by turning the SmartKey to
position0. Remove the SmartKey
from the starter switch.
�
by pressing the KEYLESS-GO*
start/stop button. Open the driv-
er’s door (with driver’s door open,
starter switch is now in position0,
same as with SmartKey removed
from starter switch).
�
Open the fuel filler flap by pushing at
the point indicated by the arrow 1.
The fuel filler flap springs open.
�
Turn fuel cap counterclockwise and
hold on to it until possible pressure is
released.
�
Take off cap and set it in direction of
arrow 2 in the recess on the fuel filler
flap.
To prevent fuel vapors from escaping
into open air, fully insert filler nozzle
unit.
�
Only fill your tank until the filler nozzle
unit cuts out – do not top up or
overfill.
Warning!
G
Gasoline is highly flammable and poisonous.
It burns violently and can cause serious inju-
ry. Whenever you are around gasoline, avoid
inhaling fumes and skin contact, extinguish
all smoking materials. Never allow sparks,
flame or smoking materials near gasoline!
Failure to remove the fuel cap slowly could
result in personal injury.
��
Page 374 of 498
372 Practical hintsWhat to do if …?Display
Display message
Possible cause
Possible solution
P
Selector lever
in park position
You have turned off the engine with the
KEYLESS-GO* start/stop button in gear
selector lever positionN and opened the
driver’s door.
or
You have attempted to switch off the en-
gine with the KEYLESS-GO* start/stop
button while the gear selector lever was in
positionR orD.
�
Place the gear selector lever in
positionP.
Please
shift to
P or N
You have attempted to start the engine
with the KEYLESS-GO* start/stop button
while the gear selector lever was in
positionR orD.
�
Place the gear selector lever in
positionP or N.