Page 118 of 474

117
Controls in detail
Lighting
Interior lighting
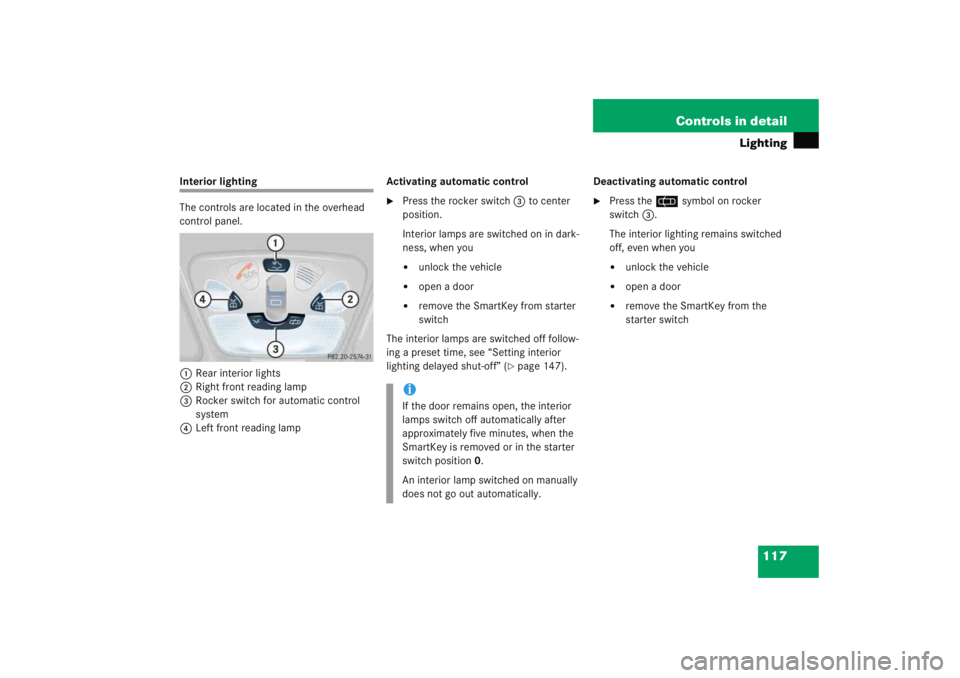
The controls are located in the overhead
control panel.
1 Rear interior lights
2 Right front reading lamp
3 Rocker switch for automatic control
system
4 Left front reading lamp Activating automatic control
�
Press the rocker switch
3 to center
position.
Interior lamps are switched on in dark-
ness, when you�
unlock the vehicle
�
open a door
�
remove the SmartKey from starter
switch
The interior lamps are switched off follow-
ing a preset time, see “Setting interior
lighting delayed shut-off” (
�page 147). Deactivating automatic control
�
Press the
=symbol on rocker
switch 3.
The interior lighting remains switched
off, even when you�
unlock the vehicle
�
open a door
�
remove the SmartKey from the
starter switch
iIf the door remains open, the interior
lamps switch off automatically after
approximately five minutes, when the
SmartKey is removed or in the starter
switch position 0.
An interior lamp switched on manually
does not go out automatically.
Page 120 of 474

119
Controls in detail
Instrument cluster
� Instrument cluster
For a full view illustration of the instrument
cluster, see “At a glance” (
�page 24).
1 Reset button
The instrument cluster is activated when
you
�
open a door
�
switch on the ignition (
�page 33)
�
press reset button 1
�
switch on the exterior lamps
You can change the instrument cluster
settings in the instrument cluster submenu
of the control system (
�page 137).
Instrument cluster illumination
Use reset button 1 to adjust the
illumination brightness for the instrument
cluster. To brighten illumination
�
Turn reset button
1 clockwise.
The instrument cluster illumination will
brighten.
To dim illumination
�
Turn reset button 1 counterclock-
wise.
The instrument cluster illumination will
dim.
iThe instrument cluster illumination is
dimmed or brightened automatically to
suit ambient light conditions.
The instrument cluster illumination will
also be adjusted automatically when
you switch on the vehicle’s exterior
lamps.
Page 124 of 474

123
Controls in detail
Control system
� Control system
The control system is activated as soon as
the SmartKey in the starter switch is
turned to position 1. The control system
enables you to�
call up information about your vehicle
�
change vehicle settings
For example, you can use the control
system to find out when your vehicle is
next due for service, to set the language
for messages in the instrument cluster
display, and much more.
The control system relays information to
the multifunction display.
Multifunction display
1 Trip odometer
2 Main odometer
3 Current program mode (automatic
transmission*)
4 Current gear selector lever
position/gear range (automatic trans-
mission*)
5 Digital clock
6 Status indicator (outside tempera-
ture/digital speedometer)
iThe displays for the audio systems
(radio and CD player) will appear in
English, regardless of the language
selected.
Warning!
G
A driver’s attention to the road and traffic
conditions must always be his/her primary
focus when driving.
For your safety and the safety of others,
selecting features through the multifunction
steering wheel should only be done by the
driver when traffic and road conditions
permit it to be done safely.
Bear in mind that at a speed of just 30 mph
(approximately 50 km/h), your vehicle is
covering a distance of 44 feet
(approximately 14 m) every second.
Page 137 of 474
136 Controls in detailControl systemThe table below shows what settings can
be changed within the various menus.
Detailed instructions on making individual
settings can be found on the following
pages.Instrument cluster
Time/Date
Lighting
Vehicle
Convenience
Selecting temperature
display mode
Time synchronization with
head unit*
Setting daytime running
lamp mode (USA only)
Setting automatic
locking
Activating
easy-entry/exit feature
Selecting speedometer
display mode
Setting the time (hours)
Setting locator lighting
Setting key-dependency
Selecting language
Setting the time (minutes)
Setting night security
illumination
Setting parking position
for exterior rear view
mirror
Selecting display (speed
display or outside tempera-
ture) for status indicator
Selecting time display mode
Setting interior lighting
delayed shut-off
Selecting automatic time
change (Daylight Saving
Time (DST) summer/winter)Setting the date (month)Setting the date (day)Setting the date (year)
Page 142 of 474

141
Controls in detail
Control system
Selecting time display mode�
Move the selection marker with
button
æ orç to the
Time/Date
submenu.
�
Press button j ork repeatedly
until the message
Clock display
appears in the multifunction display.
The selection marker is on the current
setting.
�
Press button æ orç to set
the
12h
or
24h
time display mode. Selecting automatic time change
(Daylight Saving Time (DST) summer /
Standard Time winter)
This function can be seen in vehicles with
audio system, or in vehicles with
COMAND* if the time synchronization with
head unit* feature was set to
Off
.
�
Move the selection marker with
button
æ orç to the
Time/Date
submenu.
�
Press button j ork repeatedly
until the message
Change-over
Summer / Winter time
appears in the
multifunction display.
The selection marker is on the current
setting.
�
Press button æ orç to select if
the changeover between summer and
winter time should be automatic or
manual.
Setting the date (month)
This function can be seen in vehicles with
audio system, or in vehicles with
COMAND* if the time synchronization with
head unit* feature was set to
Off
.
iVehicles with COMAND*:
For information on setting the date in
COMAND, refer to the separate
COMAND operating instructions.
Page 146 of 474

145
Controls in detail
Control system
In low ambient light conditions the follow-
ing lamps will switch on additionally:�
Parking lamps
�
Tail lamps
�
License plate lamps
�
Side marker lamps
For more information on the daytime
running lamp mode, see “Lighting”
(
�page 110). Setting locator lighting
With the locator lighting feature activated
and the exterior lamp switch in
position
U, the following lamps will
switch on when the vehicle is unlocked
with the SmartKey during darkness:
�
Parking lamps
�
Tail lamps
�
License plate lamps
�
Side marker lamps
�
Front fog lamps
The locator lighting switches off when the
driver’s door is opened.
If you do not open a door after unlocking
with the SmartKey the lamps will switch off
automatically after approximately
40 seconds.
�
Move the selection marker with
button æorç to the
Lighting
submenu.
�
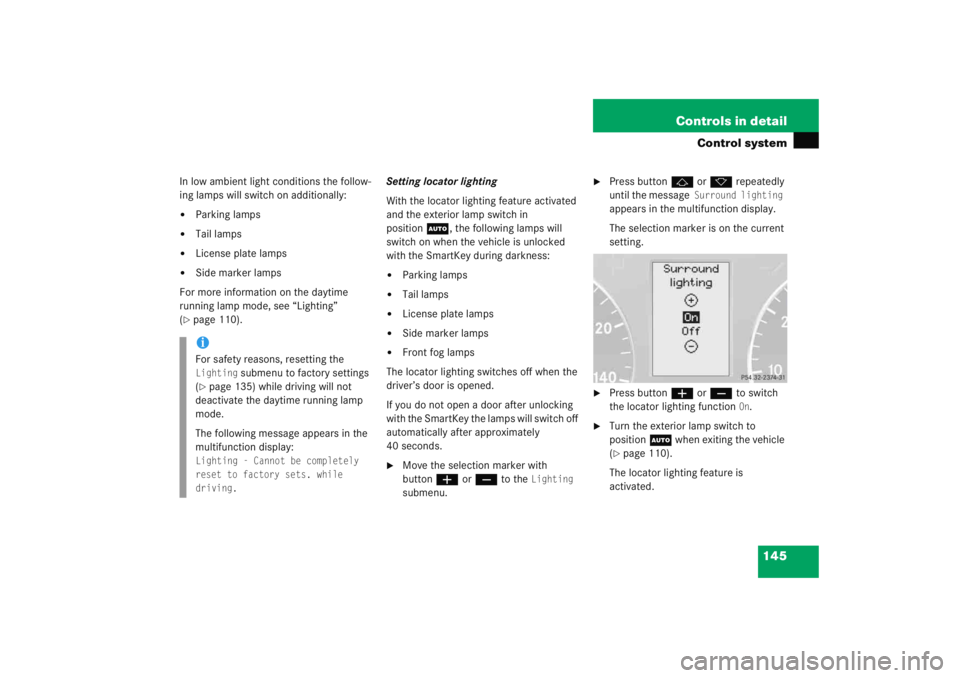
Press button jork repeatedly
until the message
Surround lighting
appears in the multifunction display.
The selection marker is on the current
setting.
�
Press button æorç to switch
the locator lighting function
On.
�
Turn the exterior lamp switch to
position U when exiting the vehicle
(�page 110).
The locator lighting feature is
activated.
iFor safety reasons, resetting the Lighting
submenu to factory settings
(
�page 135) while driving will not
deactivate the daytime running lamp
mode.
The following message appears in the
multifunction display:
Lighting - Cannot be completely
reset to factory sets. while
driving.
Page 149 of 474

148 Controls in detailControl systemVehicle submenu
Access the
Vehicle
submenu via the
Settings
menu. Use the
Vehicle
submenu
to make general vehicle settings.
The following function is available:
Setting automatic locking
Use this function to activate or deactivate
the automatic central locking. With the
automatic central locking system
activated, the vehicle is centrally locked at
vehicle speeds of approximately 9 mph
(15 km/h).
�
Move the selection marker with
button æ orç to the
Vehicle
submenu.
�
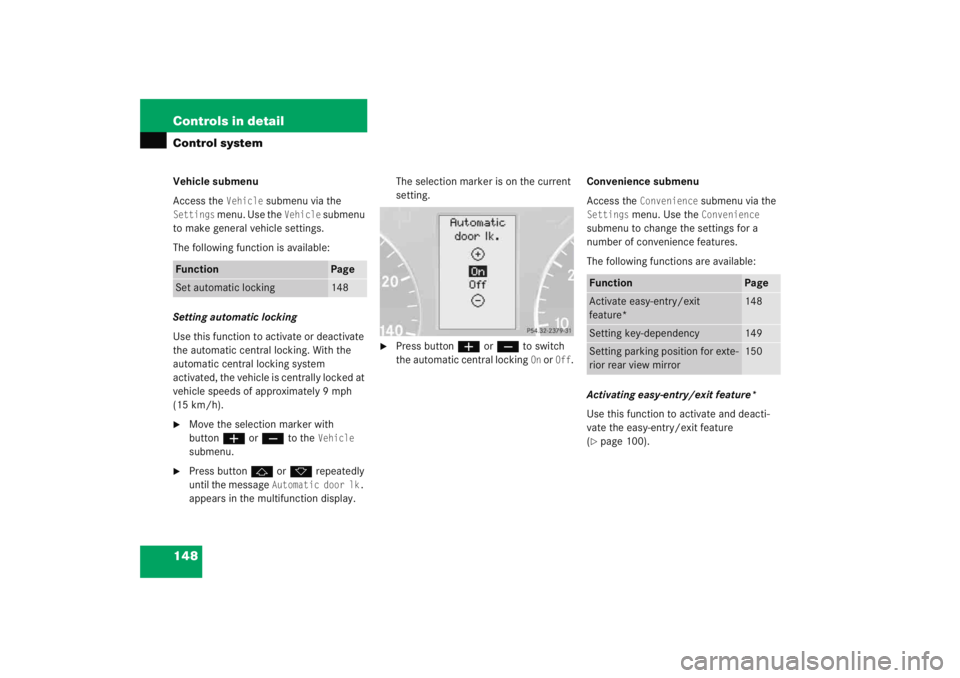
Press button j ork repeatedly
until the message
Automatic door lk.
appears in the multifunction display. The selection marker is on the current
setting.
�
Press button
æ orç to switch
the automatic central locking
On or
Off
. Convenience submenu
Access the
Convenience
submenu via the
Settings
menu. Use the
Convenience
submenu to change the settings for a
number of convenience features.
The following functions are available:
Activating easy-entry/exit feature*
Use this function to activate and deacti-
vate the easy-entry/exit feature
(
�page 100).
Function
Page
Set automatic locking
148
Function
Page
Activate easy-entry/exit
feature*
148
Setting key-dependency
149
Setting parking position for exte-
rior rear view mirror
150
Page 150 of 474

149
Controls in detail
Control system
�
Move the selection marker with
button
æ orç to the Convenience
submenu.
�
Press button j ork repeatedly
until the message
Easy-entry feature
appears in the multifunction display.
The selection marker is on the current
setting.
�
Press æ orç to change the
easy-entry/exit setting. The following settings are available for
the easy-entry/exit feature:
Setting key-dependency
Use this function to set whether the
memory settings for the seats, the steering
wheel and the mirrors should be stored
separately for each SmartKey
(
�page 107).
�
Move the selection marker with
button æ orç to the Convenience
submenu.
�
Press button j ork repeatedly
until the message
Key dependency
appears in the multifunction display.
Warning!
G
You must make sure no one can become
trapped or injured by the moving steering
wheel and driver’s seat when the easy-en-
try/exit feature is activated.
To cancel seat/steering wheel movement,
do one of the following:�
Press seat adjustment switch*
(�page 38).
�
Move steering column stalk*
(�page 41).
�
Press the memory position switch*
(�page 108).
Do not leave children unattended in the ve-
hicle, or with access to an unlocked vehicle.
Children could open the driver’s door and
unintentionally activate the easy-entry/exit
feature, which could result in an accident
and/or serious personal injury.
Off
The easy-entry/exit
feature is
deactivated
Steer. Column
Only the steering
column is moved
St.col.+seat
Both the steering
column and the seat
are moved
��