Page 156 of 318
Driving your vehicle
44
4
1 23456789
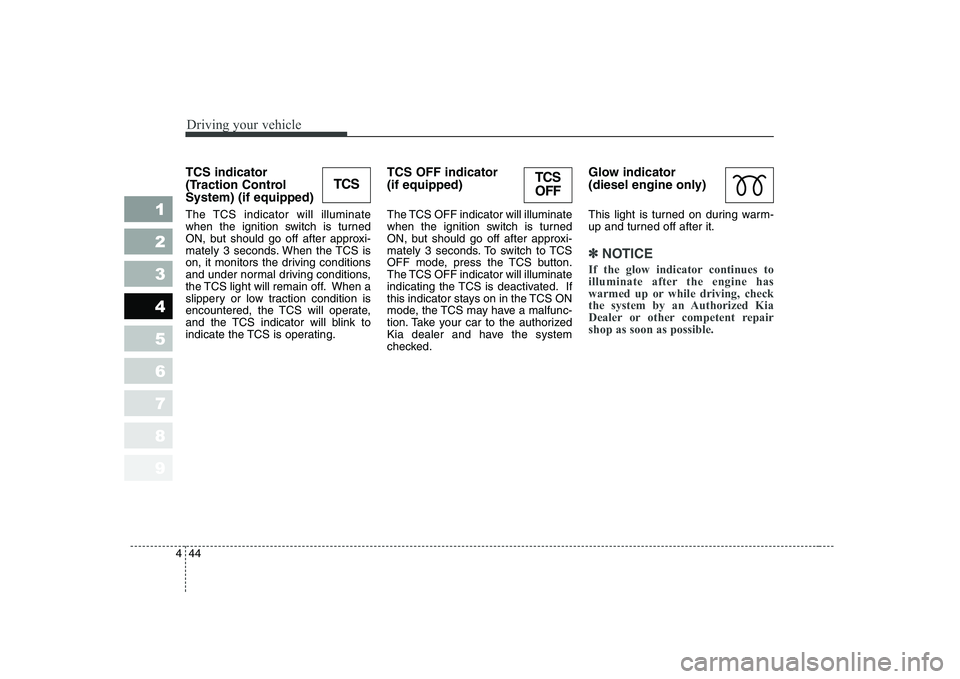
TCS indicator
(Traction ControlSystem) (if equipped)
The TCS indicator will illuminate
when the ignition switch is turned
ON, but should go off after approxi-
mately 3 seconds. When the TCS is
on, it monitors the driving conditions
and under normal driving conditions,
the TCS light will remain off. When a
slippery or low traction condition is
encountered, the TCS will operate,
and the TCS indicator will blink to
indicate the TCS is operating. TCS OFF indicator (if equipped)
The TCS OFF indicator will illuminate
when the ignition switch is turned
ON, but should go off after approxi-
mately 3 seconds. To switch to TCS
OFF mode, press the TCS button.
The TCS OFF indicator will illuminate
indicating the TCS is deactivated. If
this indicator stays on in the TCS ON
mode, the TCS may have a malfunc-
tion. Take your car to the authorized
Kia dealer and have the system
checked.Glow indicator
(diesel engine only)
This light is turned on during warm-
up and turned off after it.
✽✽
NOTICE
If the glow indicator continues to
illuminate after the engine has
warmed up or while driving, check
the system by an Authorized Kia
Dealer or other competent repairshop as soon as possible.
TCSTCS OFF
Page 157 of 318
445
1 23456789
Driving your vehicle
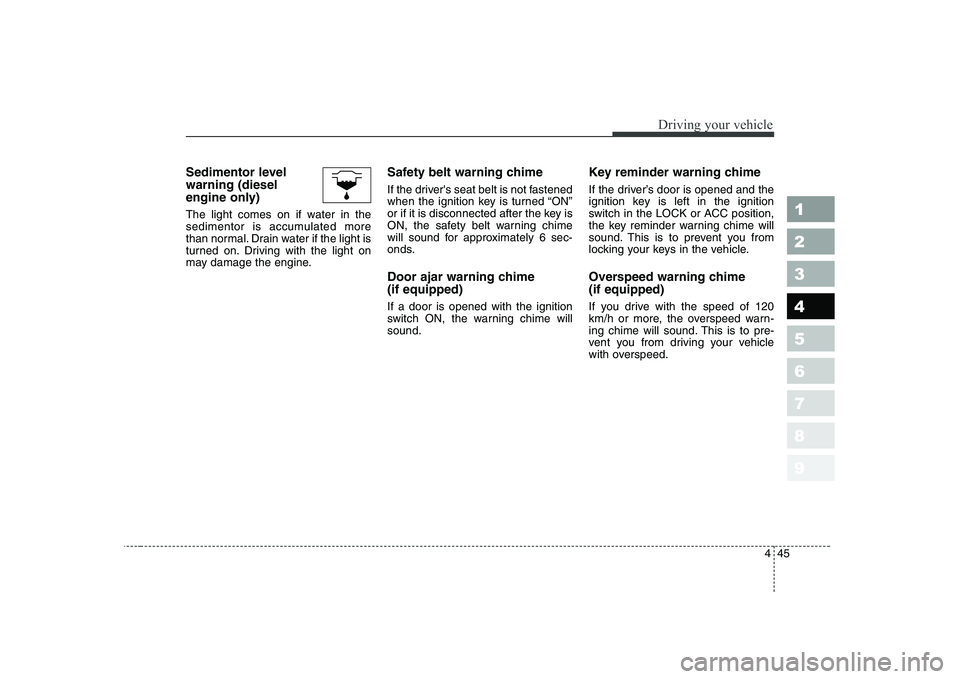
Sedimentor level warning (diesel
engine only)
The light comes on if water in the
sedimentor is accumulated more
than normal. Drain water if the light is
turned on. Driving with the light on
may damage the engine.Safety belt warning chime
If the driver's seat belt is not fastened
when the ignition key is turned “ON”
or if it is disconnected after the key is
ON, the safety belt warning chime
will sound for approximately 6 sec-
onds.
Door ajar warning chime (if equipped) If a door is opened with the ignition
switch ON, the warning chime willsound.Key reminder warning chime
If the driver’s door is opened and the
ignition key is left in the ignition
switch in the LOCK or ACC position,
the key reminder warning chime will
sound. This is to prevent you from
locking your keys in the vehicle.
Overspeed warning chime (if equipped)
If you drive with the speed of 120
km/h or more, the overspeed warn-
ing chime will sound. This is to pre-
vent you from driving your vehicle
with overspeed.
Page 160 of 318
Driving your vehicle
48
4
1 23456789
High - beam operation
To turn on the high beam headlights,
push the lever away from you. Pull it
back for low beams. The high-beam indicator will light when the headlight high beams are
switched on.
To prevent the battery from being
discharged, do not leave the lights
on for a prolonged time while the
engine is not running.Flashing headlights
To flash the headlights, pull the lever
towards you. It will return to the nor-
mal (low-beam) position when
released. The headlight switch doesnot need to be on to use this flashing
feature.
Turn signals ( )
The ignition switch must be on for the
turn signals to function. To turn on
the turn signals, move the lever up or
down. Green arrow indicators on the
instrument panel indicate which turn
signal is operating. They will self-
cancel after a turn is completed. If
the indicator continues to flash after
a turn, manually return the lever tothe OFF position.
RLDA2105RLDA2107RLDA2106
A
Page 162 of 318

Driving your vehicle
50
4
1 23456789
Daytime running light (if equipped)
Daytime Running Lights (DRL) can
make it easier for others to see the
front of your vehicle during the day.
DRL can be helpful in many different
driving conditions, and it is especial-
ly helpful after dawn and before sun-set.
The DRL system will make your low-
beam headlights turn OFF when:
1. The headlight switch is ON.
2. The parklight switch is ON.
3. Engine stops. Headlight leveling device (if equipped)
This manual system is provided to
avoid obstructing oncoming drivers
vision with your headlights. The
headlight level can be adjusted by
rotating the thumb-wheel switch in
accordance with the following set-
tings.Switch setting: 4 Door 5 Door
Position
Loading on
Front seats Rear seats Rear Trunk
0 1 driver - -
2 persons - -
1 2 persons 3 persons -
2 2 persons 3 persons 140 kg
3 1 driver - 410 kg
Loading on
Position Front seats Rear seats Rear luggage
room
0 1 driver - -
2 persons - -
1 2 persons 3 persons -
2 2 persons 3 persons 120 kg
3 1 driver - 380 kg
RLDA2201
Page 166 of 318
Driving your vehicle
54
4
1 23456789
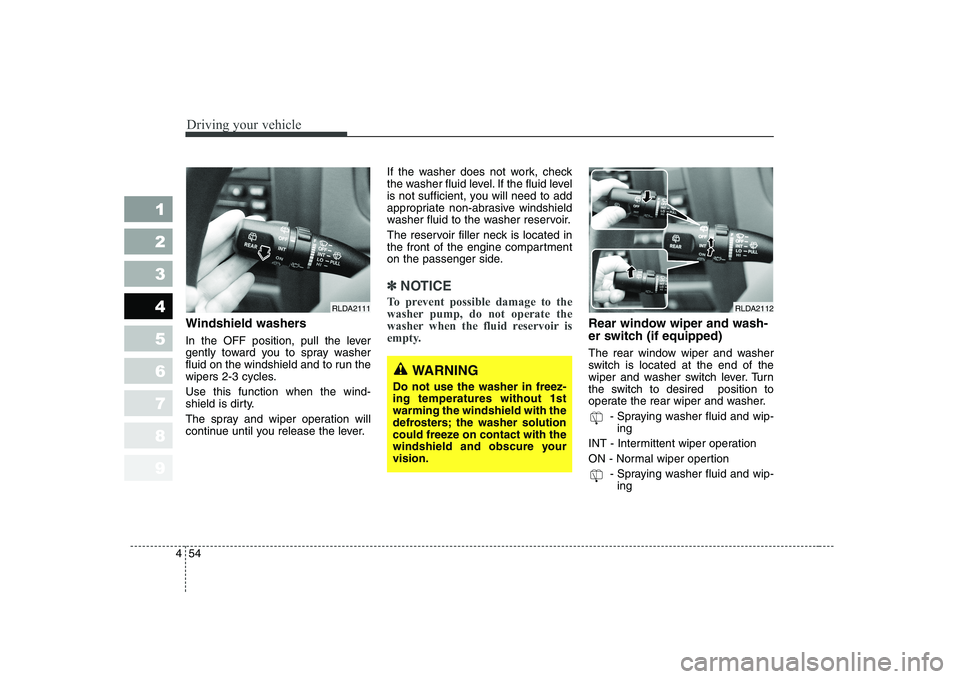
Windshield washers
In the OFF position, pull the lever
gently toward you to spray washer
fluid on the windshield and to run the
wipers 2-3 cycles. Use this function when the wind-
shield is dirty.
The spray and wiper operation will
continue until you release the lever. If the washer does not work, check
the washer fluid level. If the fluid level
is not sufficient, you will need to add
appropriate non-abrasive windshield
washer fluid to the washer reservoir.
The reservoir filler neck is located in
the front of the engine compartment
on the passenger side.
✽✽
NOTICE
To prevent possible damage to the
washer pump, do not operate the
washer when the fluid reservoir is
empty.
Rear window wiper and wash-
er switch (if equipped)
The rear window wiper and washer
switch is located at the end of the
wiper and washer switch lever. Turn
the switch to desired position to
operate the rear wiper and washer. - Spraying washer fluid and wip-ing
INT - Intermittent wiper operation
ON - Normal wiper opertion - Spraying washer fluid and wip-ing
RLDA2112RLDA2111
WARNING
Do not use the washer in freez- ing temperatures without 1stwarming the windshield with the
defrosters; the washer solution
could freeze on contact with the
windshield and obscure yourvision.
Page 167 of 318
455
1 23456789
Driving your vehicle
The defroster heats the window to
remove frost, fog and thin ice from
the interior and exterior of the rear
window, while engine is running.
✽✽NOTICE
Page 175 of 318
463
1 23456789
Driving your vehicle
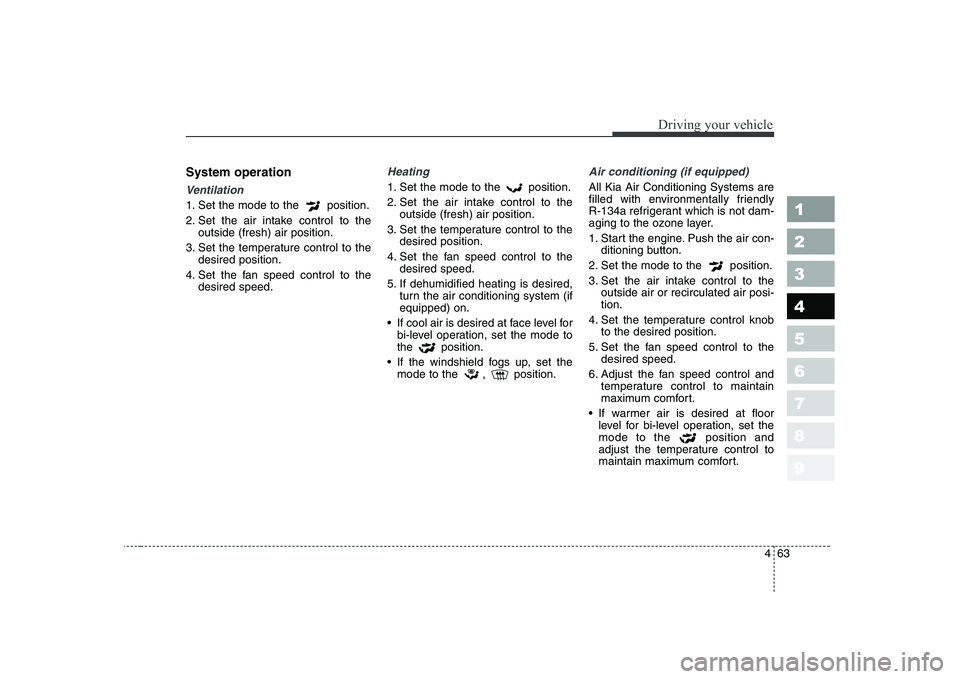
System operation
Ventilation
1. Set the mode to the position.
2. Set the air intake control to theoutside (fresh) air position.
3. Set the temperature control to the desired position.
4. Set the fan speed control to the desired speed.
Heating
1. Set the mode to the position.
2. Set the air intake control to theoutside (fresh) air position.
3. Set the temperature control to the desired position.
4. Set the fan speed control to the desired speed.
5. If dehumidified heating is desired, turn the air conditioning system (if equipped) on.
If cool air is desired at face level for bi-level operation, set the mode tothe position.
If the windshield fogs up, set the mode to the , position.
Air conditioning (if equipped)
All Kia Air Conditioning Systems are
filled with environmentally friendly
R-134a refrigerant which is not dam-
aging to the ozone layer.
1. Start the engine. Push the air con- ditioning button.
2. Set the mode to the position.
3. Set the air intake control to the outside air or recirculated air posi- tion.
4. Set the temperature control knob to the desired position.
5. Set the fan speed control to the desired speed.
6. Adjust the fan speed control and temperature control to maintain
maximum comfort.
If warmer air is desired at floor level for bi-level operation, set the
mode to the position and
adjust the temperature control to
maintain maximum comfort.
Page 187 of 318
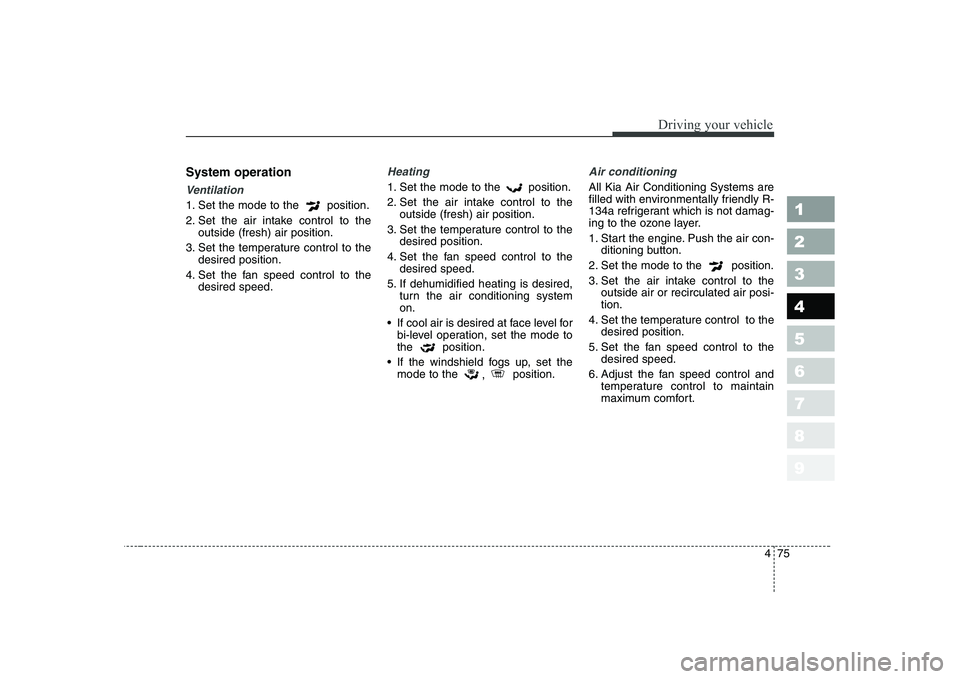
475
1 23456789
Driving your vehicle
System operation
Ventilation
1. Set the mode to the position.
2. Set the air intake control to theoutside (fresh) air position.
3. Set the temperature control to the desired position.
4. Set the fan speed control to the desired speed.
Heating
1. Set the mode to the position.
2. Set the air intake control to theoutside (fresh) air position.
3. Set the temperature control to the desired position.
4. Set the fan speed control to the desired speed.
5. If dehumidified heating is desired, turn the air conditioning system on.
If cool air is desired at face level for bi-level operation, set the mode tothe position.
If the windshield fogs up, set the mode to the , position.
Air conditioning
All Kia Air Conditioning Systems are
filled with environmentally friendly R-
134a refrigerant which is not damag-
ing to the ozone layer.
1. Start the engine. Push the air con-
ditioning button.
2. Set the mode to the position.
3. Set the air intake control to the outside air or recirculated air posi- tion.
4. Set the temperature control to the desired position.
5. Set the fan speed control to the desired speed.
6. Adjust the fan speed control and temperature control to maintain
maximum comfort.