Page 246 of 424
To release the parking brake, pull up slightly, press the
center button, then lower the lever completely.
Before leaving the vehicle parked on a hill, you must
make sure the parking brake is fully applied and place
the gear selector in the P (Park) position. Make certain the
transfer case is in gear. Failure to do so may cause the
vehicle to roll and cause damage or injury.
When parking on a hill, it is important to set the parking
brake before placing the gear selector in P (Park), other-
wise the load on the transmission locking mechanism
may make it difficult to move the selector out of P (Park).WARNING!
•Leaving children unattended in a vehicle is dan-
gerous for a number of reasons. A child or others
could be injured. Children should be warned not
to touch the parking brake or the gear selector
lever. Don’t leave the keys in the ignition. A child
could operate power windows, other controls, or
move the vehicle.
•Do not leave children or animals inside parked
vehicles in hot weather. Interior heat build up
may cause serious injury or death.
Be sure the parking brake is fully disengaged before
driving. Failure to do so can lead to brake failure.
NOTE:Parking brake adjustment and maintenance
should be performed by your authorized dealer.
246 STARTING AND OPERATING
Page 247 of 424
ANTI-LOCK BRAKE SYSTEM — IF EQUIPPED
The Anti-Lock Brake System is designed to aid the driver
in maintaining vehicle control under adverse braking
conditions. The system operates with a separate com-
puter to modulate hydraulic pressure to prevent wheel
lock-up and help avoid skidding on slippery surfaces.
All vehicle wheels and tires must be the same size and
type and tires must be properly inflated to produce
accurate signals for the computer.
WARNING!
Significant over or under-inflation of tires, or mixing
sizes of tires or wheels on the vehicle can lead to loss
of braking effectiveness.
The Anti-Lock Brake System conducts a low speed self-test
at about 12 mph (20 km/h). If for any reason, your foot is
on the brake when the vehicle reaches 12 mph (20 km/h),
this check will be delayed until 25 mph (40 km/h).
The Anti-Lock Brake System pump motor runs during
the self-test and during an ABS stop to provide the
regulated hydraulic pressure. The motor pump makes a
low humming noise during operation, this is normal.
During off-road use, loss of traction can temporarily
defeat the system and cause the warning light to illumi-
nate. Turn the ignition OFF and ON again to restore
Anti-Lock Brake System function.
STARTING AND OPERATING 247
5
Page 252 of 424
your speed. If the brakes are required to control vehicle
speed, apply them lightly and avoid locking or skidding
the tires.
WARNING!
If the engine stalls or you lose headway or cannot
make it to the top of a steep hill or grade, never
attempt to turn around. To do so may result in
tipping and rolling the vehicle. Always back care-
fully straight down a hill in R (Reverse) gear. Never
back down a hill in N (Neutral) using only the brake.
Remember, never drive diagonally across a hill-always
drive straight up or down.
If the wheels start to slip as you approach the crest of a
hill, ease off the accelerator and maintain headway byturning the front wheels slowly left and right. This may
provide a fresh “bite” into the surface and will usually
provide traction to complete the climb.
Traction Downhill
Shift the transmission into a low gear and the transfer
case to 4L or 4LO range. Let the vehicle go slowly down
the hill with all four wheels turning against engine
compression drag. This will permit you to control the
vehicle speed and direction.
When descending mountains or hills, repeated braking
can cause brake fade with loss of braking control. Avoid
repeated heavy braking by downshifting the transmis-
sion whenever possible.
252 STARTING AND OPERATING
Page 285 of 424
CAUTION!
If the trailer weighs more than 1,000 lbs (454 kg)
loaded, it should have its own brakes and they
should be of adequate capacity. Failure to do this
could lead to accelerated brake lining wear, higher
brake pedal effort, and longer stopping distances.
WARNING!
Connecting trailer brakes to your vehicle’s hydraulic
brake lines can overload your brake system and
cause it to fail. You might not have brakes when you
need them and could have an accident.
•Whenever you pull a trailer, regardless of the trailer
size, stop lights and turn signals on the trailer are
mandatory for motoring safety.
•Follow the maintenance intervals in schedule “B” for
changing the automatic transmission fluid and filter, if
you REGULARLY tow a trailer for more than 45
minutes of continuous operation.
STARTING AND OPERATING 285
5
Page 298 of 424
WARNING!
Raising the vehicle higher than necessary can make
the vehicle less stable and cause an accident. It could
slip off the jack and hurt someone near it. Raise the
vehicle only enough to remove the tire.
6. Remove the lug nuts and wheel.
7. Position the spare wheel/tire on the vehicle and install
lug nuts with cone-shaped end toward wheel. Lightly
tighten the nuts. To avoid the risk of forcing the vehicle
off the jack, do not tighten the nuts fully until the vehicle
has been lowered.
8. Lower the vehicle by turning the jack screw to the left,
and remove the jack and wheel blocks.
9. Finish tightening the lug nuts. Push down on the
wrench while tightening for increased leverage. Alternatenuts until each nut has been tightened twice. Correct
wheel nut tightness is 130 N·m (95 ft. lbs). If in doubt
about the correct tightness, have them checked with a
torque wrench by your authorized dealer or at a service
station.
10. Lower the jack to it’s fully closed position.WARNING!
A loose tire or jack, thrown forward in a collision or
hard stop could endanger the occupants of the ve-
hicle. Always stow the jack parts and the spare tire in
the places provided.
11. Secure the tire, jack, and tools in their proper loca-
tions.
298 WHAT TO DO IN EMERGENCIES
Page 332 of 424
WARNING!
Worn brake hoses can burst and cause brake failure.
You could have an accident. If you see any signs of
cracking, scuffing, or worn spots, have the brake
hoses replaced immediately.
Brake Master Cylinder
The fluid level in the master cylinder should be checked
when performing under hood services, or immediately if
the “Brake Warning Light” shows system failure.
Be sure to clean the top of the master cylinder area before
removing the cap. If necessary, add fluid to bring the
fluid level up to the requirements described on the brake
fluid reservoir. With disc brakes, fluid level can be
expected to fall as the brake pads wear. However, low
fluid level may be caused by a leak and a checkup may be
needed.
332 MAINTAINING YOUR VEHICLE
Page 400 of 424
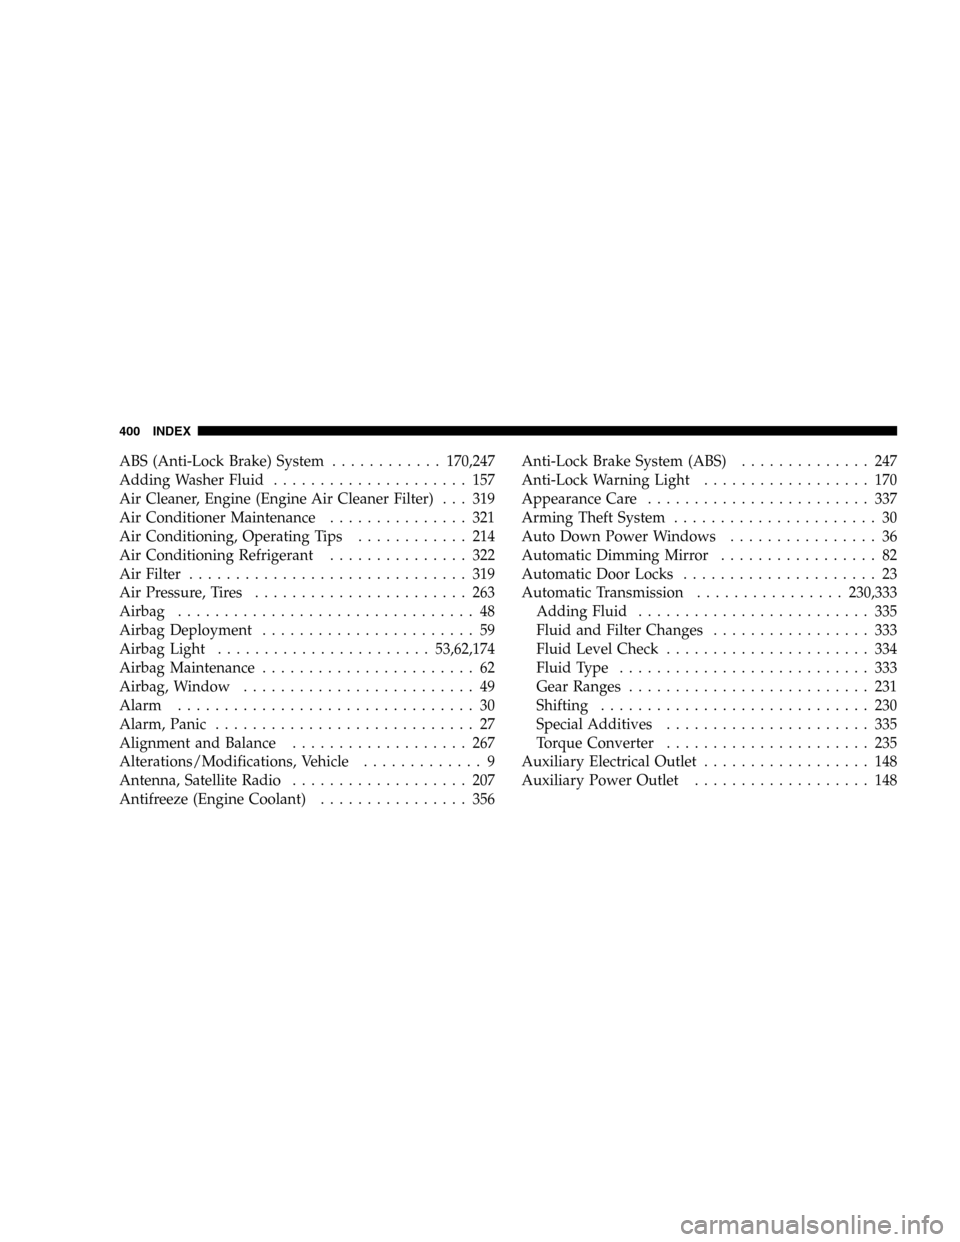
ABS (Anti-Lock Brake) System............170,247
Adding Washer Fluid..................... 157
Air Cleaner, Engine (Engine Air Cleaner Filter) . . . 319
Air Conditioner Maintenance............... 321
Air Conditioning, Operating Tips............ 214
Air Conditioning Refrigerant............... 322
Air Filter.............................. 319
Air Pressure, Tires....................... 263
Airbag................................ 48
Airbag Deployment....................... 59
Airbag Light.......................53,62,174
Airbag Maintenance....................... 62
Airbag, Window......................... 49
Alarm................................ 30
Alarm, Panic............................ 27
Alignment and Balance................... 267
Alterations/Modifications, Vehicle............. 9
Antenna, Satellite Radio................... 207
Antifreeze (Engine Coolant)................ 356Anti-Lock Brake System (ABS).............. 247
Anti-Lock Warning Light.................. 170
Appearance Care........................ 337
Arming Theft System...................... 30
Auto Down Power Windows................ 36
Automatic Dimming Mirror................. 82
Automatic Door Locks..................... 23
Automatic Transmission................230,333
Adding Fluid......................... 335
Fluid and Filter Changes................. 333
Fluid Level Check...................... 334
Fluid Type........................... 333
Gear Ranges.......................... 231
Shifting............................. 230
Special Additives...................... 335
Torque Converter...................... 235
Auxiliary Electrical Outlet.................. 148
Auxiliary Power Outlet................... 148
400 INDEX
Page 401 of 424
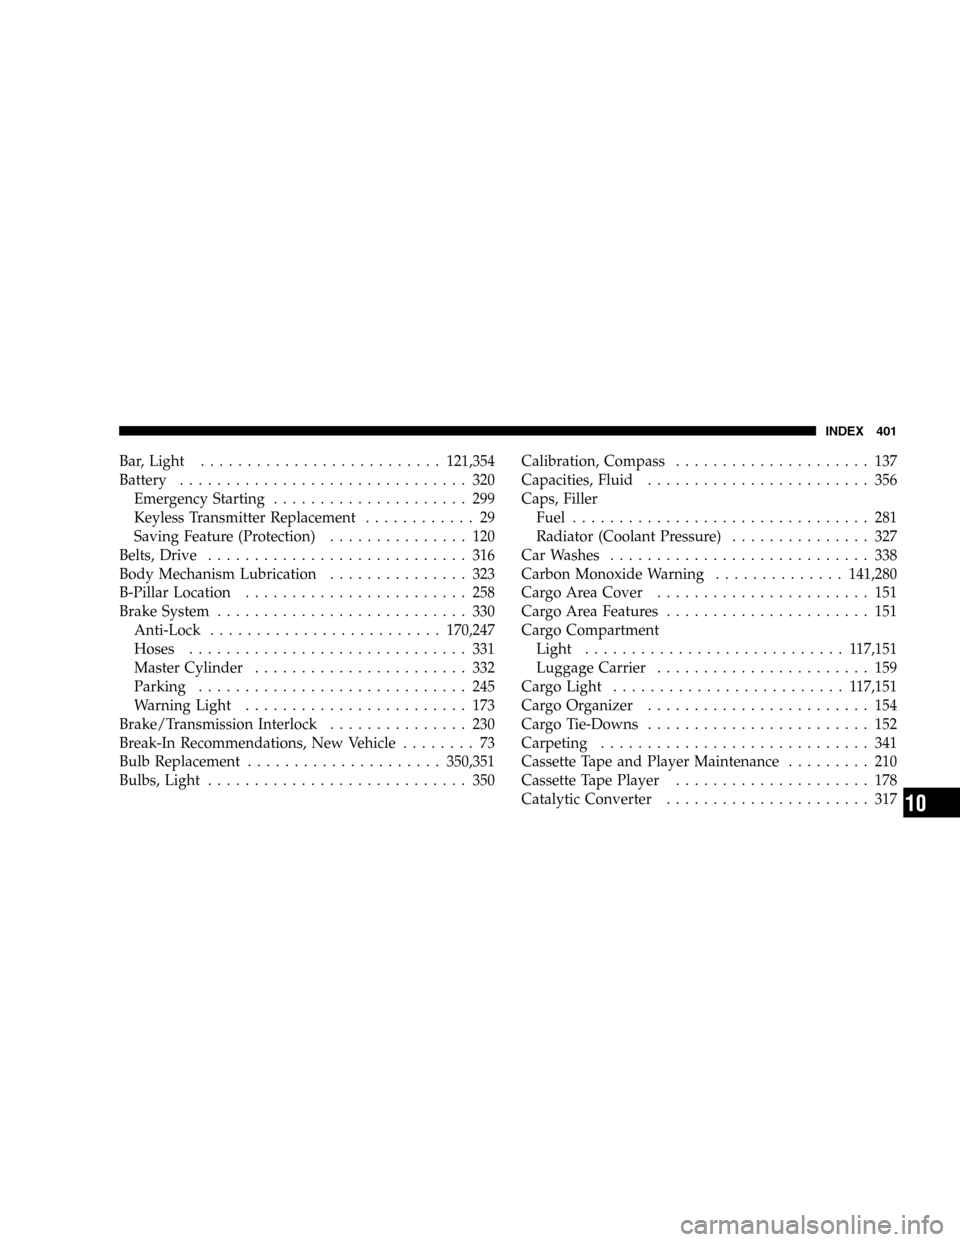
Bar, Light..........................121,354
Battery............................... 320
Emergency Starting..................... 299
Keyless Transmitter Replacement............ 29
Saving Feature (Protection)............... 120
Belts, Drive............................ 316
Body Mechanism Lubrication............... 323
B-Pillar Location........................ 258
Brake System........................... 330
Anti-Lock.........................170,247
Hoses.............................. 331
Master Cylinder....................... 332
Parking............................. 245
Warning Light........................ 173
Brake/Transmission Interlock............... 230
Break-In Recommendations, New Vehicle........ 73
Bulb Replacement.....................350,351
Bulbs, Light............................ 350Calibration, Compass..................... 137
Capacities, Fluid........................ 356
Caps, Filler
Fuel................................ 281
Radiator (Coolant Pressure)............... 327
Car Washes............................ 338
Carbon Monoxide Warning..............141,280
Cargo Area Cover....................... 151
Cargo Area Features...................... 151
Cargo Compartment
Light............................ 117,151
Luggage Carrier....................... 159
Cargo Light......................... 117,151
Cargo Organizer........................ 154
Cargo Tie-Downs........................ 152
Carpeting............................. 341
Cassette Tape and Player Maintenance......... 210
Cassette Tape Player..................... 178
Catalytic Converter...................... 317
INDEX 401
10