2005 JEEP LIBERTY air conditioning
[x] Cancel search: air conditioningPage 171 of 424

11. Temperature Gage
Indicates engine coolant temperature. Any read-
ing within the normal range indicates that the
cooling system is operating satisfactorily.
The gage pointer will likely indicate a higher temperature
(above center scale) when driving in hot weather, up
mountain grades, in heavy stop and go traffic, or when
towing a trailer. It should not be allowed to exceed the
upper limits of the normal operating range.
If the pointer rises to the red zone (five chimes will
occur), pull over and stop the vehicle. Do not turn the
engine off. Idle the vehicle with the air conditioning
turned off, until the pointer drops back into the normal
range. If the engine remains in the high range, turn the
engine off and call for service.12. Reset Button
Press this button to toggle between the odometer and trip
odometer display. When in the trip odometer mode,
holding the button in resets the trip odometer. Also,
pressing the “Reset” button will clear out any warning
messages in the odometer display.
13. Odometer/Trip Odometer
A vacuum fluorescent display indicates the total distance
the vehicle has been driven. Also, the cluster will display,
replacing the odometer/trip odometer, vehicle warning
messages such as: door/gate/glass ajar and low washer
fluid. See appropriate sections for more information.
NOTE:If vehicle is equipped with the optional Elec-
tronic Vehicle Information Center (EVIC) in the overhead
console, all warnings including “door”, “GATE”,
“GLASS”, and “LOWASH” will only be displayed in the
UNDERSTANDING YOUR INSTRUMENT PANEL 171
4
Page 212 of 424

CLIMATE CONTROLS
The controls for the heating, air conditioning, and venti-
lation system in this vehicle consist of a series of rotary
knobs, and a push-button. These comfort controls can be
set to obtain desired interior conditions.
Blower Control
The rotary knob on the left controls the blower and can be
set in one of four positions from Low to High.
Temperature Control
The degree of comfort can be selected by rotating the
temperature control knob on the right. The coldest tem-
perature setting is fully counterclockwise and the warm-
est setting fully clockwise. The knob can be positioned at
any detent.
Mode Selection
The mode selector (the center rotary knob and the
push-button above it) can be set in any of the following
positions:
Press this button to turn on and off the air condi-
tioning. Conditioned outside air is then directed
through the outlets selected on the mode control
dial. The button includes an LED that illuminates when
pressed.
Manual Climate Control
212 UNDERSTANDING YOUR INSTRUMENT PANEL
Page 213 of 424
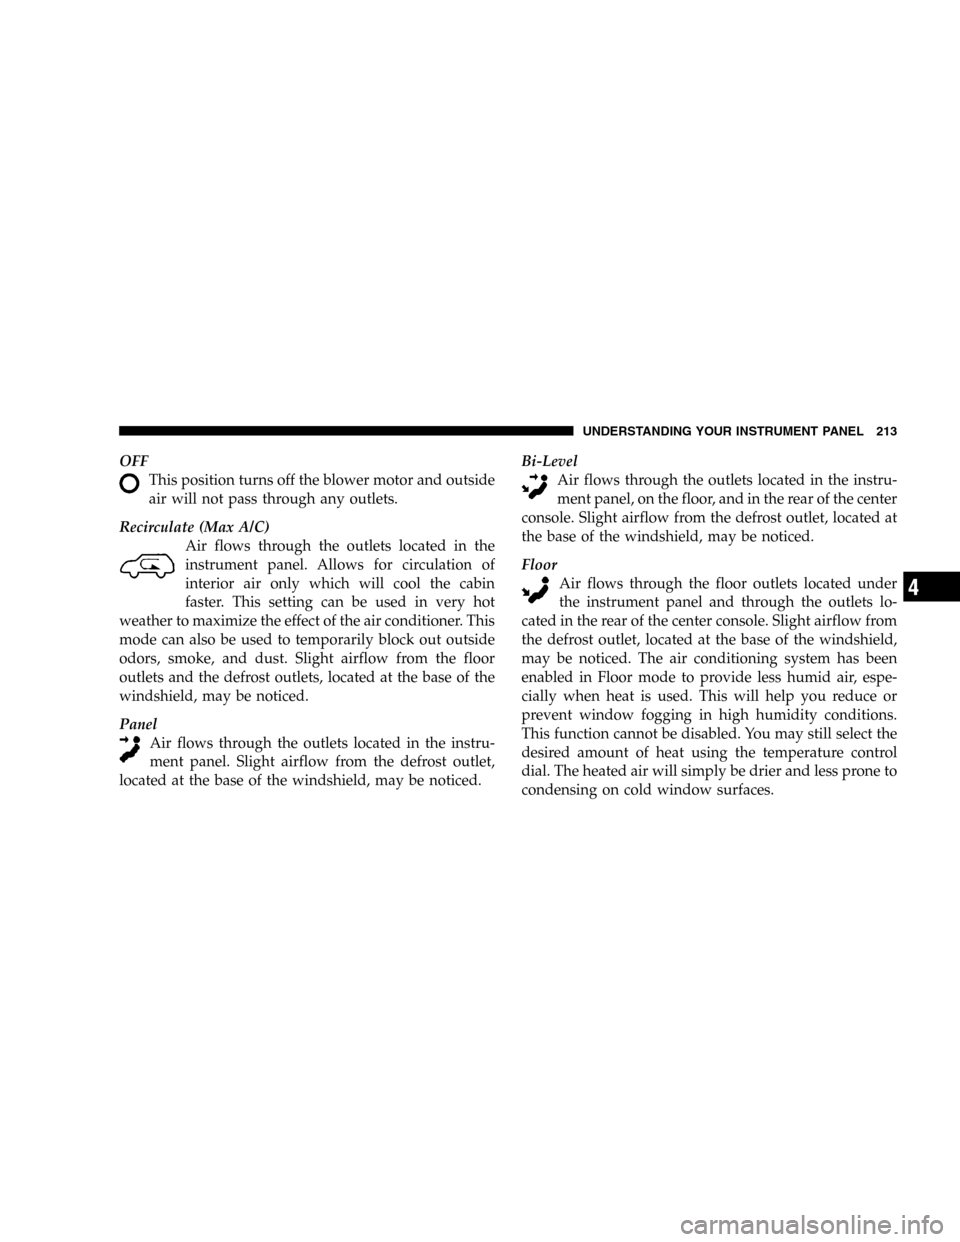
OFF
This position turns off the blower motor and outside
air will not pass through any outlets.
Recirculate (Max A/C)
Air flows through the outlets located in the
instrument panel. Allows for circulation of
interior air only which will cool the cabin
faster. This setting can be used in very hot
weather to maximize the effect of the air conditioner. This
mode can also be used to temporarily block out outside
odors, smoke, and dust. Slight airflow from the floor
outlets and the defrost outlets, located at the base of the
windshield, may be noticed.
Panel
Air flows through the outlets located in the instru-
ment panel. Slight airflow from the defrost outlet,
located at the base of the windshield, may be noticed.Bi-Level
Air flows through the outlets located in the instru-
ment panel, on the floor, and in the rear of the center
console. Slight airflow from the defrost outlet, located at
the base of the windshield, may be noticed.
Floor
Air flows through the floor outlets located under
the instrument panel and through the outlets lo-
cated in the rear of the center console. Slight airflow from
the defrost outlet, located at the base of the windshield,
may be noticed. The air conditioning system has been
enabled in Floor mode to provide less humid air, espe-
cially when heat is used. This will help you reduce or
prevent window fogging in high humidity conditions.
This function cannot be disabled. You may still select the
desired amount of heat using the temperature control
dial. The heated air will simply be drier and less prone to
condensing on cold window surfaces.
UNDERSTANDING YOUR INSTRUMENT PANEL 213
4
Page 293 of 424
IF YOUR ENGINE OVERHEATS
In any of the following situations, you can reduce the
potential for overheating by taking the appropriate ac-
tion.
•On the highways — Slow down.
•In city traffic — While stopped, put transmission in N
(Neutral), but do not increase engine idle speed.
NOTE:There are steps that you can take to slow down
an impending overheat condition. If your air conditioner
is on, turn it off. The air conditioning system adds heat to
the engine cooling system and turning off the A/C
removes this heat. You can also turn the Temperature
Control to maximum heat, the Mode Control to floor, and
the Fan Control to High. This allows the heater core to act
as a supplement to the radiator and aids in removing heat
from the engine cooling system.If the pointer rises to the “H” (hot mark) on a vehicle
equipped with agasoline engine, pull over and stop the
vehicle. Do not turn the engine off. Idle the vehicle with
the air conditioning turned off, until the pointer drops
back into the normal range.CAUTION!
Driving with a hot cooling system could damage
your vehicle. If the temperature gauge reads “H”,
pull over and stop the vehicle. Idle the vehicle with
the air conditioner turned off until the pointer drops
back into the normal range. If the pointer remains on
the “H”, and you hear continuous chimes, turn the
engine off immediately, and call for service.
WHAT TO DO IN EMERGENCIES 293
6
Page 294 of 424
If the coolant temperature of a vehicle equipped with a
diesel engineapproaches the “H” (hot mark) a warning
chime will sound to alert the driver. The air conditioning
system will turn off automatically and power loss will
occur until the engine temperature returns to the normal
range.
If the overheating condition persists a continuous chime
will sound to alert the driver. Reduce the vehicle speed
and or stop the vehicle while allowing the engine to idle
and cool the engine.JACKING AND TIRE CHANGING
WARNING!
•Getting under a jacked-up vehicle is dangerous.
The vehicle could slip off the jack and fall on you.
You could be crushed. Never get any part of your
body under a vehicle that is on a jack. If you need
to get under a raised vehicle, take it to a service
center where it can be raised on a lift.
•The jack is designed to use as a tool for changing
tires only. The jack should not be used to lift the
vehicle for service purposes. The vehicle should
be jacked on a firm level surface only. Avoid ice or
slippery areas.
294 WHAT TO DO IN EMERGENCIES
Page 321 of 424
CAUTION!
It is essential when replacing the cables on the
battery that the positive cable is attached to the
positive post and the negative cable is attached to the
negative post. Battery posts are marked (+) positive
and negative (-) and identified on the battery case.
Also, if a “fast charger” is used while battery is in the
vehicle, disconnect both vehicle battery cables be-
fore connecting the charger to battery. Do not use a
“fast charger” to provide starting voltage.
Air Conditioner Maintenance
For best possible performance, your air conditioner
should be checked and serviced by an Authorized Dealer
at the start of each warm season. This service should
include cleaning of the condenser fins and a performance
test. Drive belt tension should also be checked at this
time.
WARNING!
•Use only refrigerants and compressor lubricants
approved by the manufacturer for your air condi-
tioning system. Some unapproved refrigerants are
flammable and can explode, injuring you. Other
unapproved refrigerants or lubricants can cause
the system to fail, requiring costly repairs. Refer
to Section 3 of the Warranty Information Book for
additional warranty information.
•The air conditioning system contains refrigerant
under high pressure. To avoid risk of personal
injury or damage to the system, adding refrigerant
or any repair requiring lines to be disconnected
should be done by an experienced repairman.
MAINTAINING YOUR VEHICLE 321
7
Page 322 of 424
Refrigerant Recovery and Recycling
R-134a Air Conditioning Refrigerant is a hydrofluorocar-
bon (HFC) that is endorsed by the Environmental Pro-
tection Agency and is an ozone-saving product. How-
ever, the manufacturer recommends that air conditioning
service be performed by dealers or other service facilities
using recovery and recycling equipment.
Power Steering Fluid Check
Checking the power steering fluid level at a defined
service interval is not required. The fluid should only be
checked if a leak is suspected, abnormal noises are
apparent, and/or the system is not functioning as antici-
pated. Coordinate inspection efforts through a certified
“DaimlerChrysler Dealership.”
WARNING!
Fluid level should be checked on a level surface with
the engine off to prevent injury from moving parts,
and to insure accurate fluid level reading. Do not
overfill. Use only the manufacturer’s recommended
fluid.
If necessary, add fluid to restore to the proper indicated
level. With a clean cloth, wipe any spilled fluid from all
surfaces. Refer to Recommended Fluids, Lubricants, and
Genuine Parts for correct fluid type.
Driveline And Steering Component Lubrication
U-joints (cardan joints) are sealed and do not require
lubrication. Prop shafts, yokes, ball joints and other
driveline and steering components may be provided with
grease fittings for lubrication. Lubrication of these com-
ponents at the intervals specified in the appropriate
322 MAINTAINING YOUR VEHICLE
Page 330 of 424
•Make sure that the radiator and coolant recovery
bottle hoses are not kinked or obstructed.
•Keep the front of the radiator clean. Also, if your
vehicle is equipped with air conditioning, keep the
front of the condenser clean.
•Do not change the thermostat for summer or winter
operation. If replacement is ever necessary, install
ONLY the correct type thermostat. Other designs may
result in unsatisfactory cooling performance, poor gas
mileage, and increased emissions.
Hoses and Vacuum/Vapor Harnesses
Inspect surfaces of hoses and nylon tubing for evidence
of heat and mechanical damage. Hard or soft spots,
brittle rubber, cracking, tears, cuts, abrasions, and exces-
sive swelling indicate deterioration of the rubber.Pay particular attention to the hoses nearest to high heat
sources such as the exhaust manifold. Inspect hose rout-
ing to be sure hoses do not touch any heat source or
moving component that may cause heat damage or
mechanical wear.
Insure nylon tubing in these areas has not melted or
collapsed. Inspect all hose connections such as clamps
and couplings to make sure they are secure and no leaks
are present. Components should be replaced immedi-
ately if there is any evidence of degradation that could
cause failure.Brake System
In order to assure brake system performance, all brake
system components should be inspected periodically.
Refer to the appropriate “Maintenance Schedule” in
Section 8 for suggested service intervals.
330 MAINTAINING YOUR VEHICLE