Page 3131 of 3419

SRS-52
FRONT PASSENGER AIR BAG MODULE
Revision: October 20052005 QX56
�For removal/installation of the direct-connect SRS connectors, refer to SRS-7, "Direct-connect SRS Com-
ponent Connectors" .
CAUTION:
�Always work from the side of or under front passenger air bag module.
�After the work is completed, perform self-diagnosis to check that no malfunction is detected.
Refer to SRS-20, "
SRS Operation Check" .
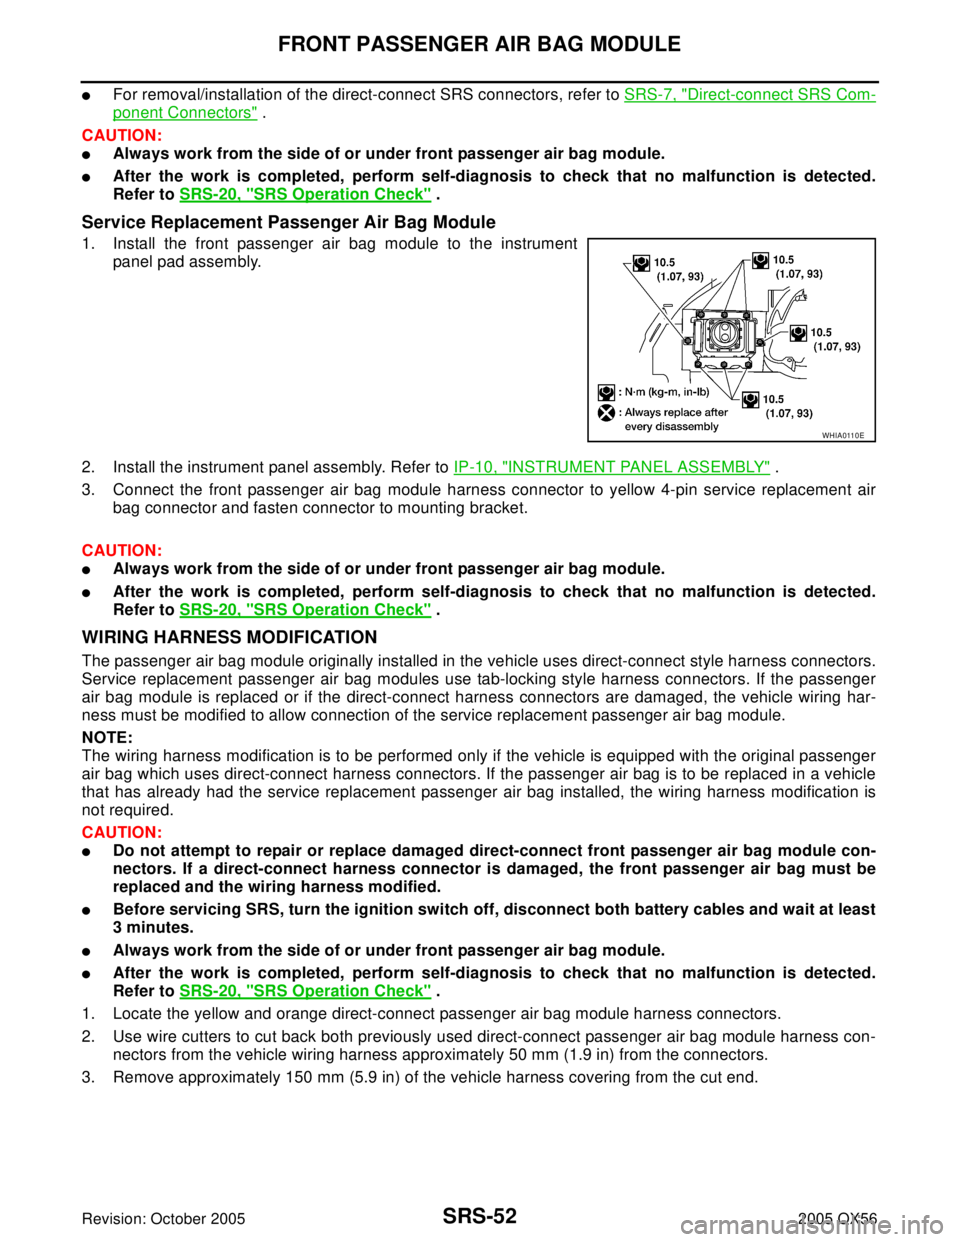
Service Replacement Passenger Air Bag Module
1. Install the front passenger air bag module to the instrument
panel pad assembly.
2. Install the instrument panel assembly. Refer to IP-10, "
INSTRUMENT PANEL ASSEMBLY" .
3. Connect the front passenger air bag module harness connector to yellow 4-pin service replacement air
bag connector and fasten connector to mounting bracket.
CAUTION:
�Always work from the side of or under front passenger air bag module.
�After the work is completed, perform self-diagnosis to check that no malfunction is detected.
Refer to SRS-20, "
SRS Operation Check" .
WIRING HARNESS MODIFICATION
The passenger air bag module originally installed in the vehicle uses direct-connect style harness connectors.
Service replacement passenger air bag modules use tab-locking style harness connectors. If the passenger
air bag module is replaced or if the direct-connect harness connectors are damaged, the vehicle wiring har-
ness must be modified to allow connection of the service replacement passenger air bag module.
NOTE:
The wiring harness modification is to be performed only if the vehicle is equipped with the original passenger
air bag which uses direct-connect harness connectors. If the passenger air bag is to be replaced in a vehicle
that has already had the service replacement passenger air bag installed, the wiring harness modification is
not required.
CAUTION:
�Do not attempt to repair or replace damaged direct-connect front passenger air bag module con-
nectors. If a direct-connect harness connector is damaged, the front passenger air bag must be
replaced and the wiring harness modified.
�Before servicing SRS, turn the ignition switch off, disconnect both battery cables and wait at least
3 minutes.
�Always work from the side of or under front passenger air bag module.
�After the work is completed, perform self-diagnosis to check that no malfunction is detected.
Refer to SRS-20, "
SRS Operation Check" .
1. Locate the yellow and orange direct-connect passenger air bag module harness connectors.
2. Use wire cutters to cut back both previously used direct-connect passenger air bag module harness con-
nectors from the vehicle wiring harness approximately 50 mm (1.9 in) from the connectors.
3. Remove approximately 150 mm (5.9 in) of the vehicle harness covering from the cut end.
WHIA0110E
Page 3147 of 3419

TF-4
PRECAUTIONS
Revision: October 20052005 QX56
PRECAUTIONSPFP:00001
Precautions for Supplemental Restraint System (SRS) “AIR BAG” and “SEAT
BELT PRE-TENSIONER”
EDS002H3
The Supplemental Restraint System such as “AIR BAG” and “SEAT BELT PRE-TENSIONER”, used along
with a front seat belt, helps to reduce the risk or severity of injury to the driver and front passenger for certain
types of collision. This system includes seat belt switch inputs and dual stage front air bag modules. The SRS
system uses the seat belt switches to determine the front air bag deployment, and may only deploy one front
air bag, depending on the severity of a collision and whether the front occupants are belted or unbelted.
Information necessary to service the system safely is included in the SRS and SB section of this Service Man-
ual.
WAR NIN G:
�To avoid rendering the SRS inoperative, which could increase the risk of personal injury or death
in the event of a collision which would result in air bag inflation, all maintenance must be per-
formed by an authorized NISSAN/INFINITI dealer.
�Improper maintenance, including incorrect removal and installation of the SRS, can lead to per-
sonal injury caused by unintentional activation of the system. For removal of Spiral Cable and Air
Bag Module, see the SRS section.
�Do not use electrical test equipment on any circuit related to the SRS unless instructed to in this
Service Manual. SRS wiring harnesses can be identified by yellow and/or orange harnesses or
harness connectors.
Precautions for Transfer Assembly and Transfer Control Unit ReplacementEDS002H4
When replacing transfer assembly or transfer control unit, check the 4WD shift indicator lamp as follows.
1. Turn ignition switch “ON”.
2. Check 4WD shift indicator lamp is turned ON for approx. 1 second.
�If OK, the position between transfer assembly and transfer control unit is correct.
�If NG, the position is different between transfer assembly and transfer control unit.
Adjust the position between transfer assembly and transfer control unit. Refer to TF-4, "
METHOD FOR
POSITION ADJUSTMENT" .
METHOD FOR POSITION ADJUSTMENT
1. Start engine. Run the engine for at least 10 seconds.
2. Stop vehicle and move A/T selector lever to “N” position with brake pedal depressed. Stay in "N" for at
least 2 seconds.
3. Turn 4WD shift switch to “2WD” position. Stay in "2WD" for at least 2 seconds.
4. Turn ignition switch “OFF”.
5. Start engine.
6. Erase self-diagnosis. Refer to TF-47, "
How to Erase Self-diagnostic Results" (with CONSULT-II) or TF-
53, "ERASE SELF-DIAGNOSIS" (without CONSULT-II).
7. Check 4WD shift indicator lamp. Refer to TF-32, "
CHECK BEFORE ENGINE IS STARTED" .
If 4WD shift indicator lamp does not indicate "2WD", install new transfer control unit and retry the above
check.
PrecautionsEDS002H5
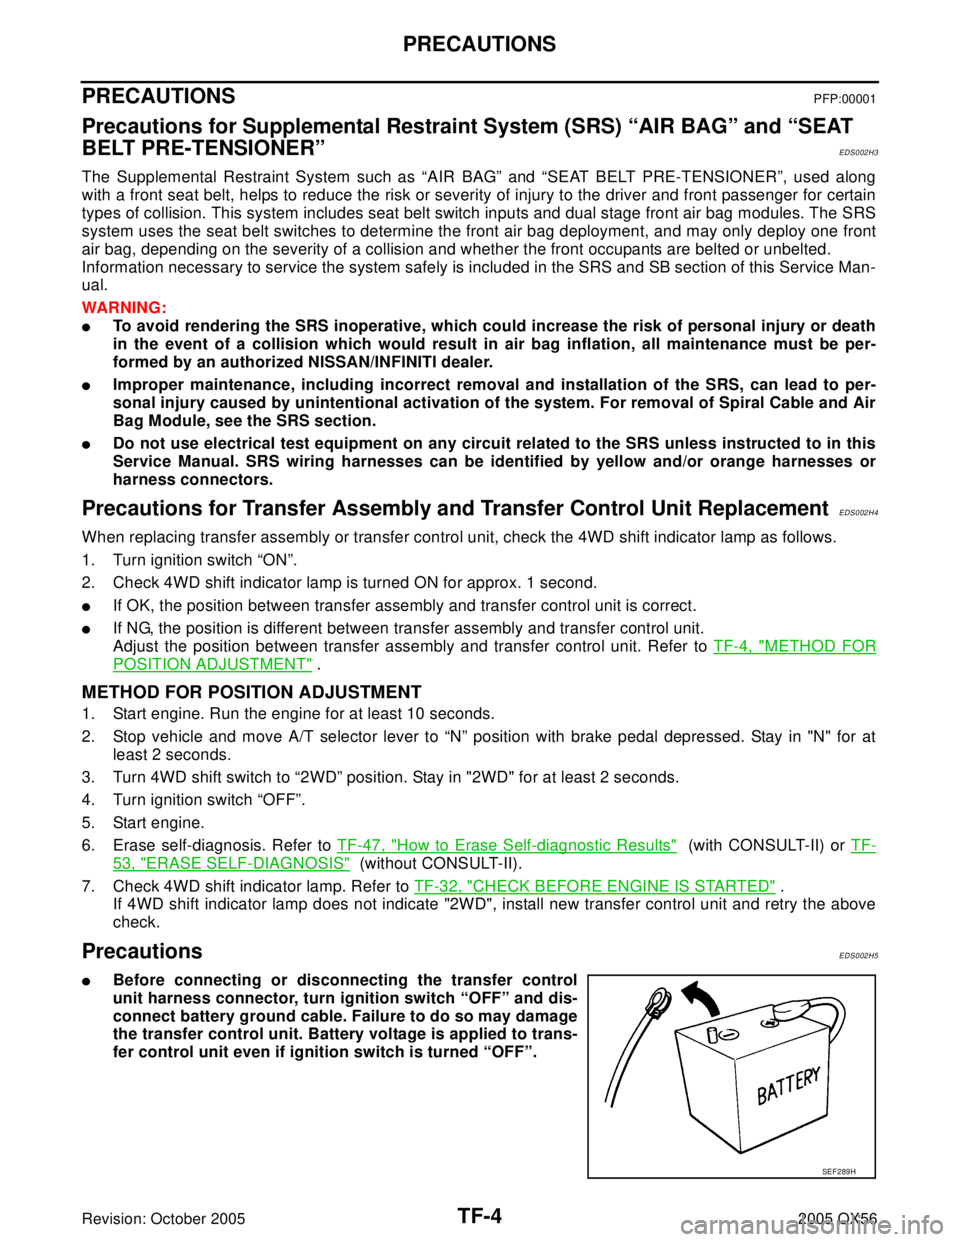
�Before connecting or disconnecting the transfer control
unit harness connector, turn ignition switch “OFF” and dis-
connect battery ground cable. Failure to do so may damage
the transfer control unit. Battery voltage is applied to trans-
fer control unit even if ignition switch is turned “OFF”.
SEF 2 89 H
Page 3275 of 3419

TF-132
TRANSFER CONTROL UNIT
Revision: October 20052005 QX56
TRANSFER CONTROL UNITPFP:33084
Removal and InstallationEDS002IS
REMOVAL
1. Set transfer state as 2WD when 4WD shift switch is at 2WD, or as AUTO when 4WD shift switch is at
AUTO.
CAUTION:
When removing transfer control unit, transfer state must be at 2WD or AUTO.
2. Turn the ignition switch OFF and disconnect negative battery terminal.
3. Remove the glove box assembly. Refer to IP-14, "
Instrument Lower Cover RH and Glove Box" .
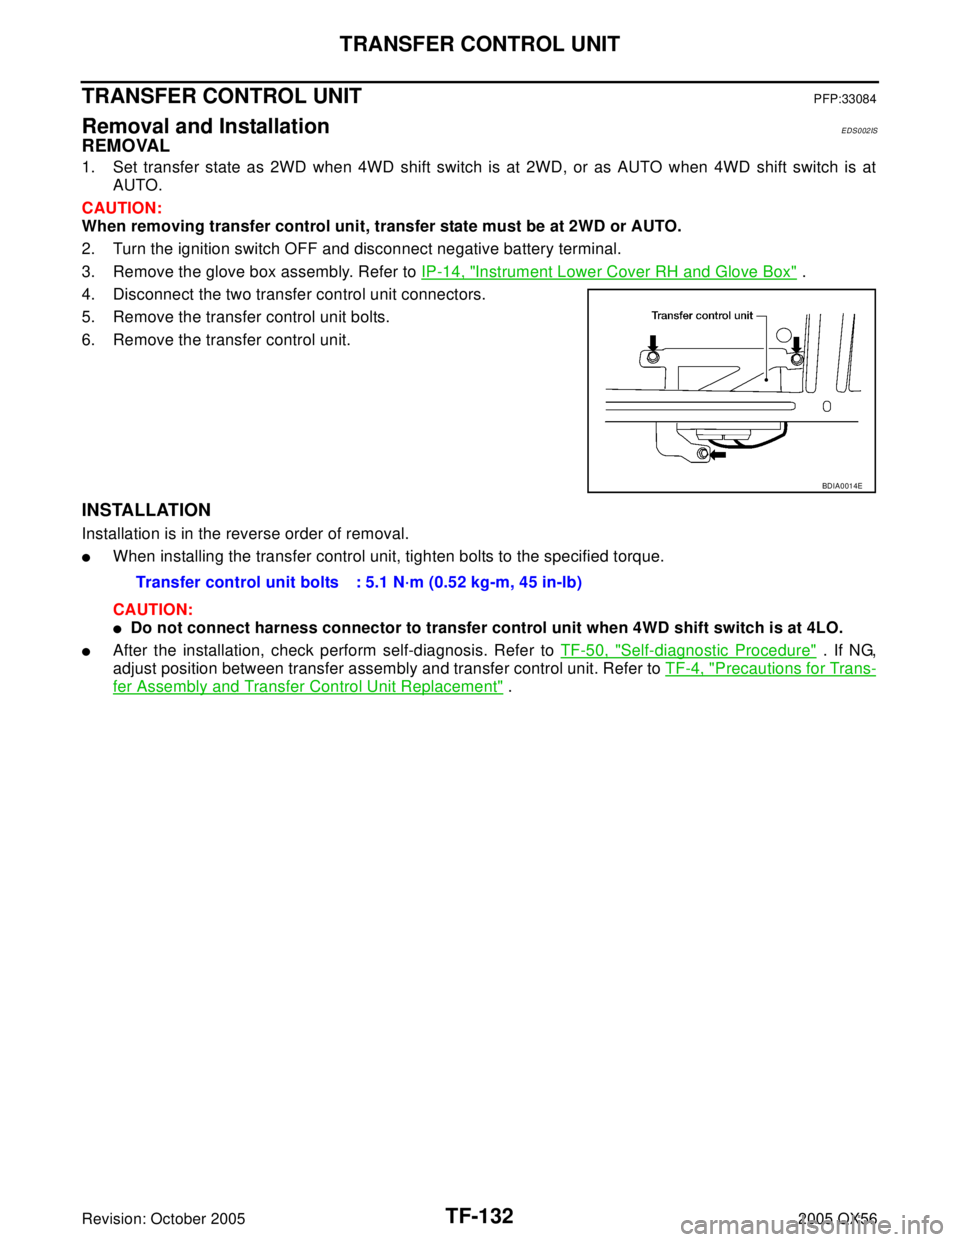
4. Disconnect the two transfer control unit connectors.
5. Remove the transfer control unit bolts.
6. Remove the transfer control unit.
INSTALLATION
Installation is in the reverse order of removal.
�When installing the transfer control unit, tighten bolts to the specified torque.
CAUTION:
�Do not connect harness connector to transfer control unit when 4WD shift switch is at 4LO.
�After the installation, check perform self-diagnosis. Refer to TF-50, "Self-diagnostic Procedure" . If NG,
adjust position between transfer assembly and transfer control unit. Refer to TF-4, "
Precautions for Trans-
fer Assembly and Transfer Control Unit Replacement" .
BDIA0014E
Transfer control unit bolts : 5.1 N·m (0.52 kg-m, 45 in-lb)
Page:
< prev 1-8 9-16 17-24